|
|
Post by itsonlyakit on Aug 8, 2012 23:49:19 GMT -6
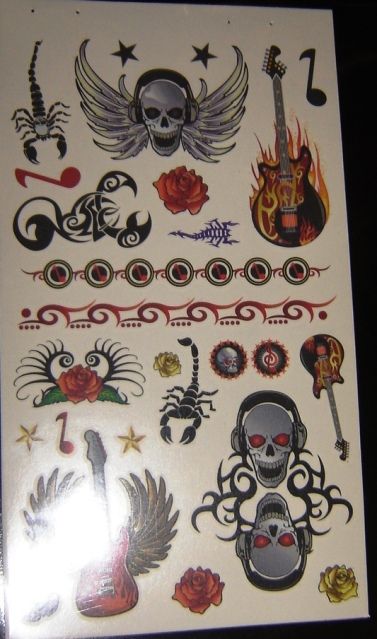
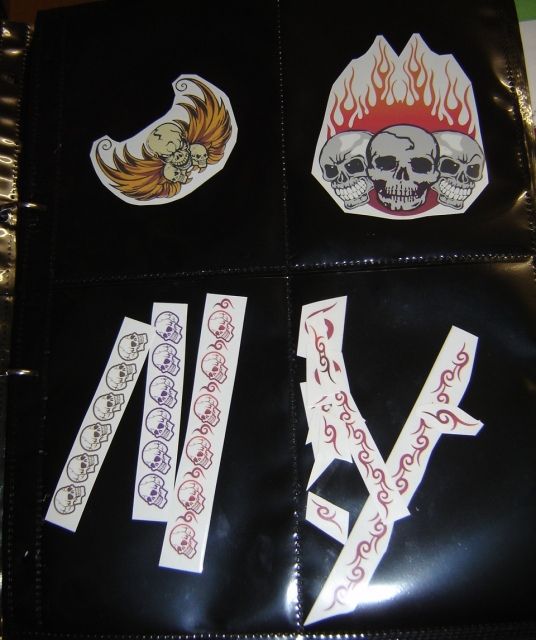
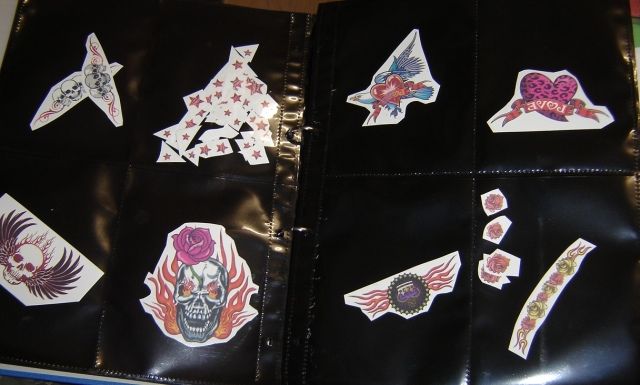
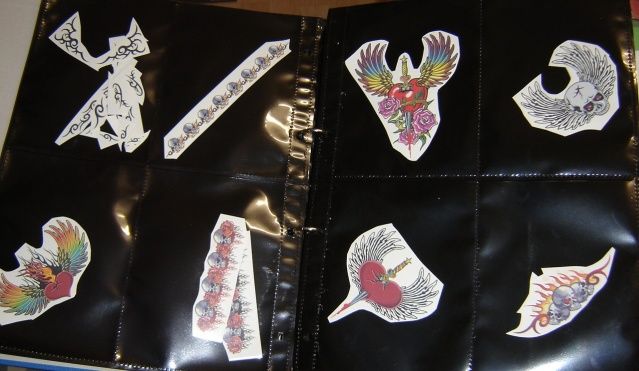
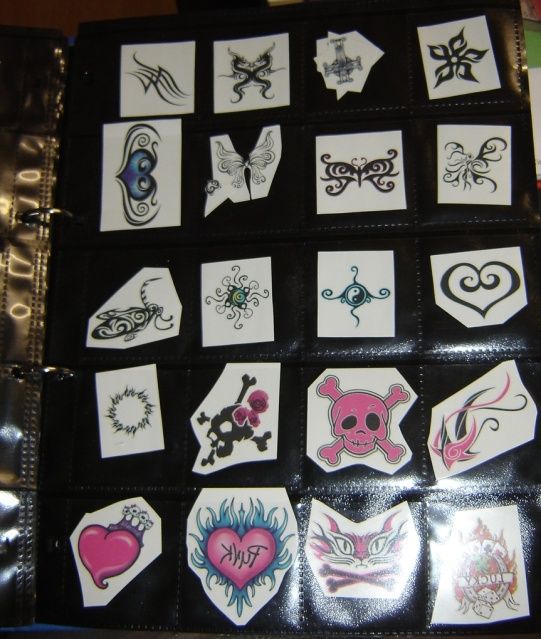
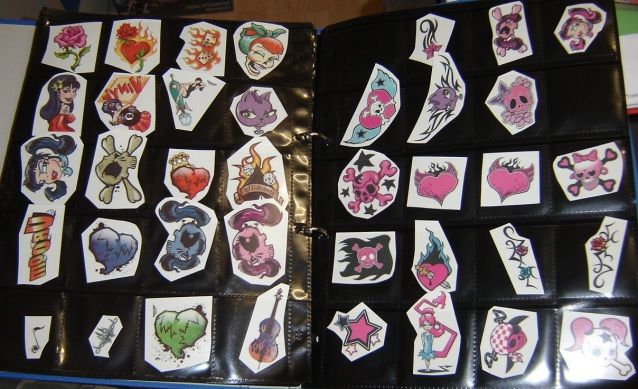
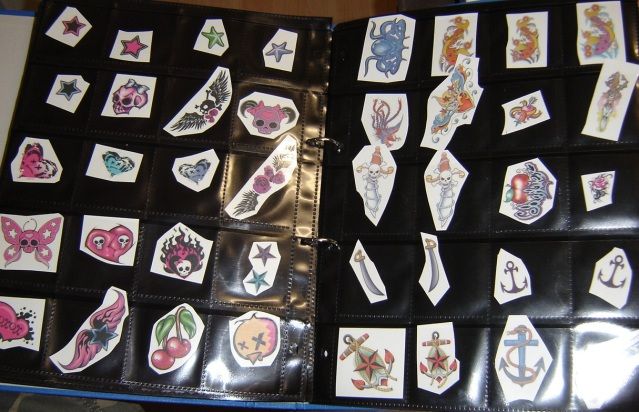
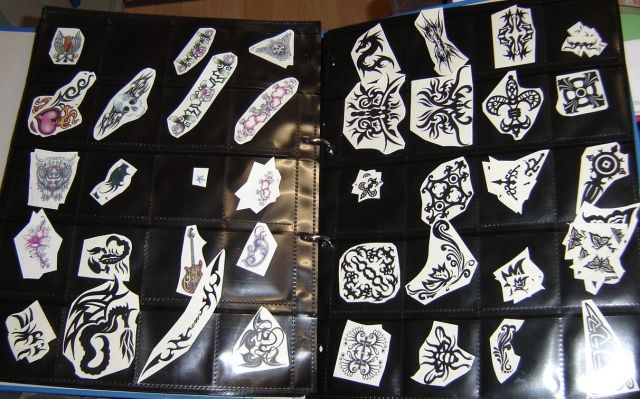
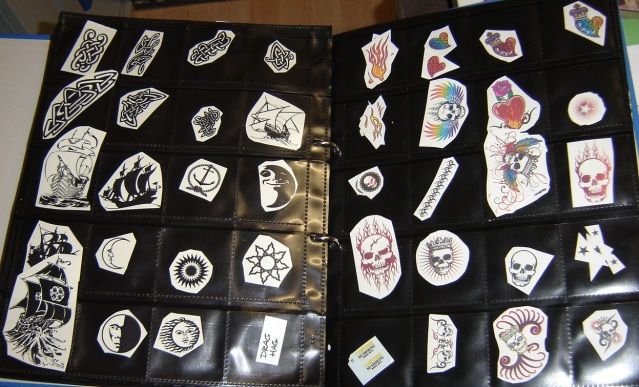
Found these "temporary" tattoos at dollar stores and M.........s. A very colorful assortment so I bought one package to experiment with. Instructions: cut out design of choice, peel off clear coat, put on your object (supposed to be your arm) face down, remember the graphics are reversed, apply a wet cloth to dampen the backing and the image will be released. 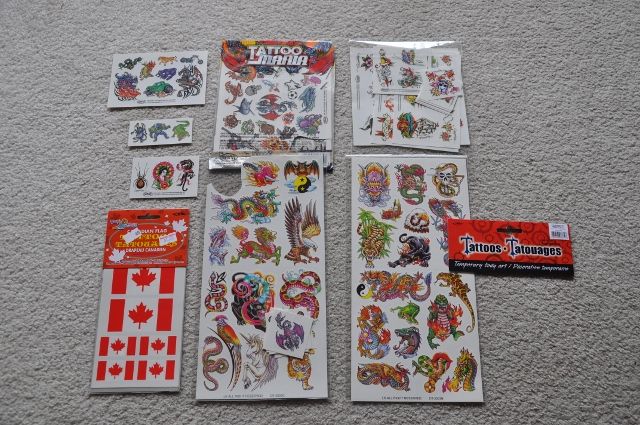 Here with a 6" rule to give a scale size. "Rat Rod" builders will like the variety of images available. Roofs, doors, deck lids will benefit. 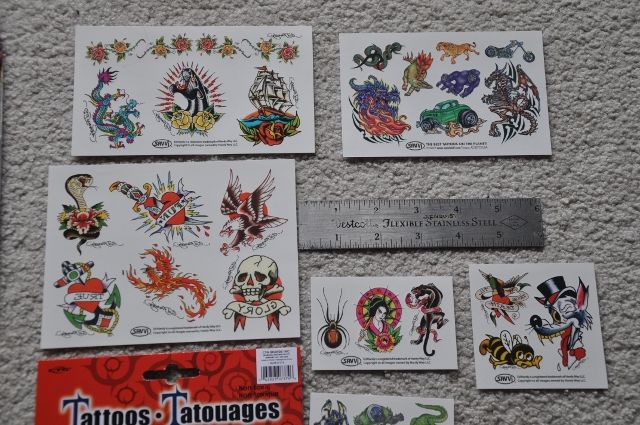 Closeup of surf board, graffic down the center is the"tattoo" after application it was clear coated with automotive rattle can clear. 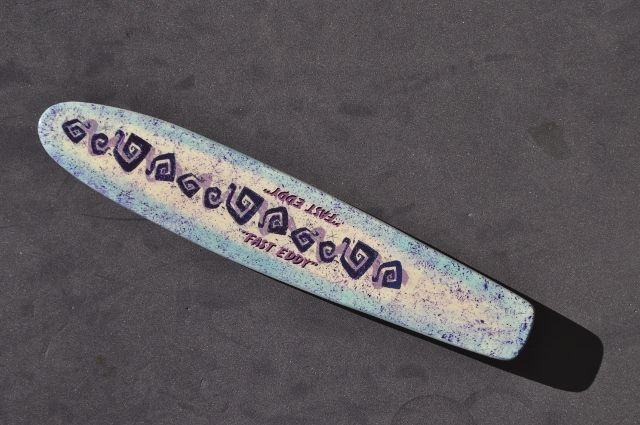 Trunk lid with a "tattoo" added, minor touch ups also added 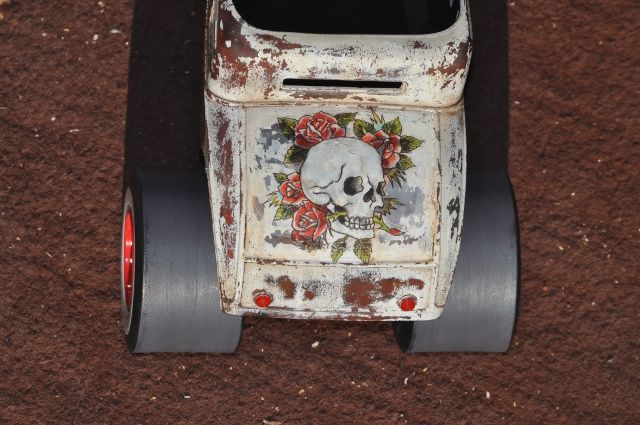 The hard part about these transfers is predicting their positioning because of the white backing. Also they cannot be moved once down so careful positioning before removing clear cover..........you can figure it out, I did !!!! 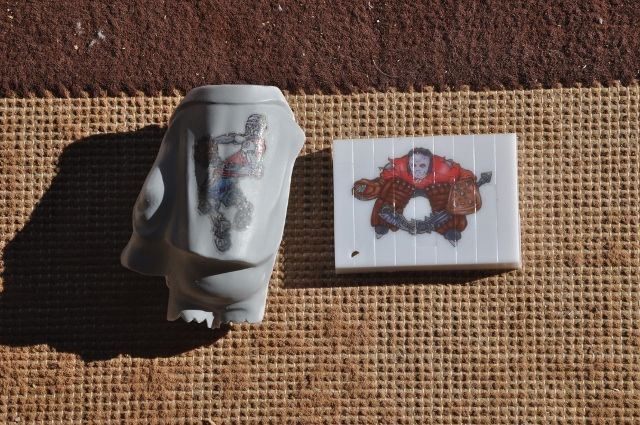 Examples of "tattoos" on unpainted gray and white plastic. Images work best on light colored backgrounds, gloss or matte clear coating will seal them. Cheers Eh! |
|
|
|
Post by models4life on Aug 9, 2012 5:19:54 GMT -6
Looks good,I will trying them on a few projects I am working on.Thanks for the info.
|
|
|
|
Post by 4speed on Aug 9, 2012 16:57:10 GMT -6
I'll try these as well!! Very Cool!!!  Thanks for posting!!! ;D |
|
|
|
Post by hobbybobby on Aug 15, 2012 15:18:42 GMT -6
|
|
|
|
Post by chromecop on Aug 17, 2012 1:18:54 GMT -6
I've seen these "tattoos" being used on models before and it works quite well. Would it be possible...to attach them to an empty decal-sheet first, seal them with clear, and then apply them just like a normal waterslide-decal?  |
|
|
|
Post by Dennis M on Aug 17, 2012 4:43:35 GMT -6
They are wicked' thanks for sharing. Dennis
|
|
|
|
Post by kettlekettle on Aug 17, 2012 17:38:41 GMT -6
tons of ideas and endless possibilities. Ive used them in the past. They look cool and work great.
|
|
|
|
Post by Steve-o on Aug 18, 2012 5:44:39 GMT -6
Yes i also have place & stick tatoo's .
They work real well on plastic !! ;D
|
|
|
|
Post by darquewanderer on Aug 25, 2012 21:47:39 GMT -6
Now this is a cool idea. Thanks.
|
|
|
|
Post by snakeplissken81 on Aug 29, 2012 16:12:02 GMT -6
Very clever, thanks for the tip.
|
|
|
|
Post by futurabat on Nov 22, 2012 20:51:02 GMT -6
I've wondered for years if this would work! Awesome, thanks for posting.
|
|
|
|
Post by mind9 on Dec 2, 2012 5:55:04 GMT -6
 ;D This makes me ferry happy. Always wanted to try this. Thanks Gr Dirk
|
|
|
|
Post by Wardster on Dec 24, 2012 2:31:30 GMT -6
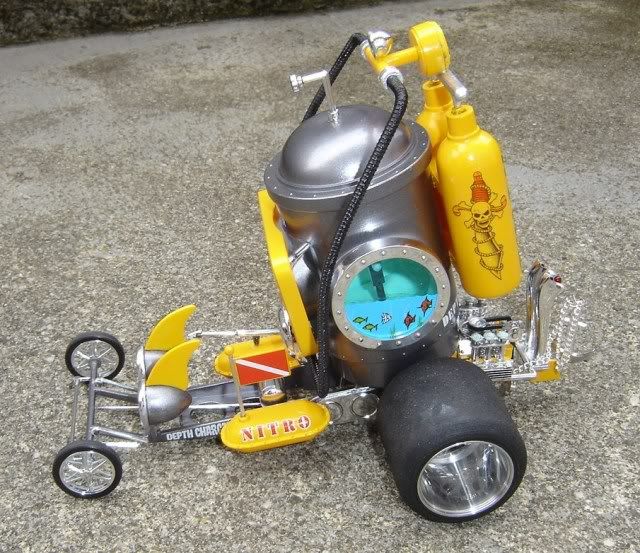
I've played with this idea with good luck, too -- so, definitely, if you find some cool temp tattoo's: go to town with 'em! Here's an old pic (from this past June) from another thread, where I had mentioned having tried the idea out ... 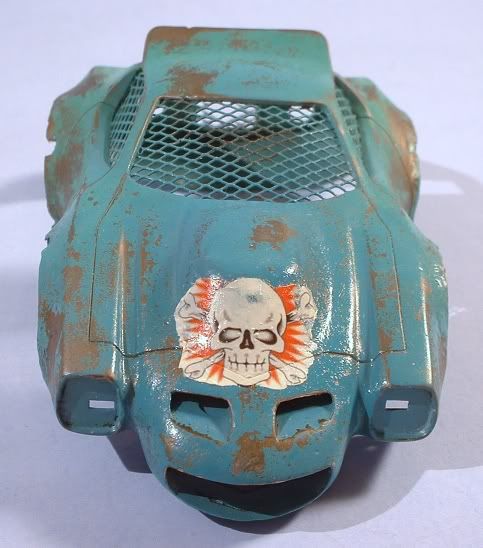 Something to note is that most of the temporary tattoo's I've run across look like they have a white background, when you see them in the store ... but they don't. So, as noted by others, above: they're fairly transparent and/or show the paint colors that are underneath them... ... BUT, with another step or two before you apply them, you can "add white" to the "decal's" back side ... by spraying or brushing on some acrylic paint, right over what you see, as it sits on the sheet. (Keep in mind that the side you see on the sheet, is actually the side that touches the model / your arm. Meaning you don't even have to "stay in the lines" when you add some white, or some other background color, to your temp tattoo.) (On this example, I'll have to go back in and touch a few things up ... but at least most of the skull's white was easy to add; and didn't obscure any of the detail that's already pre-printed on it. I got a bit carried away, playing with setting solutions and the like ... and, yes, one of these days: need to finish that model up!) |
|
|
|
Post by Count Dragula on Dec 25, 2012 8:54:41 GMT -6
Thanks for the pointers on the temporary Tatoos....I used a temporary tatoo on the helmet of my 1:20 scale AMT "Gridiron Grabber" kit.....You can get these temporary tatoos at your favorite NFL teams local gift shop.Here is my "Colts Grabber" with said tatoo (and a Colts Christmas ornament to accompany the build). 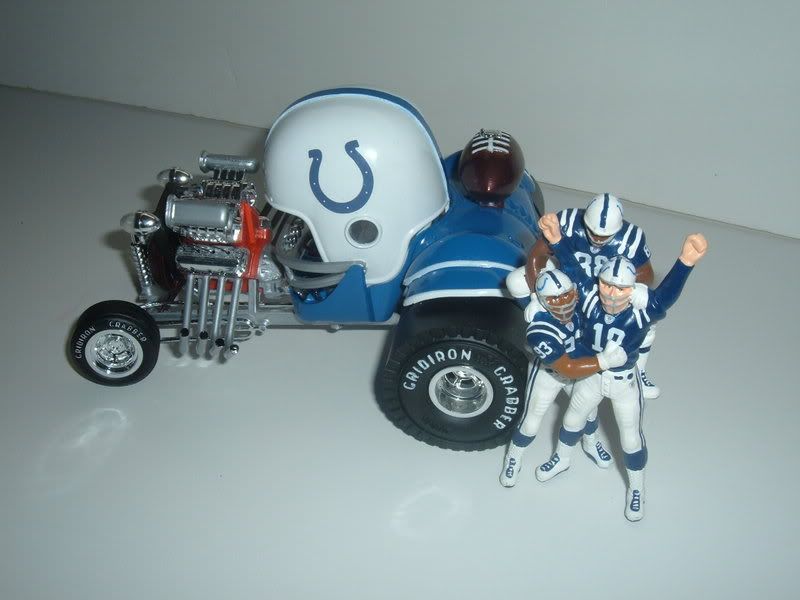 Todd ;D |
|
|
|
Post by rustybill1960 on Dec 30, 2012 15:53:42 GMT -6
 Huh . . . . Hot tip! Gonna have to check that out Thank You for sharing Later Russ 
|
|
|
|
Post by Wardster on Jan 31, 2013 1:25:58 GMT -6
Would it be possible...to attach them to an empty decal-sheet first, seal them with clear, and then apply them just like a normal waterslide-decal? I haven't tried it, but it seems like that should work out fine. It would also give you the option to use a clear background, or a white one ... depending on the type of "blank" decal sheet used. |
|
Deleted
Deleted Member
Posts: 0
|
Post by Deleted on Mar 17, 2016 17:28:14 GMT -6
Would it be possible...to attach them to an empty decal-sheet first, seal them with clear, and then apply them just like a normal waterslide-decal? I haven't tried it, but it seems like that should work out fine. It would also give you the option to use a clear background, or a white one ... depending on the type of "blank" decal sheet used. Seem to me that it would not work being you have to do the transfer of the temp tattoo with water but thats just me let me know if anyone has tried this with any success... |
|
|
|
Post by 41chevy on Mar 18, 2016 9:40:25 GMT -6
THanks for the posts. I'll defiantly be using some on a future project!! Paul
|
|
Deleted
Deleted Member
Posts: 0
|
Post by Deleted on Mar 18, 2016 14:32:20 GMT -6
Another thing not to over look is magazine images or any other image on paper, I did this on my aztec warrior model its an image out of a magazine and I have done this on several models, you cut the image to shape, using elmers glue coat the back of the image and then glue to the surface of the model it will require that you work the paper smooth till the image is flat to the part, once dry what I do is clear coat it then wet sand it with 1200 sandpaper then clear coat repeat until you do not see an edge around the image. May take up to a half dozen times or even more. 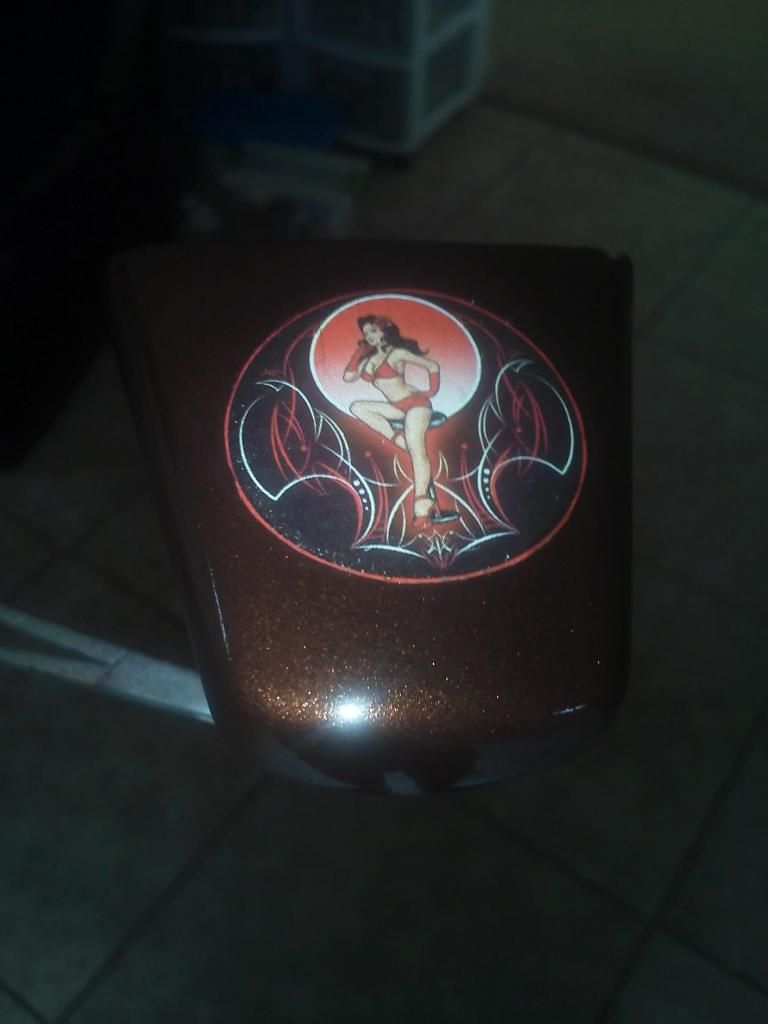 |
|


 Thanks for posting!!! ;D


 ;D
;D 


 ;D
;D 


