Post by scotttansley on Oct 2, 2011 6:16:46 GMT -6
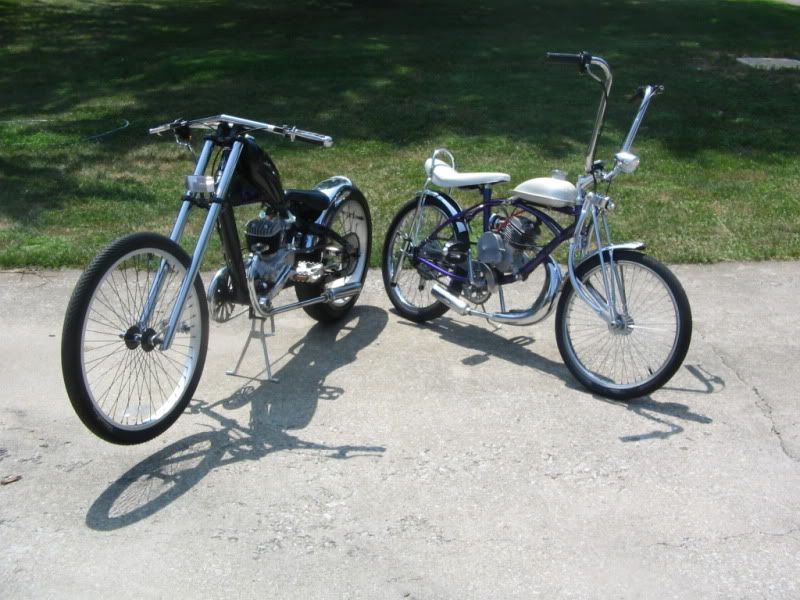
My older brother drag races this bike.
The mascot on the lower right of the cowl is what Im going to make several sculpted trophies off. I also will sculpt the tank with Spooky team name as a base.

The artwork was by BeeJayDeL.

Metal armature glued to chunk of wood. I'll be pushing and pulling on this a lot so a good metal rod into wood will help. I wrap some copper wire and start forming the shape. Tack the wire with epoxy.

Wrap some aluminum foil and some aluminium mesh and wrap some wire and tack again.

Start mushing on some super sculpey. Pretty rough at this stage.

I made the teeth and eye balls and baked them hard so I could push them into the unbaked sculpey. Its heaps easier to sculped around an eyeball thats hard.

Head sculpt done. The teeth are numbered in case they fell out during baking.

Setting up to make a mold.

Armature for the tank.

Sculpted tank

Making mold for tank

First pour and paint test


Tanks painted yellow. Masked and metalic red added.
I'll make three at a time.

Artwork done and decals printed. Using Testors decal paper.

Problem with bubble jet printers is there is no white ink. They rely on the white of the paper for this. So I did a test print on glossy paper with this color scale and so now I can sample the exact color in photoshop to use as a backround color for the spooky decal.

I wrapped this plastic around the tank and traced the line between the red and yellow.

Scaned that into photoshop to make these pinstriping decals

Decals applied.

Lots of clear coats and polish.

3 done.


I hope that this encourages some of you to try some super sculpey.
I've seen some of you use sculpey with great results. The main tool I used to sculpt this was my left thumb. Just pushing the clay around with my thumbs mostly. Then using some basic sculpting tools for the details. You don't have to make resin copies like I did here you can paint the cured sculpey no problems.
The mascot on the lower right of the cowl is what Im going to make several sculpted trophies off. I also will sculpt the tank with Spooky team name as a base.
The artwork was by BeeJayDeL.

Metal armature glued to chunk of wood. I'll be pushing and pulling on this a lot so a good metal rod into wood will help. I wrap some copper wire and start forming the shape. Tack the wire with epoxy.

Wrap some aluminum foil and some aluminium mesh and wrap some wire and tack again.

Start mushing on some super sculpey. Pretty rough at this stage.

I made the teeth and eye balls and baked them hard so I could push them into the unbaked sculpey. Its heaps easier to sculped around an eyeball thats hard.

Head sculpt done. The teeth are numbered in case they fell out during baking.

Setting up to make a mold.

Armature for the tank.

Sculpted tank

Making mold for tank

First pour and paint test


Tanks painted yellow. Masked and metalic red added.
I'll make three at a time.

Artwork done and decals printed. Using Testors decal paper.

Problem with bubble jet printers is there is no white ink. They rely on the white of the paper for this. So I did a test print on glossy paper with this color scale and so now I can sample the exact color in photoshop to use as a backround color for the spooky decal.

I wrapped this plastic around the tank and traced the line between the red and yellow.

Scaned that into photoshop to make these pinstriping decals

Decals applied.

Lots of clear coats and polish.

3 done.


I hope that this encourages some of you to try some super sculpey.
I've seen some of you use sculpey with great results. The main tool I used to sculpt this was my left thumb. Just pushing the clay around with my thumbs mostly. Then using some basic sculpting tools for the details. You don't have to make resin copies like I did here you can paint the cured sculpey no problems.


