Adding some text to today's previously-uploaded pics..
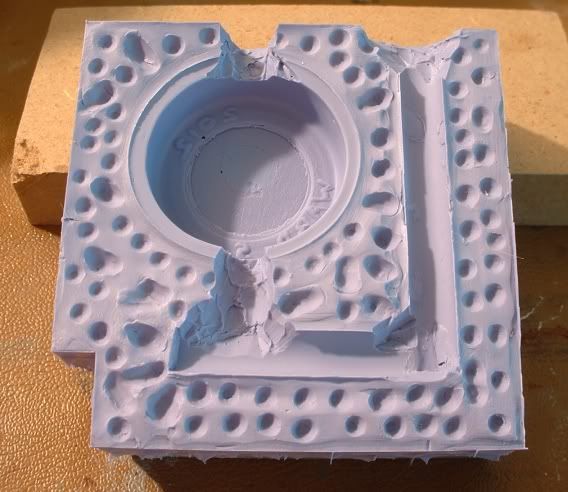
Above and below: shots of the mold halves, before use. If you compare them to the earlier "clayed up" shots of the master part, you'll get a better idea of what I was attempting to accomplish.
You'll notice that certain areas look rougher than before -- parts of the sprue channels, for instance, and surrounding areas. The reason for that was that it was just easier to carefully cut some of the mold rubber, to make minor adjustments -- or it felt like it would be faster, anyway. That results in a rougher surface; and in a high-production mold, might end up causing problems with premature tearing off of little pieces; but this was essentially a limited-production, "see how well this prototype part works" mold ... so, I cheated things a bit, and did some knife touch-ups.
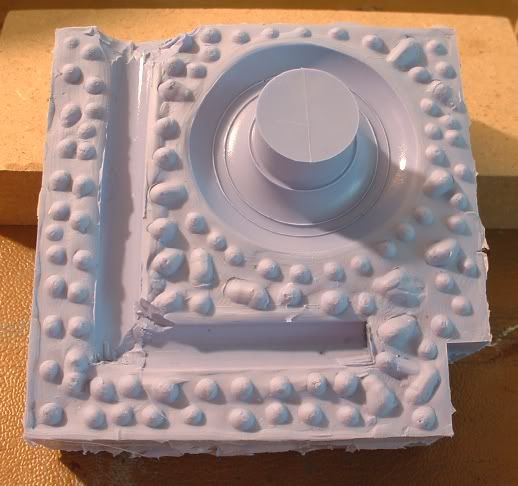
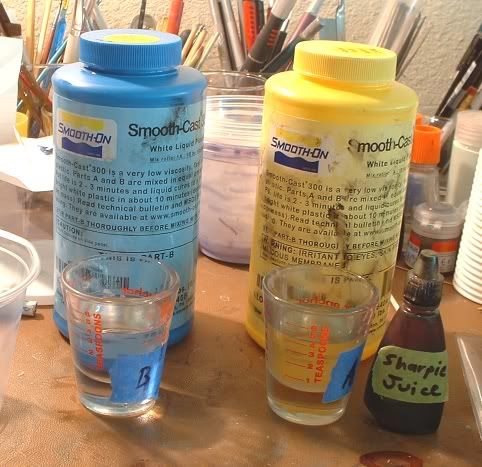
Photo above: a shot of the resin I'm using -- it's called Smooth Cast 300, by Smooth-On -- which comes in two parts. It's easy to measure out, since it's by volume instead of weight; and it's the same amount of both Part A and Part B. Just pour half of the total amount you figure you'll need, into one shot glass (or other type of marked measuring device) and the same amount into a second shot glass / measuring device... and for the moment, don't try to mix the two together. (There's an empty disposable plastic cup, off to the left, in this shot ... but we'll come back to that.)
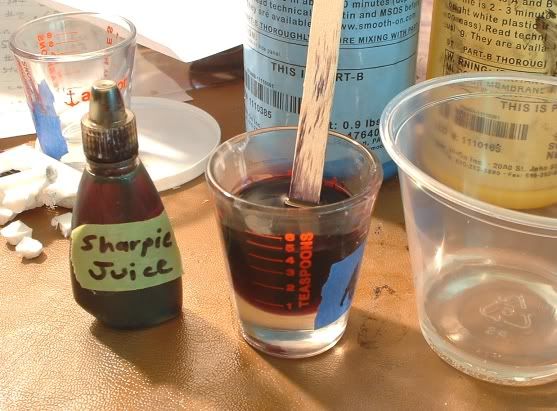
Above: The resin I'm using hardens into a bright white color. My personal preference is closer to a nuetral grey color ... so, I'm using some "Sharpie Juice" -- (which is literally just the "juice" that comes in a Sharpie marking pen; which I've extracted and put into a bottle; adding some lacquer thinner, to stretch it out, since it's highly concentrated, and you'll only get drops out!) -- as a dye or colorant or whatever. The end game being to have the resin itself, which hardens as a bright white, be more nuetral and subdued and gray in color. A few drops of thinned Sharpie Juice, added to one of the two parts, and stirred, is all that's needed. If memory serves, this was only two drops of Sharpie Juice ... and keep in mind, the juice I've bottled is more lacquer thinner than actual Sharpie Juice. (Like I said: it's highly concentrated stuff!)
Not shown, but about to happen: the plastic cup looks empty, but it has actually already had the other part's liquid poured into it. Once I've mixed the Sharpie Juice into the other part, and stirred it well, I pour the dyed stuff in with the undyed stuff, and stir both of them up well. Don't go crazy doing it forever, 'cause this stuff starts to set up within minutes ... but do stir it fairly well, after you have mixed equal amounts of Part A with Part B.
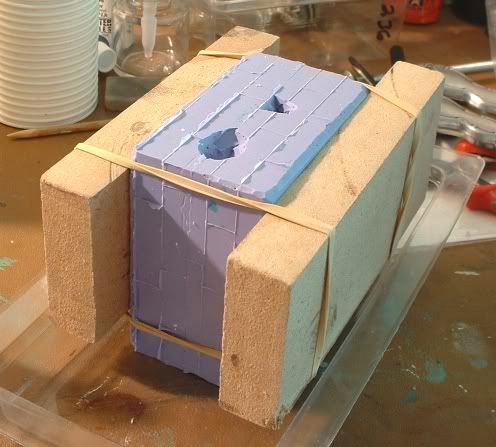
The photo above shows the mold, in a ready-for-pouring state. Note the wooden "strongbacks" and the rubber bands, to hold it all together. I had a shallow (chocolate) container sitting around, to set the assembled mold in, just in case I accidentally spilled something; but if you've made a two-part mold as described above, and you use a system like I've shown to hold it together, it shouldn't leak.
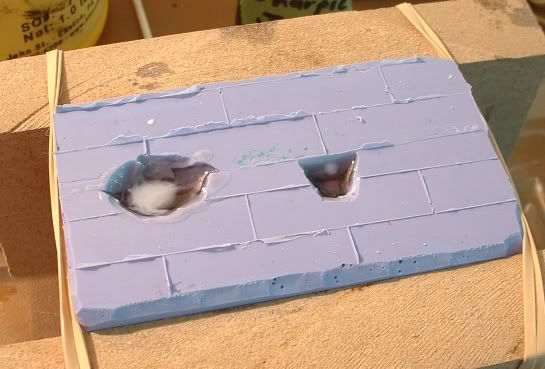
Photo above: the mixed resin has been poured. A few minutes later, the "looks black right now" unhardened, still-liquid resin is beginning to show some signs that portions of it are hardening.
Not shown, but fairly important: to pour the mixed resin, and to avoid trapping air bubbles as much as possible, use something like a craft (popsicle) stick as a guide. You want the "waterfall" of mixed resin to turn into a small, thin, steady stream. Let it ooze out of the cup; onto the craft stick; down the craft stick; and at the bottom of the stick, a small easily-controlled stream or flow will result: letting the resin go into the mold, in a controlled way.
Another tip is that I intentionally poured the thin stream of resin onto the "V" shaped opening I had cut, in the upper part of the sprue channel. That allowed the resin to ooze in, and upped the odds of the resin pushing entrapped air up and out. Pouring it down the center of the sprue channel might have trapped air.
Again, you have to work pretty quickly with this stuff ... but after a time or two of trying it out, you should have the timing down. It isn't so bad of a "pot life" that it's un-usable, by any means ... but it helps to be sure your mold is ready to use, etc., etc., before you do the final mixing of Part A and Part B!
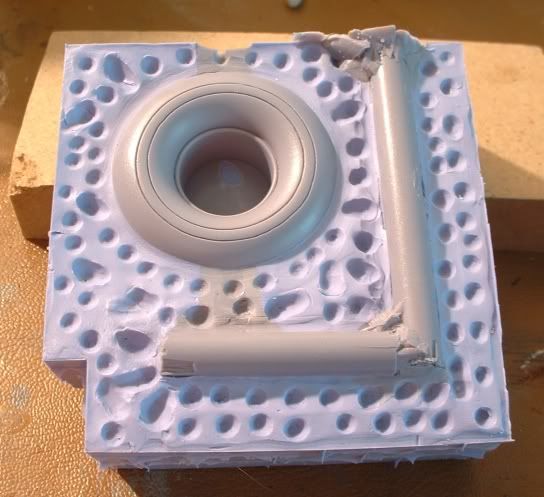
Photo above: one of the cast resin parts, after it hardened up enough for me to open the mold, and to "de-mold" the part. (I haven't done that, yet, obviously - for the picture's sake.)
It just flexes right out of the mold, after about 15 minutes or so of waiting. As you can see, it has few if any evident air bubbles. This is mostly the pouring technique at work, along with the idea of having the resin enter the mold from below; through sprue channels that allow air that might otherwise be trapped in the mold, to be "pushed up and out" by the resin, as it oozes into the mold's sprue channels; and eventually fills the main mold cavity.
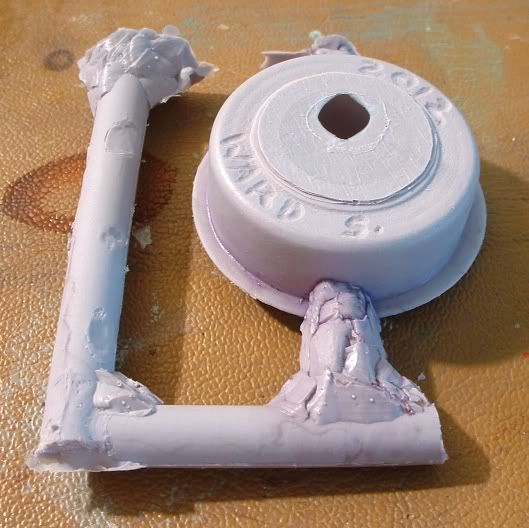
The part, after de-molding but before cutting the sprue off.
One thing I've done here, which is fairly subtle unless you're expecting it / looking for it, is that I took some lacquer thinner with a few drops of Sharpie Juice mixed into it, (which I keep in a spare Tenax 7-R or Alclad type of glass bottle), and I brushed on a small amount of that "wash" in areas where I might have to use a grinder or whatever, later, to do any required clean-up. If you look closely at the sprue where it joins the tire insert, I've used that wash there. Compare that to the undyed "L" area, to get an idea of how much easier it makes it, for visual purposes.
Between the cast resin itself being dyed, so that the part comes out in a fairly nuetral grey color when it hardens, and the wash being used later, over certain selected areas, I find that I can see what I'm looking at, a lot easier - making the sprue removal / clean-up process a less stressful, more worry-free time.
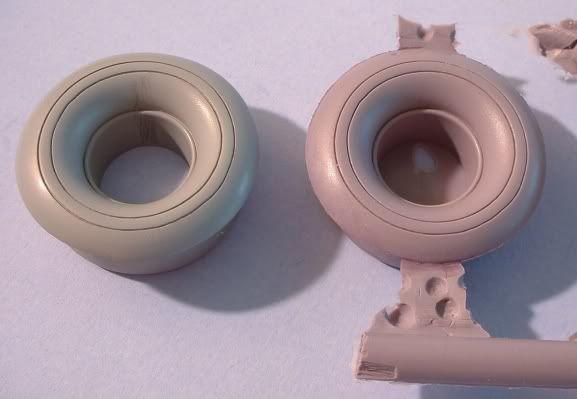
Photo above: the original master, compared to a resin casting.
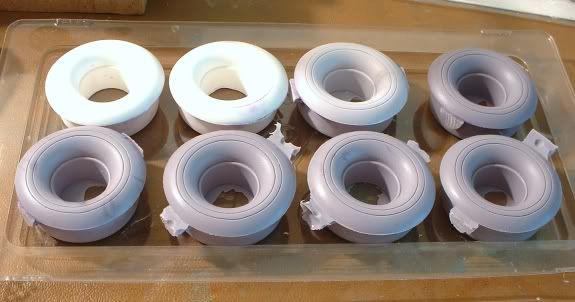
Above: bunches of the little suckers! (Nearly at Ira's place, by now ... so, hopefully they'll be used on one of his next 'toons!)

