|
|
Post by atenzapower on Feb 20, 2013 10:42:55 GMT -6
Great man,
Well made in Holland.
|
|
|
|
Post by koffinbuilder64 on Feb 20, 2013 19:48:46 GMT -6
Lookin' good!!
|
|
|
|
Post by rustybill1960 on Feb 24, 2013 9:06:53 GMT -6
;D SUPER AWESOME detailing "G" Man!! Your suspension work is killing me! I am really diggin' the work on the weber carbs too!!! I love it all!!! Thank You for sharing Later Russ  |
|
|
|
Post by mind9 on Feb 25, 2013 11:05:03 GMT -6
Thanks guys for the nice response, Ok did some work on the front axel. I first wanted to make the axel from styreen rod, but than i found an old axel in my sparebox (safe's me some work  ). 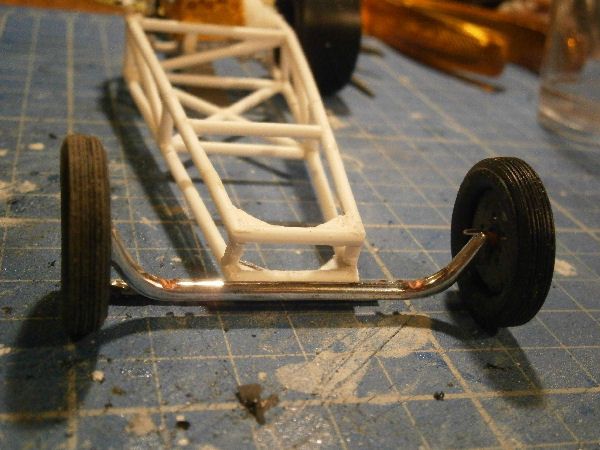 Well here it is , this is a dryfit just to look if the size is right. Than i had to make the brackets (i think you call them brackets) i made them from 0,5 mm styreen. 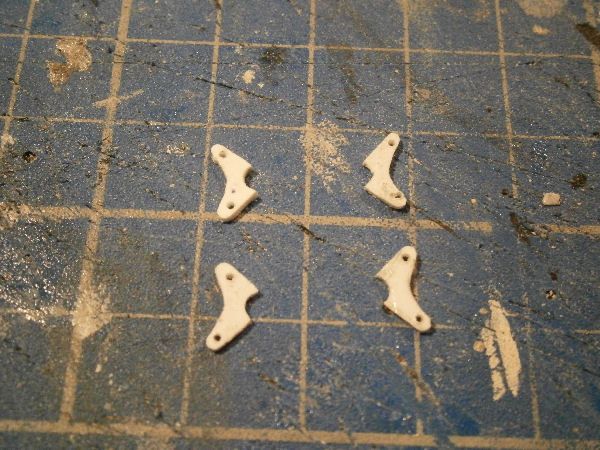 Was tough to get them the same. 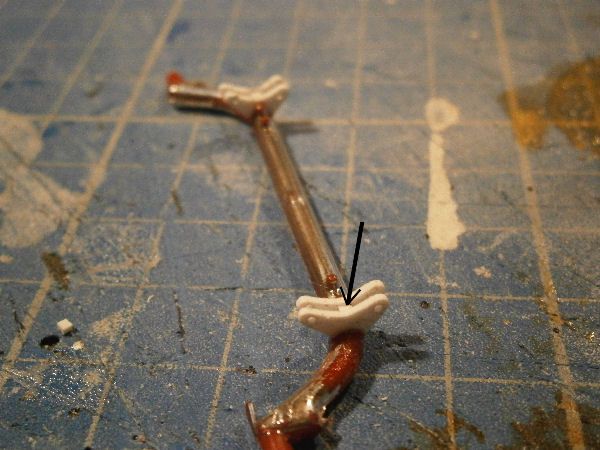 Here i fit them to the axel, i put a small piece of styreen (see the black arrow) between it to keep the distance for the rod ends. Fit the rod ends, i put some bolts and nuts i like to put a detail to this rod so it will look right. 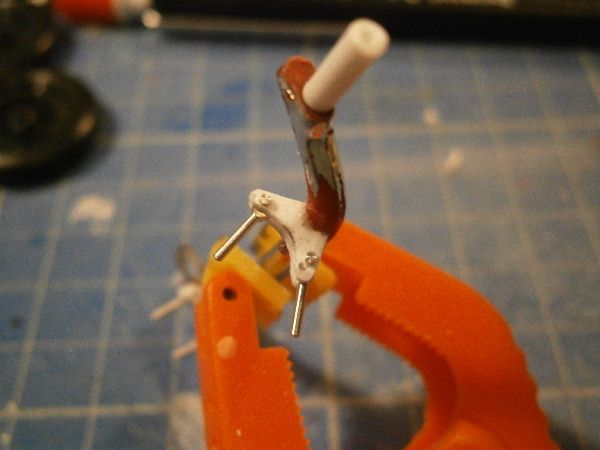 Place the rod's. 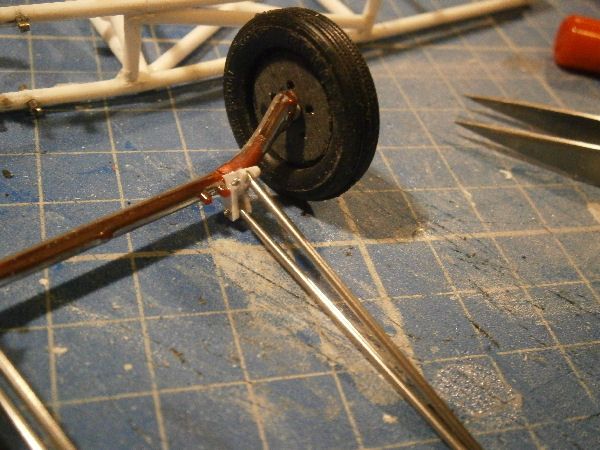 All this parts are metal or aluminum. 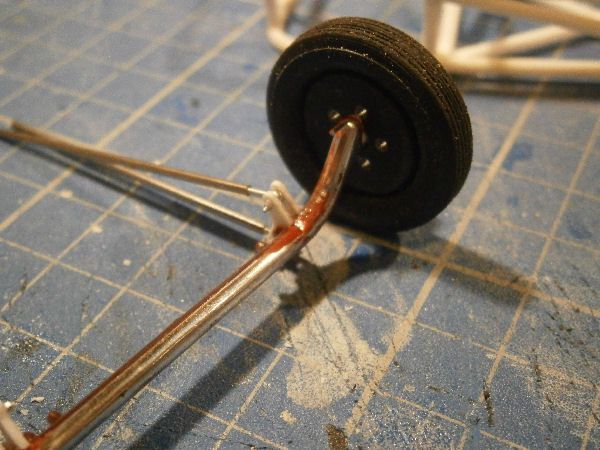 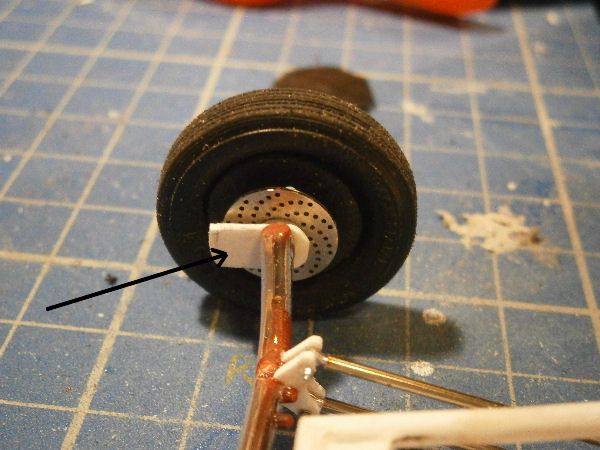 Also place the front brake's (the arrow shows the place where the brake caliper will be fit)still have to masure where it will be placed, so i kept the plate long. Here a little dryfit (i can't fit it jet waiting for some parts) . 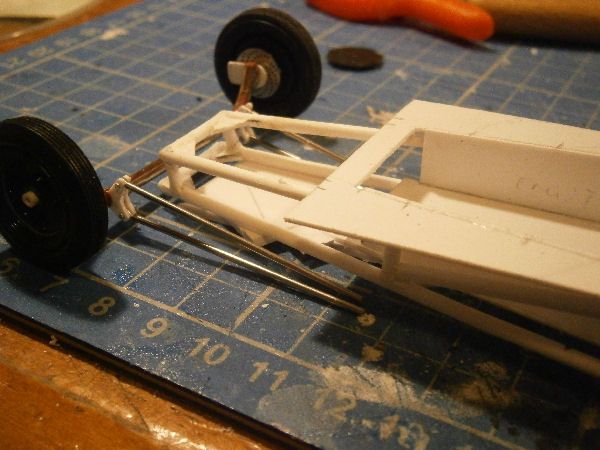 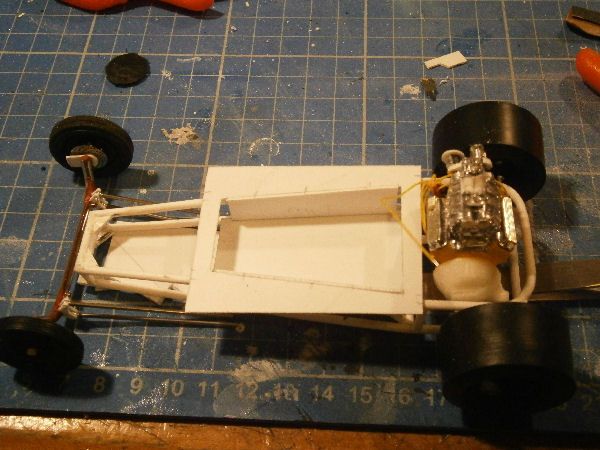 From top also did some work on the interior. 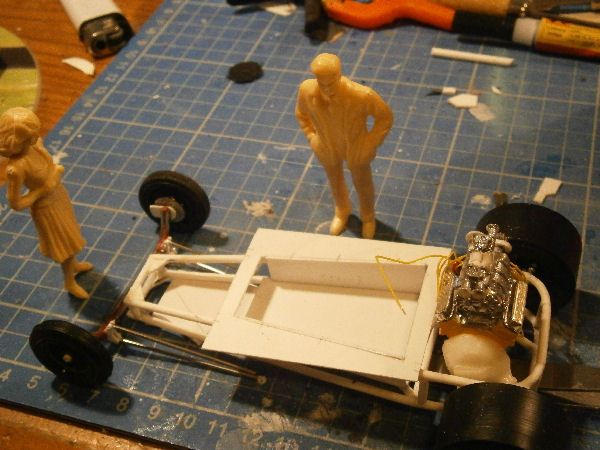 And here are the customers to look how the work is done     . See you guys next time. Gr Dirk |
|
|
|
Post by mykturk on Feb 25, 2013 14:50:03 GMT -6
Coming together quite nicely!
|
|
|
|
Post by mind9 on Mar 6, 2013 14:29:15 GMT -6
Hi, Well the chassis is coming along well, first tell you how i made the brake caliper 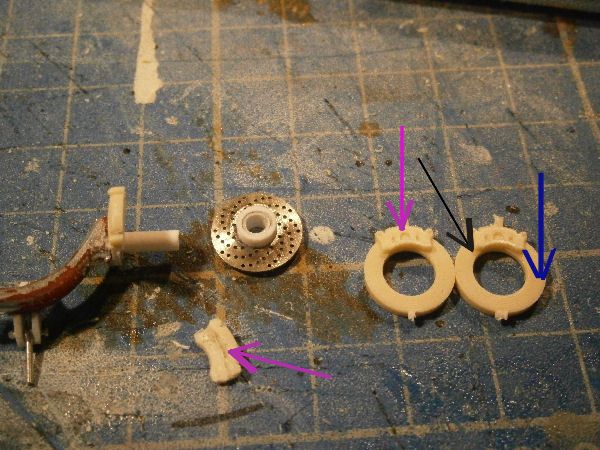 This are brakedisks from an Toyota MR2 model now i only need the calipers (purple arrow). So the disk had to go. (black arrow). 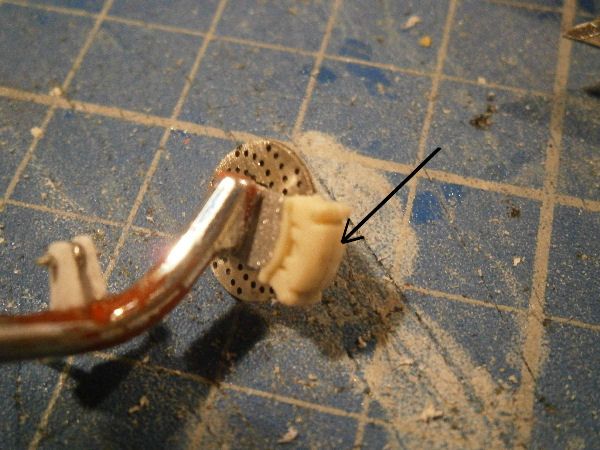 Here i put the two parts together the only thing i had to do was making space for the disk. 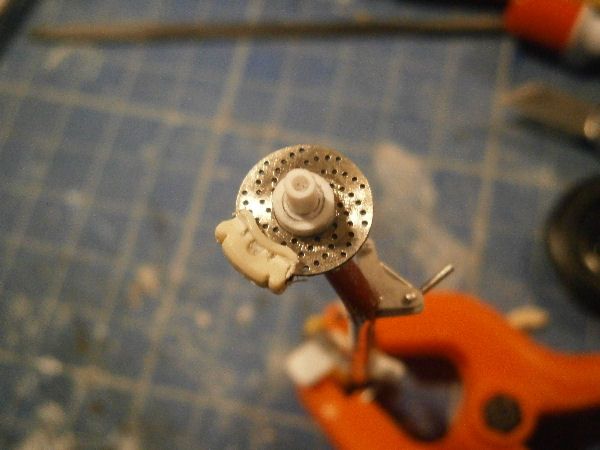 And here the final diskbrake. Also worked on the front four bar link suspension. 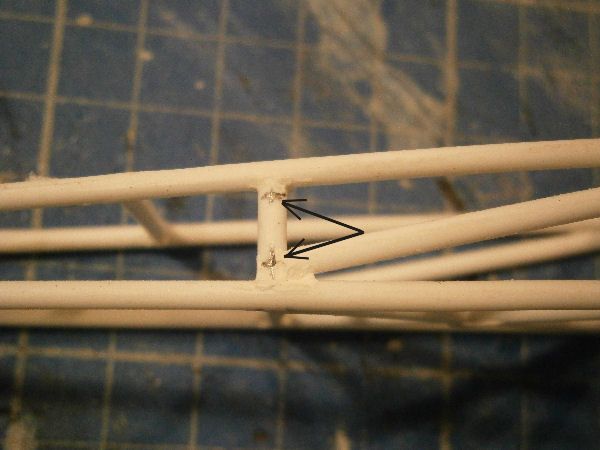 First drill the holes for the rod ends. 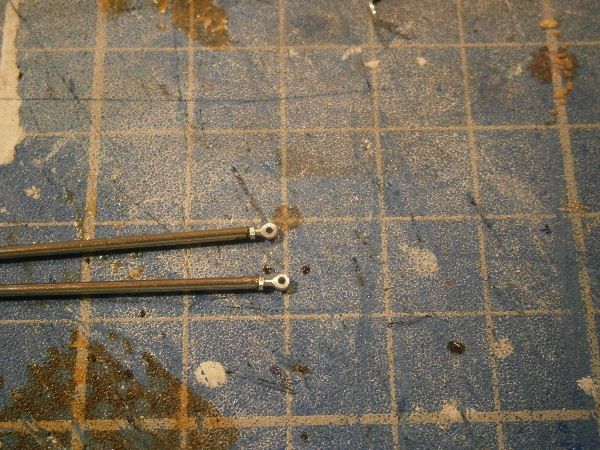 Fit the rod ends to the bars. 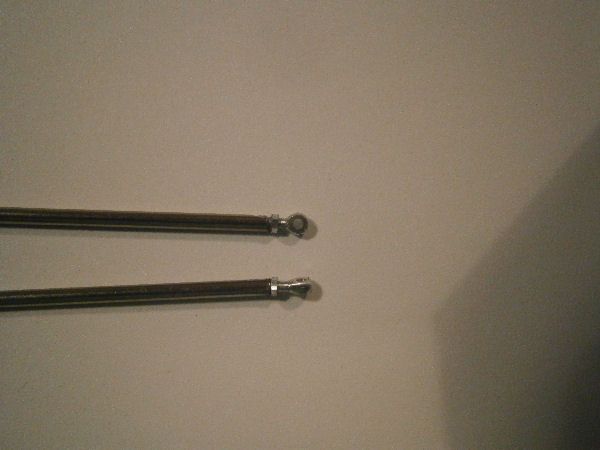 It even have the adjust nuts on it (real small). 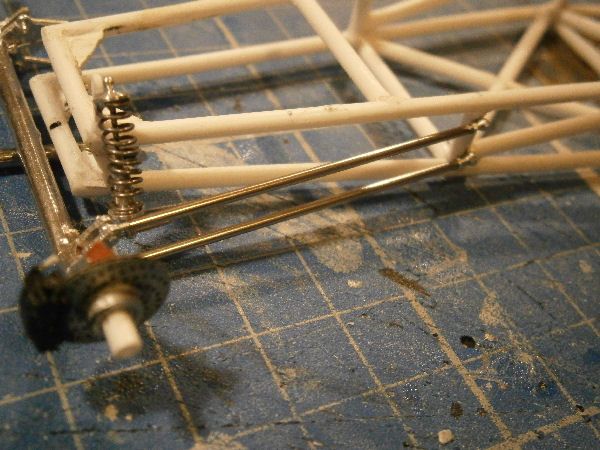 And there you go the first side (dryfit).   Ok now do the other side then i can paint the chassis and fit everything> Gr Dirk |
|
|
|
Post by AL on Mar 7, 2013 0:03:01 GMT -6
Man, I Love it !! . . . can't wait to see more on this . . .
-AL
|
|
|
|
Post by Mysterion on Mar 7, 2013 8:39:17 GMT -6
I've got a tip that might help you get your brackets to match.
Cut the rough shape of all of them, leaving enough material to fine tune the shape. Drill your mounting holes and snugly pin them all together with tight fitting rods, then sand then to shape.
Did you make those rod ends or buy them? They look great.
|
|
|
|
Post by mind9 on Mar 7, 2013 10:37:31 GMT -6
Mysterion,
Thanks for the tip (a great tip man).
he rod ends i bougth from R&B Motion.
gr
Dirk
|
|
|
|
Post by koffinbuilder64 on Mar 7, 2013 10:46:36 GMT -6
lOOKIN' GOOD Dirk!!
|
|
|
|
Post by Dennis M on Mar 8, 2013 13:43:33 GMT -6
Fantastic job.
|
|
|
|
Post by ShowRodFreak Don V. on Mar 8, 2013 16:42:58 GMT -6
Great detail.
|
|
|
|
Post by rocketeer on Mar 10, 2013 11:06:57 GMT -6
Wow, nice work!
|
|
|
|
Post by Starry Eyes on Mar 13, 2013 16:43:27 GMT -6
Dirk !! .. my man!! .. this thing has all the luxuries of home man! .. the frame work and fabrication is AMAZING ! ! .. great vision and execution buddy .. this belongs in the Gallery for sure if it isn't already !!
|
|
|
|
Post by mind9 on Mar 18, 2013 13:52:33 GMT -6
Yess new update, Thanks guy's for the nice respons. The chassis is coming along fit the front suspention and finished the rear suspention. Some photo's 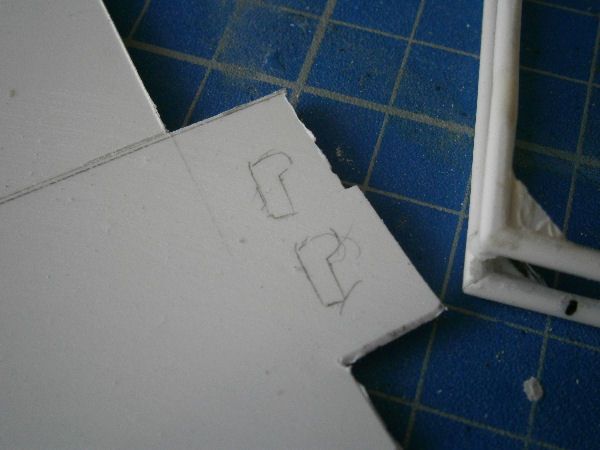 First draw the suspention struts (i think you call them like this  ? ). It's made from 3 pieces off 0,5mm styreen. 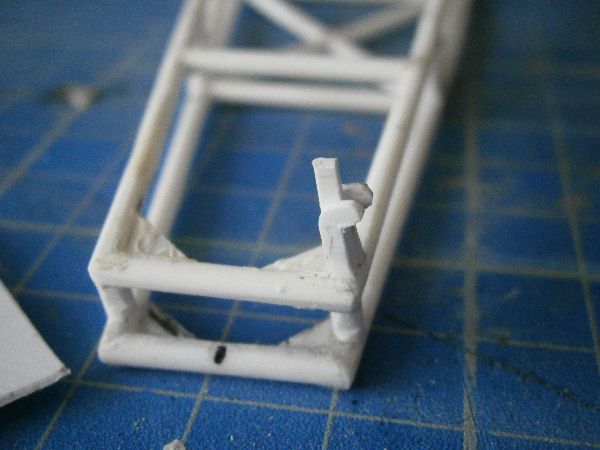 Here it's mounted to the frame, still need to do some work to get it right. 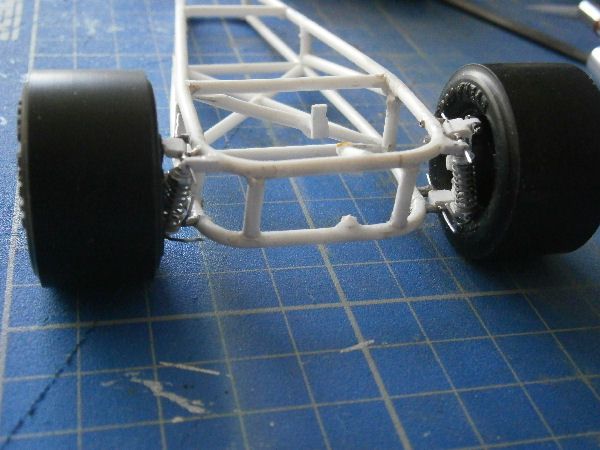 Finished the right rearsuspention to. 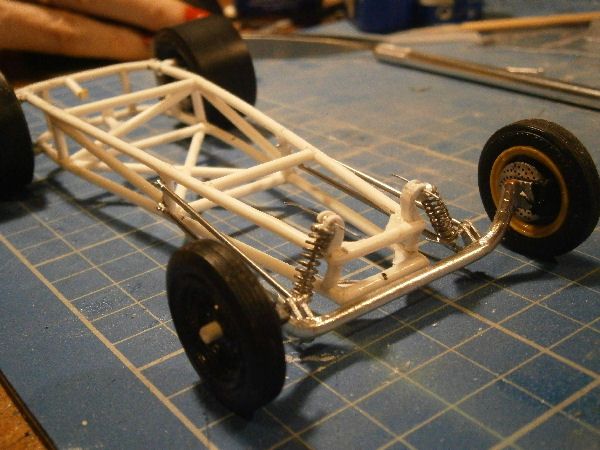 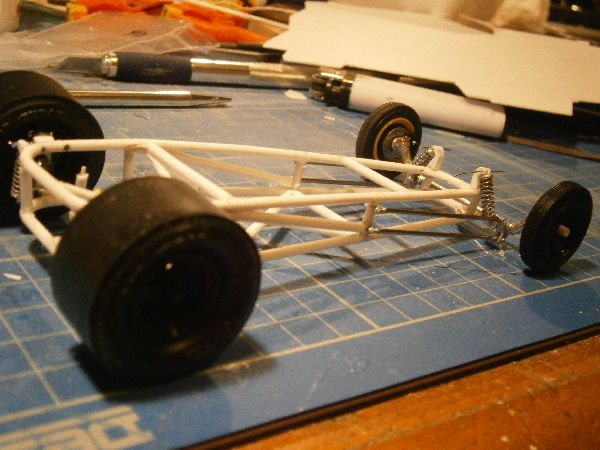 Here i put everything together (dryfit) with staples this will be replaced with nut and bolts. 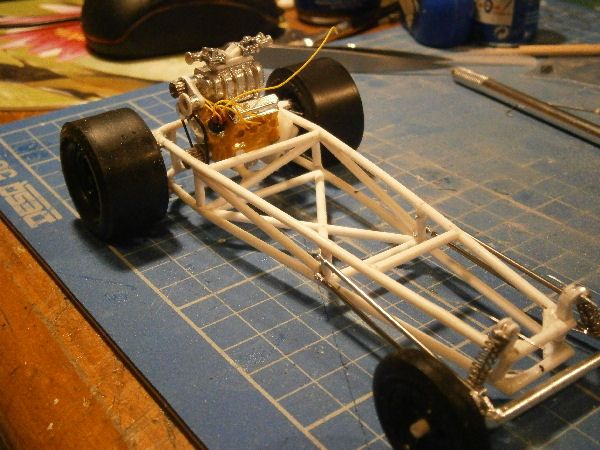 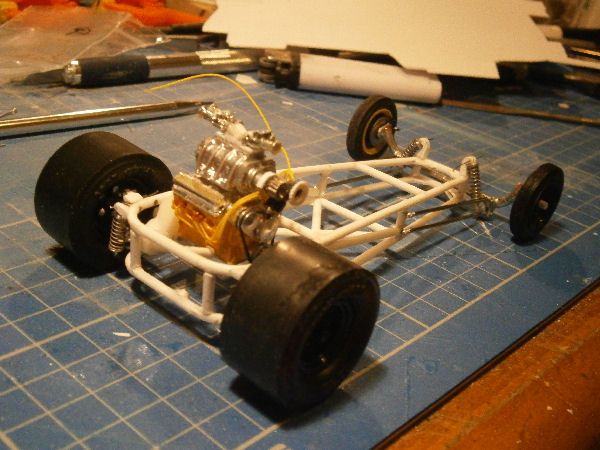 And put the engine to see if the rear wheels align with the axels to the gearbox. Everything fit nicely so now just sand the chassis paint it and then put it together. See you next time |
|
|
|
Post by Starry Eyes on Mar 18, 2013 16:10:35 GMT -6
ok Dirk .. you've doen THIS time buddy .... yep.. well this is so cool I'm gonna sell all my models, paints, and glue .. and take up rock collecting ... lmao .. this is SUPER COOL !!  |
|
|
|
Post by kitbashkid on Mar 19, 2013 4:00:26 GMT -6
CAN'T WAIT!!! ;)Mighty fine work there!!!,,Dirk!! ;D
|
|
|
|
Post by hobbybobby on Mar 20, 2013 11:01:25 GMT -6
|
|
|
|
Post by barten on Mar 21, 2013 6:46:58 GMT -6
Great building there . . . . and if Chuck is selling everything. . . WOW . . .you know you are doing a great job.
(PS, chuck I'll give you $10.00—cash for as many kits fit in my car? ;D )
GB
barten
|
|
|
|
Post by mind9 on Mar 21, 2013 15:42:11 GMT -6
Well i can trade in some rocks  Thanks for all the great reply's Ok start working on the rod for the next update. Gr Dirk |
|
|
|
Post by oldcarrestorer72 on Mar 21, 2013 18:48:36 GMT -6
KOOL!!
|
|
|
|
Post by mind9 on Mar 23, 2013 7:36:24 GMT -6
Update, I finaly sand the chassis and give it a color. 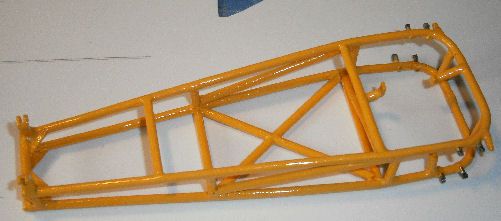 Fit the rear and front suspention. 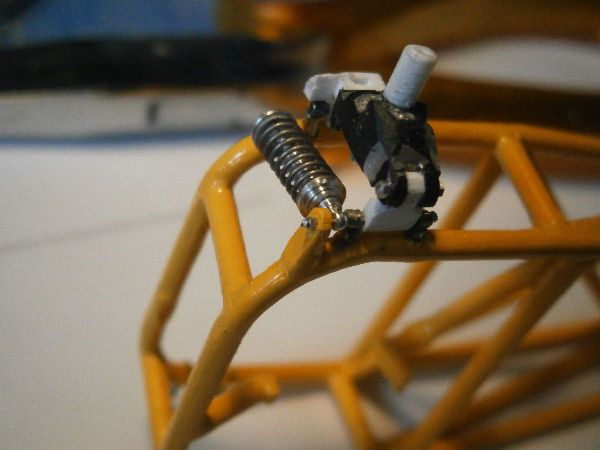 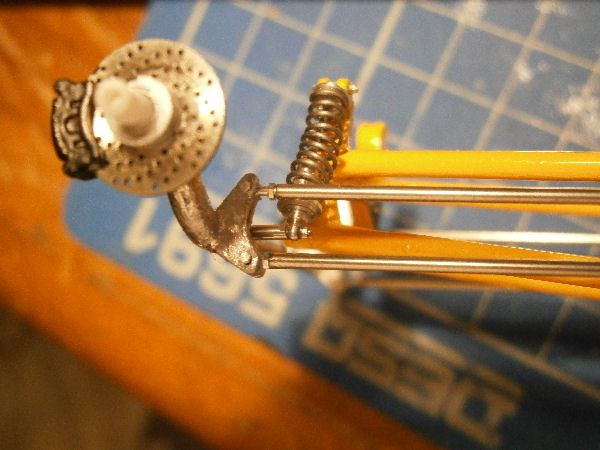 No dryfit now. 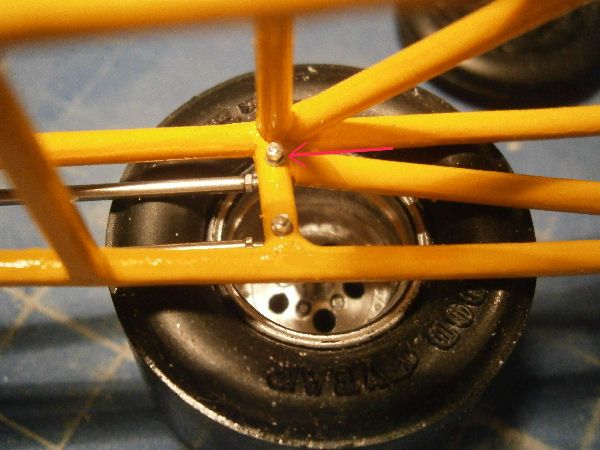 Even put rings behind the nut  Here it is the completed chassis. 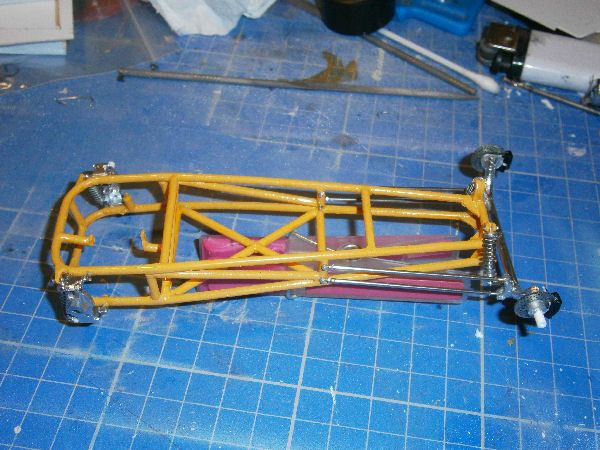 Put the engine in. 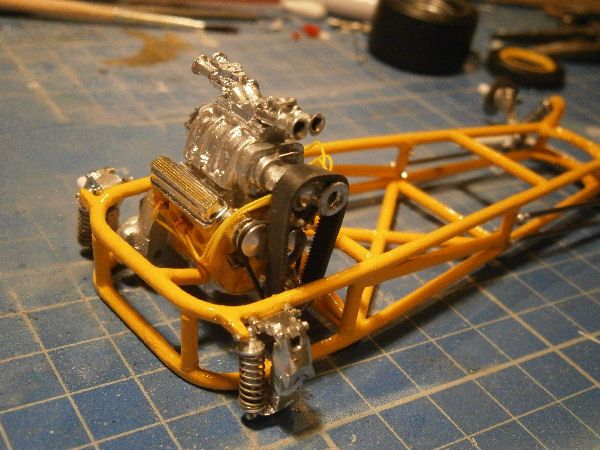 Did some work on the driveshaft (from the sparebox) and the steeringhouse. 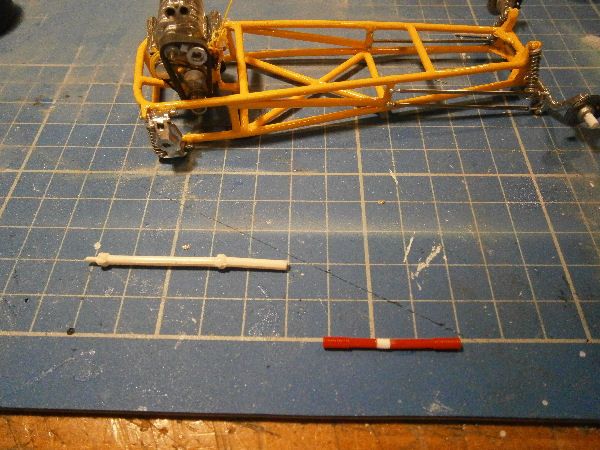 Here i put a piece off styreen rod cos it was to short.  And test fitted the driveshaft. 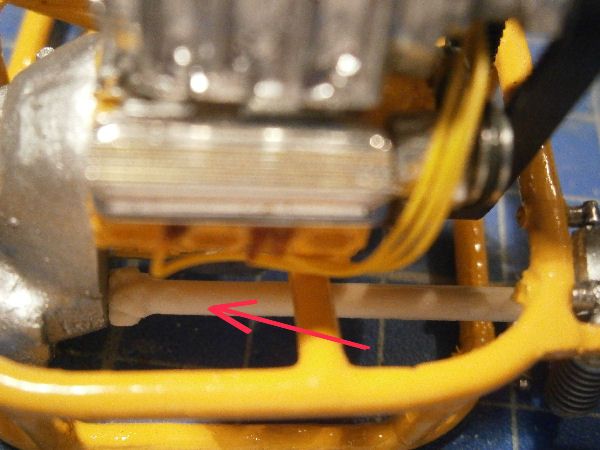 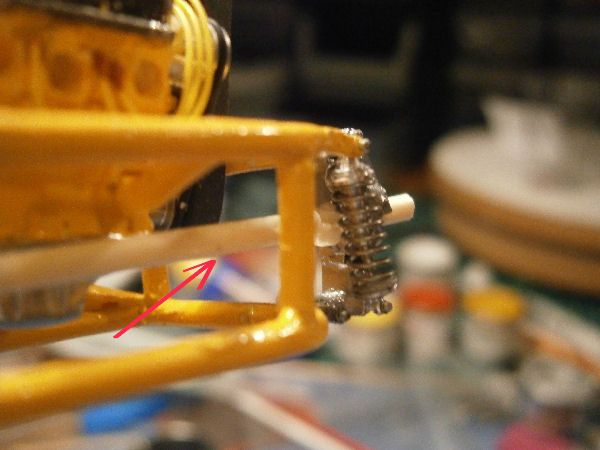 Well that's it, now working on the plumbing and brake system O and finally start with the body YESSS. Gr Dirk |
|
|
|
Post by koffinbuilder64 on Mar 23, 2013 9:11:18 GMT -6
NICE work Dirk!!!!
|
|
|
|
Post by mykturk on Mar 23, 2013 10:38:15 GMT -6
Beauty!
|
|
|
|
Post by barten on Mar 23, 2013 17:12:24 GMT -6
VERY COOL! ! ! ! Can't wait!
Gb
barten
|
|
|
|
Post by mind9 on Mar 24, 2013 17:07:22 GMT -6
Well started with the body (just can't wait). 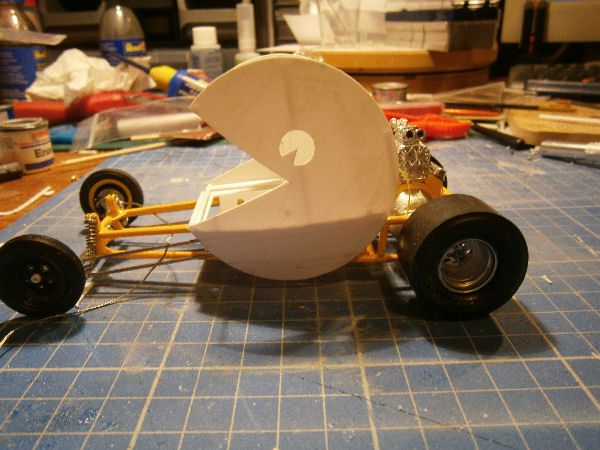 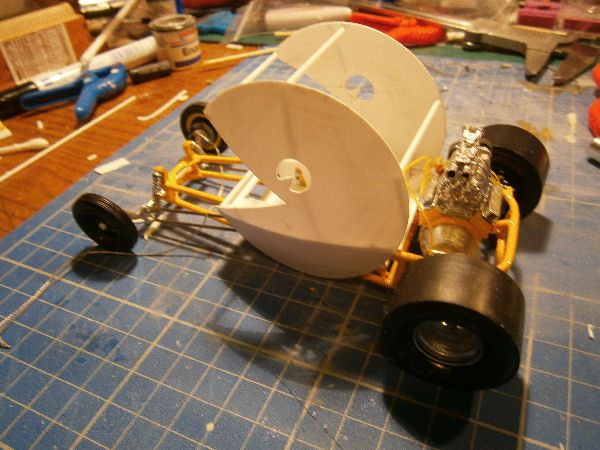 This are the first steps for the body i reinforced it with rods. So it's not a big update but he , this took me about three hours to get it right  . See you next time. O and don't mind the rear right wheel it's a little out of line but they are not fitted jet Gr Dirk |
|
|
|
Post by koffinbuilder64 on Mar 24, 2013 19:58:56 GMT -6
Coming along nicely Dirk!!
|
|
|
|
Post by rustybill1960 on Mar 25, 2013 19:58:41 GMT -6
 Totally awesome work Dirk! Enjoying your work Man! Thank You for sharing Later Russ 
|
|
|
|
Post by customhearse on Mar 26, 2013 14:21:15 GMT -6
Cool!
|
|
|
|
Post by bigredwolf on Mar 26, 2013 15:12:10 GMT -6
Great work! I remember seeing the Pacman rod in Hotrod Showworld magazine long ago. Your workmanship is inspiring! I only wish my old fat fingers could build detail like that!
I look forward to seeing this finished!
|
|

