|
|
Post by minimagneto on Aug 27, 2013 17:10:10 GMT -6
Started this one a while back getting back around to it now. I found the body and most of the parts I need in a lot of old builds. Here's what I've done so far: 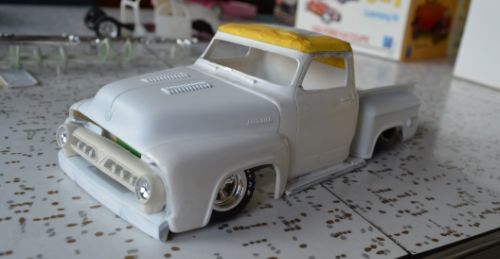 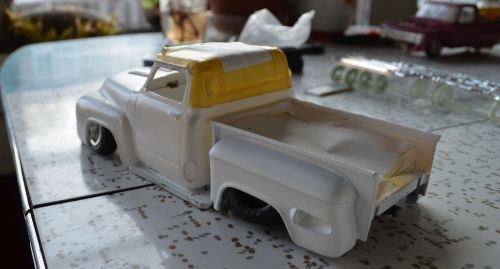 Started out by choppin' the roof 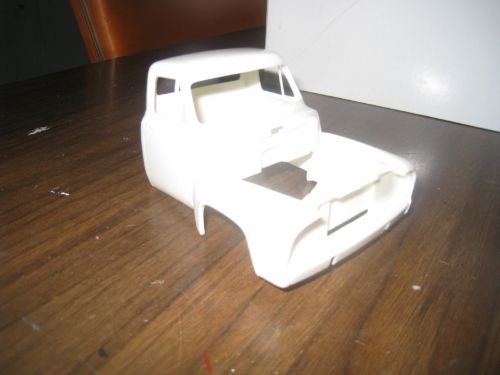 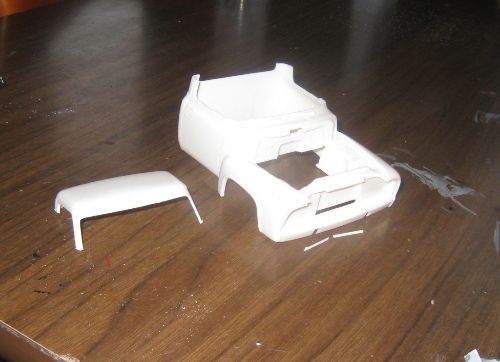 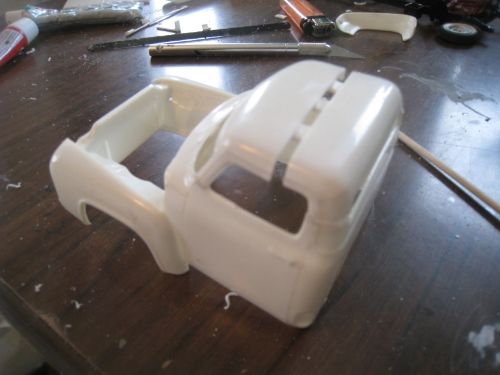 and shortening the box.  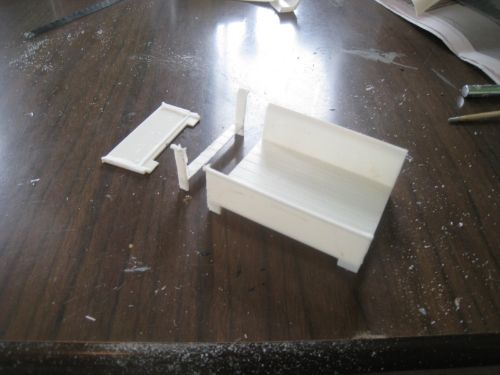 I also lowered the truckbox bed and made it some funky wheel tubs but forgot to photograph it at the time.. I shortened the chassis and removed molded in details such as gas tank and battery box. I had no rear axle, dif or leaf springs so made an axle and modified the leaf springs and racing dif I got off some dragster. I painted it with Tamiya gunmetal spray bomb but the chassis color will likely change. I still don't have a front axle just the leaf springs...I'll have to figure something out  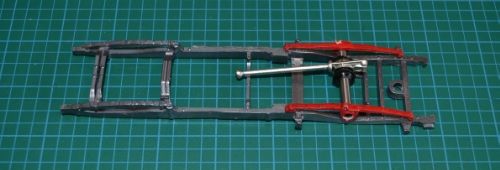 These are the wheels I have for it. They will need some touching up. The rims are painted Testors diamond green, which I intend to be the main body color (2-tone with Tamiya pure white). 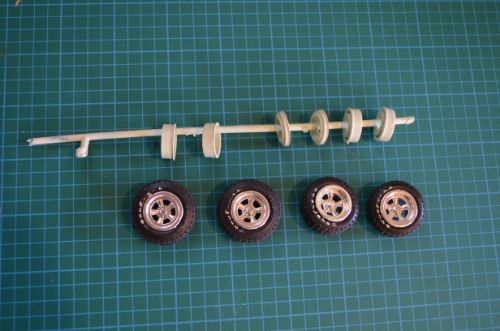 Interior: 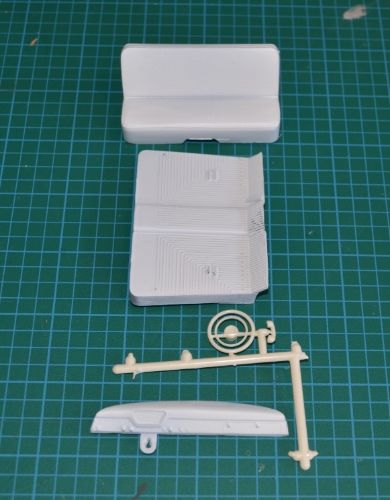 I have the glass (and headlight lenses) thank goodness, the challenge will be to cut it down...I am afraid it will crack...advise? 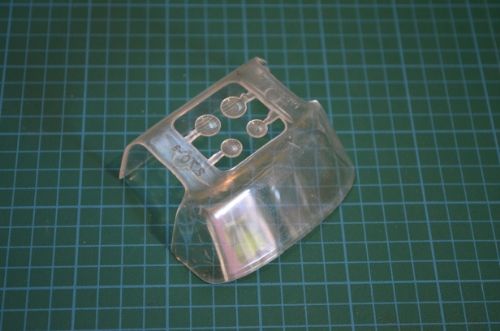 She'll be getting a hemi: 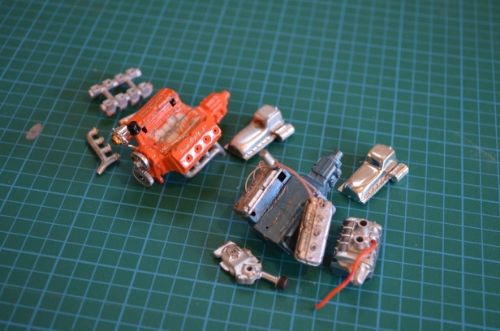 Here are the old instructions just for fun: 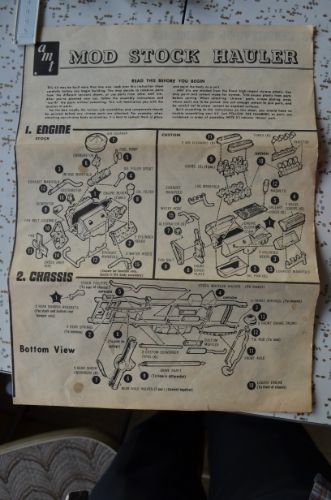 I hope you've enjoy the pics so far, I'll be posting as I go! Feedback and suggestions always welcome, Happy modelling, Blake |
|
|
|
Post by Bert on Aug 28, 2013 8:39:06 GMT -6
Way to go on cutting up the styrene! I like it so far. The old 50s trucks, Fords & Chevys, look great chopped and sittin' on the ground.
|
|
|
|
Post by minimagneto on Aug 28, 2013 10:28:00 GMT -6
Way to go on cutting up the styrene! I like it so far. The old 50s trucks, Fords & Chevys, look great chopped and sittin' on the ground. Thanks Bert. Long ways to go on this one, but I'm lovin' it so far  |
|
|
|
Post by barrisfan66 on Aug 28, 2013 13:48:20 GMT -6
Yeah ! One of my all time favourite kits.The possibilities for these 50'S F100 kits are unlimited.
|
|
|
|
Post by minimagneto on Aug 30, 2013 12:23:17 GMT -6
Yeah ! One of my all time favourite kits.The possibilities for these 50'S F100 kits are unlimited. Thanks barrisfan. I'm lovin' this kit! |
|
|
|
Post by minimagneto on Aug 30, 2013 12:41:47 GMT -6
So I've had the time over the last couple days to accomplish a few tasks on this project. First thing was to remove paint on a lot of parts. This will aid in painting I believe, and also give me a fresh start so to speak. I used Easy Off, a plastic bag and an old toothbrush, a tip I learned here on CC. It worked. The cab floor and running boards on the kit came in one piece. Since I am lowering the body over the chassis so much (7mm) I was required to separate the two. I had glued the running boards to the cab but removed them in order to bring it back to one piece: 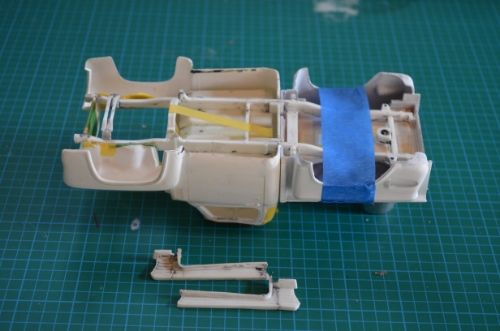 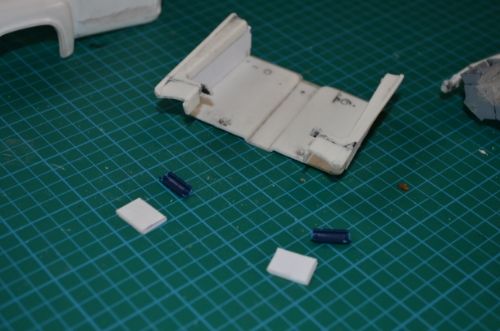 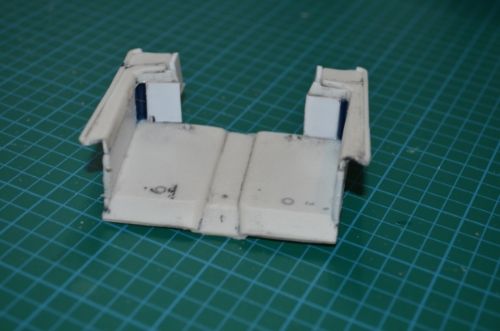 A little putty and sanding and we'll be right as rain (fingers crossed). Also I decided to depict shortened doors. The lines I had scribed earlier on left much to be desired, I've puttied them over and will be trying again: 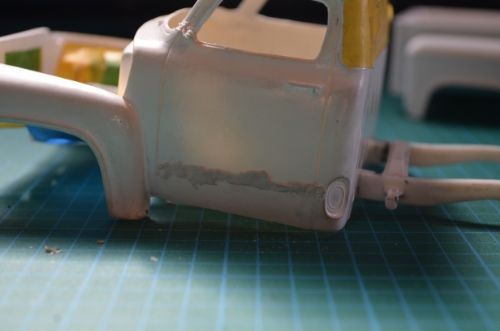 The next thing that is important to me now is to gather ALL the parts I need. I am close but still plundering for a few. I'll not bother listing what I have/don't have but I did take an inventory photo and will share it: 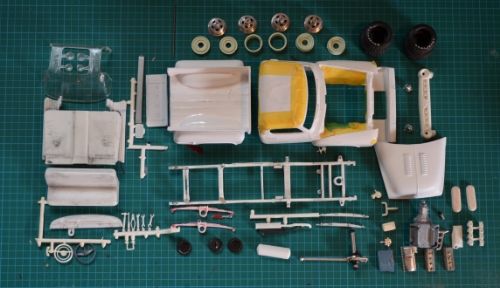 I've done a little tweaking to the stance, making spacers for the truckbox and such. It will still take some filing and fitting but it's getting close to what I want, I reckon. I made a mid-stage mock up. It won't be quite this low because there is no suspension in this mock up. Here it is: 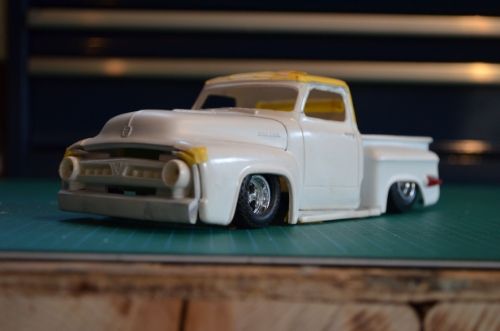 Thanks for looking, more to come  Blake |
|
|
|
Post by minimagneto on Sept 6, 2013 20:23:06 GMT -6
Had a little bench time on this one lately. I got the dropped one piece cab-floor/running-board thing I made done, ready for primer: 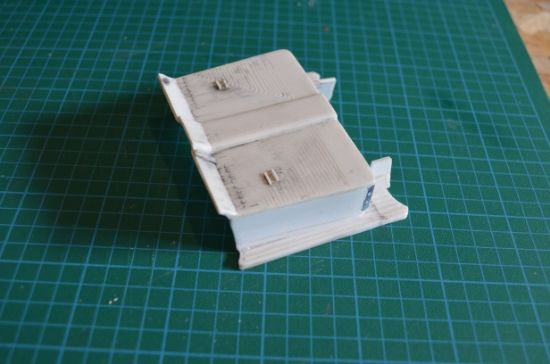 decided to eliminate a few molded details, actually. Namely the firewall details and the Ford F-100 emblems: 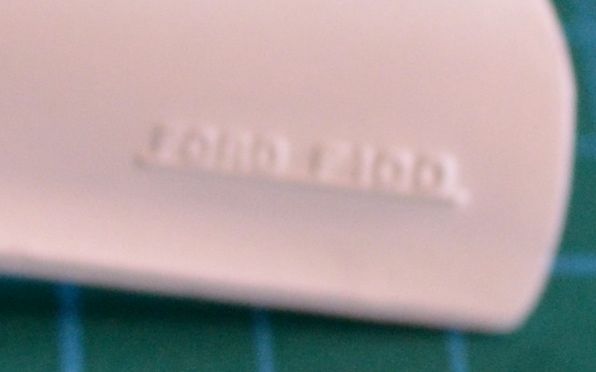 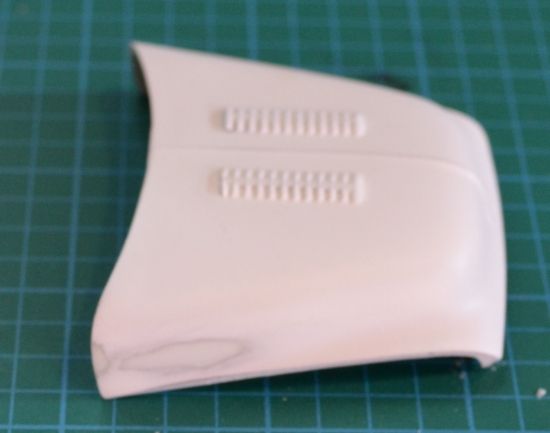 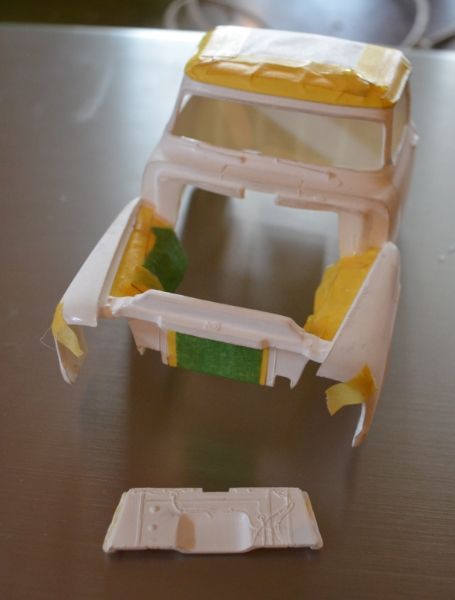 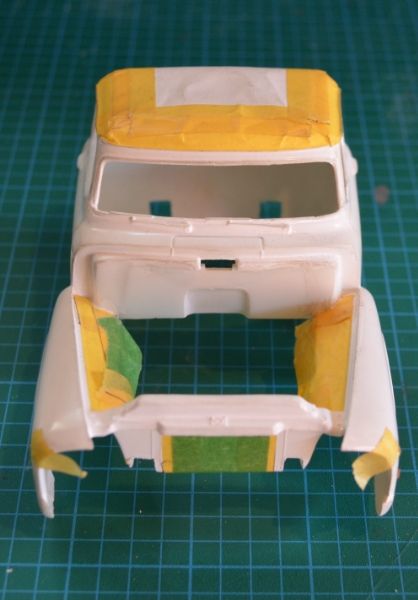 Got the wheels ready. Started by 'inflating' the tires with silicone caulking. Sanded down the treads a bit and picked out the Good Year Rally GT letters with Humbrol paints. Also made valve stems out of little pins and did a thorough job of removing all chrome/paint for glue joints. I'm hopin' she'll sit nice on these treads: 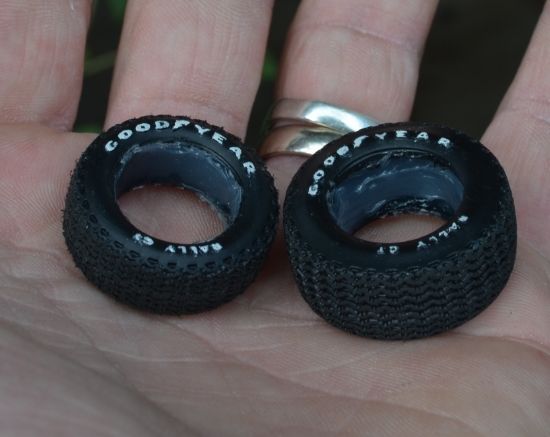  Also had a sit down with the Hemi. If you scroll up and look at the instructions I posted you'll see this far out set up with 8 carburetors on two log manifolds. I have all these parts, actually, but decide to set them aside in favor of a simpler 2-carb set up. In order to do so, I need to scratch up an intake manifold: 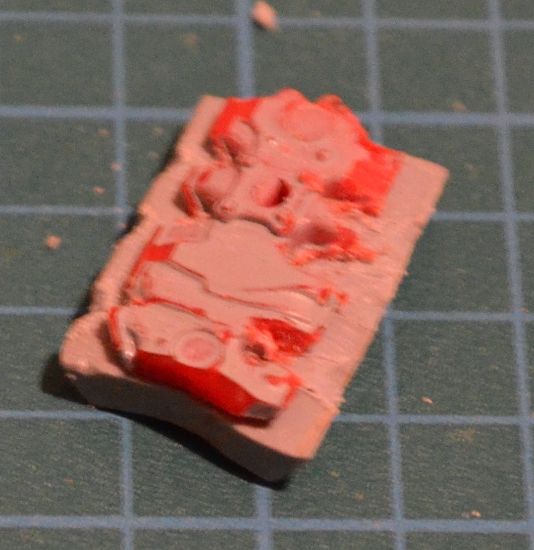 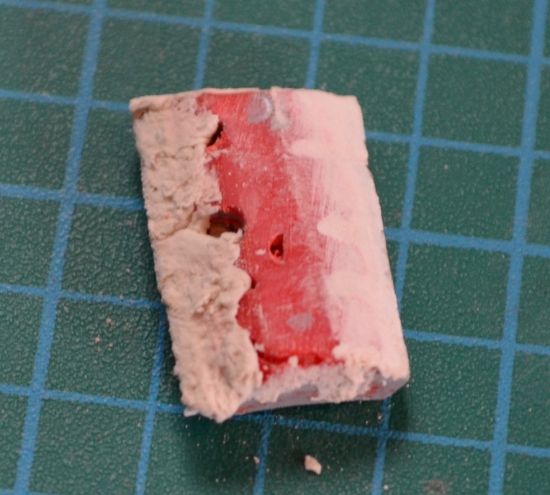 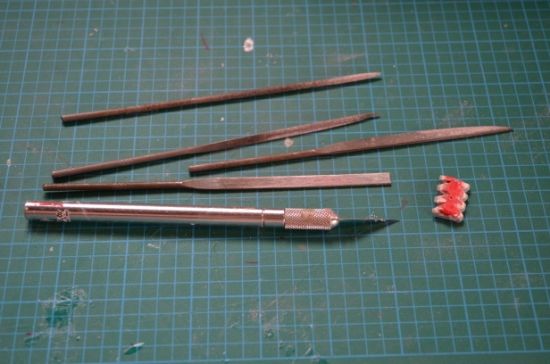 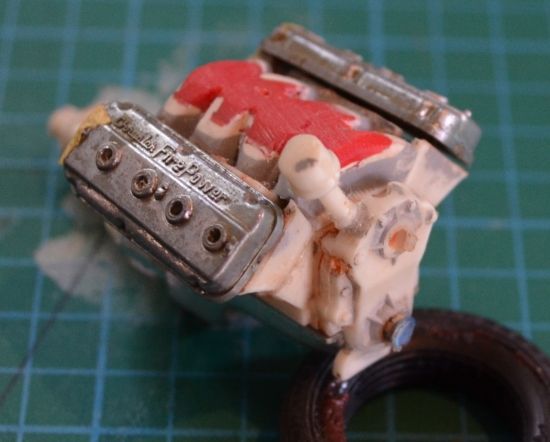 Since this a parts lot/semi-scratch built kind of project, a few donor kits have come in to play. On top is the Revell 67' Corvette, which I've been plundering for some time now on other projects. It will furnish this build with a few small things: radiator, boosted master cylinder, sun visors, and engine bay decals. Who knows, maybe someday the Vette body will find itself in a Coffin Corner inspired kit bash  Next is the Reissued AMT 3-1 Deuce which I've loved so well. It provided us with the Good Years for this project. Great kit. Finally, the Revell Ed Roth '56 Ford f-100 kit provided the solution to my biggest roadblock so far on this build: front axle. This solution had been under my nose the whole time because I didn't want to break up the Roth truck kit as a donor, wanted to keep it for box-stock building. Turns out it comes with TWO axles, stock and custom! Eureka! 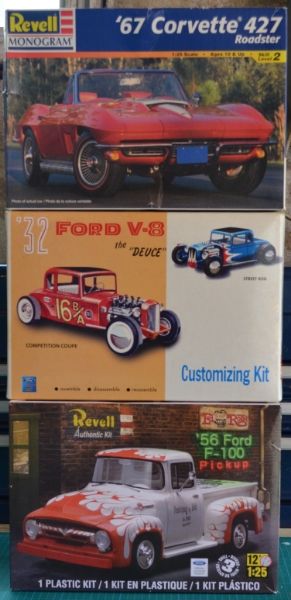 That's it for now, thanks for looking, Blake |
|
|
|
Post by minimagneto on Sept 13, 2013 12:57:41 GMT -6
I get a little more done....ROLLING CHASSIS 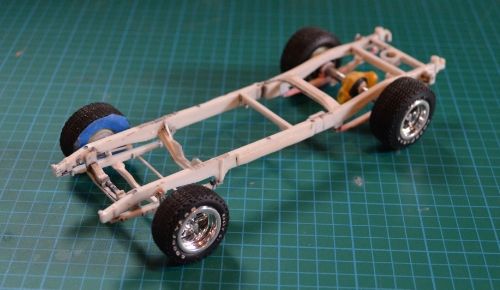 This was a LOT more work than I'd anticipated, with the fitting and the filing and the drilling and so forth. I use sewing needles fairly often to strengthen joints: 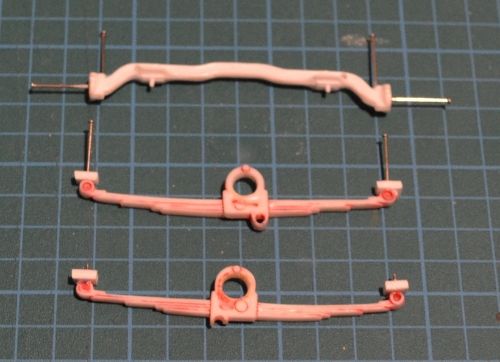 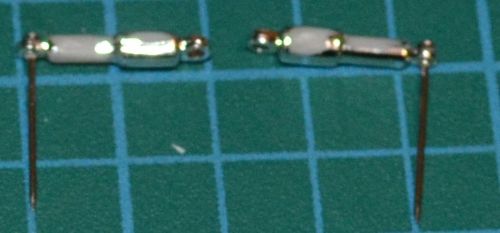 Another mock-up, yes another, on the rolling chassis. Coming along, I suppose! 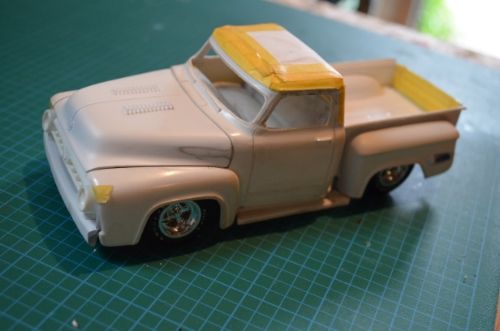 LOT's left to do. This is my most involved build to date...I'm liking the challenge. Right now, the rear of the truck is looking a bit incomplete to me, so I'll be getting to work on that. Suggestions? 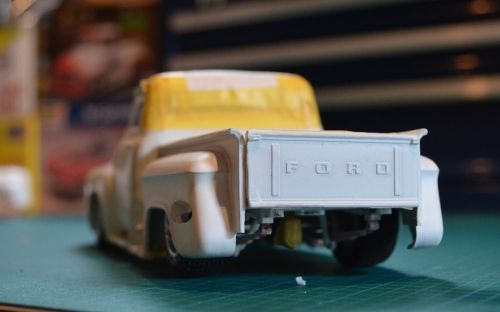 |
|
|
|
Post by minimagneto on Sept 17, 2013 21:15:01 GMT -6
Got down to some very EXHAUSTING work this week, yuk yuk: 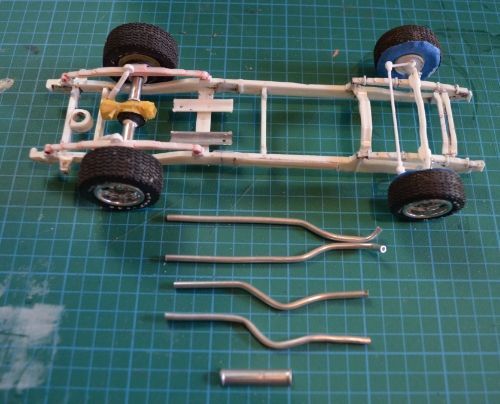 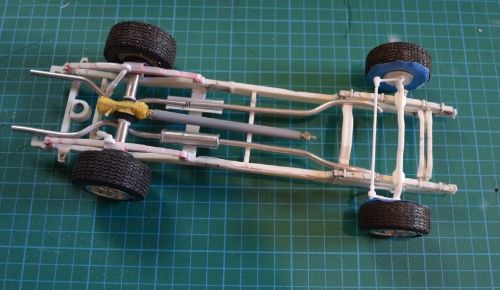 I needed to get this done to move on to finishing the truck-box. I'd been putting it off because I'd never done this before, scratch-building exhaust pipes out of stock aluminum tubing. I asked the guy at the hobby store about a fine scale pipe bender maybe, he told me just fill it with sand and it won't kink. I used sugar instead (cause it tastes better than sand) and it worked! It took me a pretty long time and I wasted a fair bit of pipe but I'm happy with the results. Another first-time effort here at mini-magneto's speed shop  So while I'm posting, here's another mock-up. This time I just used paper to determine how I want the rear end of the truck to look, plus a truck-box cover with graphic that I may hope to add to the project: 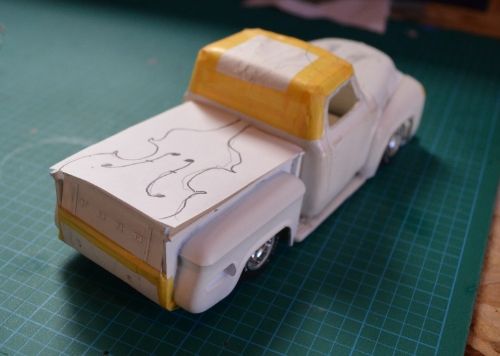 |
|
|
|
Post by DVS on Sept 17, 2013 21:42:25 GMT -6
Looking Good  |
|
|
|
Post by old school modeler on Sept 17, 2013 23:02:38 GMT -6
truck-box cover with graphic that I may hope to add to the project:  So what is the connection to the bass? Another musician in the house perhaps? [/quote] |
|
|
|
Post by minimagneto on Sept 18, 2013 8:46:39 GMT -6
truck-box cover with graphic that I may hope to add to the project:  So what is the connection to the bass? Another musician in the house perhaps? [/quote] Hi Old School...you guessed it! Why, do you play too? Me, I play the double bass. I love old school Country, Rockabilly, Bluegrass, Blues and also Classical music. Well I love all kinds of music, really... So you will see a lot of my builds tend to be somewhat musically inspired. I did the 'Rat Rod Mini-Guitar Amp', and my last build I put together in 'Restoring Vintage Models' was a stock F-100 which featured a bass-fiddle as it's cargo. I'm thinkin' I'd to like put a little of that into this project  Blake |
|
|
|
Post by ira on Sept 18, 2013 12:26:20 GMT -6
Looks Great Blake!Real Nice Stance... 
|
|
|
|
Post by minimagneto on Sept 19, 2013 15:56:03 GMT -6
Looks Great Blake!Real Nice Stance...  Thanks Ira  |
|
|
|
Post by AL on Sept 19, 2013 19:50:10 GMT -6
This is Lookin KooL Blake, ......... i swear though, every time I look at this I think it has Chevrolet rear fenders, ... ?Am I just Trippin ?! ?? !
( nothing wrong with that )  ---I'm thinking I missed something in this thread ........... ---I'm thinking I missed something in this thread ........... 
-AL 
|
|
|
|
Post by minimagneto on Sept 19, 2013 22:37:50 GMT -6
The rear fenders are kit parts....they're the custom option. That's totally what they are tho, fenders off a '56 Chevy! Haha, I didn't realize that, thanks Al |
|
|
|
Post by AL on Sept 19, 2013 23:35:09 GMT -6
-thanks for straightening me out on that Blake, ... strange though, has those Fenders ?? ( doesn't Matter ) ... I Like what you're doing with this, ---NOT afraid to Chop, and Hack! ( Good Job! ) -also the mix of parts and the Chrysler Plant. Nice Work so-Far.
Look forward to see more on this ! ........................ 
-AL 
|
|
|
|
Post by minimagneto on Sept 20, 2013 10:15:21 GMT -6
|
|
|
|
Post by AL on Sept 20, 2013 14:00:12 GMT -6
---good stuff  |
|
|
|
Post by minimagneto on Sept 20, 2013 23:33:41 GMT -6
Oh man, I GOOFED These tail lights have been buggin' me...sat down to a look at them last night, I think I got a little over zealous with the old hobby knife: Here they are: 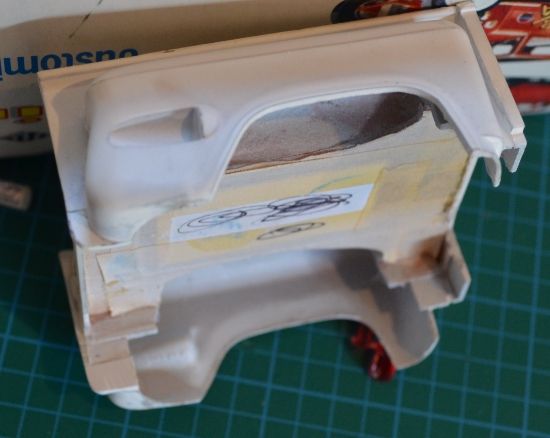 I was thinking of different ways to get red lenses in there...maybe working lights, haven't decided. So I started cutting and came up with this: 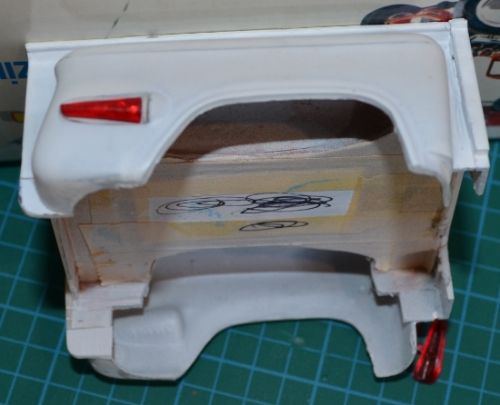 It's maybe not terrible but it just ain't working for me it doesn't fit  Here it is with the uncut original kit chrome part, which isn't that nice anyways: 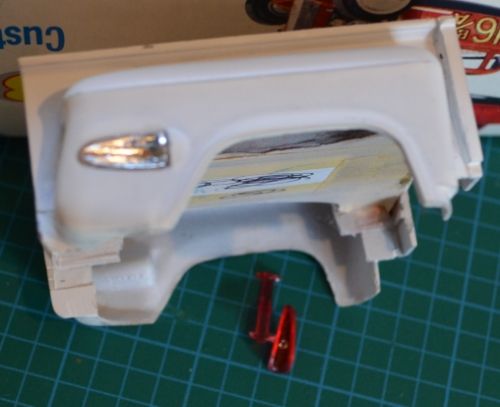 I dunno, I might have to get rid of that whole tailight bezel design on the fenders and come up with something completely different. More work, but, happy accident maybe?  |
|
|
|
Post by old school modeler on Sept 24, 2013 8:48:21 GMT -6
truck-box cover with graphic that I may hope to add to the project:  So what is the connection to the bass? Another musician in the house perhaps? Hi Old School...you guessed it! Why, do you play too? Me, I play the double bass. I love old school Country, Rockabilly, Bluegrass, Blues and also Classical music. Well I love all kinds of music, really... So you will see a lot of my builds tend to be somewhat musically inspired. I did the 'Rat Rod Mini-Guitar Amp', and my last build I put together in 'Restoring Vintage Models' was a stock F-100 which featured a bass-fiddle as it's cargo. I'm thinkin' I'd to like put a little of that into this project  Blake [/quote] Yep, drums here. There are a number of musician/modelers on this forum, Starry Eyes is a drummer too. I've played about everything, but blues/rock/r&b and jazz are where I spend most of my time. |
|
|
|
Post by minimagneto on Sept 24, 2013 11:03:17 GMT -6
Hi Old School...you guessed it! Why, do you play too? Me, I play the double bass. I love old school Country, Rockabilly, Bluegrass, Blues and also Classical music. Well I love all kinds of music, really... So you will see a lot of my builds tend to be somewhat musically inspired. I did the 'Rat Rod Mini-Guitar Amp', and my last build I put together in 'Restoring Vintage Models' was a stock F-100 which featured a bass-fiddle as it's cargo. I'm thinkin' I'd to like put a little of that into this project  Blake Yep, drums here. There are a number of musician/modelers on this forum, Starry Eyes is a drummer too. I've played about everything, but blues/rock/r&b and jazz are where I spend most of my time.[/quote] Right on old school, glad to hear there are some other musical folks here, that was always my hunch  |
|
|
|
Post by minimagneto on Sept 26, 2013 9:31:46 GMT -6
Small update today, I've tackled that problem with the tail lights I was describing earlier by getting rid of the feature altogether: 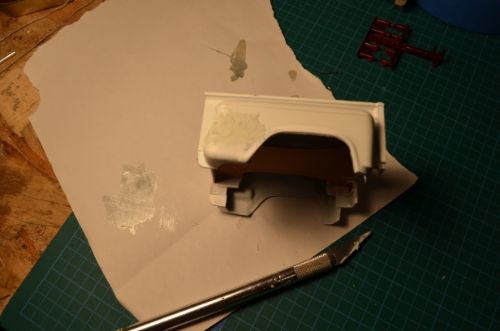 After shaving down some plastic, I used Tamiya 2-part epoxy putty to fill in the indented tail-lights. Them some Testors putty for fine filling. Here they are, gone: 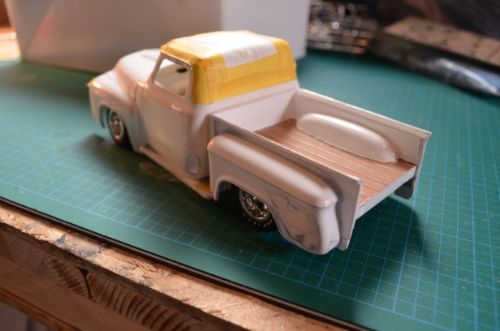 Two odd years ago I had painted the truck-box bed wood colors with Humbrol enamels, masked it and sprayed a few coats of Tamiya pure white on the inside of the truck-box. I was going to just leave the tape but just to check I decided to remove it. I was afraid after two years that it would be difficult to remove (it was) and that it would lift the enamels (it did). So I'll have to retouch (redo) that  Next the fun stuff: picking parts! In this case tail-lights: 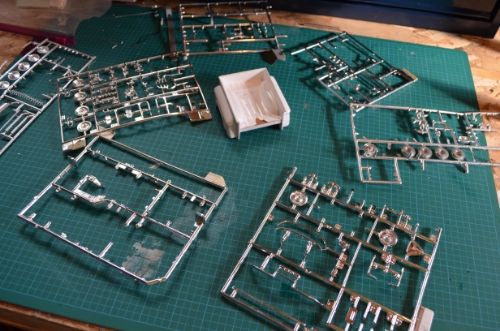 Naturally I went with the ones from the Corvette already listed as a donor kit for this project. The kit customization For the AMT '53 F-100 actually does use Corvette tail-lights, mine will just be a simpler version: 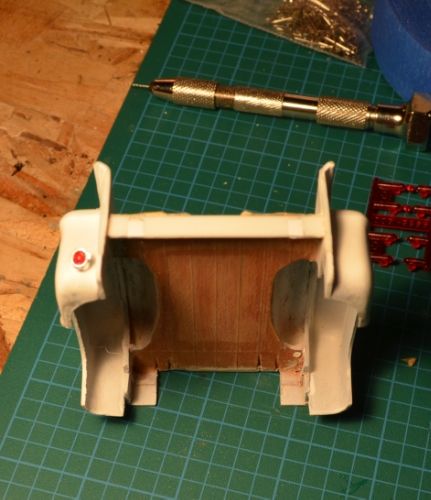 Thanks for looking, more to come -Blake |
|
|
|
Post by minimagneto on Oct 15, 2013 16:07:12 GMT -6
Figured it was time for a little update: but the news is not great, again! I did get some good stuff done like priming things and that looks good (not shown). Went to wet sand the truck box a bit, it comes apart on one side. My reaction is to try take it all apart. I don't know why. 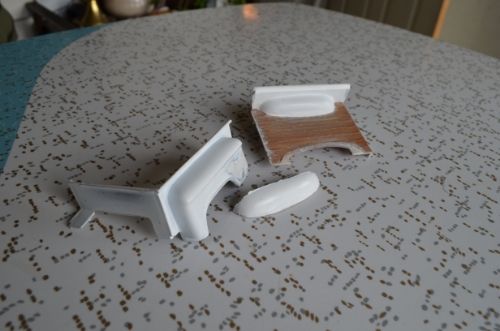 Disaster! Well, another happy accident, I hope. Far from giving up...just a minor set back. Yes, a minor set-back is all... -Blake |
|
|
|
Post by minimagneto on Oct 27, 2013 14:44:23 GMT -6
BACK ON TRACK Essentially what I am doing at this point is fixing up my own glue-bomb. When I started chopping away at this two odd years ago the tools I was using were a box-cutter, a hack saw blade, and Testors orange tube cement. Now I have more sophisticated tools: a razor saw, a file set....and a ruler! Managed to get parts apart and strip a bit down with Easy-Off!. Tamiya primers and Tamiya pure white, btw, were very resistant to the oven cleaner. 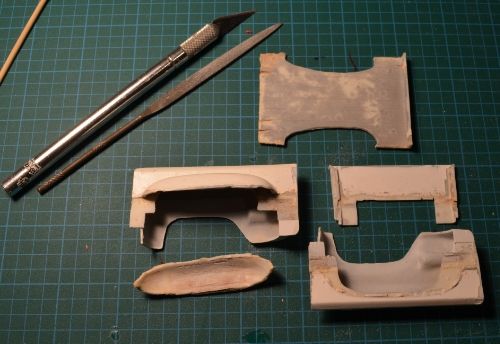 Have cleaned them up considerably. I will be discarding the old truck box bed. You can see from it's shape were I started to get this idea to use the bass-fiddle graphic tho! Here is where I'm at for truck-box construction: 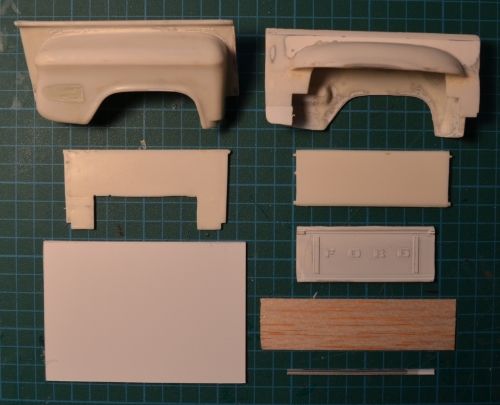 Thanks for looking, more to come, -Blake |
|
|
|
Post by minimagneto on Jan 17, 2014 22:29:02 GMT -6
Finally get the chance to get back to work on this! I had cut a new truck-box bed out of sheet styrene and now I trace out the wheel tubs and cut them out: 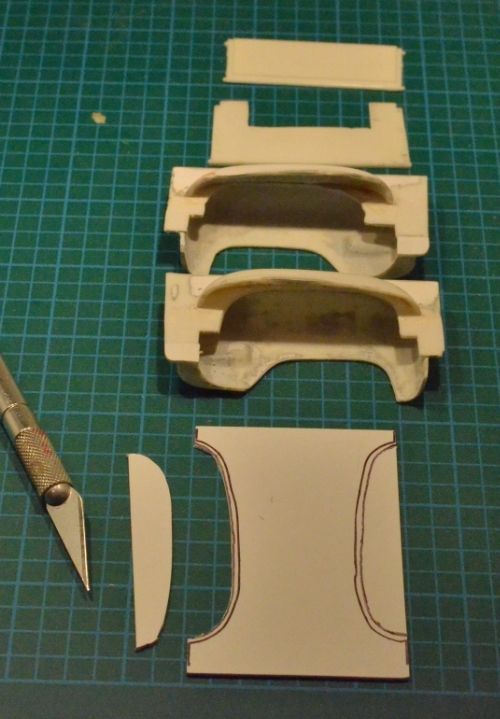 Tailgate needs to be cut down just a little and I sand the edges round: 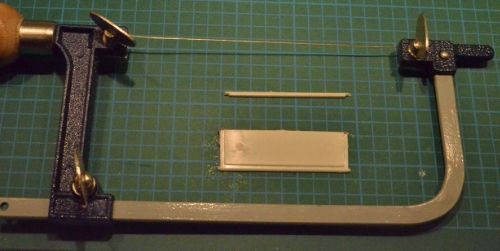 Measure it out and cut planks out of stock balsa wood: 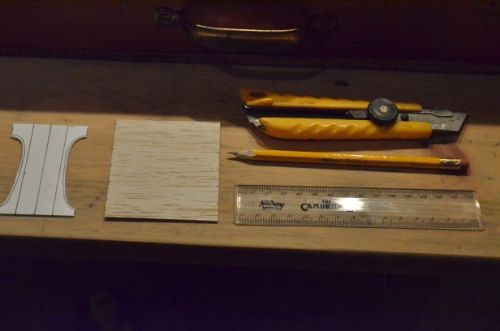 Add some Plastruct styrene channel to that equation, and the new bed is built: 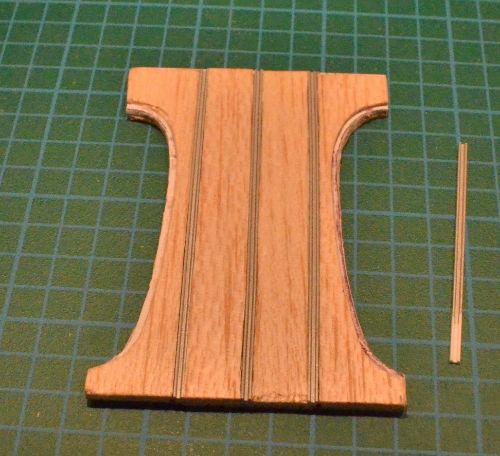 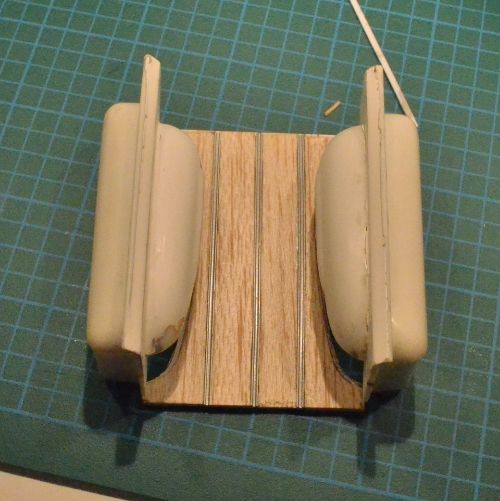 Masked the wooden bed before assembly, in this case: 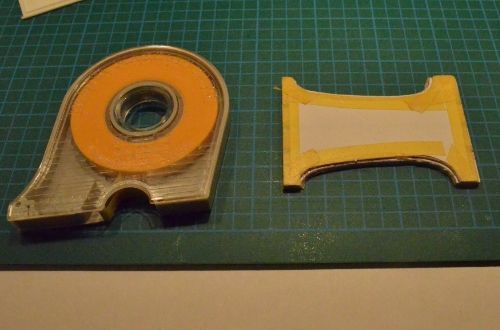 And put it together! 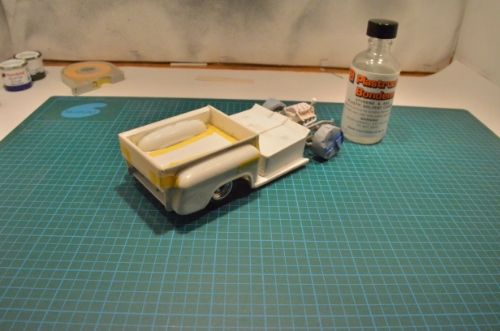 Crisis averted  |
|
|
|
Post by minimagneto on Jan 19, 2014 14:41:38 GMT -6
Now I've completed the truck-box by making a custom roll pan. Started off by cutting a sheet of styrene and adding holes for the custom exhaust: 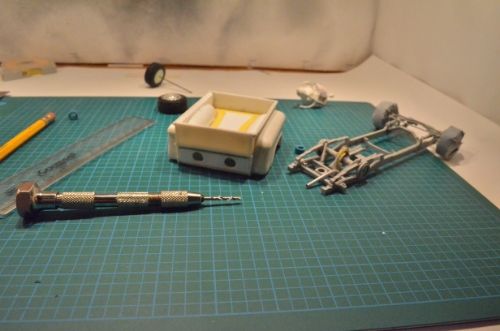 Then cut and glued a thinner sheet of styrene to complete the roll pan 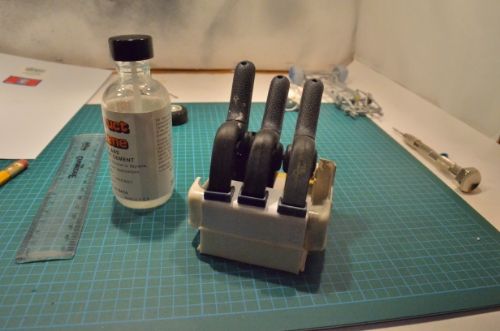 Added tubing for the exhaust tips. A dead paper mate pen seemed as good of material as any: 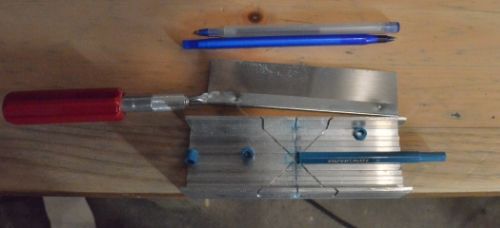 And done! 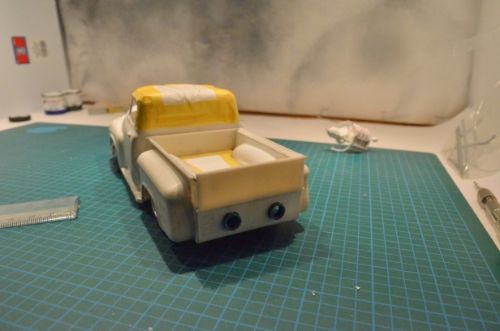 Lots more to come, thanks for looking feedback/suggestions always welcome. Blake |
|
|
|
Post by minimagneto on Jan 20, 2014 19:24:52 GMT -6
On we go with a few more tasks over the weekend. Decided to have a box cover, so I cut a few pieces of styrene to make that: 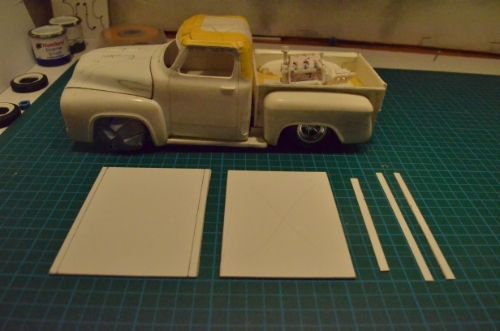 Had had my mind made up to just have the tailgate fixed in place, but with a bit of handling the glue joint broke anyhow. Instead of gluing it back in place, I went for a functional tailgate by cutting some mounting brackets out of styrene for it : 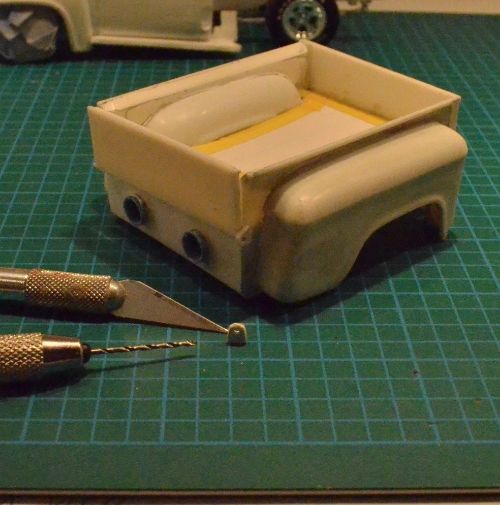 So now this how things are looking: 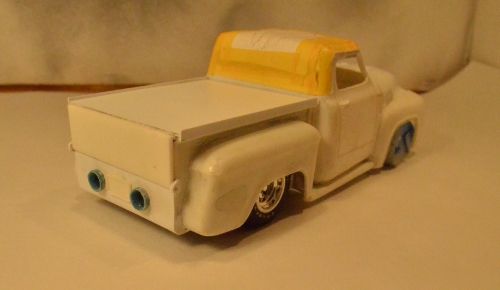 A bit boxy at the moment, I find, but still I have that funky bass fiddle graphic which I intend to make for it, so that's what's coming. Meanwhile, I start to get some primer on things. Parts for more than one truck in this pic! 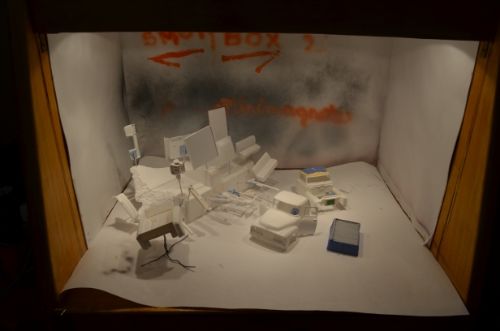 Thanks for looking, Blake |
|
|
|
Post by ira on Jan 20, 2014 21:09:55 GMT -6
Great Progress Blake! 
|
|
|
|
Post by minimagneto on Jan 21, 2014 17:59:19 GMT -6
Great Progress Blake!  Thanks for the kind words Ira, cheers |
|

