|
|
Post by minimagneto on Jan 24, 2014 13:55:09 GMT -6
THE FIDDLER The next steps have been creating a bass fiddle motif for the truck-box cover. This has been the most interesting process thus far (for me), and it's what gives the build it's name: The Fiddler. First step was to draw out contour lines in bass fiddle shape. Once I got a good one, I scanned it and used photoshop to create this template: 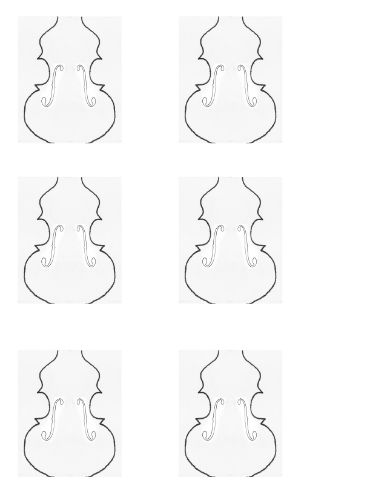 Later this will serve in making decals. But I'm out of clear decal paper, so I'll have to make a trip to the hobby store...  Anyhoo, these templates get printed off and used to cut out these shapes. The main shape is thicker styrene, the 'Russian doll' shapes are thinner. 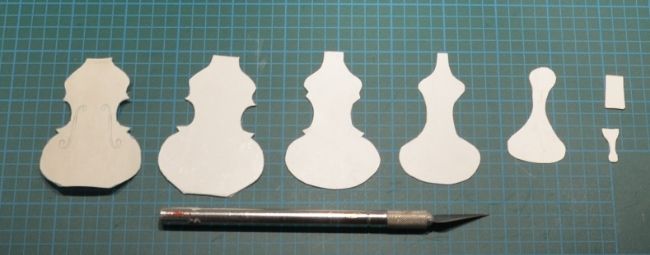 Considerable trimming was done after the above photo was snapped, then the pieces are laminated together. Here's the pixelated version: 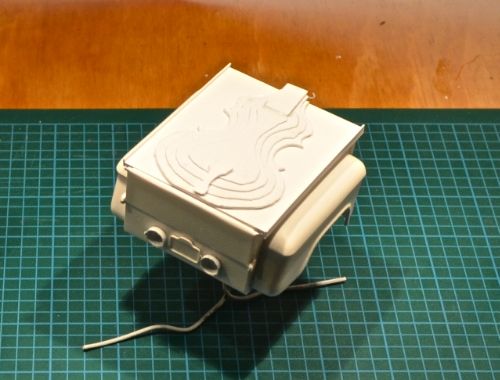 The entire thing is coated in Squadron putty: 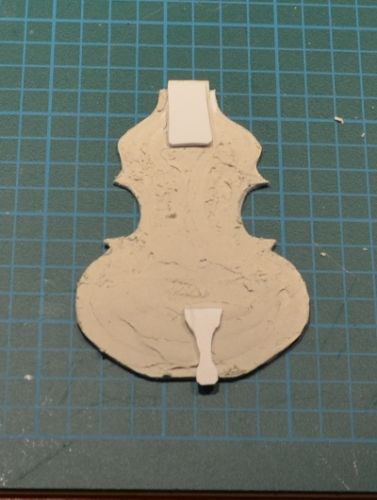 Sanded, skim coated, sanded: 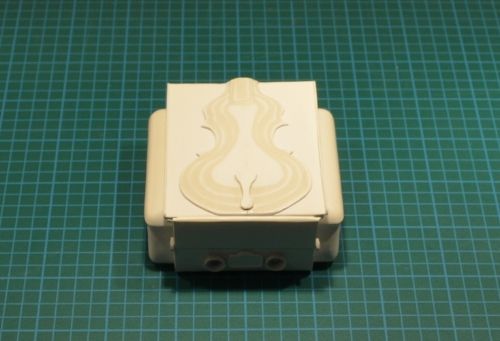 Here it is in a mock-up for overall effect. After a good shot of primer it's a little hard to see in these pics, that won't be the case in the end: 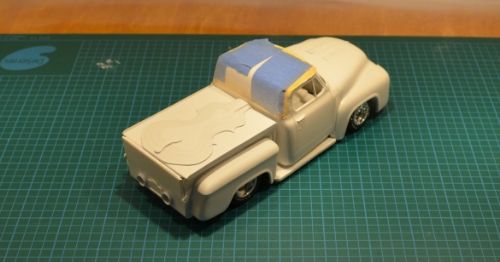 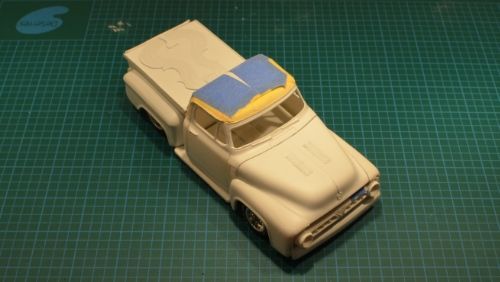 -Blake |
|
|
|
Post by ira on Jan 25, 2014 10:06:40 GMT -6
Great Fiddle! 
|
|
|
|
Post by minimagneto on Jan 26, 2014 9:27:56 GMT -6
Great Fiddle!  Thanks Ira  |
|
|
|
Post by donculley on Jan 27, 2014 8:44:29 GMT -6
I cant wait to see this one finished- I have one of these Trucks in my "to do " pile, Your build is inspiring !
|
|
|
|
Post by minimagneto on Jan 27, 2014 14:39:02 GMT -6
I cant wait to see this one finished- I have one of these Trucks in my "to do " pile, Your build is inspiring ! Thanks for the kind words Don, will hope to have it done 'soon'. Will look forward to seeing your build too! -Blake |
|
|
|
Post by minimagneto on Feb 7, 2014 21:57:51 GMT -6
Getting all the body work done and ready to paint. I start by adding detail to the cab: side-view mirrors, gas filler spout, bullets on the front, and pre-shaded door lines: 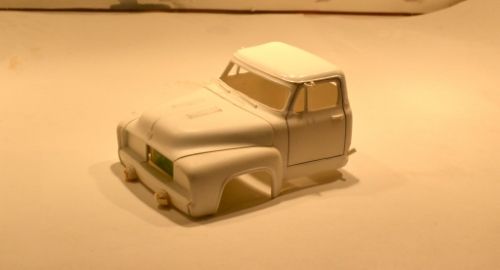 I decide I need to work a bit on the stance, as well the fit of the body parts and the wheel base. I start by chopping off the front wheels, fit was not great: 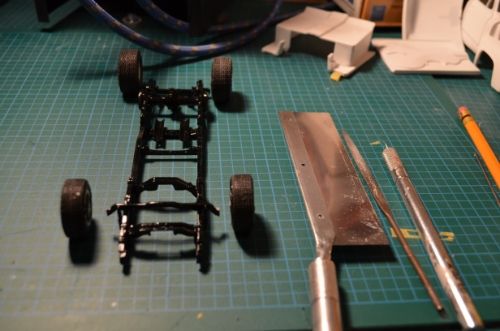 At this point I also remove the tie-rod I had pilfered from the Revell '56 ford. It didn' fit anyways. Now it will go back to it's original place, the Revell '56 Ford, I've been building that one box-stock along side the Fiddler. The Fiddler get's a scratch built tie-rod instead. I don't just call it the Fiddler because it has a bass fiddle on it...it's also because I've done a lot of fiddlin' with it! I get the wheel base measured and need to add spacers in the back. I do my best to make them pass for break drums out of some random plastic discs I found in the part box: 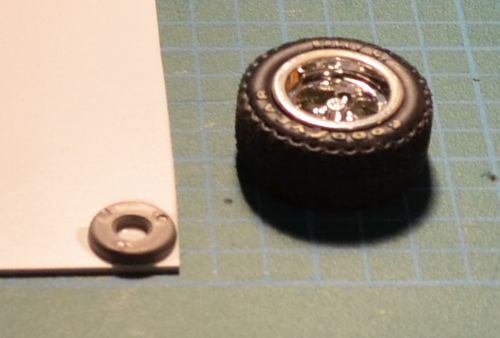 I need to add shims in numerous places: 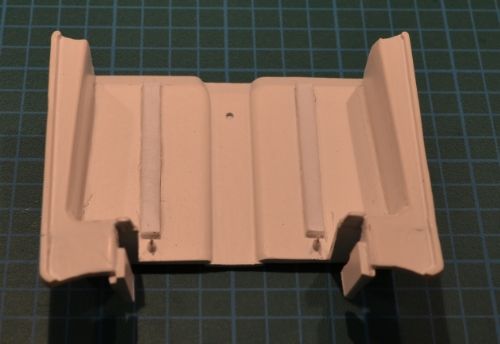 Here's a look at the chassis now. I spot primed all the modifications. Then it will be painted gloss black...and after that probably be the first victim for those Alclads the postman dropped off the other day  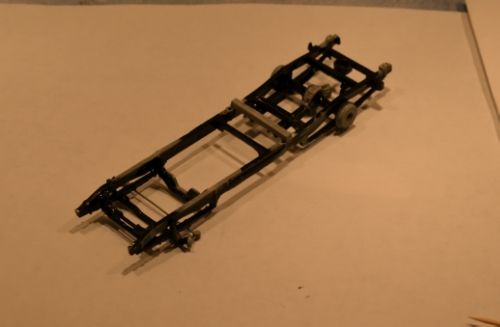 Now I carefully consider how final assembly will go. I do not want to be tweaking parts AFTER I've already shot my cans of Tamiya pure white and Testor's Diamond Green on this project! Sewing pins will be used to hold the box down firm, I drill holes and test it out: 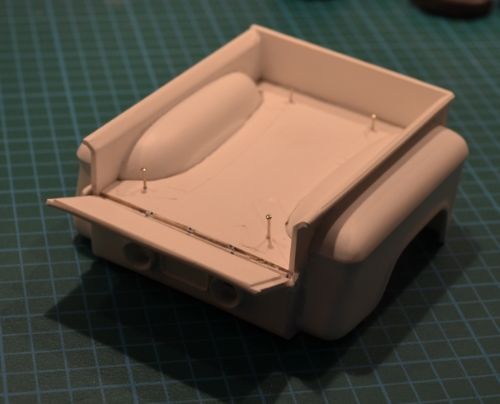 So...yes, ANOTHER mock-up. But this time all body parts are pinned down solid: 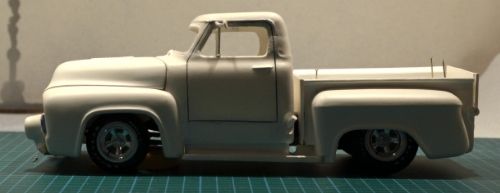 I'll be giving that chop line some putty don't worry. The next pic is just there 'cause I like it: 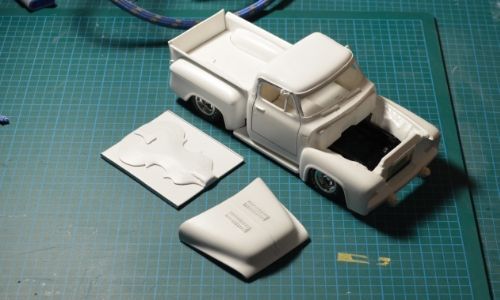 Cheers, more to come, feedback/suggestions/honest opinions always welcome  -Blake |
|
|
|
Post by Steve-o on Feb 8, 2014 9:10:10 GMT -6
Fantastic project ,
Can't wait to see it finished !!! 
|
|
|
|
Post by minimagneto on Feb 19, 2014 15:17:45 GMT -6
Fantastic project ,
Can't wait to see it finished !!!  Thanks for the kind words Steve-o. Believe me I can't wait to see it finished too! -Blake |
|
|
|
Post by minimagneto on Feb 19, 2014 15:45:42 GMT -6
A little update: I gotta laugh at myself...I have had the roof masked for like two years, because I'd painted it Tamiya pure white. I take that masking off finally, it doesn't look great, low spots. So I skim coat it with Squadron putty and sand it and repeat, looks like so now: 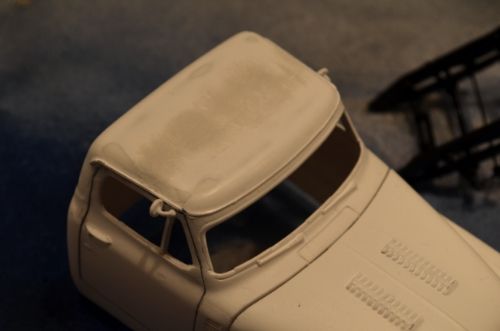 Also I get a 2 coats of Humbrol gloss black airbrushed on my 'completed' chassis. (Completed is in quotes because I realize I still have some stuff to tweak for the exhaust system) But we are moving along: 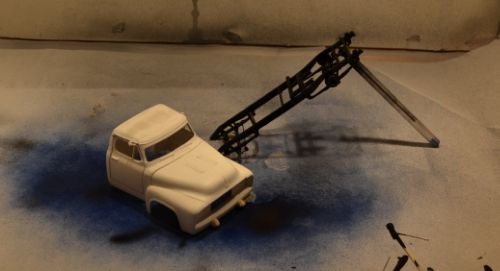 One thing lagging behind is the motor. Still looks pretty bare. And rough: 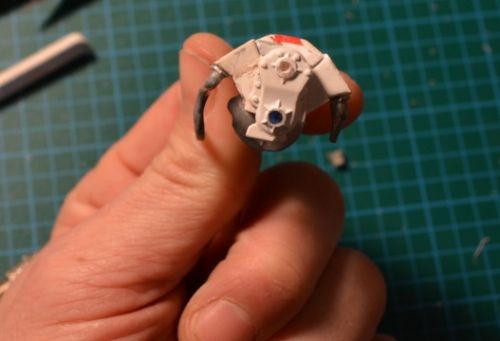 You'll notice the broken motor mount, I cut it off. Will have to make a new one. One thing I have is a Protech pre-wired magneto. (a mini-magneto !!!!) 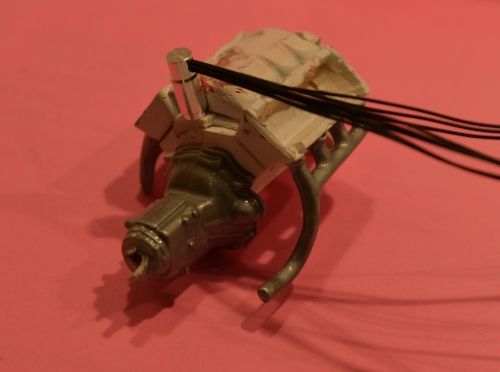 I was required to cut out a half circle in my scratch-built intake manifold for a proper fit of the magneto. I'll be painting the top of that red. My wife thinks I should paint the whole engine pink, that it would look great with the white and diamond green color scheme. I dunno, my plan was always to paint the motor body color but the pink idea is growing on me. Opinions? Next was the pulleys. These were taken from a donor kit, and I cut the plastic fan belt off. I added sheet plastic to make them deeper. I will have to decide between Alclad chrome and engine color for these: 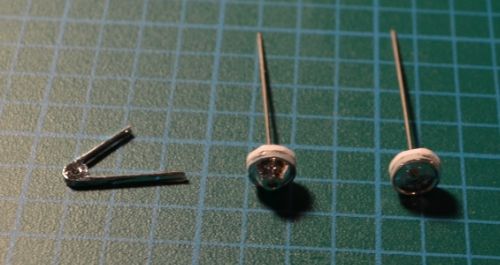 One choice I have to make is valve covers. Well, I've decided on 'Chryler Fire Power'. The ones on the left have this antique-ee weathered chrome which looks cool but might not be consistent with a show truck, the ones on the right will be Alcladed and then we'll decide: 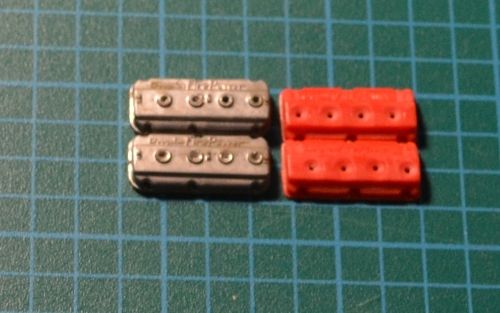 Here is a blurry picture of an alternator I found in my parts lot:  I tried to adapt the mounting bracket for it with a lighter, but the instant the flame touched it the plastic curled up like a pigs tail. So I made another out of a sewing pin. Handling broke the filler spout, I searched the parts box and found a piece to replace it (prop pin from 1:72 scale airplane). I will be using the original cap: 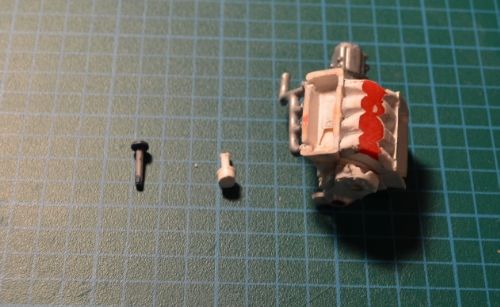 Also I added a pulley for the water pump. And I made a water spout on the front the intake manifold out of what was once a velocity stack. Found my pair of 2-barrel carbs, still some work to do on those. Here's a mock up of the motor now: 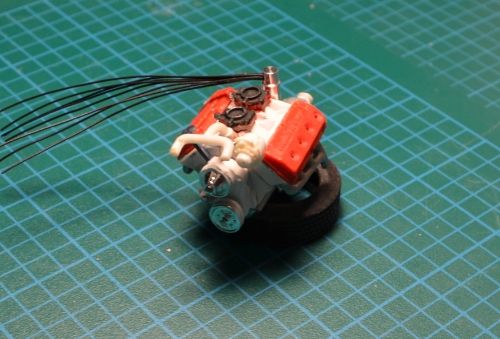 Got all my body work done, finally and primer is done. Engine is under control. This MIGHT be done for Coffin Corner Revival Contest, if I'm lucky! 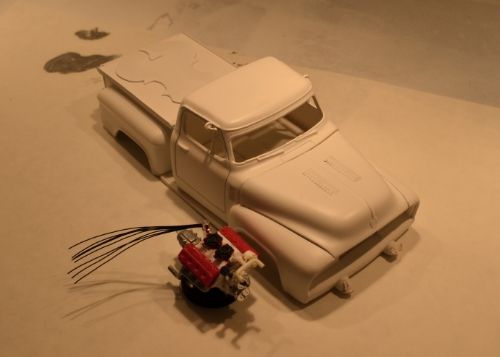 Comments/suggestions/honest opinions always welcome, -Blake |
|
|
|
Post by inspector on Mar 1, 2014 3:37:18 GMT -6
Looking good, working on a 53 myself, have a long way to go before it looks that good.
|
|
|
|
Post by minimagneto on Mar 3, 2014 14:50:07 GMT -6
Looking good, working on a 53 myself, have a long way to go before it looks that good. Hi, thanks! Will look forward to seeing your '53. Managed to get a little engine work done. I added moldings to the intake for the carbs by using plastic squares and putty. Built a mechanical fuel pump. Also filled a lot of rough spots with CA, did some primer, probably a little more CA then more primer to come. Here I am getting the carburetors ready for some detailing using craft wire and Protech brand T-fittings and throttle linkage: 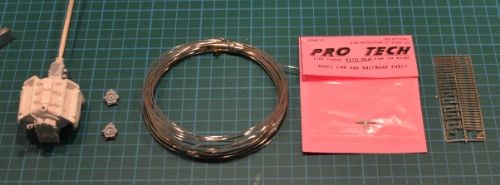 They look like so now, ready to be painted as a unit: 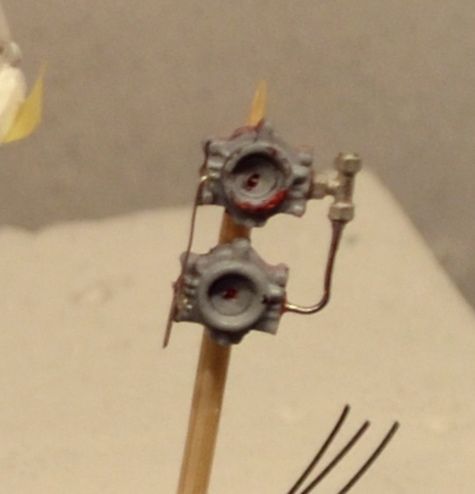 I plan to do the the engine parts in Alclad II and the block in Ford Diamond Green body color. Here it is in the booth: 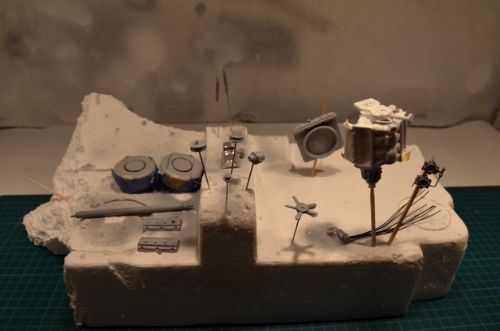 Thanks for looking, more to come! -Blake |
|
|
|
Post by ira on Mar 4, 2014 9:17:22 GMT -6
Nice Detailing! 
|
|
|
|
Post by minimagneto on Mar 9, 2014 16:55:49 GMT -6
Nice Detailing!  Thanks, Ira  Some progress, tried out the Alclad chrome for the first time:  wow! VERY happy with the results. Here are the other parts also chromed with everything ready to detail and assemble the engine and chassis: 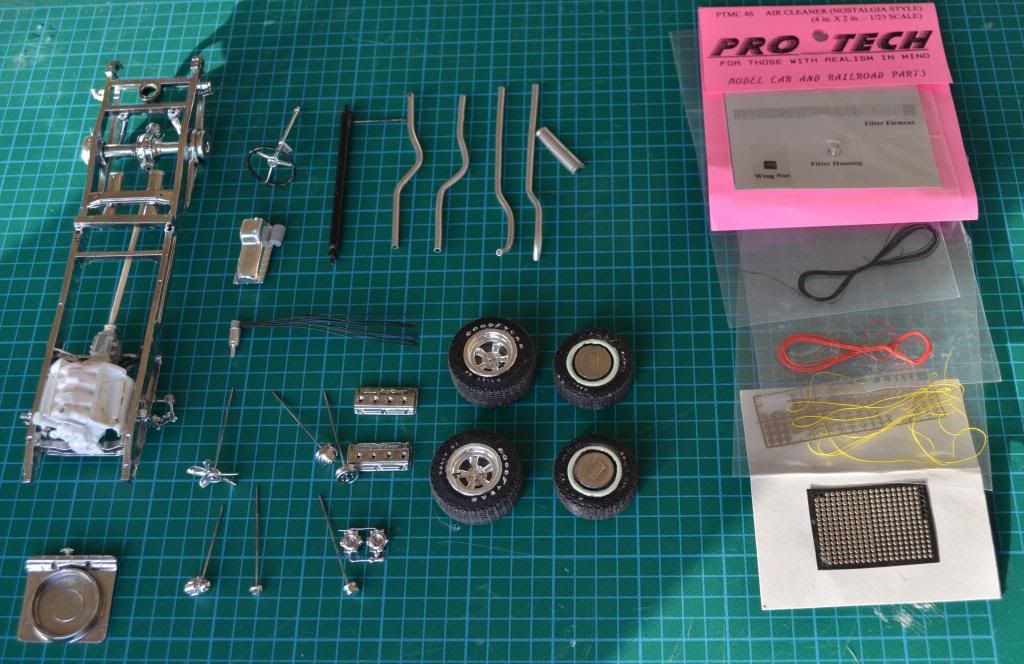 Did the taping for my 2-tone color scheme: 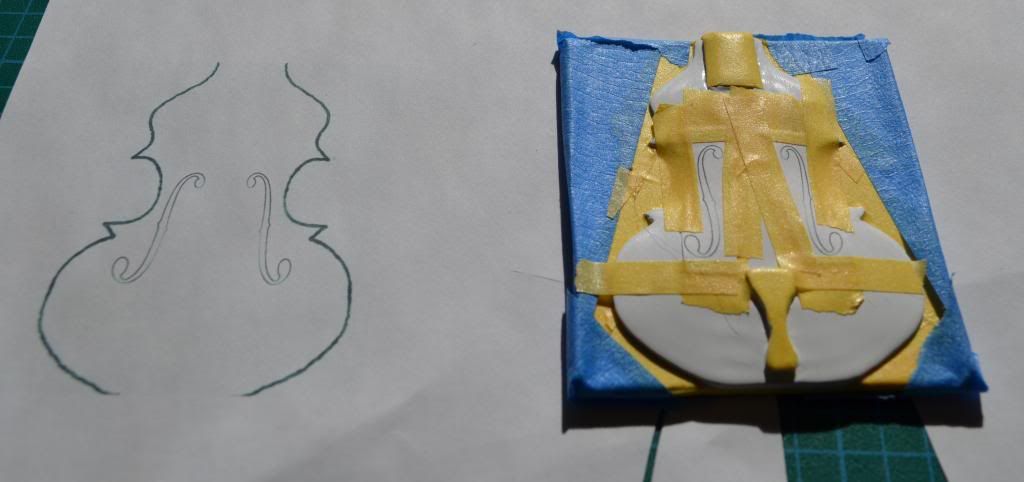 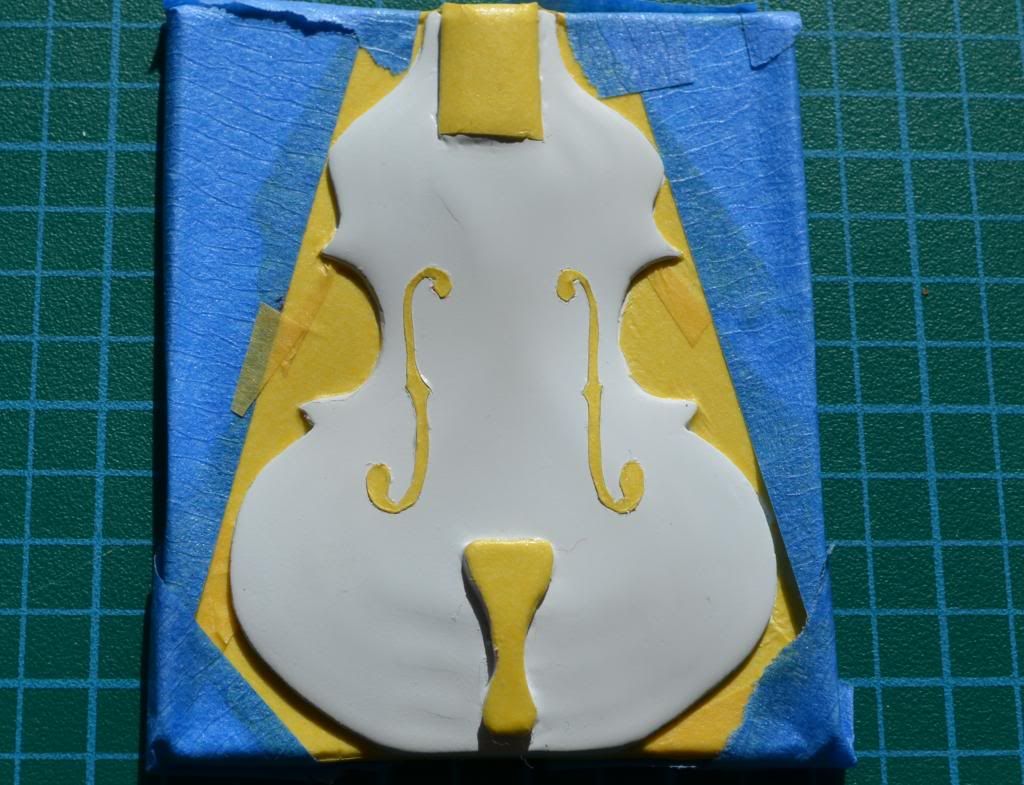 Ready to paint: 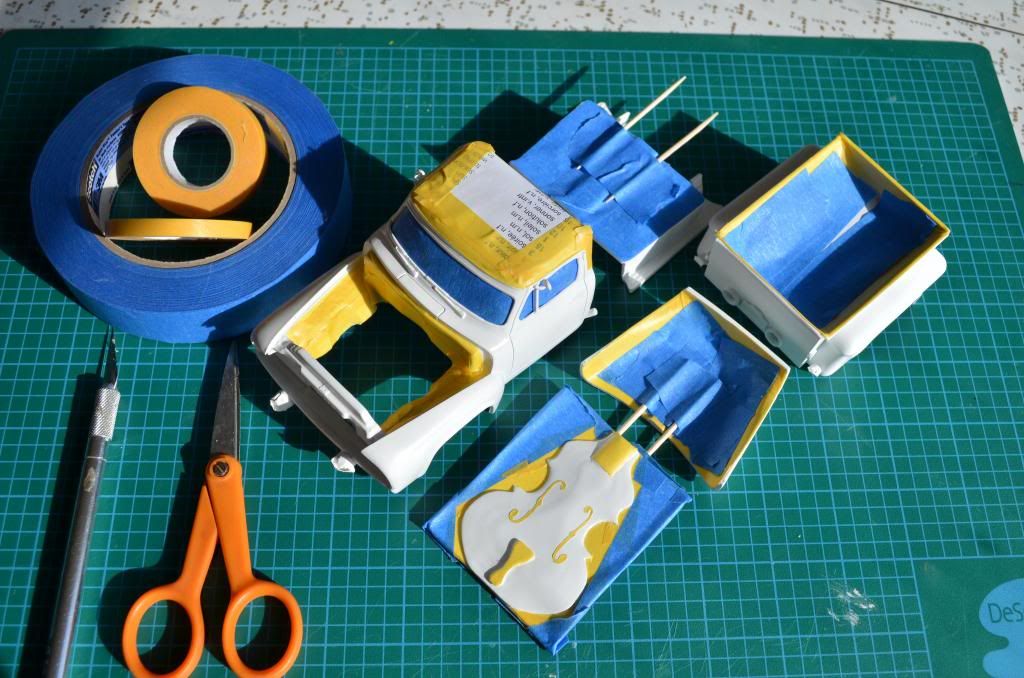 Comments/suggestions/honest opinions always welcome, thanks for looking Blake |
|
|
|
Post by minimagneto on Mar 15, 2014 17:00:12 GMT -6
Color! 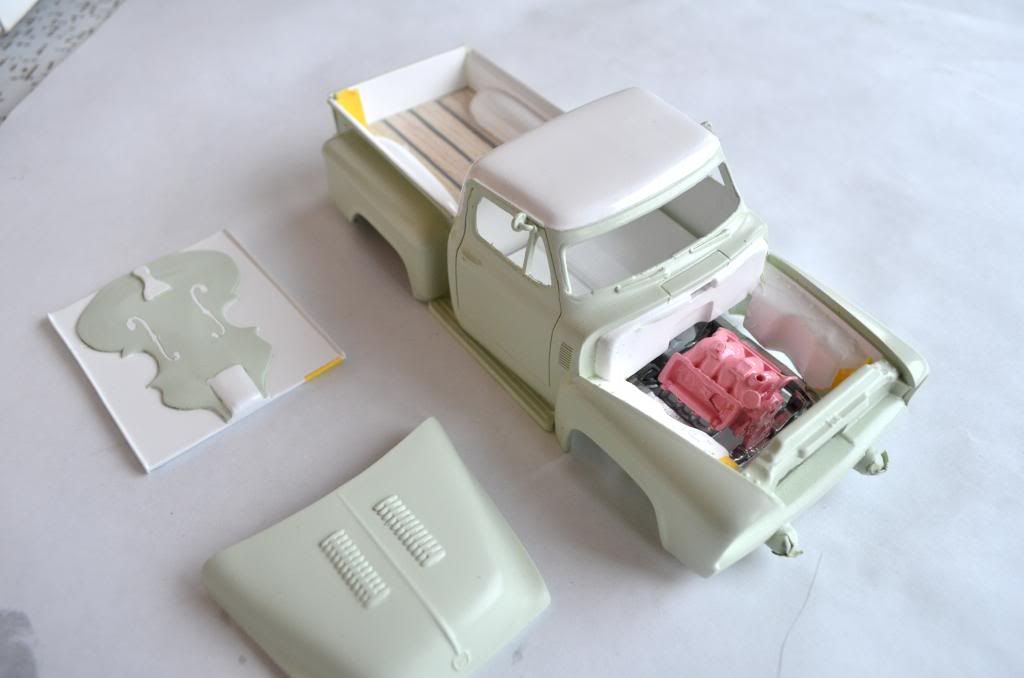 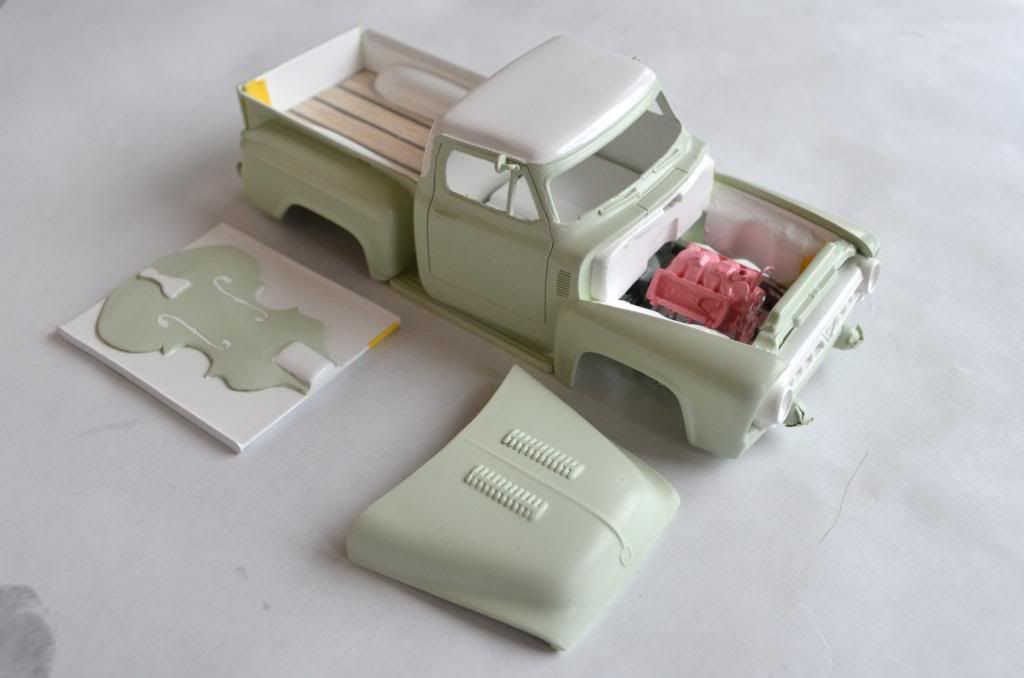 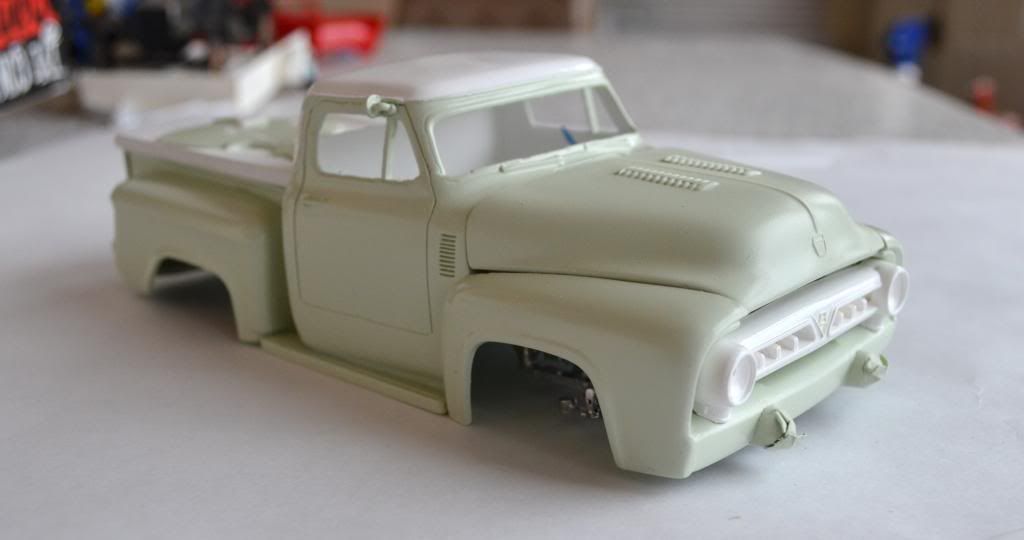 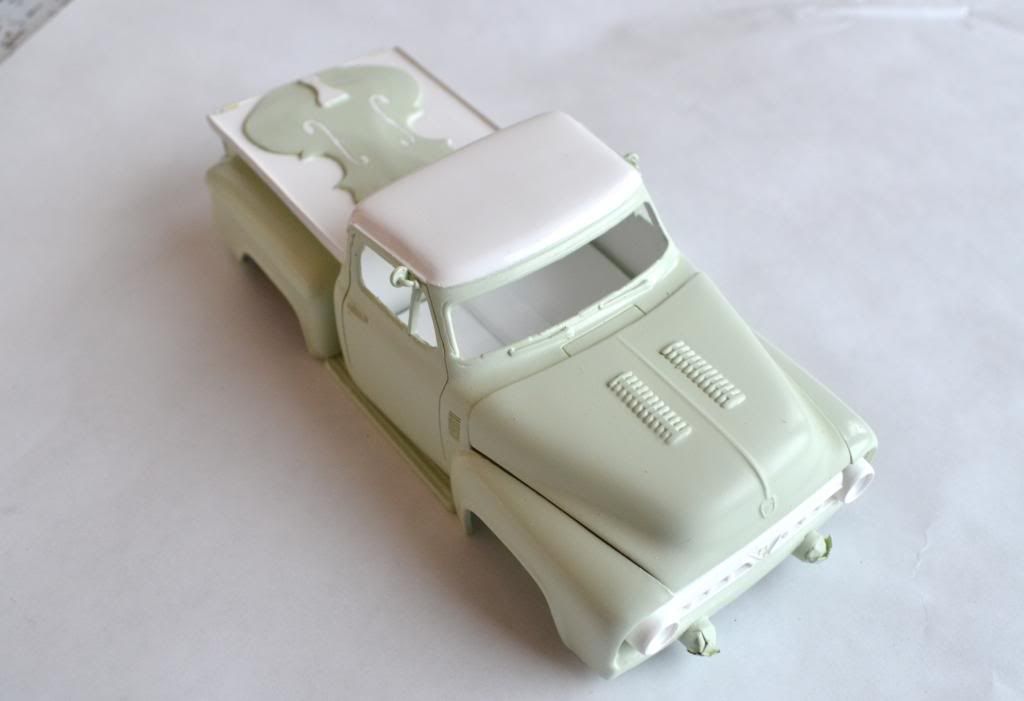 Thanks for looking, comments/suggestions/honest opinions always welcome, -Blake |
|
|
|
Post by minimagneto on Mar 21, 2014 16:03:39 GMT -6
Just a quick photo, paint job after fine sanding, polishing and waxing: 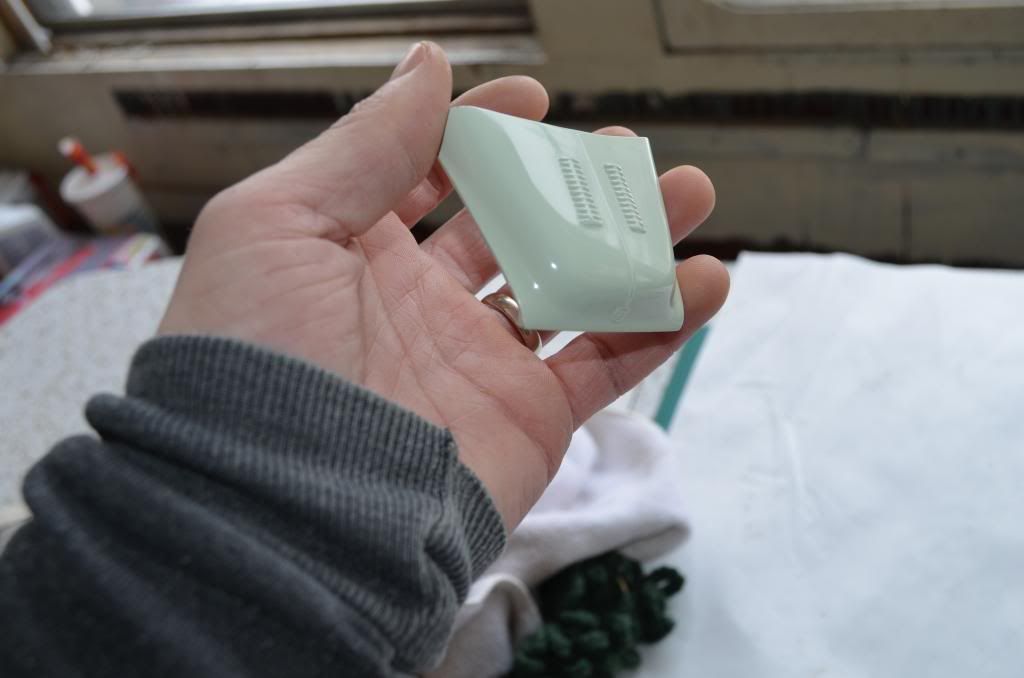 More to come, comments/suggestions/honest opinions always welcome, Blake |
|
|
|
Post by knarf on Mar 22, 2014 20:46:16 GMT -6
sweet lookin paint job!
|
|
|
|
Post by Dennis M on Mar 23, 2014 16:25:30 GMT -6
Wow' fantastic job.
|
|
|
|
Post by Dennis M on Mar 23, 2014 16:30:12 GMT -6
Great job Blake' the alclad looks fantastic.
|
|
|
|
Post by minimagneto on Mar 23, 2014 22:31:50 GMT -6
Thanks knarf. This was the first time I tried buffing a model...worth the effort  -Blake |
|
|
|
Post by minimagneto on Mar 23, 2014 22:32:44 GMT -6
Great job Blake' the alclad looks fantastic. Glad you like it Dennis, thank you. Almost done with the engine and chassis, more photos coming soon! -Blake |
|
|
|
Post by minimagneto on Mar 24, 2014 21:19:44 GMT -6
|
|
|
|
Post by minimagneto on Mar 27, 2014 8:08:17 GMT -6
Getting into the end-game now and working on the final details. Yesterday was a goodun, this little fiddle-head shifter knob: 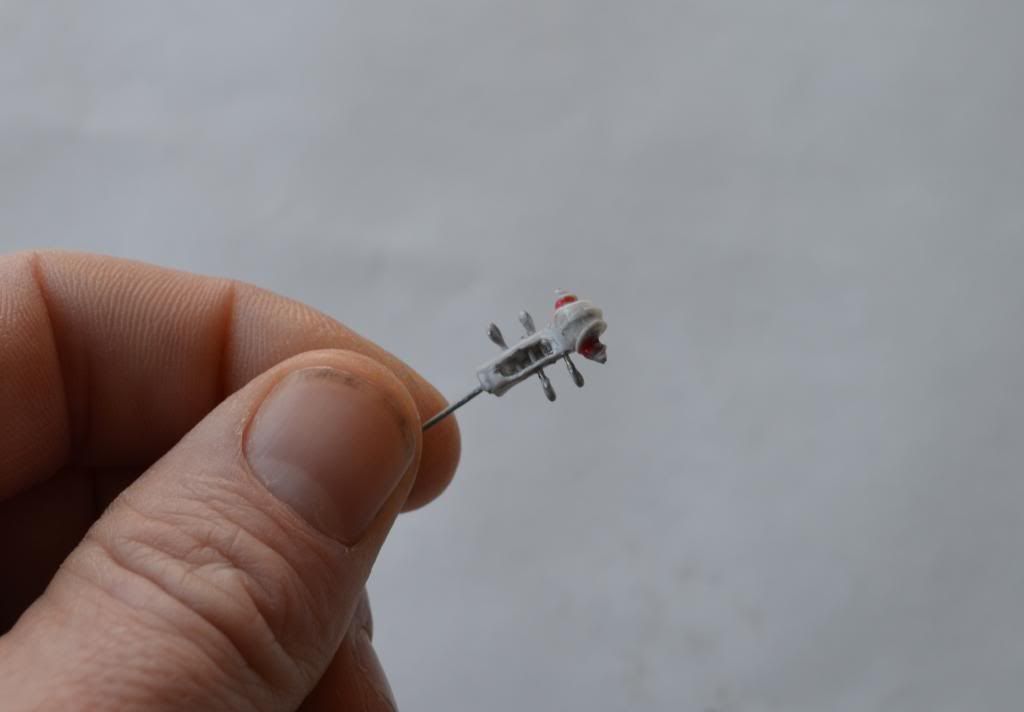 I got the idea fixed in my head that the build needed this detail. The idea came from a Christmas tree ornament. I tried to find one to just cut off and use, but couldn't find anything satisfactory, so I sculpted this one out of sheet styrene, stretched sprue, sewing pins and CA glue. 14 pieces total. I spent approximately the same amount of time hunting for a fiddle-head as I did making this one, lol. -Blake |
|
|
|
Post by knarf on Mar 27, 2014 8:18:11 GMT -6
nicely done sir  |
|
|
|
Post by minimagneto on Mar 27, 2014 9:42:23 GMT -6
nicely done sir   |
|
|
|
Post by Mysterion on Mar 27, 2014 10:24:03 GMT -6
Coming along nicely Blake. I really like the subtle color combination.
That Fiddle head shift knob is SOOOOOO COOOOOL!
|
|
|
|
Post by inspector on Mar 27, 2014 11:06:46 GMT -6
After seeing your build, I did one for my self, I didn't do as much work on the engine as you did, kept it simple, I wanted to give it a 50's look. I tried to keep the whole build simple. I like what you said about my build after I posted it.(53 Ford Custom Pickup)
THANKS
|
|
|
|
Post by minimagneto on Mar 27, 2014 12:45:21 GMT -6
Coming along nicely Blake. I really like the subtle color combination. That Fiddle head shift knob is SOOOOOO COOOOOL! Thanks a lot Dave. I have to say, I've never seen a fiddle head shift knob in in a real car and I'm wondering why not  -Blake |
|
|
|
Post by minimagneto on Mar 27, 2014 12:56:02 GMT -6
After seeing your build, I did one for my self, I didn't do as much work on the engine as you did, kept it simple, I wanted to give it a 50's look. I tried to keep the whole build simple. I like what you said about my build after I posted it.(53 Ford Custom Pickup) THANKS Hi Inspector, welcome to the forum. Your build is great! I could tell you did a LOT of modifications all the same ones I did. Very nice work. You didn't show the engine I don't believe, did you use the flat-head or the Hemi? The flat-head that comes with this kit is so nice, nicer than the hemi. I went to town with parts box, aftermarket, and scratch building to get this Hemi where it's at. I used the flat-head in a open engine rat rod build. Cheers, Blake |
|
|
|
Post by inspector on Mar 28, 2014 2:43:32 GMT -6
Minimagneto: I used the Hemi, that came with the kit, wired it, and psinted it. Didn't do much under the hood, that why I didn't show the engine. I wanted to spend more time on body work and paint. On some of my builds I do spent just as much time on the whole car, engine and other things. This time I was working on a second project at the same time. 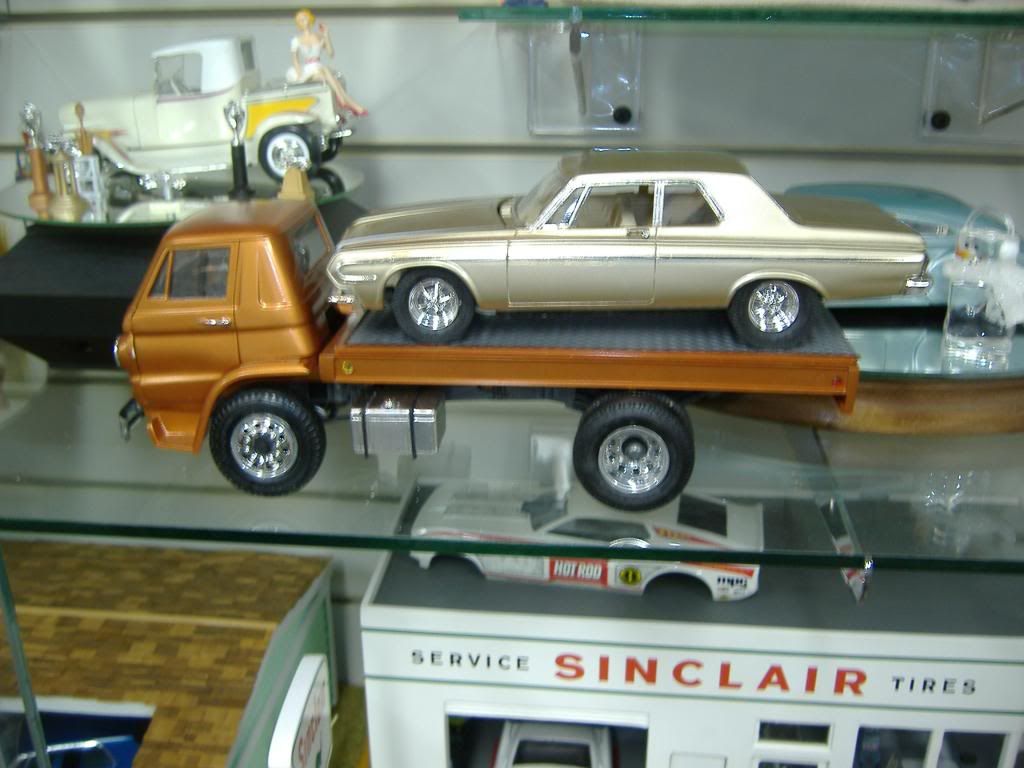 Hope the pix shows up of my other project. Tom |
|
|
|
Post by rustybill1960 on Apr 29, 2014 15:19:06 GMT -6
WHOA!! Dude this is one fantastic build!! I like everything about this build too! "EVERYTHING!"    And to think, if I had "not" checked out this section, I would never have seen this little BEAUTY!! Thank You for sharing with Us here Later Russ  |
|

