|
|
Post by doomcrew on Nov 9, 2014 17:52:57 GMT -6
This is what I have been working on, a Johan 69 Rambler. The chassis has been modified at the front, where the moulded front rails have been removed, and a scratch built section put in it's place. The centre of the original radiator has been removed and replaced with photo etched mesh. The headers are scratch built with plastic sheet, five core solder, plastic tube and heat shrink tubing. 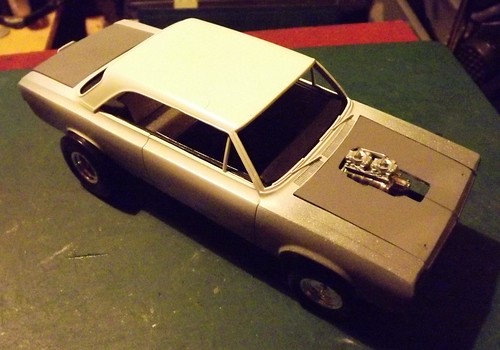 DSCF8483 DSCF8483 by doomcrew, on Flickr 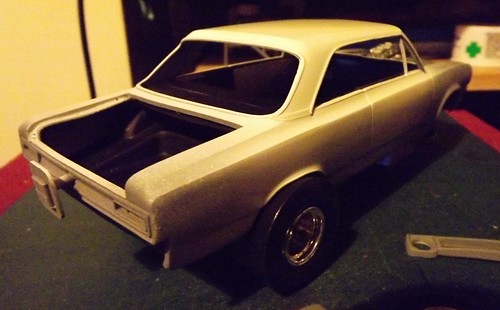 DSCF8487 DSCF8487 by doomcrew, on Flickr 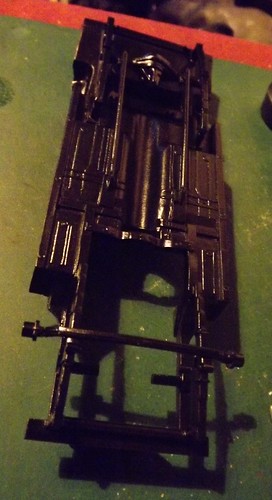 DSCF8488 DSCF8488 by doomcrew, on Flickr 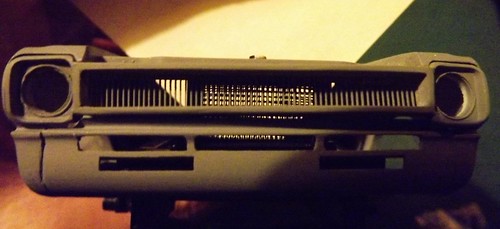 DSCF8494 DSCF8494 by doomcrew, on Flickr  DSCF8495 DSCF8495 by doomcrew, on Flickr 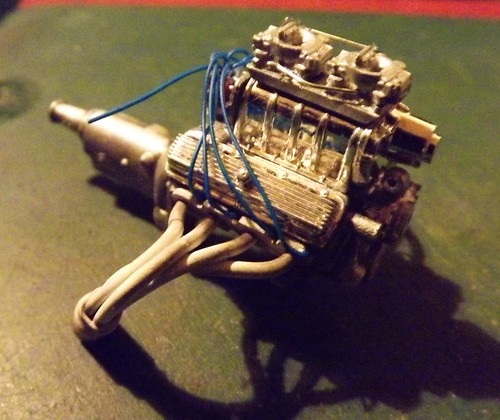 DSCF8491 DSCF8491 by doomcrew, on Flickr Stay tuned for more. |
|
|
|
Post by ira on Nov 9, 2014 20:48:08 GMT -6
Great Project! 
|
|
|
|
Post by doomcrew on Nov 11, 2014 12:58:16 GMT -6
Second colour is now on, with the roll bar painted as well. Aluminium interior panels were made from sheet pewter. Transfers were applied with white pin striping on the boot lid, just needs clear coating. Will do some machining for pulleys and front mounted moon tank. Brakes will be drum front and rear, which gives me the chance to use parts from the parts bin. 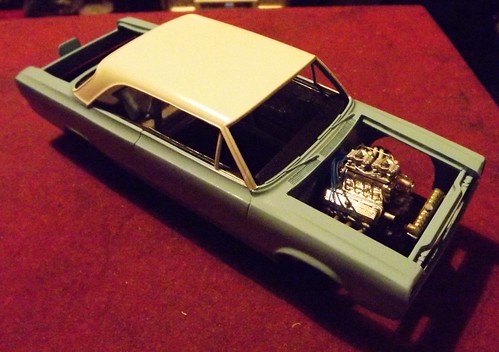 DSCF8501 DSCF8501 by doomcrew, on Flickr 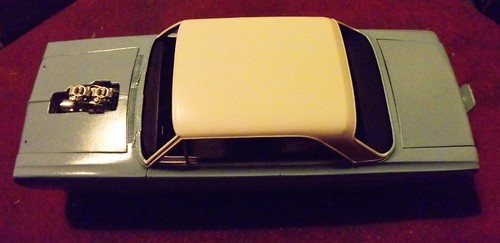 DSCF8503 DSCF8503 by doomcrew, on Flickr 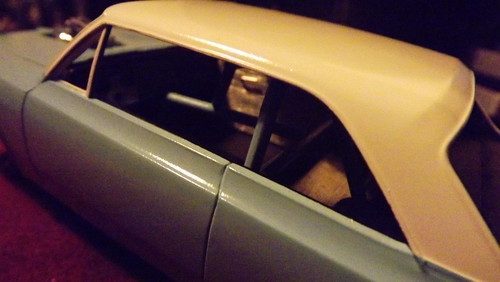 DSCF8505 DSCF8505 by doomcrew, on Flickr 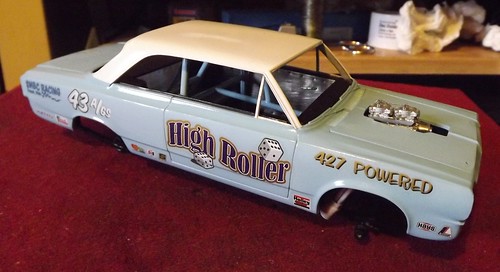 DSCF8518 DSCF8518 by doomcrew, on Flickr 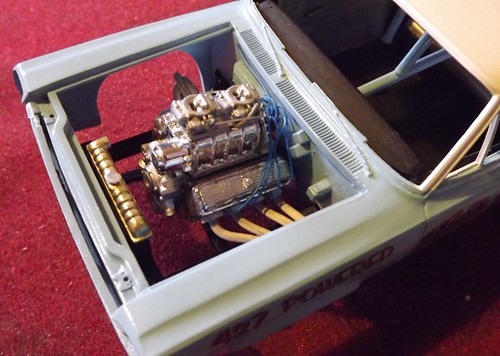 DSCF8521 DSCF8521 by doomcrew, on Flickr Stay tuned. |
|
|
|
Post by ira on Nov 11, 2014 16:14:53 GMT -6
Great "High Roller" Decals! 
|
|
|
|
Post by mykturk on Nov 13, 2014 8:02:23 GMT -6
Great "High Roller" Decals!  Where exactly did those come from? They look a whole lot some original art I did many, many years ago. |
|
|
|
Post by donculley on Nov 13, 2014 11:55:13 GMT -6
Those came from the reissued Austin gasser kit. They look great on the Rambler !
|
|
|
|
Post by Steve-o on Nov 13, 2014 16:42:39 GMT -6
looking good Bro...
|
|
petel
Showrod Rookie

Posts: 7 
|
Post by petel on Nov 14, 2014 15:13:00 GMT -6
Great job...man,that shot of your interior tin brings back some memories !!!
Thank for sharing.
|
|
|
|
Post by snakeplissken81 on Nov 18, 2014 6:18:25 GMT -6
Fantastic work.
|
|
|
|
Post by Bud Tugly on Nov 18, 2014 10:27:07 GMT -6
My uncle was a salesman for Rambler/AMC in the ‘60s and ‘70s. One of my fondest memories was him taking me for a ride on the southern Wisconsin back roads in a SC/Rambler at way over 100mph. Attachments:
|
|
|
|
Post by TooOld on Nov 18, 2014 11:24:23 GMT -6
This is pretty cool , I love hot rodded Ramblers !  |
|
|
|
Post by doomcrew on Nov 20, 2014 16:00:18 GMT -6
Cheers guys. Ok, got some more done. Turned a set of pulleys on my lathe, but chose only the crank, aux and charger pulleys. Found a pair of air filters in my parts box, made an oil dip stick from a used guitar string. The engine is now installed with the drive shaft and water hoses. The interior is nearly done. The body has now been clear coated, with the usual frustrating foreign particles making their way on to the painted surface. The way round this is to let the clear dry, and sand back to remove the offending item, and re-clear. I will let it cure now before polishing. The wheels are now on with the drum brakes, with brake lines to follow. 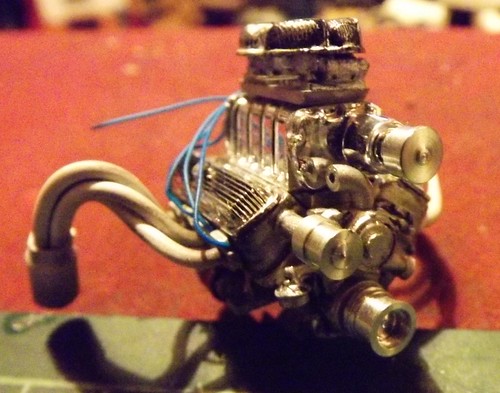 DSCF8523 DSCF8523 by doomcrew, on Flickr 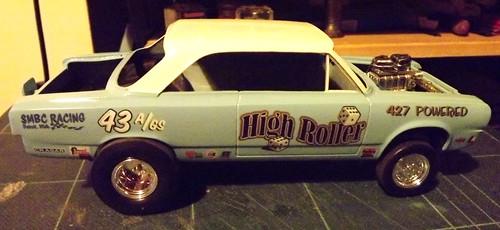 DSCF8526 DSCF8526 by doomcrew, on Flickr 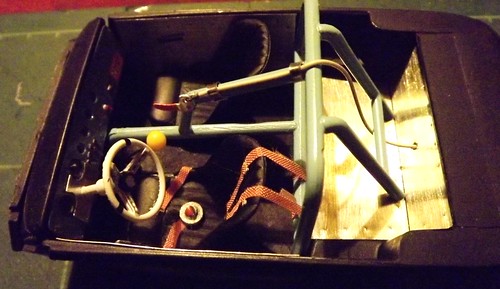 DSCF8524 DSCF8524 by doomcrew, on Flickr  DSCF8531 DSCF8531 by doomcrew, on Flickr 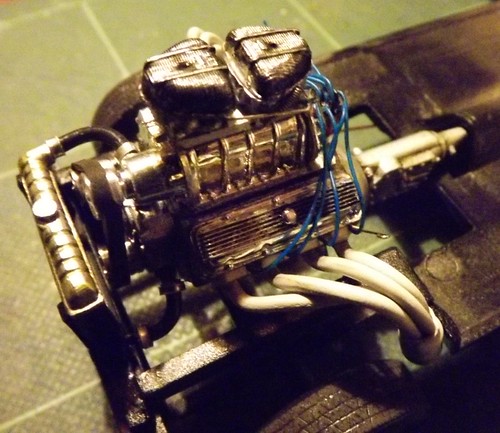 DSCF8537 DSCF8537 by doomcrew, on Flickr Stay tuned for more. |
|
|
|
Post by Dennis M on Nov 22, 2014 22:13:05 GMT -6
Wow''' what a Beauty.
|
|
|
|
Post by doomcrew on Dec 5, 2014 18:54:30 GMT -6
|
|
|
|
Post by doomcrew on Dec 8, 2014 9:54:27 GMT -6
The Rambler is now done. I decided to do a little patina here and there, a little worn paint, weathering on the underside and mechanicals. I turned a Moon tank on my lathe, but did it in four parts. The centre section is ally tube, this makes it easier to drill into by hand. The ends could be then machined and designed to just press fit into place, then comes the cap with the spout combined. The strapping was made out of photo etched brass strip. The head lights were also turned, with photo etch mesh for the grill, this shows off the radiator, and you can see all the way through to the front of the engine. The hood pins are from the Revell Dodge Daytona kit. 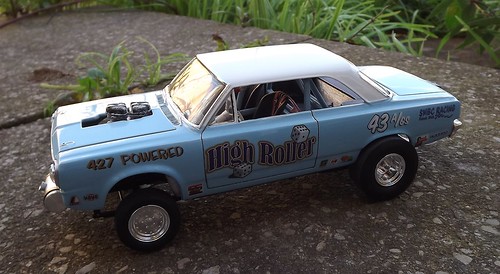 DSCF8645 DSCF8645 by doomcrew, on Flickr 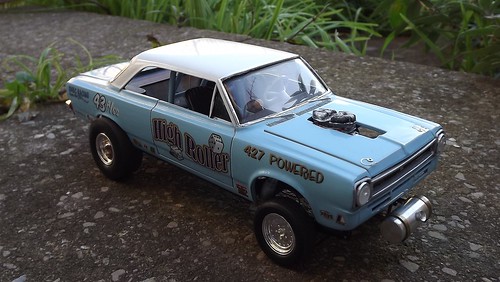 DSCF8647 DSCF8647 by doomcrew, on Flickr 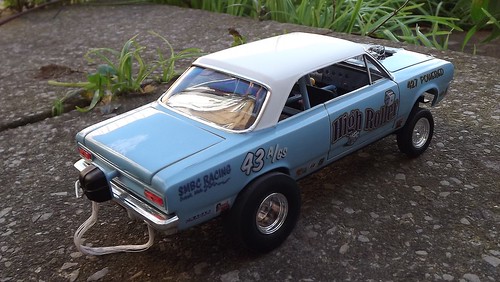 DSCF8650 DSCF8650 by doomcrew, on Flickr 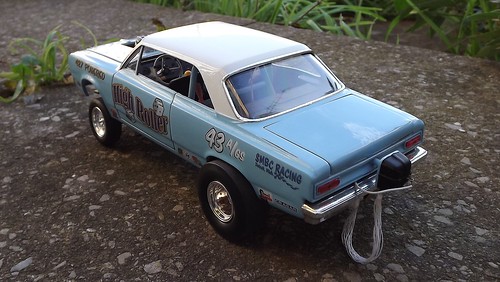 DSCF8652 DSCF8652 by doomcrew, on Flickr 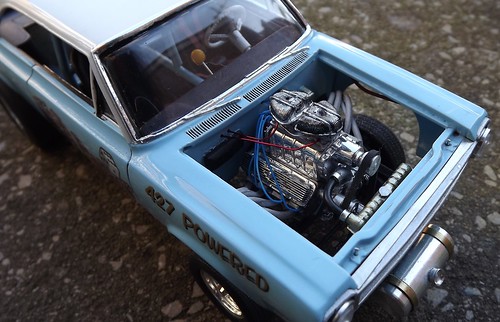 DSCF8655 DSCF8655 by doomcrew, on Flickr 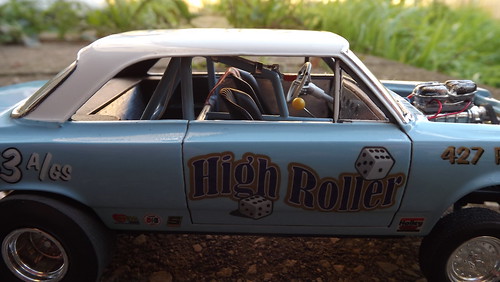 DSCF8663 DSCF8663 by doomcrew, on Flickr 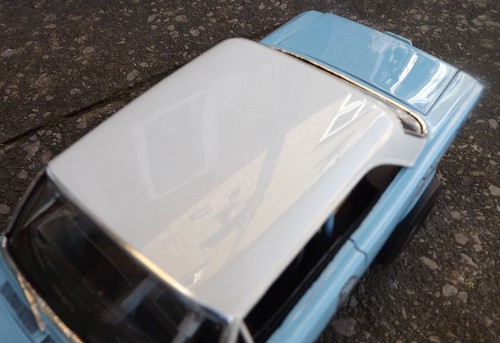 DSCF8666 DSCF8666 by doomcrew, on Flickr 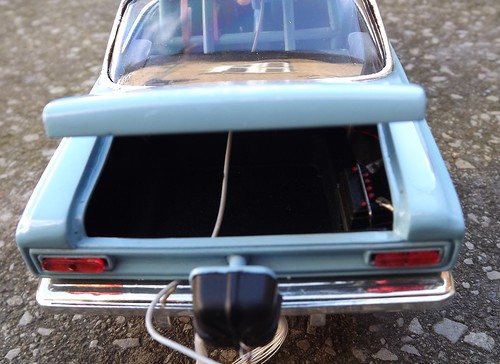 DSCF8661 DSCF8661 by doomcrew, on Flickr 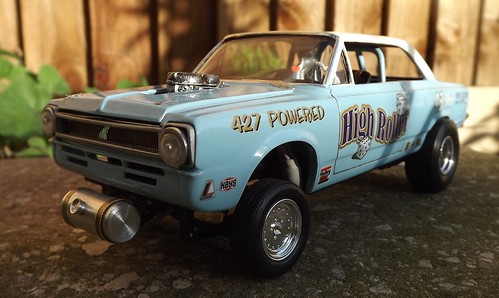 DSCF8671 DSCF8671 by doomcrew, on Flickr  DSCF8673 DSCF8673 by doomcrew, on Flickr 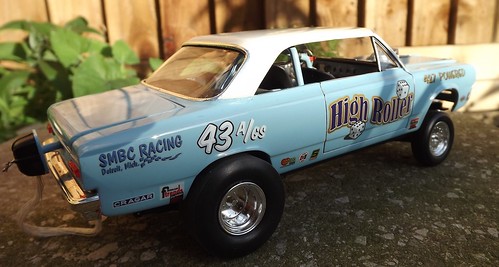 DSCF8675 DSCF8675 by doomcrew, on Flickr 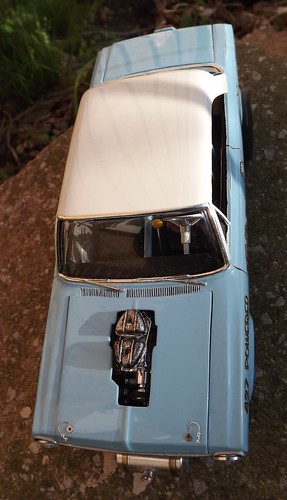 DSCF8678 DSCF8678 by doomcrew, on Flickr 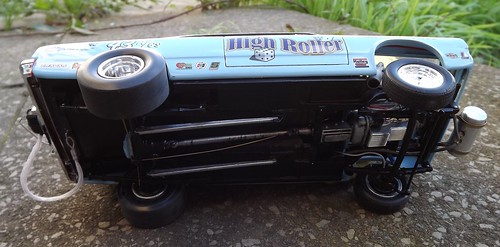 DSCF8662 DSCF8662 by doomcrew, on Flickr |
|
|
|
Post by Bert on Dec 10, 2014 10:35:44 GMT -6
That Rambler turned out fantastic. Really Really nice work! Very nice detailing work.
|
|
|
|
Post by bugaboo on Jan 2, 2015 10:38:42 GMT -6
That looks absolutely cool.... I love it :-)
|
|
|
|
Post by hobbybobby on Jan 5, 2015 14:42:06 GMT -6
You've done another skillful build, Steve, great details!  |
|
|
|
Post by enyawnow on Jan 14, 2015 21:41:38 GMT -6
Very well done!!!
|
|
|
|
Post by Dennis M on Feb 4, 2015 0:08:57 GMT -6
Amazing job' that baby looks real.
|
|
|
|
Post by 57fairlane on Mar 2, 2015 19:48:04 GMT -6
This is a great looking Rambler very very well done !
|
|

