|
|
Post by kabdriver on May 12, 2017 13:26:00 GMT -6
I posted a pic in the general section yesterday that I'd photoshopped for a little fun, but I couldn't get the idea out of my head. I kept thinking and thinking, and then my brain got to thinking what parts I'd need and what I already had, and before you know it I had another build underway this morning. So, my idea was to take a roller coaster car... 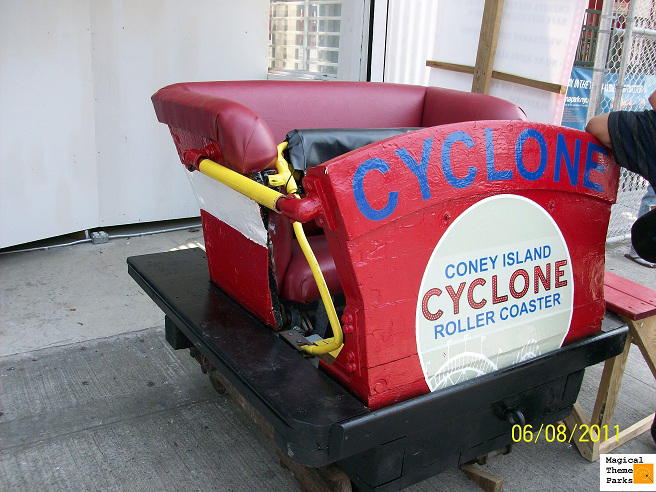 ...use some roller coaster track to make a frame (complete with wooden slats), some big rear meats, tuck an engine under the frame there (with a big high exhaust) and throw in whatever other crazy ideas I can come up with... 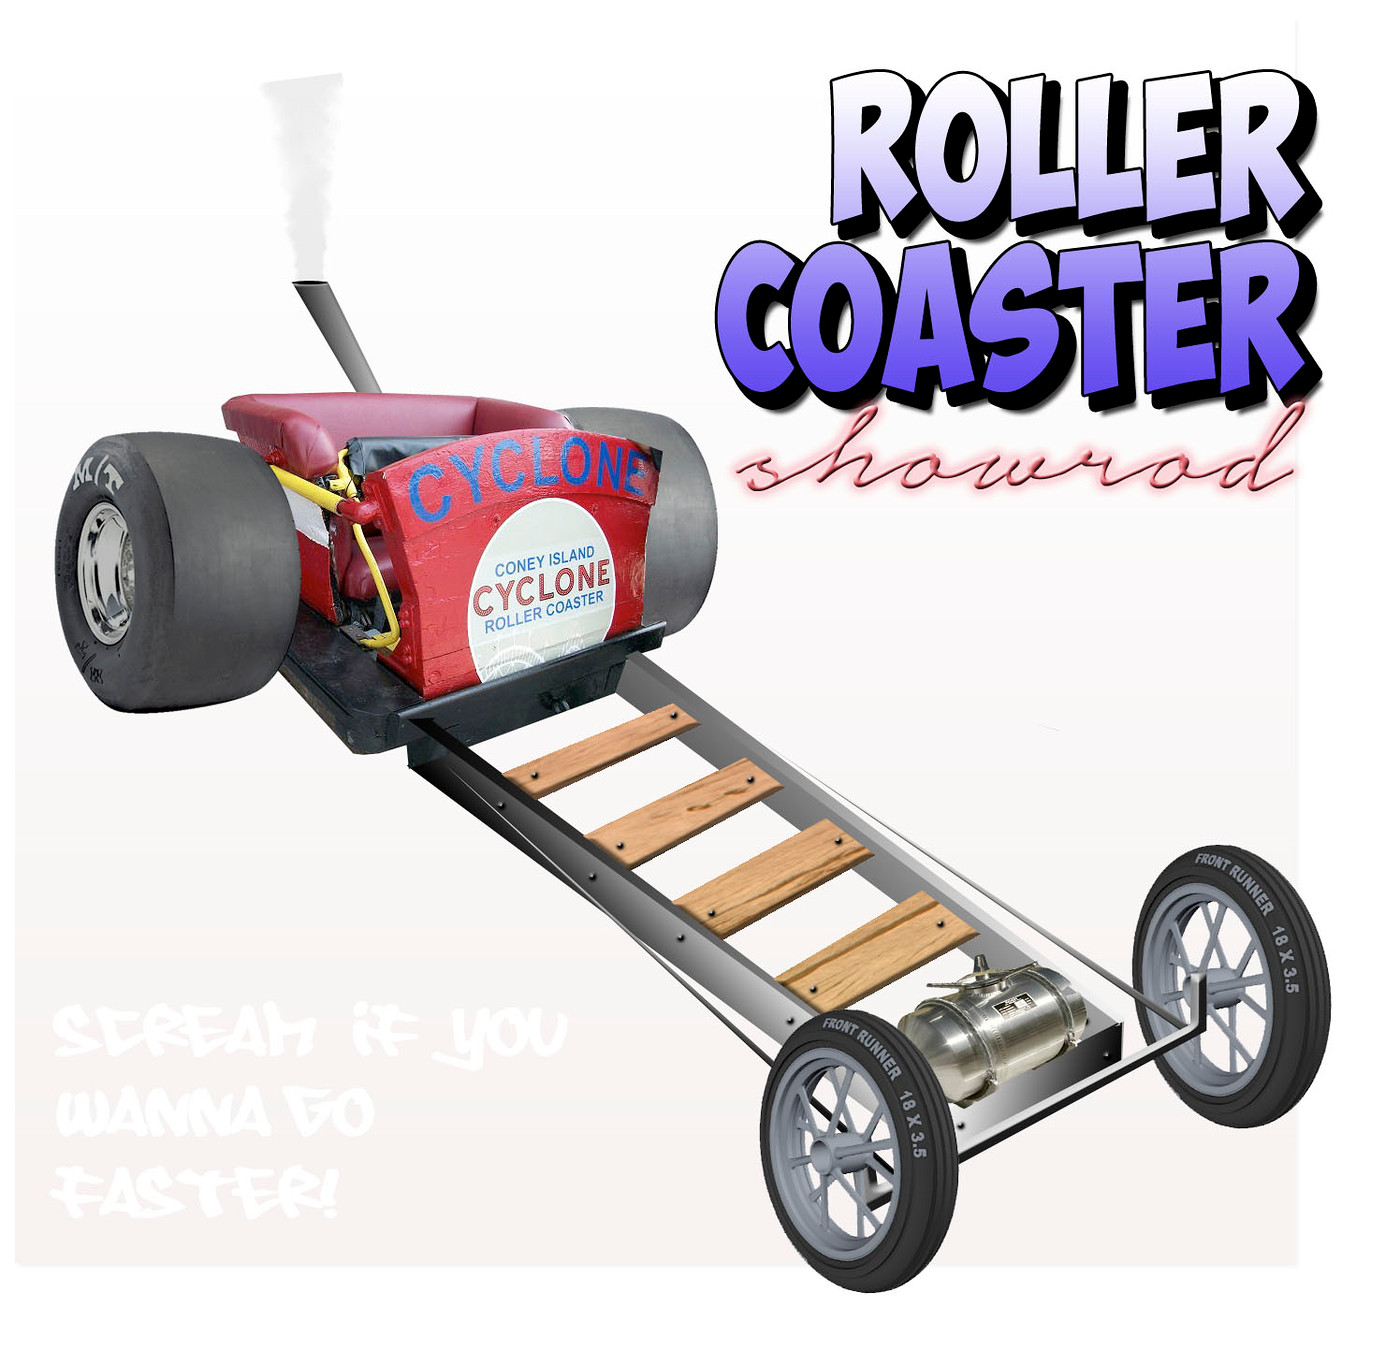 I've got a Roth Road Agent here that isn't complete enough to build but has an engine, I've got a good stock of coffee stirrers from McDonalds and styrene rod and bar...here goes nothing! First up, I cut some rectangular Plastruct bar to make framerails 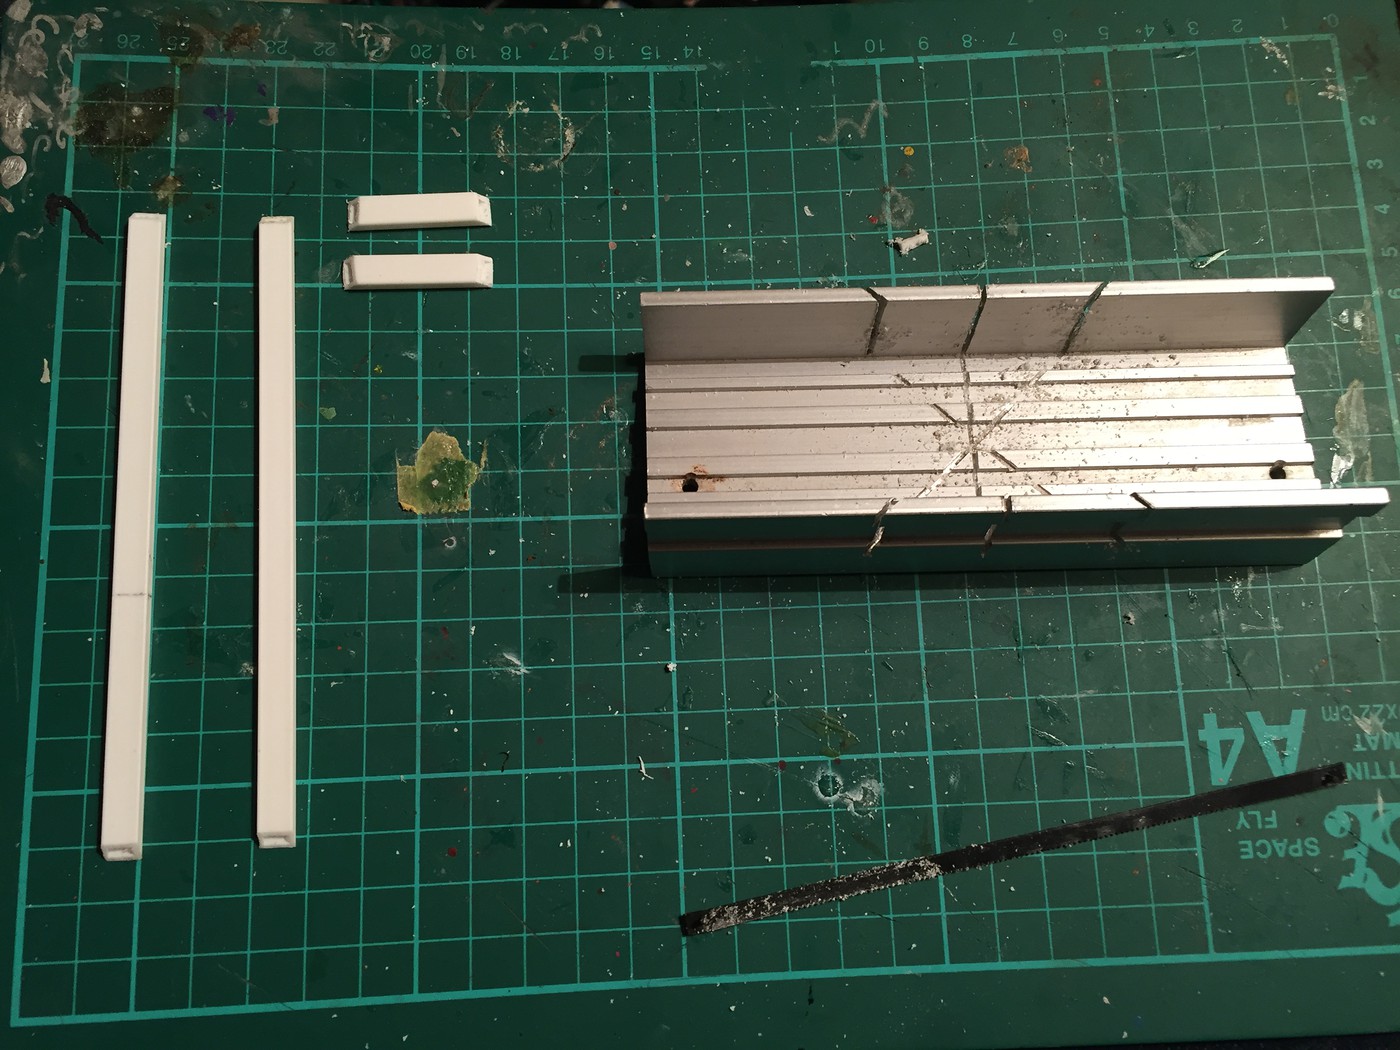 and then drilled the long rails (which I want to represent rollercoaster tracks) to take some rivets for some added detail 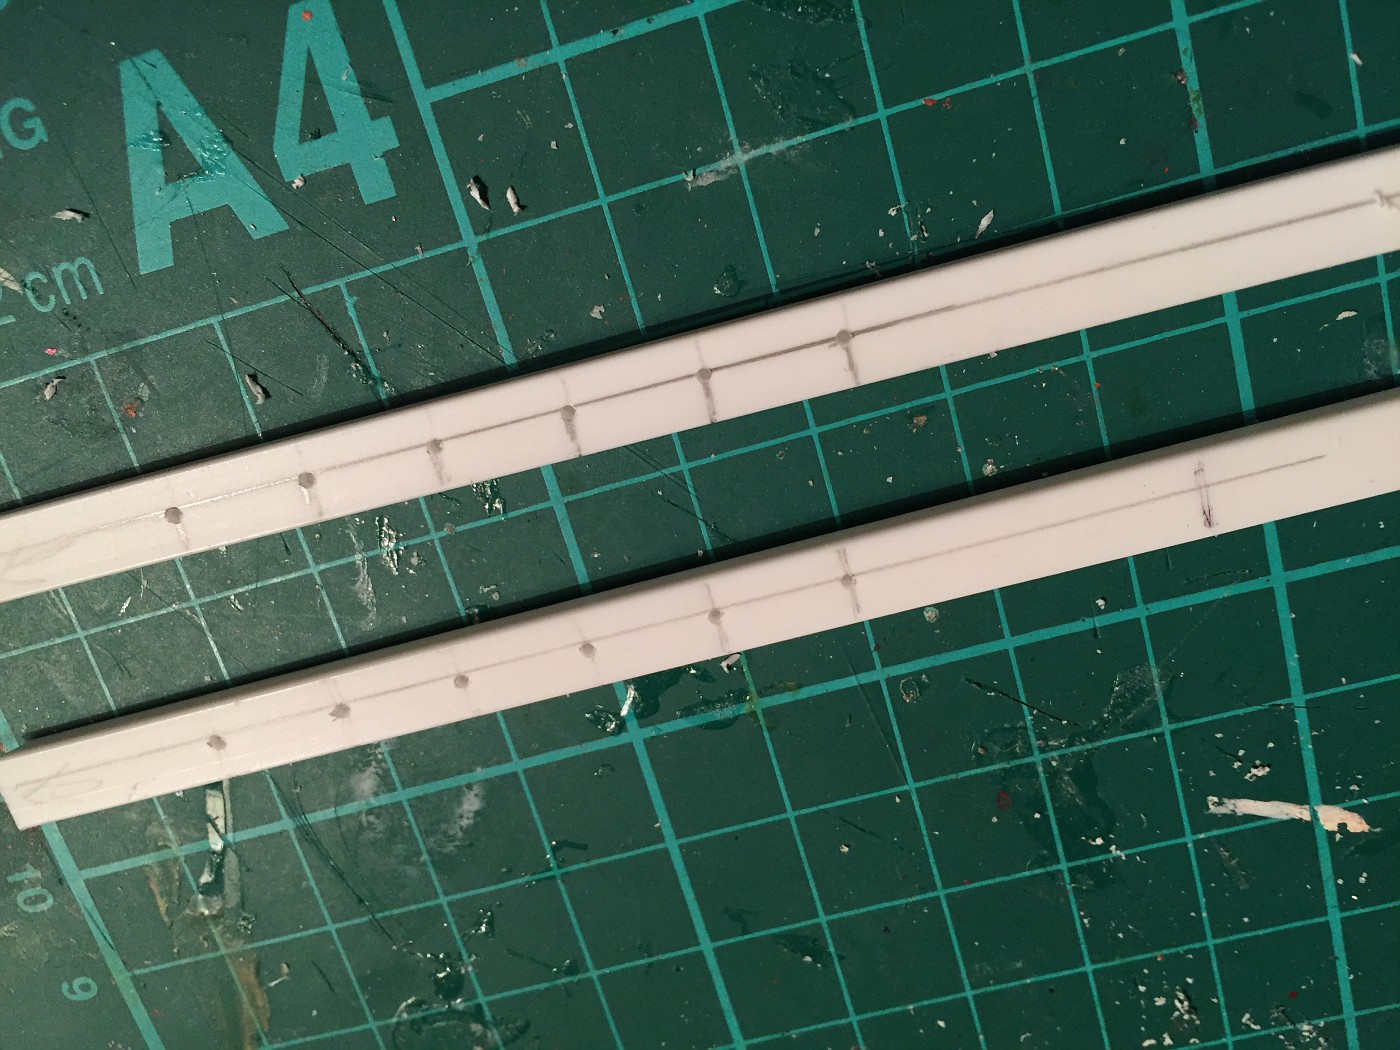 Glued it carefully to keep it square... 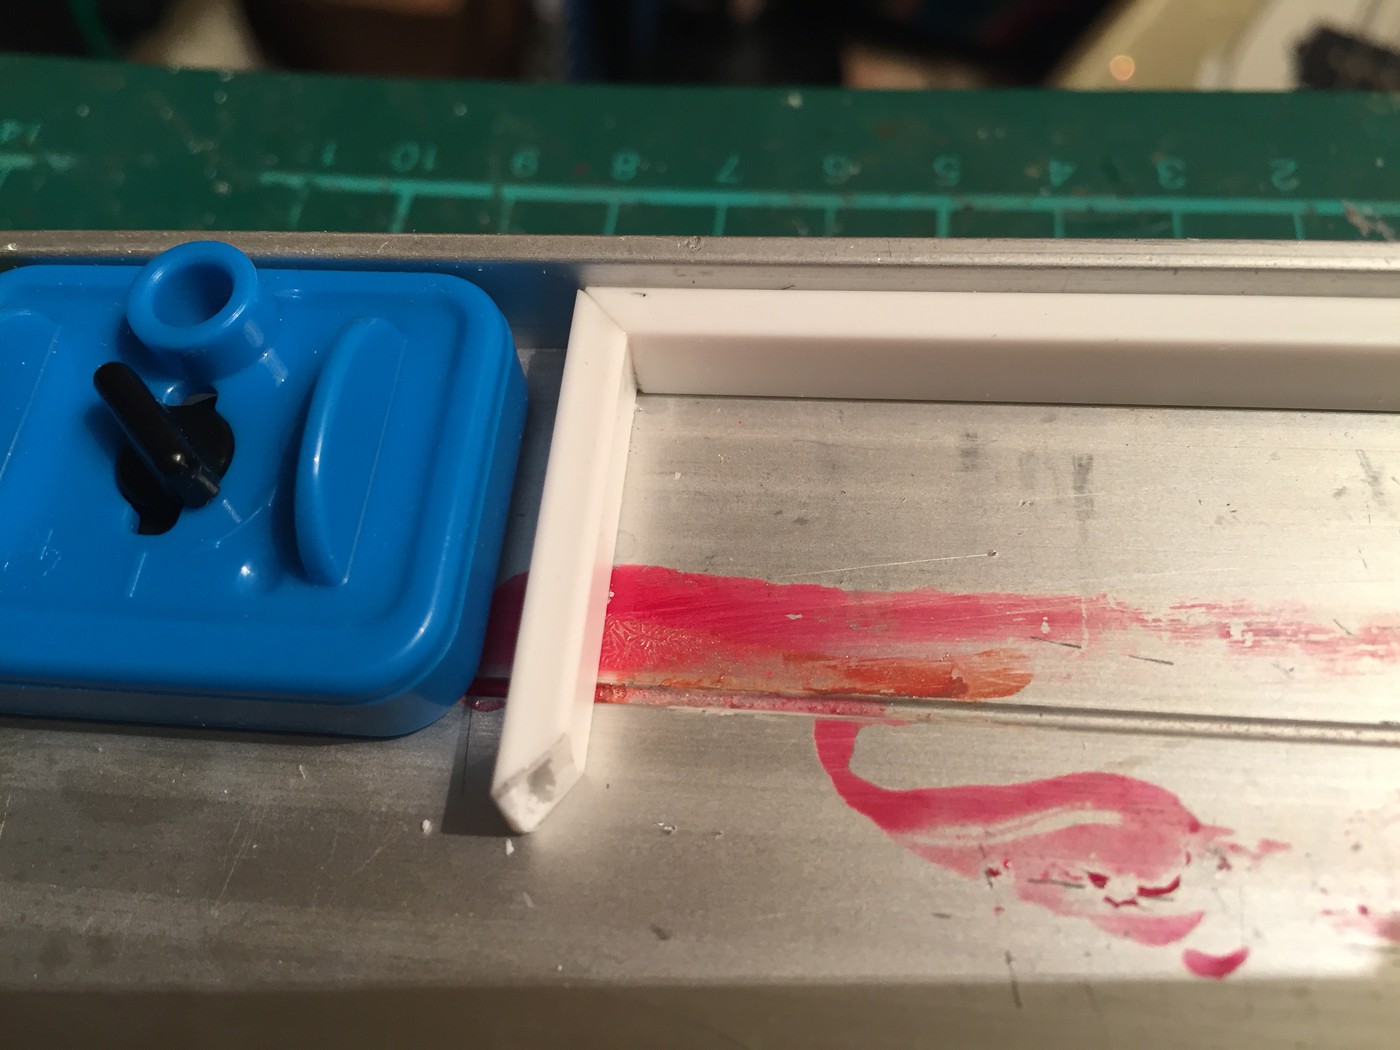 ...and here it is almost completed. I've left the rear piece out for now to see how the engine will fit. 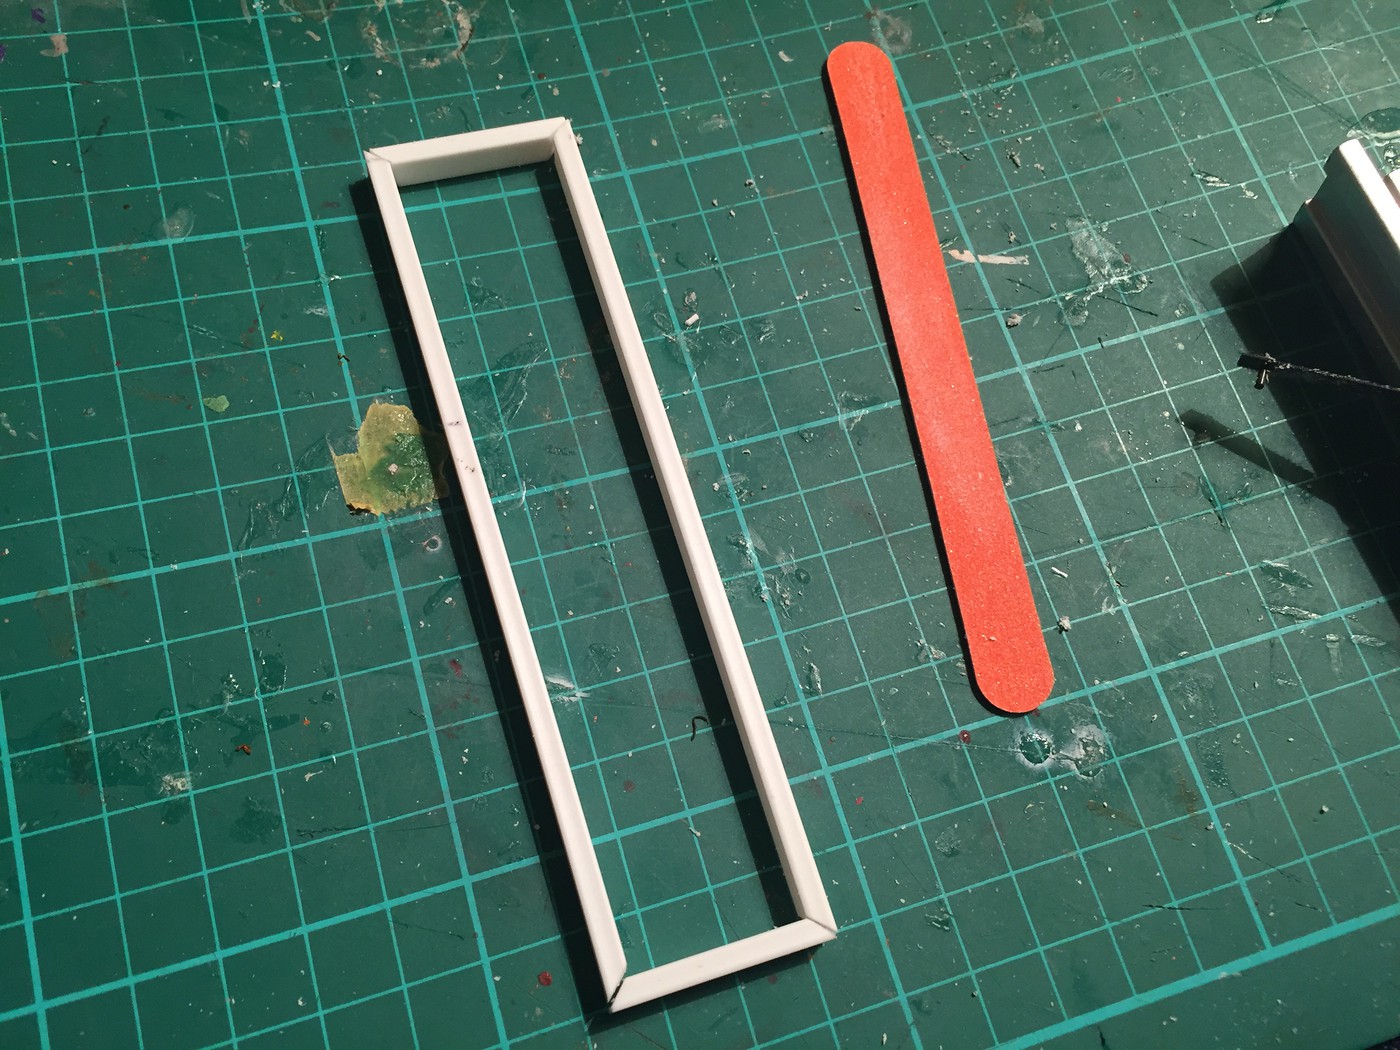 Speaking of which, here's the various bits of the Corvair engine from the Roth Road Agent. It's really nicely detailed! 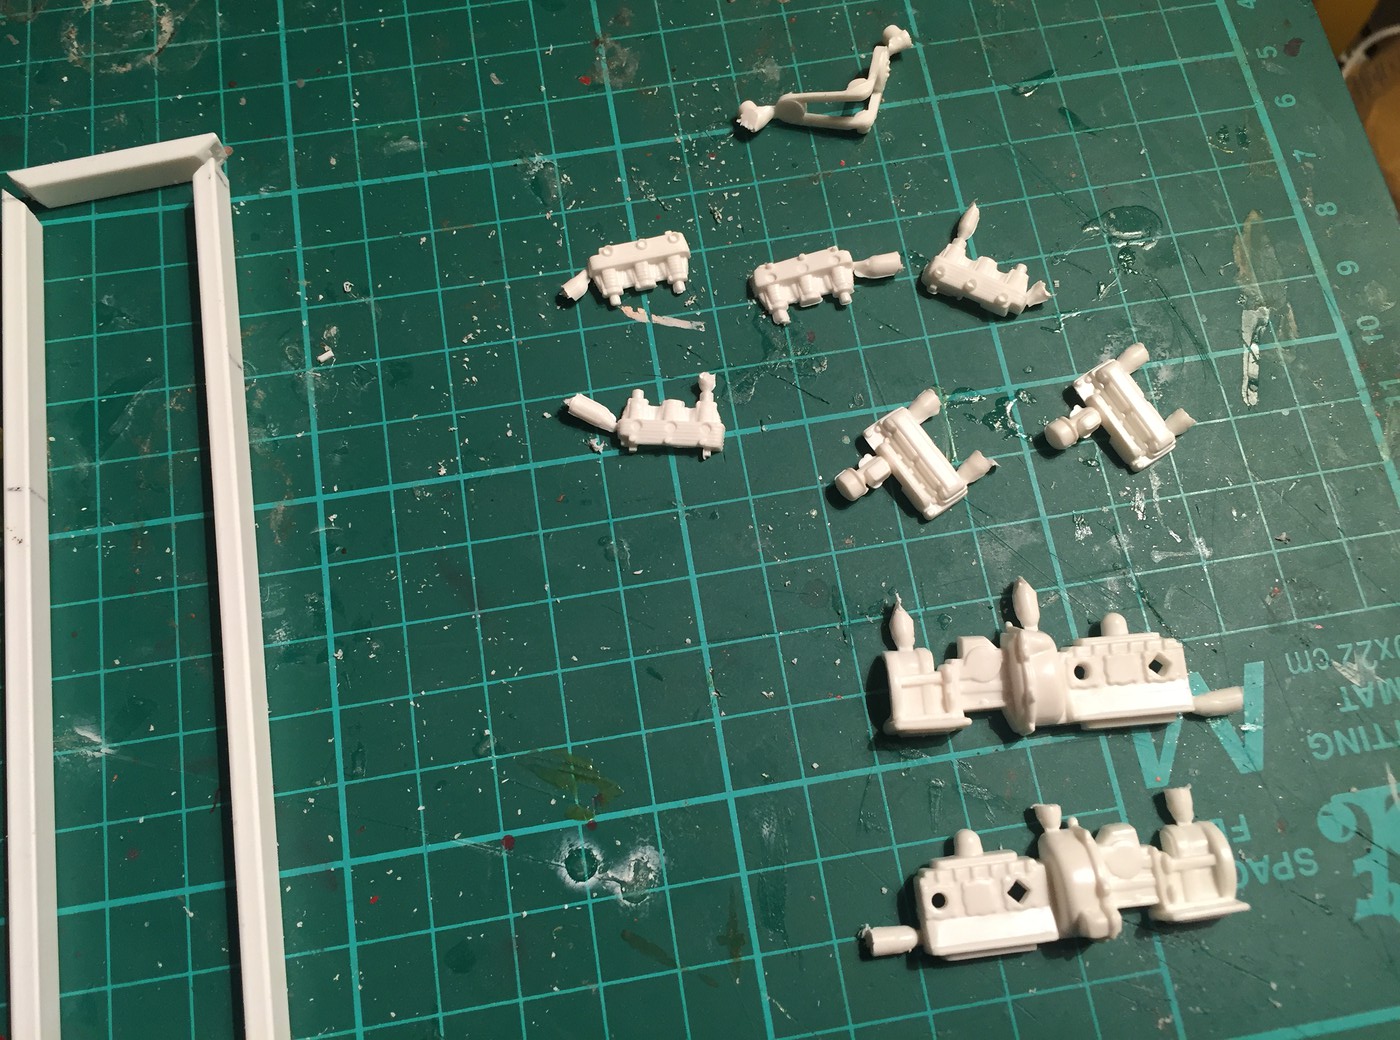 This'll work! 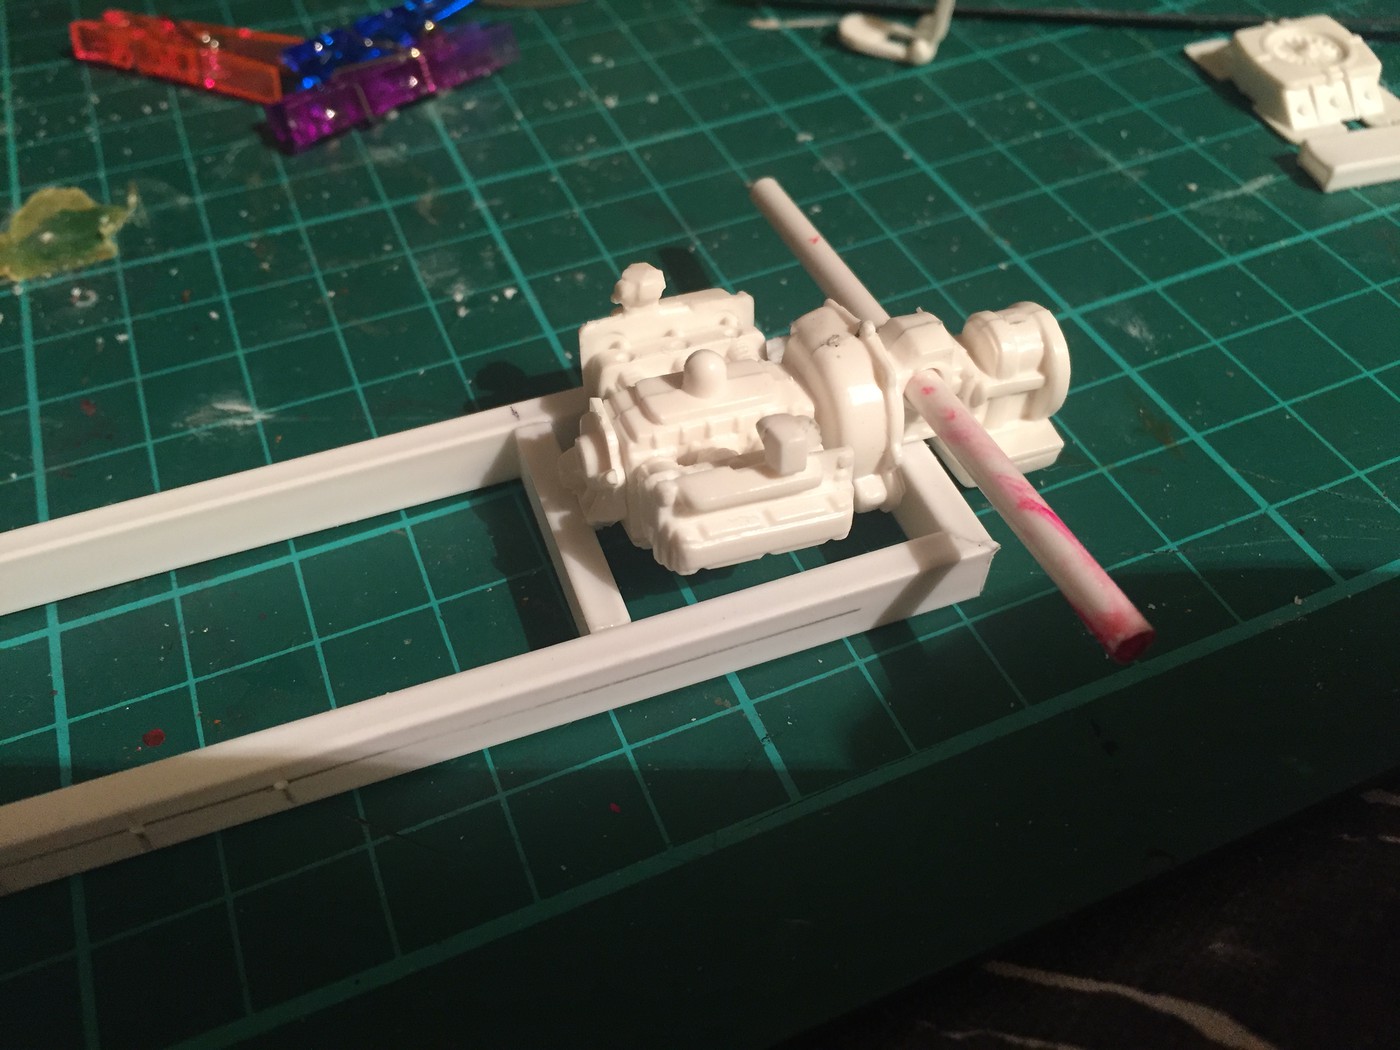 A quick mock up with some Revell Cop Out rear tyres, and a spare Beer Wagon from axle that I happened to have on the workbench to see how the rolling chassis will look...I still need to find some front wheels. 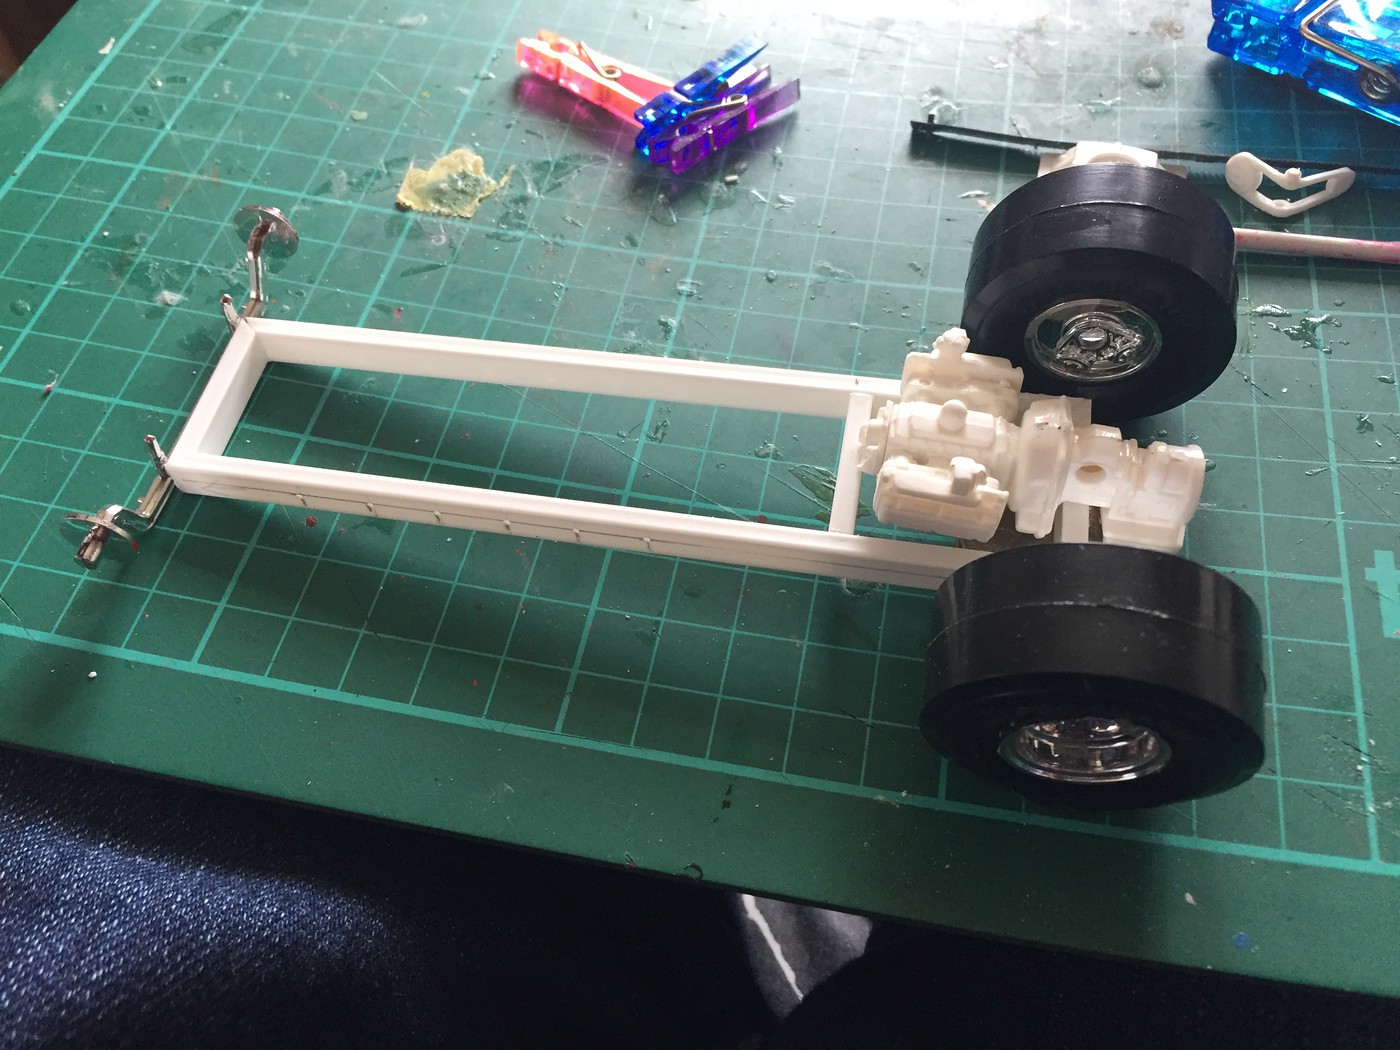 And a quick mock up with some slats - I didn't need to make them yet, but I wanted to see how it looked! 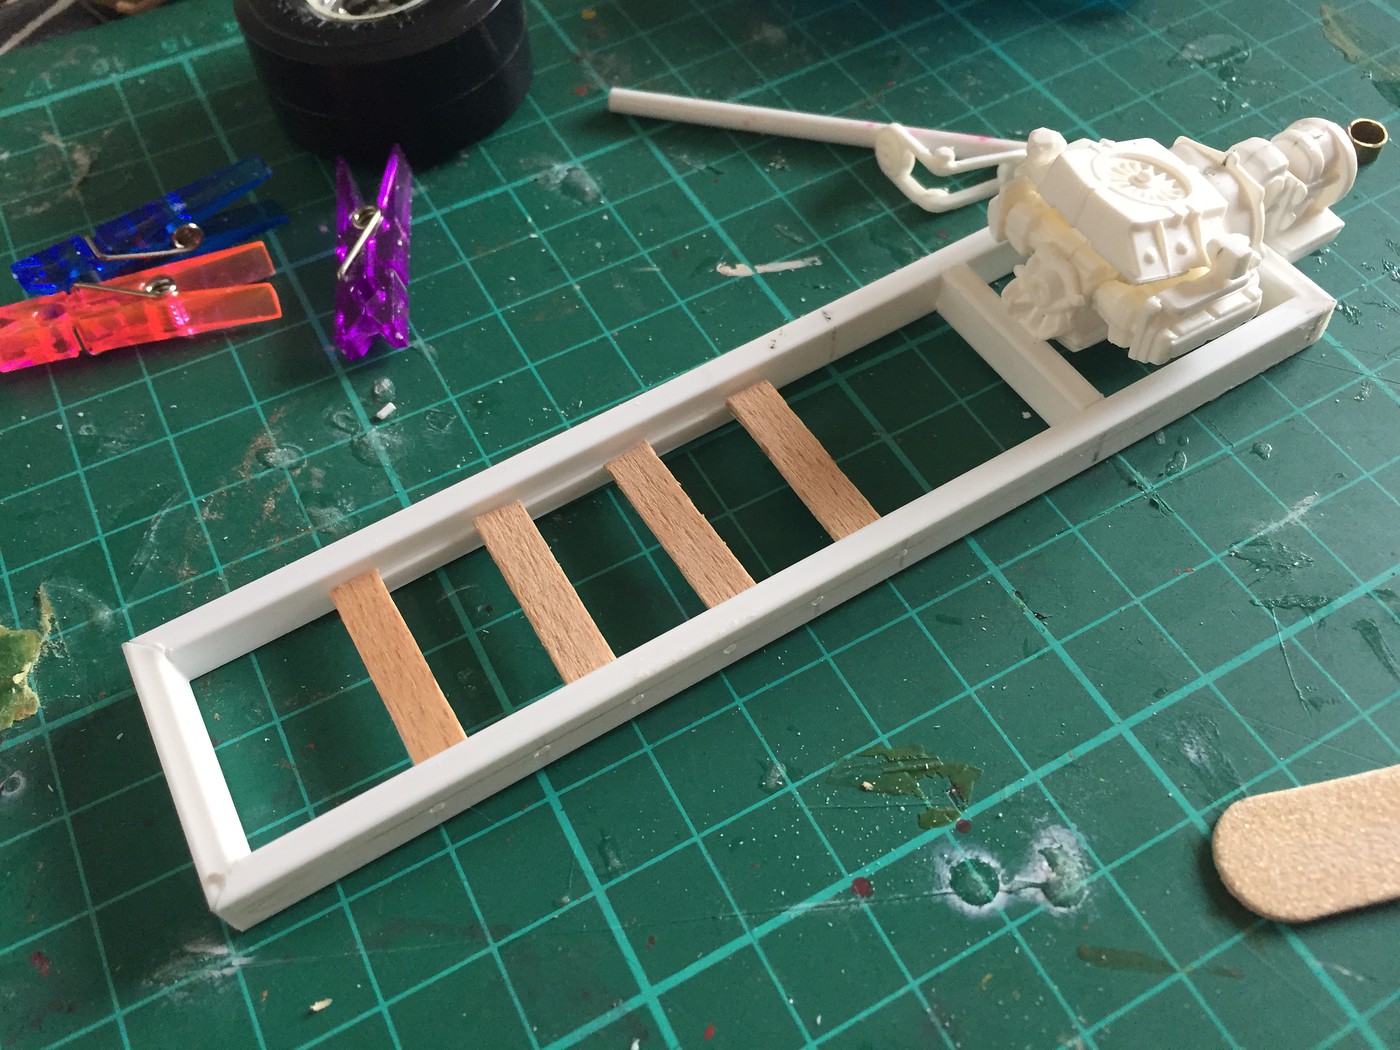 Next up, I need to go find some front wheels that will work so I can get the front end mounted. More soon! |
|
|
|
Post by kabdriver on May 13, 2017 17:37:22 GMT -6
A little progress today - I was thinking about a way to do something itneresting with an air intake for this car. The engine will be tucked under the seat and wouldn't have a particularly good supply of air, but I didn't want to just add a regular blower scoop or something. First I bent some styrene bar running from the carbs on either side of the engine out to above the (currently invisible) bodywork... 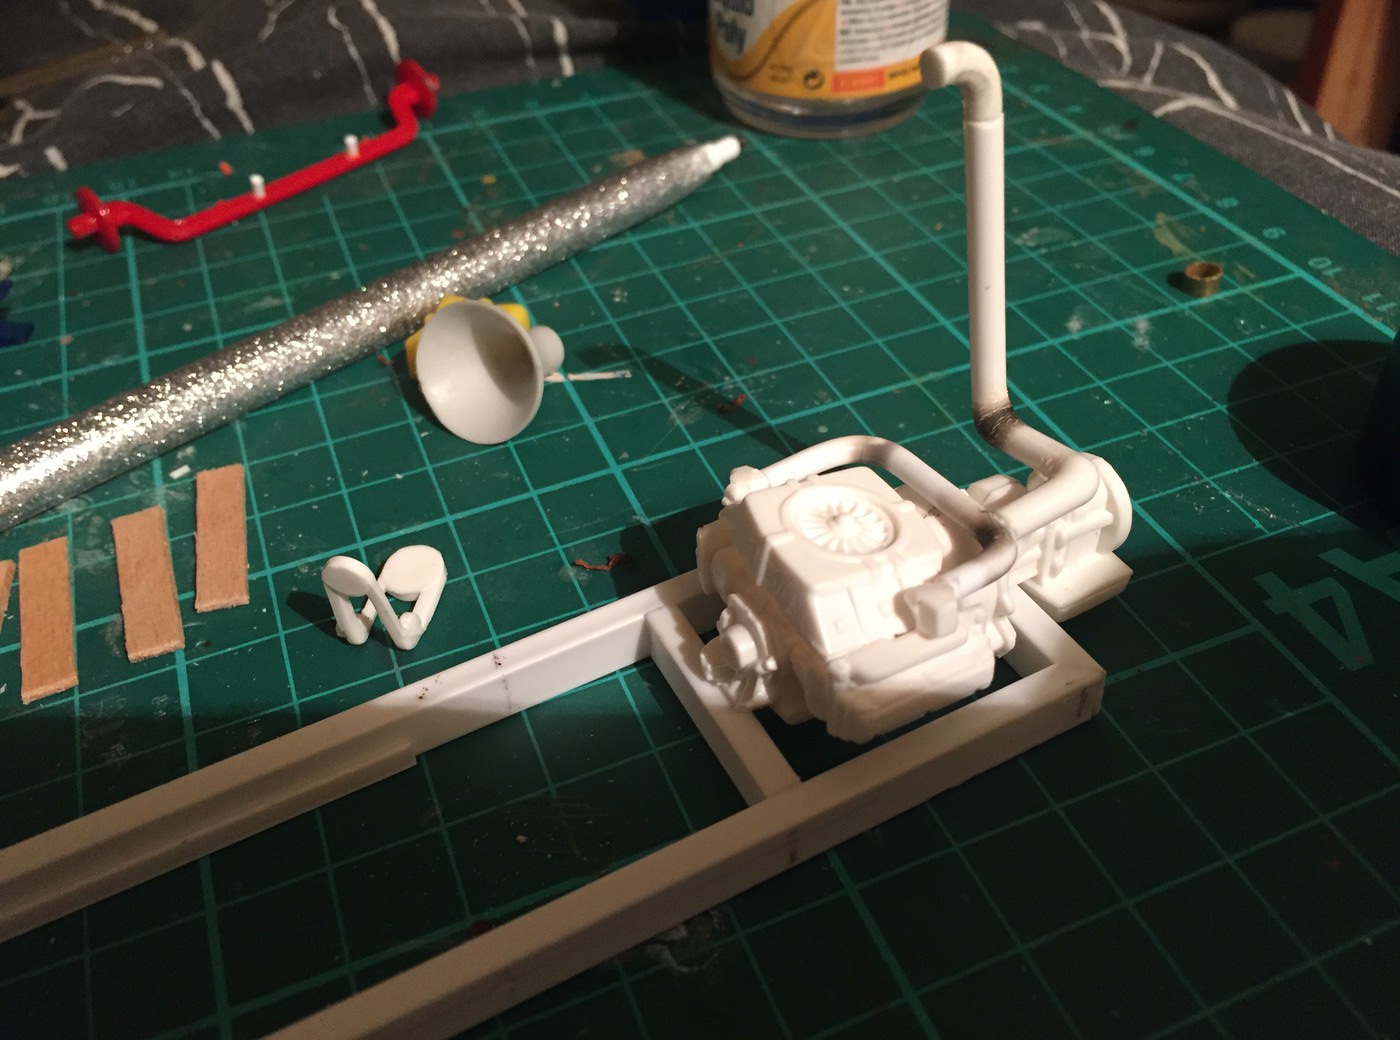 ...and then attached this cool speaker part from a public address systen (made by AMT) which seemed roughly fitting for the theme of this build seeing as roller coasters usually have some music playing or some kind of tannoy to tell people what's going on... 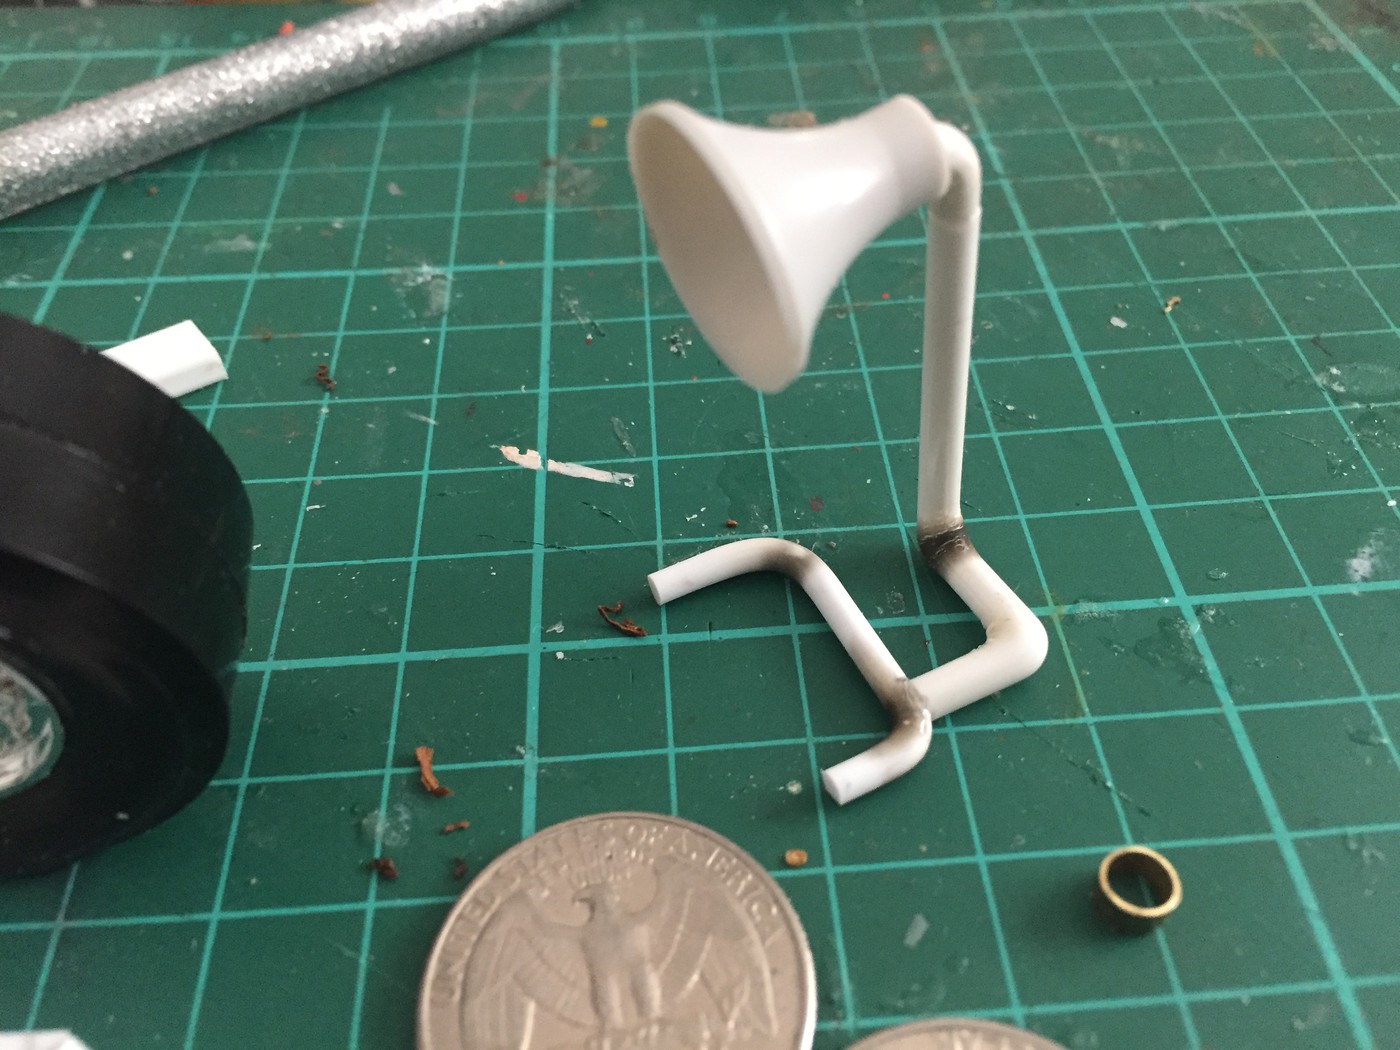 ...et voila! 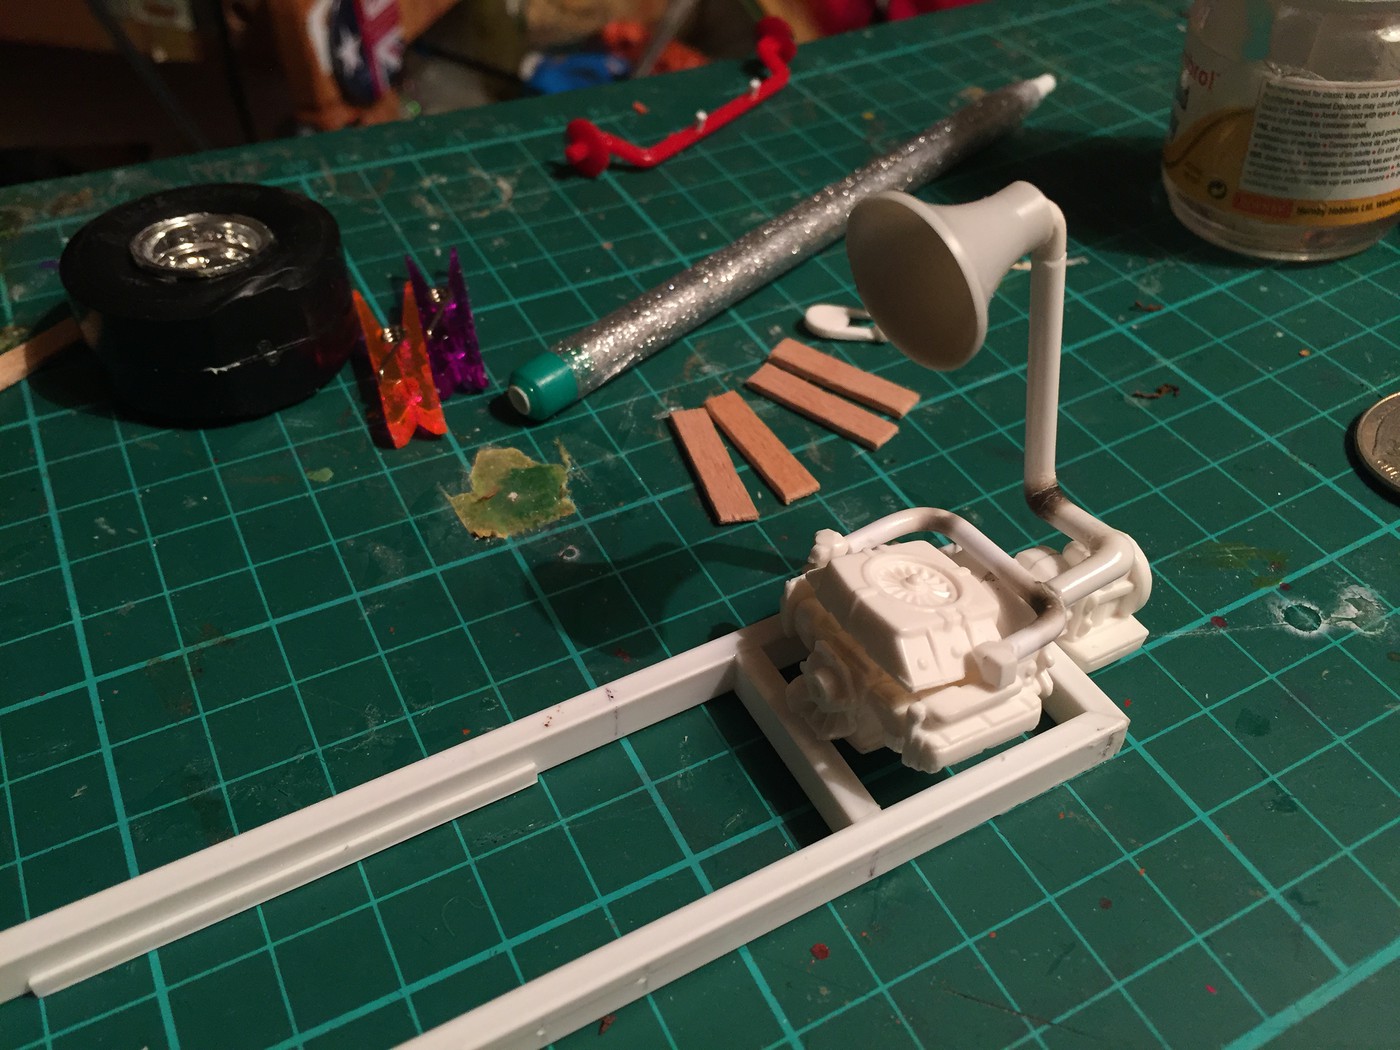 I like it! I stil need to figure out what to do with an exhaust system - that may well be tomorrow's job. I had so much fun doing that I didn't get the chassis finished like I wanted, but I stripped the chrome to the Beer Wagon front axle that I'm using, affixed some pins to the back and drilled the chassis to accept it 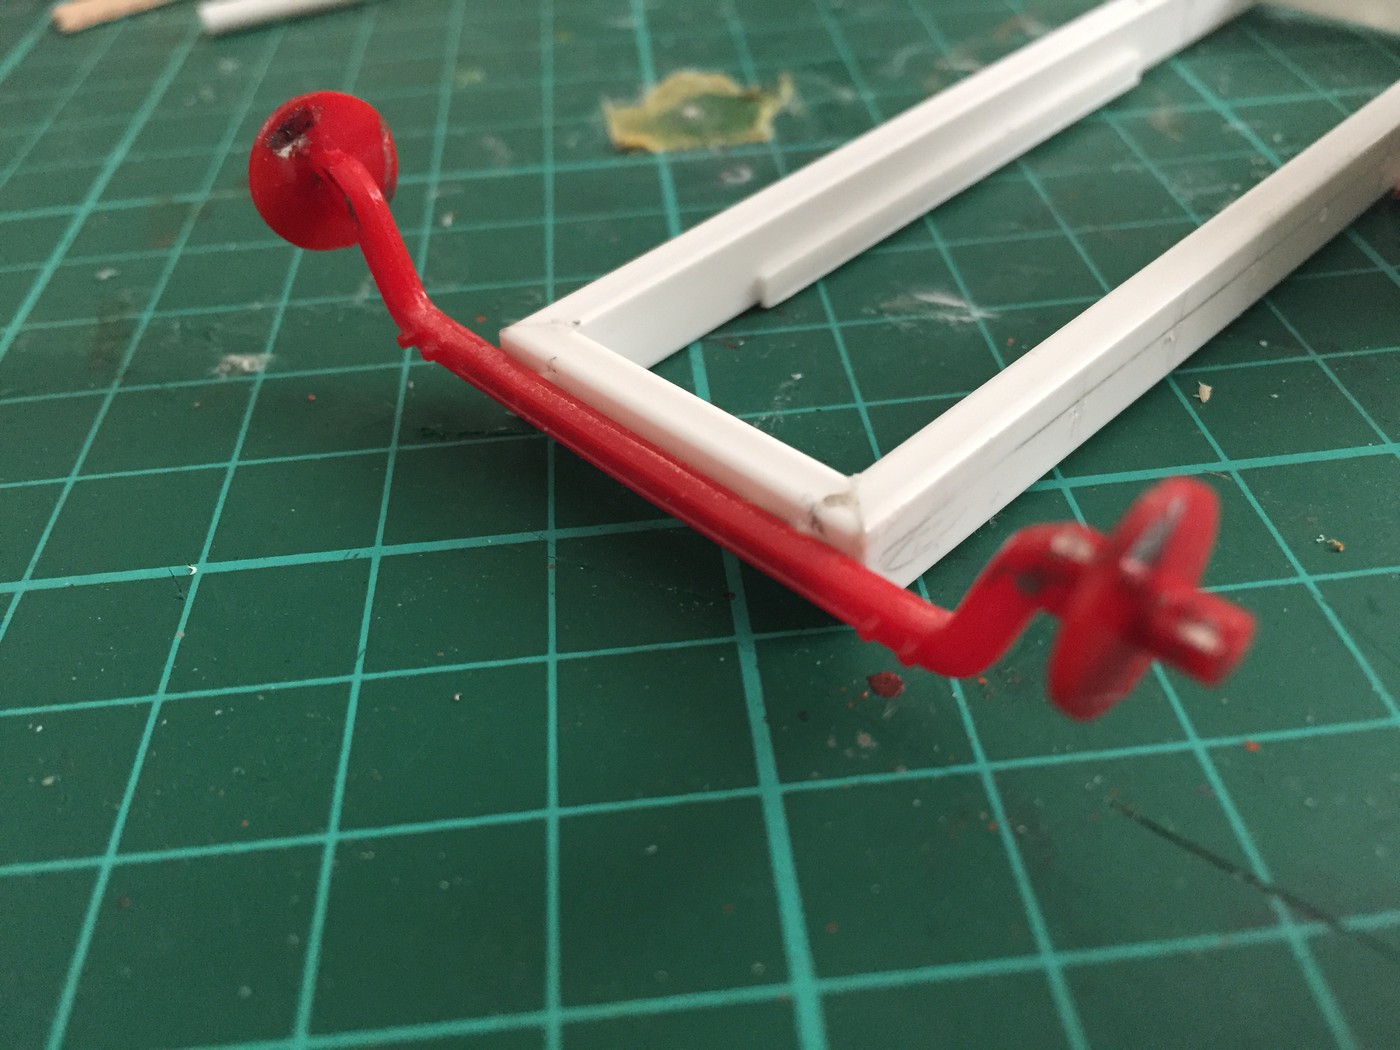 No need for suspension on a car designed to run on rails! Anyway, more tomorrow - I need to make some boring bits for the chassis to hold the rear end and engine in place properly which I've ben putting off today, but I should get those done so I can get to more fun stuff! |
|
Deleted
Deleted Member
Posts: 0
|
Post by Deleted on May 14, 2017 8:42:58 GMT -6
Cool idea!!! I have wanted to build a 'ride' theme showrod since I saw the Freakshow on Vegas Rat Rods TV show.
|
|
|
|
Post by kabdriver on May 14, 2017 10:01:26 GMT -6
Cool idea!!! I have wanted to build a 'ride' theme showrod since I saw the Freakshow on Vegas Rat Rods TV show. Ohh, I've never seen that show - I'll go check it out. The car looks cool though!  |
|
Deleted
Deleted Member
Posts: 0
|
Post by Deleted on May 14, 2017 11:18:59 GMT -6
The back seat is a Ferris wheel seat!! That's what got me started!
|
|
|
|
Post by kabdriver on May 14, 2017 20:54:52 GMT -6
The back seat is a Ferris wheel seat!! That's what got me started! From Coney Island too, no less! This show is GREAT, thanks for putting me onto it Dave! I'm gonna watch another one now! Meanwhile, spent some time hunting for parts today...I'm trying to find a good seat that looks like a sofa - complete with arms and stuff. No success yet - any leads anyone? I got it on it's wheels though! 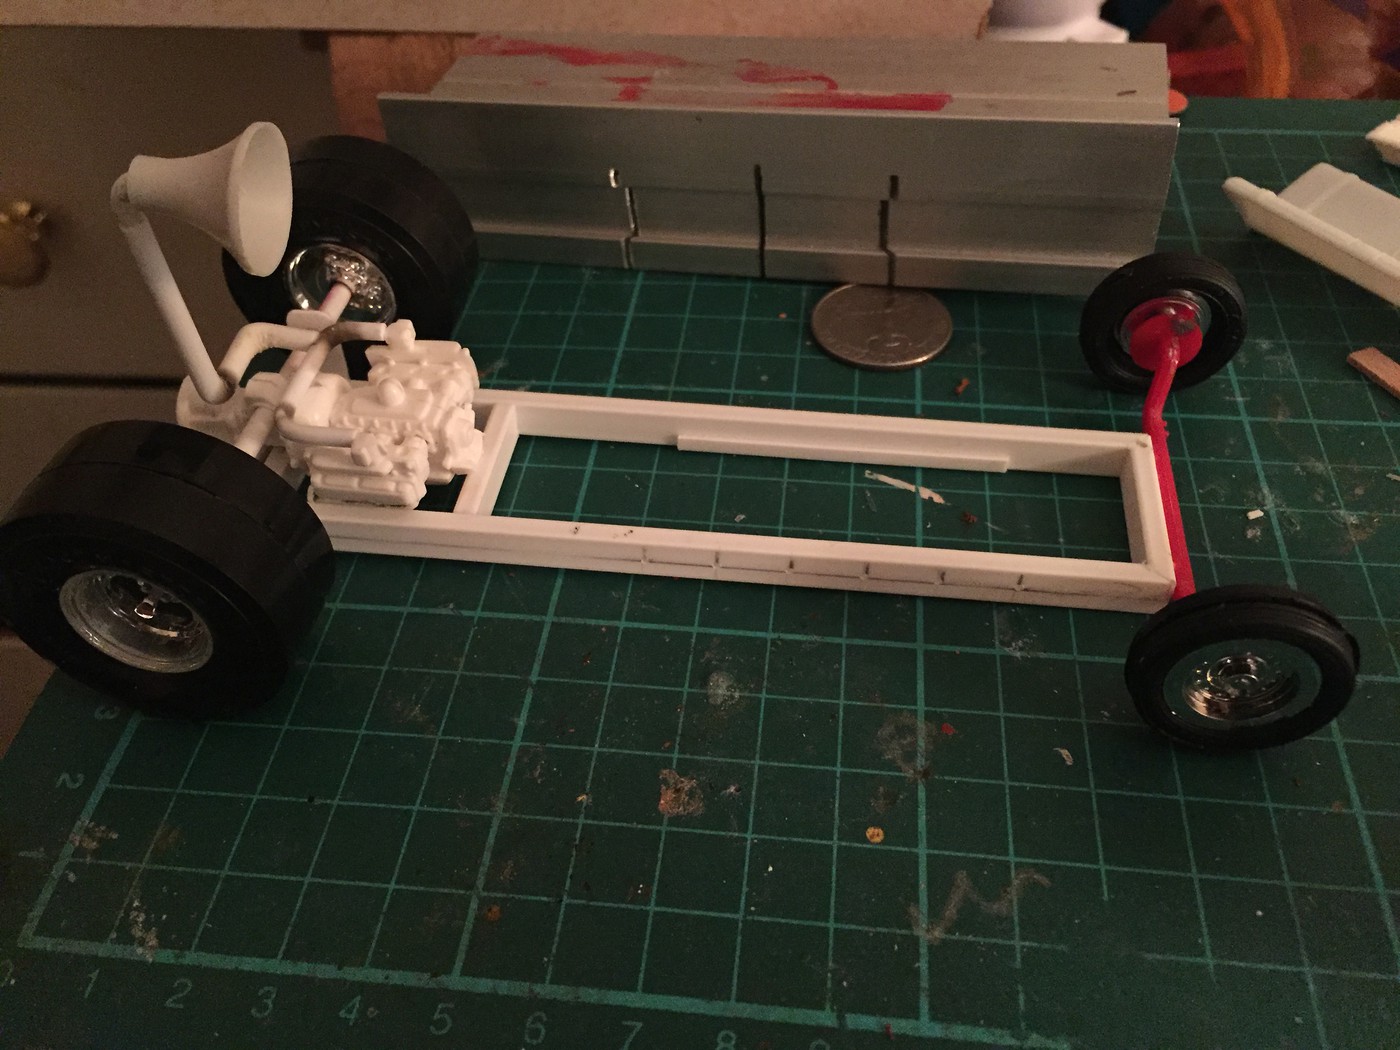 More tomorrow, hopefully! |
|
|
|
Post by bugaboo on May 19, 2017 7:59:34 GMT -6
I dont know anything about it, but would dollhouse furniture be a possibility?  |
|
Deleted
Deleted Member
Posts: 0
|
Post by Deleted on May 19, 2017 8:42:16 GMT -6
How about a basic seat made from sheet stock. Just the outside back, sides and bottom. Then use epoxy putty to make the upholstery. I've done this before. If you do not have any find the blue and yellow ribbon putty that you mix until green. Gives you about an hour to form it.
|
|
|
|
Post by TooOld on May 19, 2017 17:19:56 GMT -6
Cool idea for a Show Rod , I like where you're headed with it !  |
|
|
|
Post by rocketeer on May 23, 2017 16:49:34 GMT -6
How about a basic seat made from sheet stock. Just the outside back, sides and bottom. Then use epoxy putty to make the upholstery. I've done this before. If you do not have any find the blue and yellow ribbon putty that you mix until green. Gives you about an hour to form it. I'd suggest either Milliput White or Aves Apoxy Sculpt White. Both are much friendlier than the hardware store stuff, easier to work with, and both smooth with water, so you can smooth the surface with a wet brush. Aves: www.avesstudio.com/apoxie/apoxie-sculptMilliput: www.milliput.com/ |
|
|
|
Post by timj on May 24, 2017 4:22:06 GMT -6
I'm liking the look of this. Great idea for a Show Rod.
|
|
|
|
Post by kabdriver on May 24, 2017 5:29:08 GMT -6
Great advice on the furniture guys - im gonna check some dolls house places in the city and see what i can find!
The mother in law is in town this week so ive been exiled from my hobby room...more soon though!
|
|
Deleted
Deleted Member
Posts: 0
|
Post by Deleted on May 24, 2017 7:13:22 GMT -6
How about a basic seat made from sheet stock. Just the outside back, sides and bottom. Then use epoxy putty to make the upholstery. I've done this before. If you do not have any find the blue and yellow ribbon putty that you mix until green. Gives you about an hour to form it. I'd suggest either Milliput White or Aves Apoxy Sculpt White. Both are much friendlier than the hardware store stuff, easier to work with, and both smooth with water, so you can smooth the surface with a wet brush. Aves: www.avesstudio.com/apoxie/apoxie-sculptMilliput: www.milliput.com/I've used them all....still go back to blue/yellow stuff. I buy a good grade online (a big 6 inch spool) and find what I buy is much better than Milliput. Goes to show find what works for you..... |
|
|
|
Post by kabdriver on May 29, 2017 18:56:06 GMT -6
Great tips, thanks guys!!
I cant wait to get my hobby room back so i can get back on this one!
|
|
|
|
Post by kabdriver on Jun 8, 2017 7:36:12 GMT -6
Rejoice! I got my hobby room back!  Straight back to work... I found a lone bench seat at a flea market in tray of random stuff - badges, key rings, troll dolls...and it looked close enough to what I had in mind to work. I need to fabricate the entire roller coaster carriage, so I started with the sides and used the seat to keep everything in place with a little Elmers glue. Sides first... 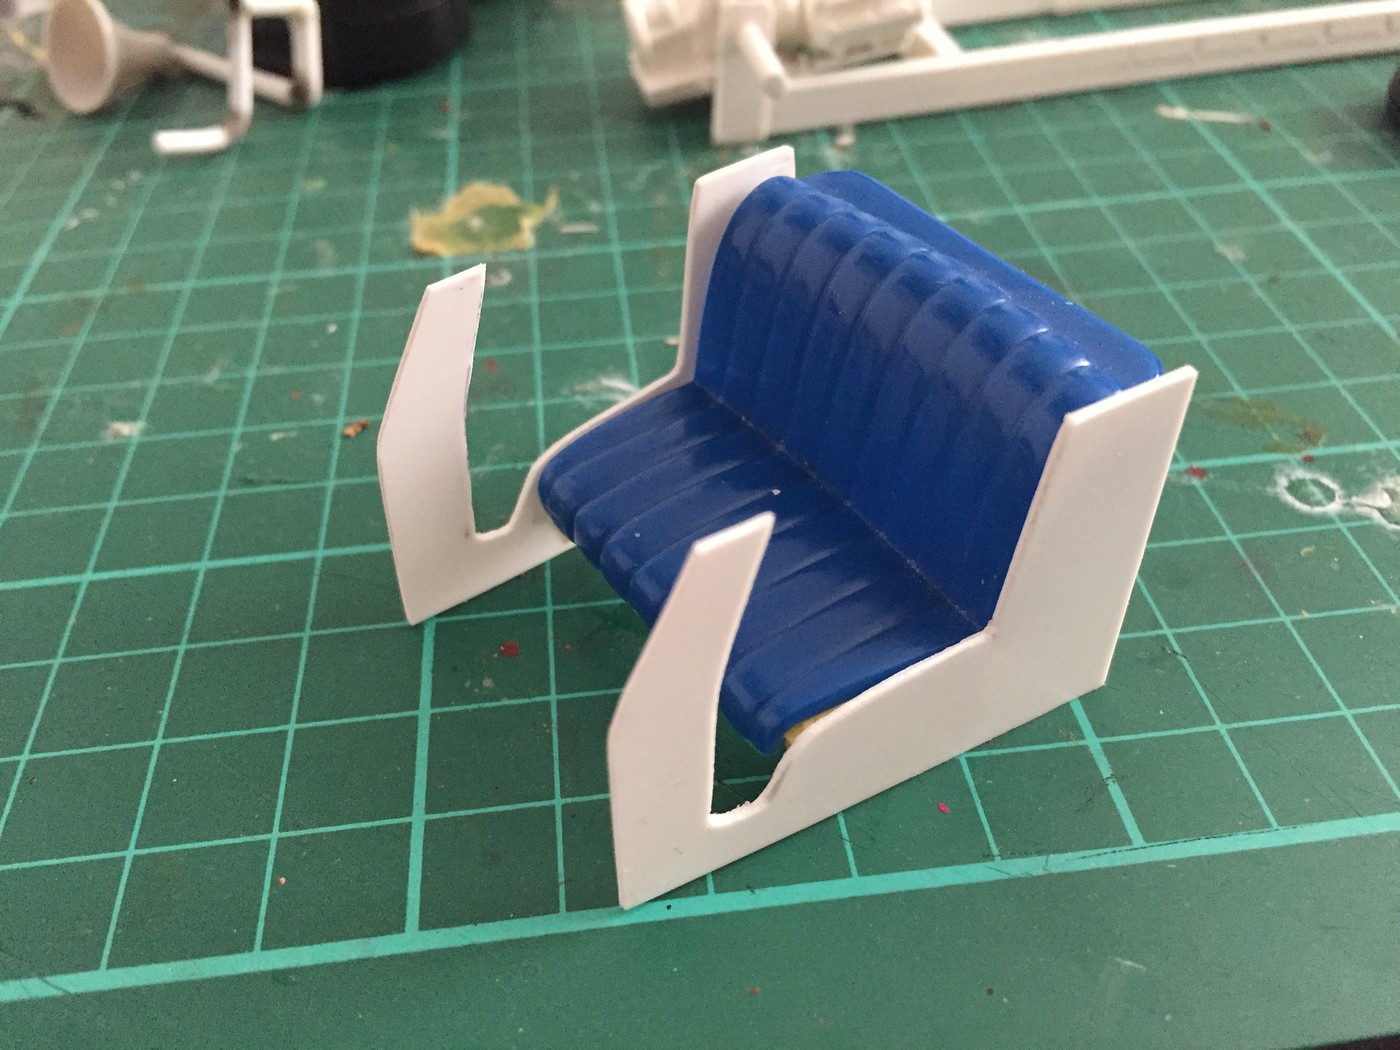 I'm slowy going to build a (mostly hidden) framework to hold it all together, with some tabs to help locate the seat 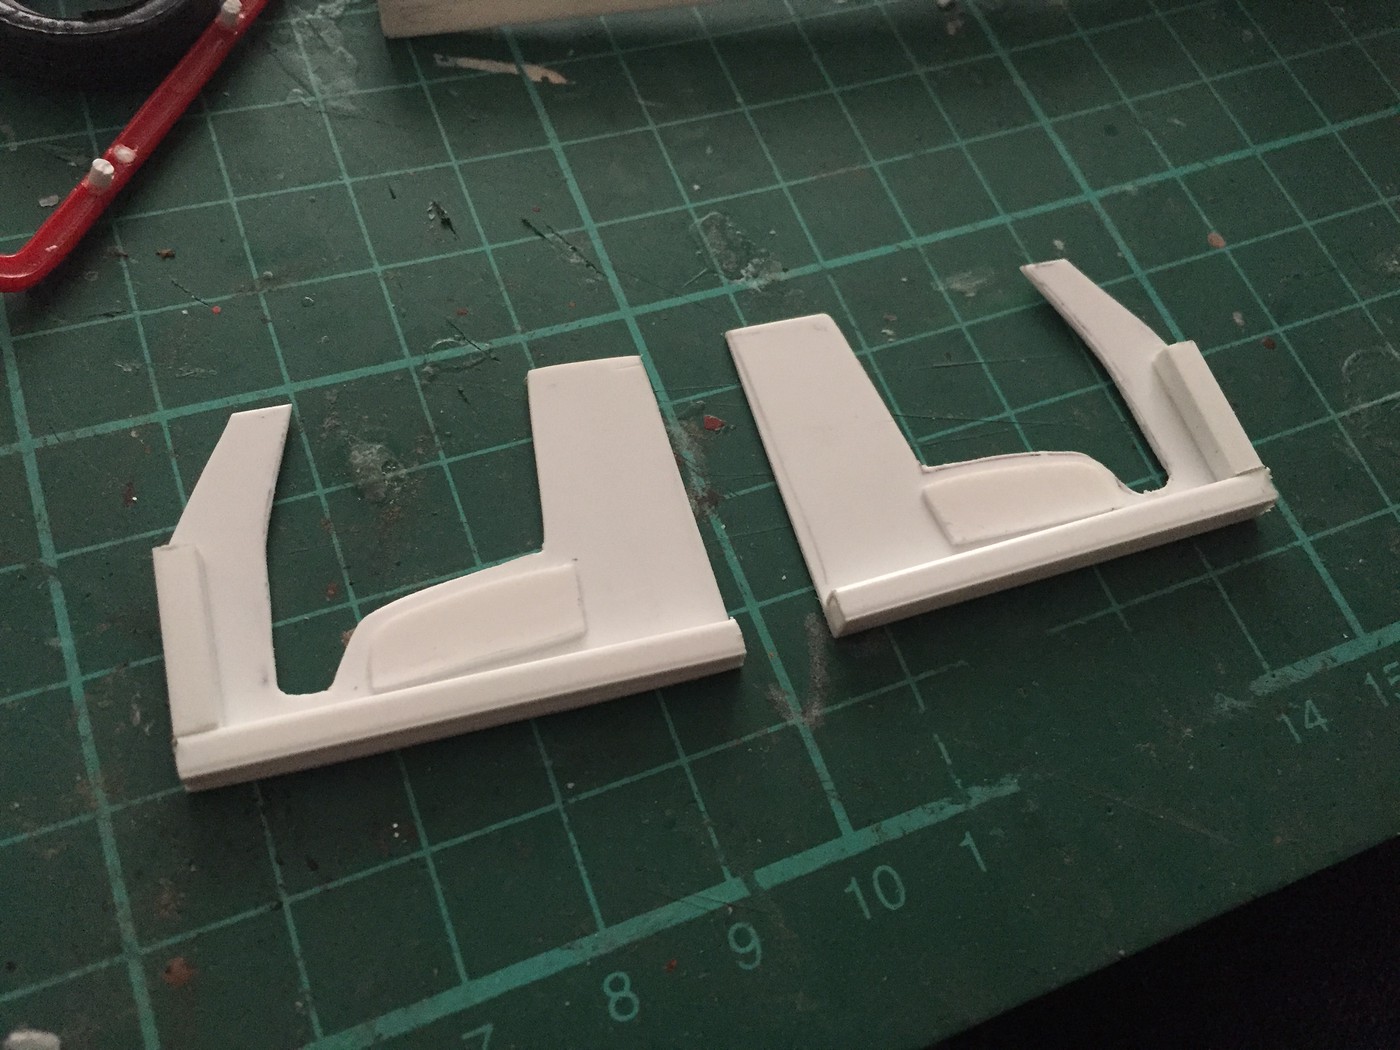 A little framework in the front and back to help it take shape 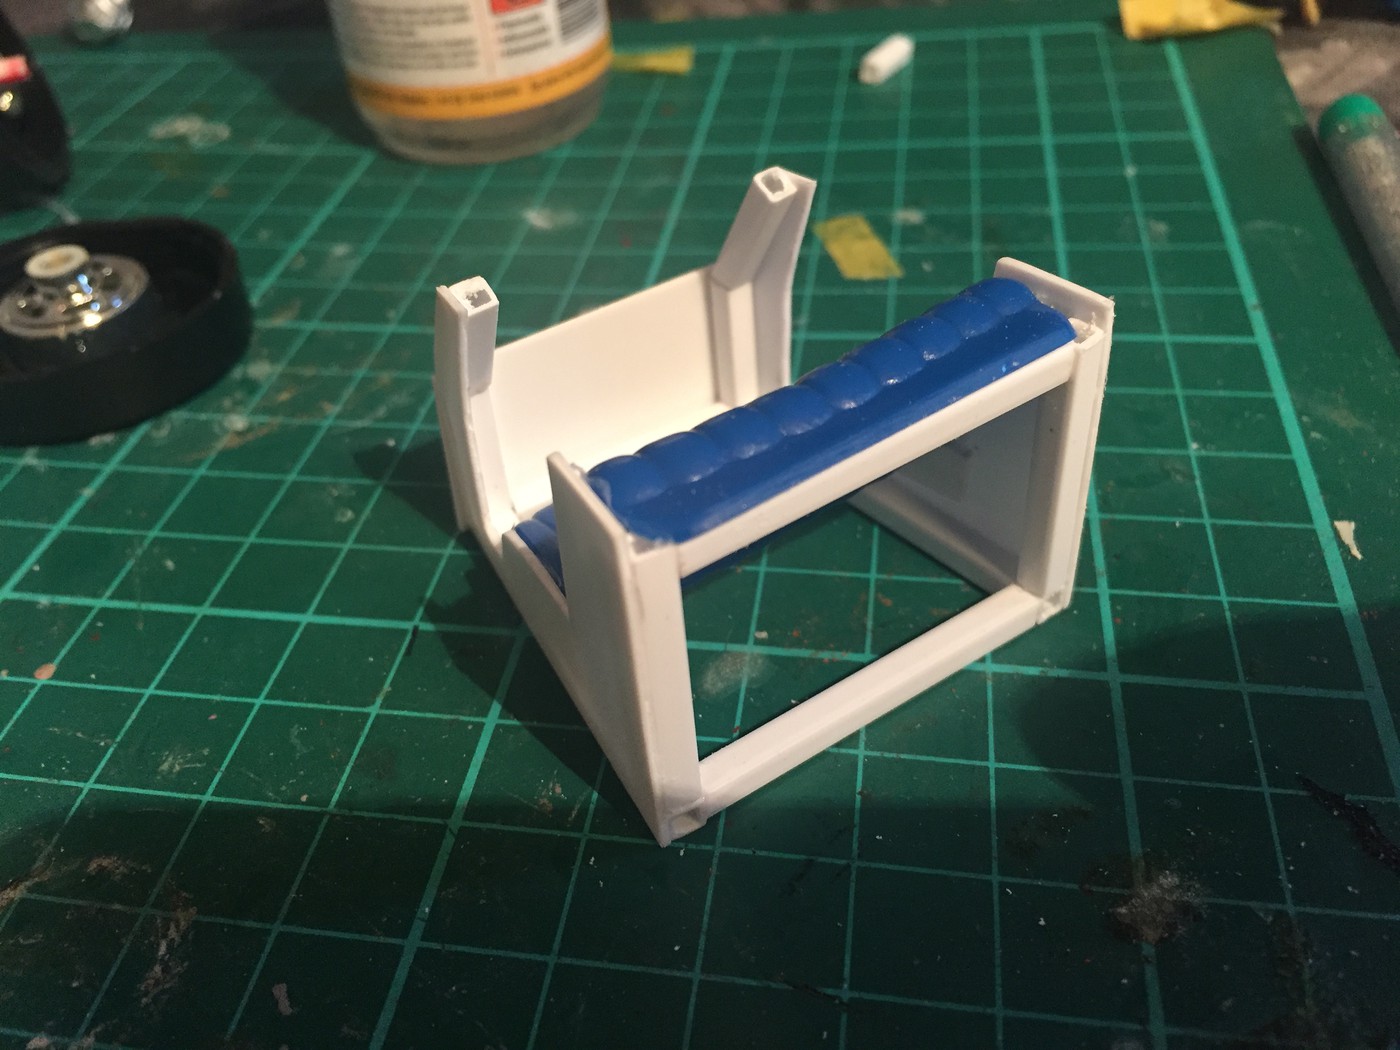 Needs some tidyup and some extra details, but close to what I imagined! 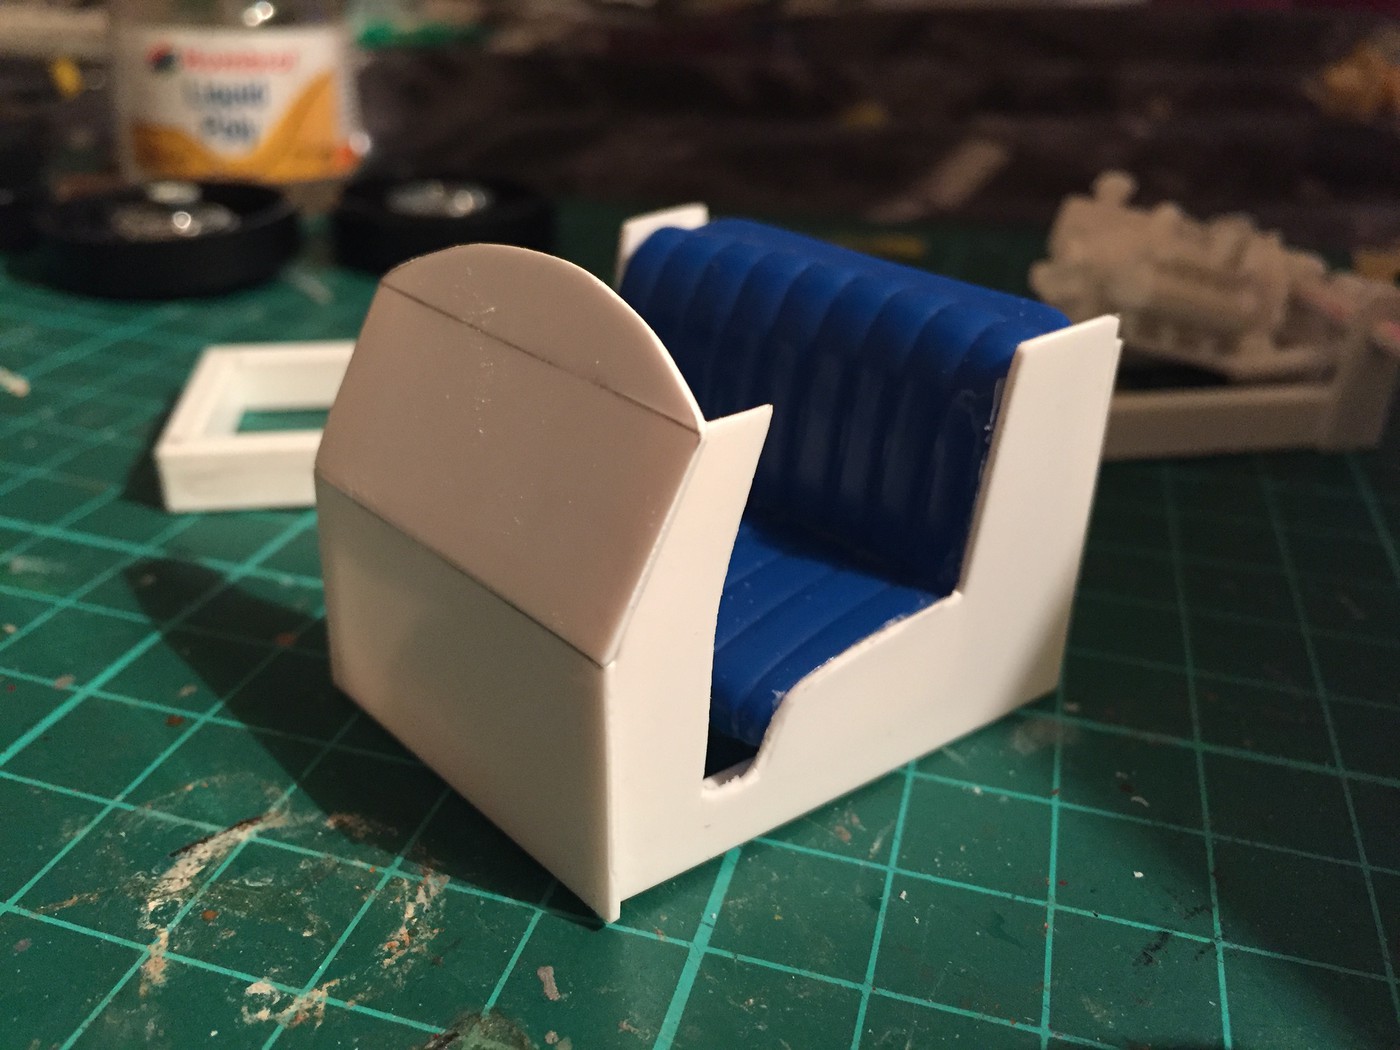 Needs mounts, but it's coming together! 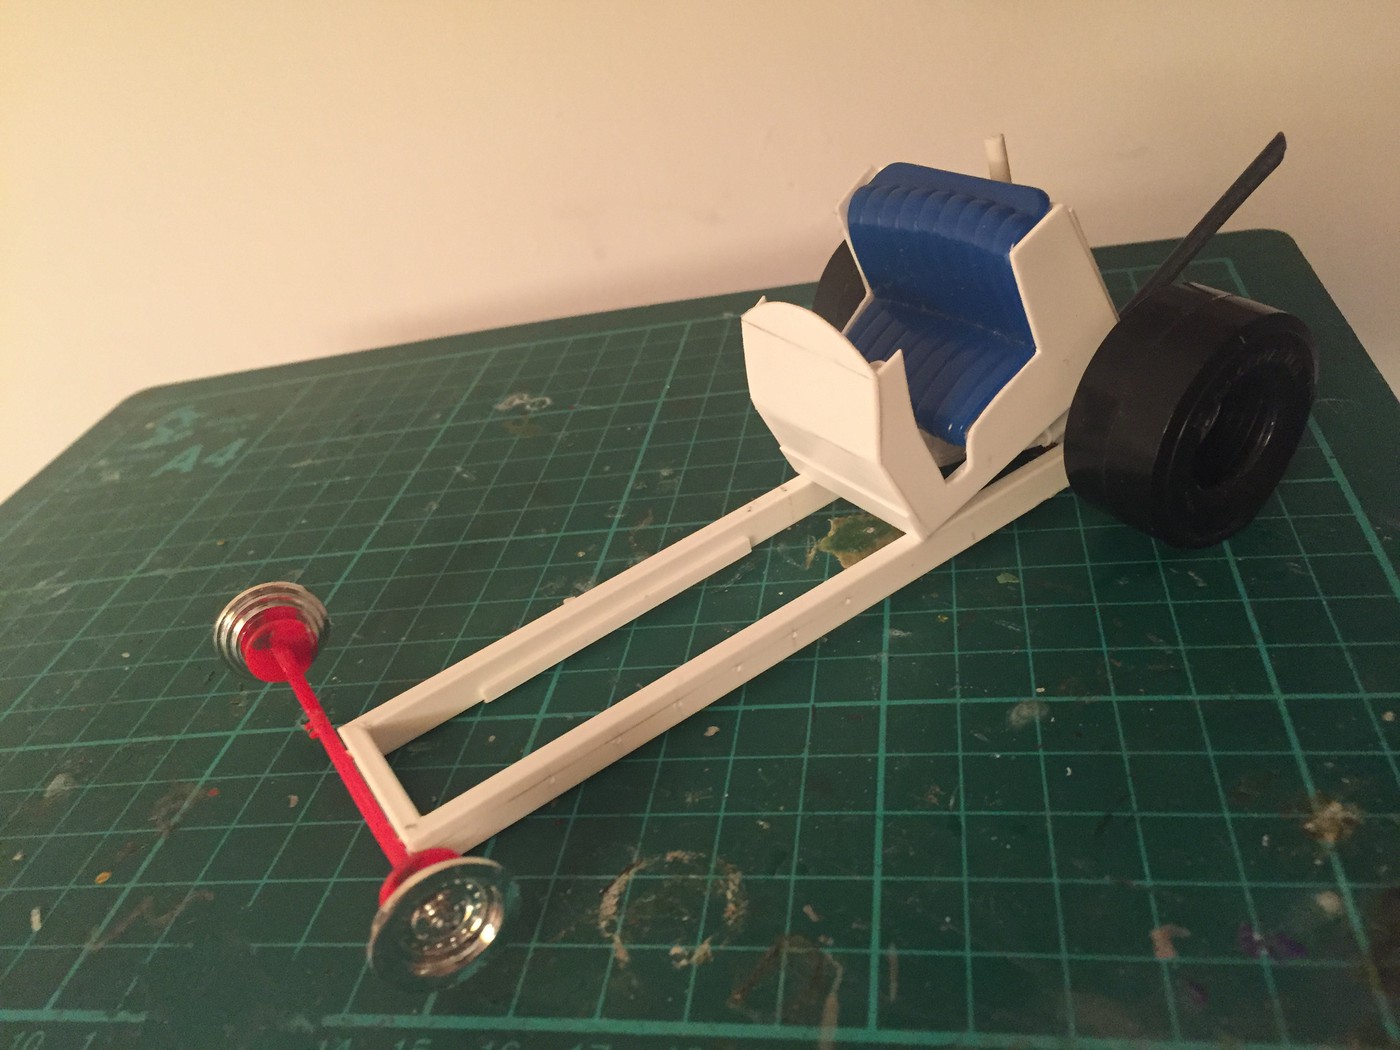 I've got an entirely free day today, so hopefully more photos and progress later! |
|
|
|
Post by kabdriver on Jun 13, 2017 19:34:01 GMT -6
OK, some more progress, finally! I was hunting for parts but figured them out in the end... First up, I made the front steering linkage - I found a setup that wasn't quite wide enough so I widened it with some styrene rod, and whilst I was at it I bend some rod to make the grab bar that stops you falling out of a normal roller coaster 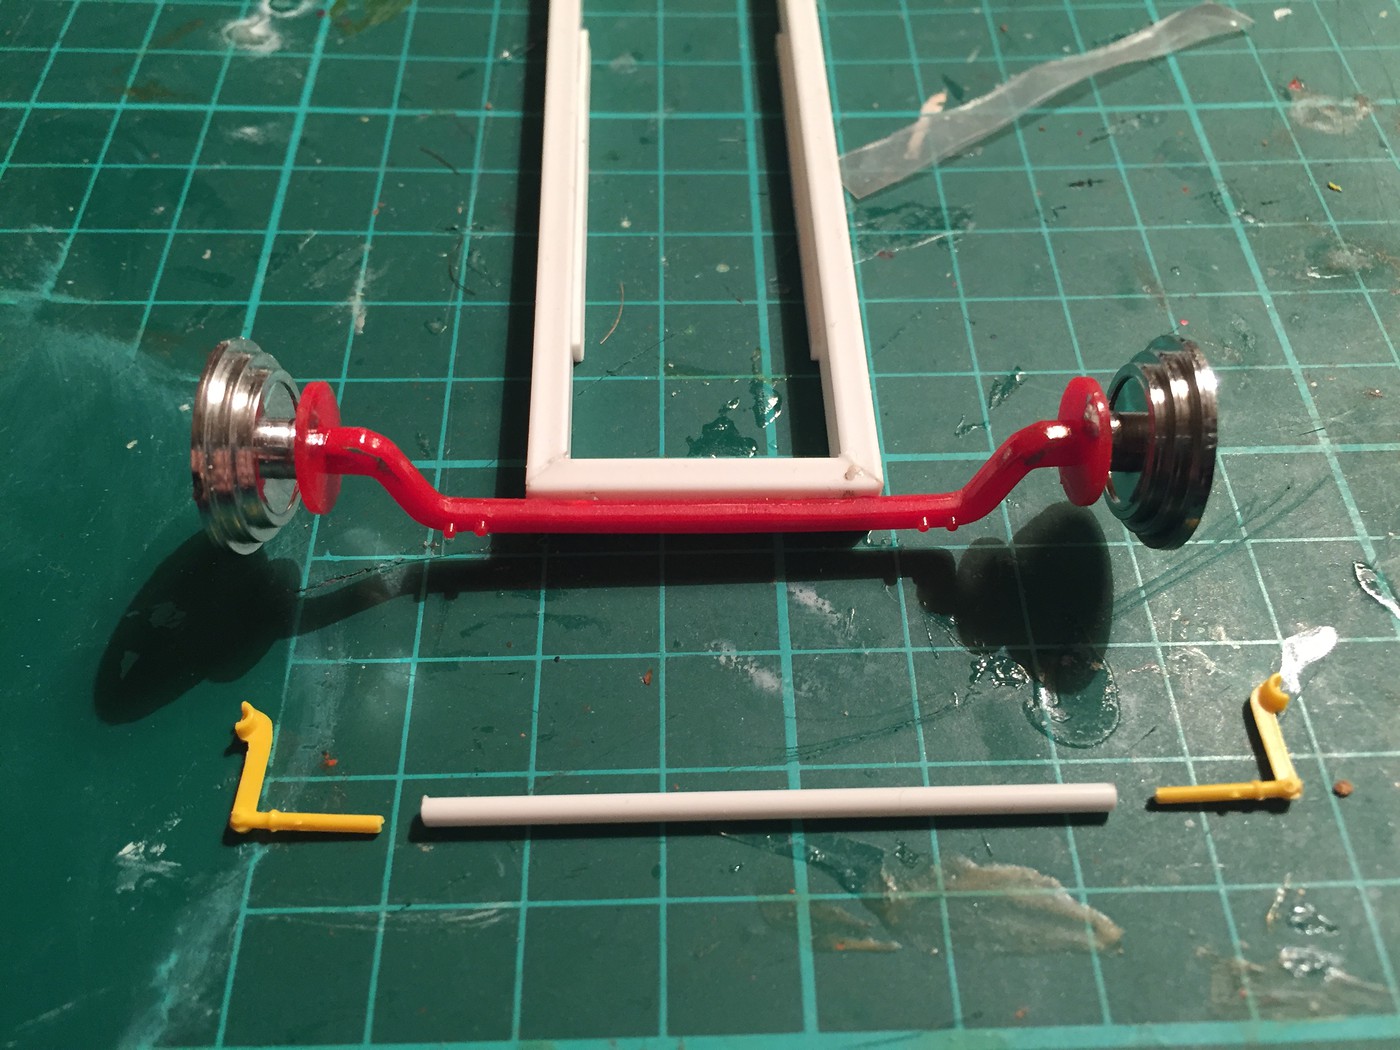 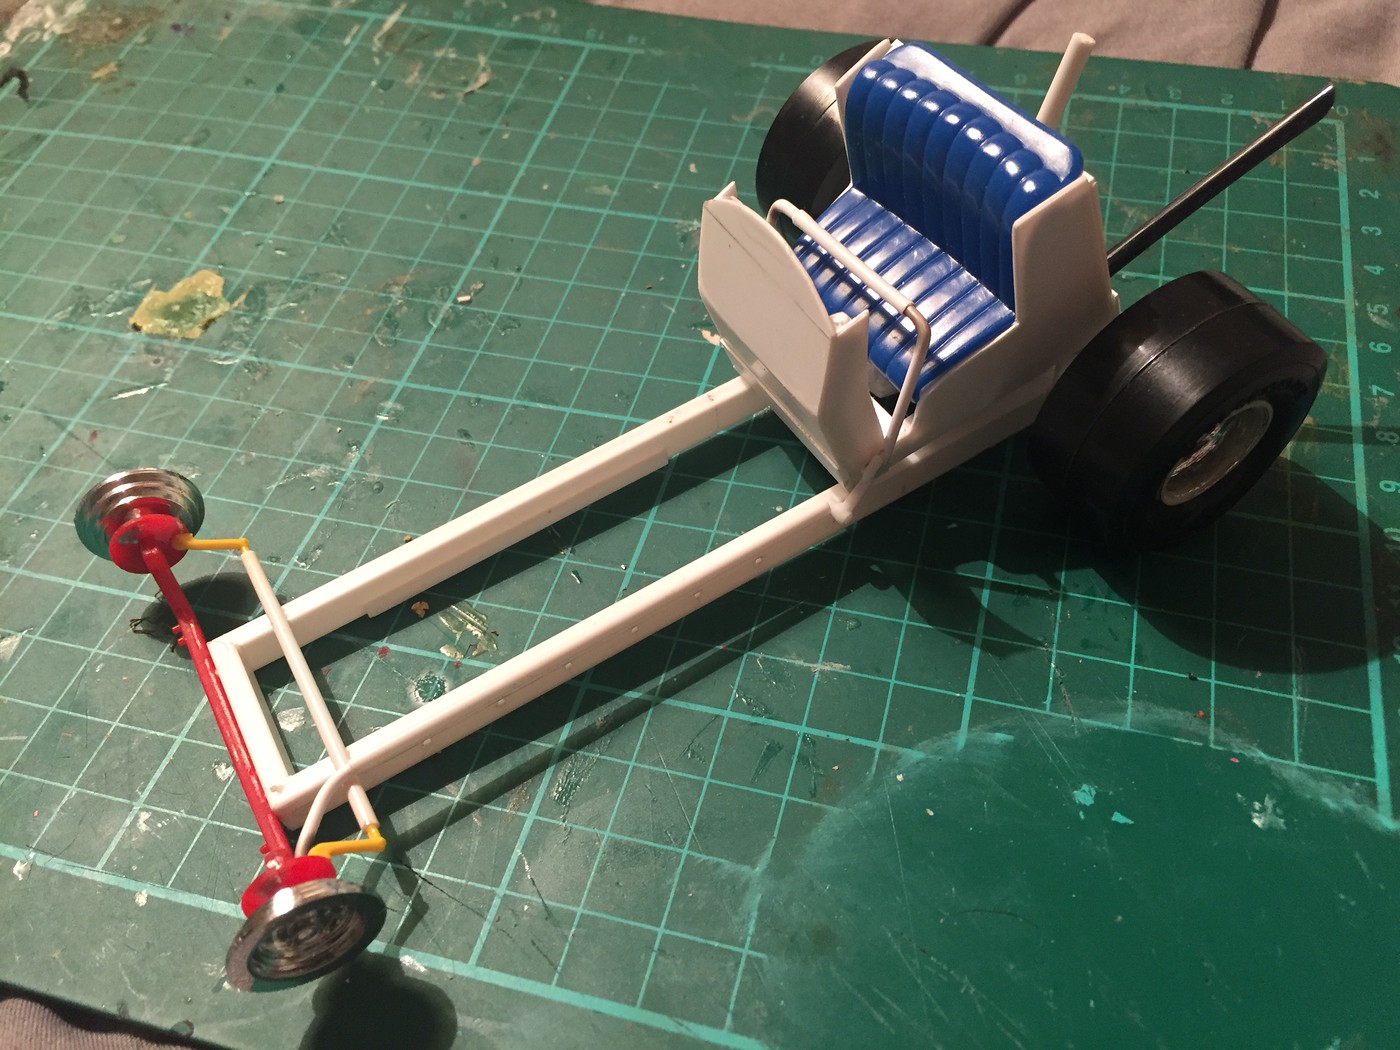 I figured it'd be cool to make the bar do the job of steering, so there's a linkage from the left hand side of the bar running to the front end to perform those duties 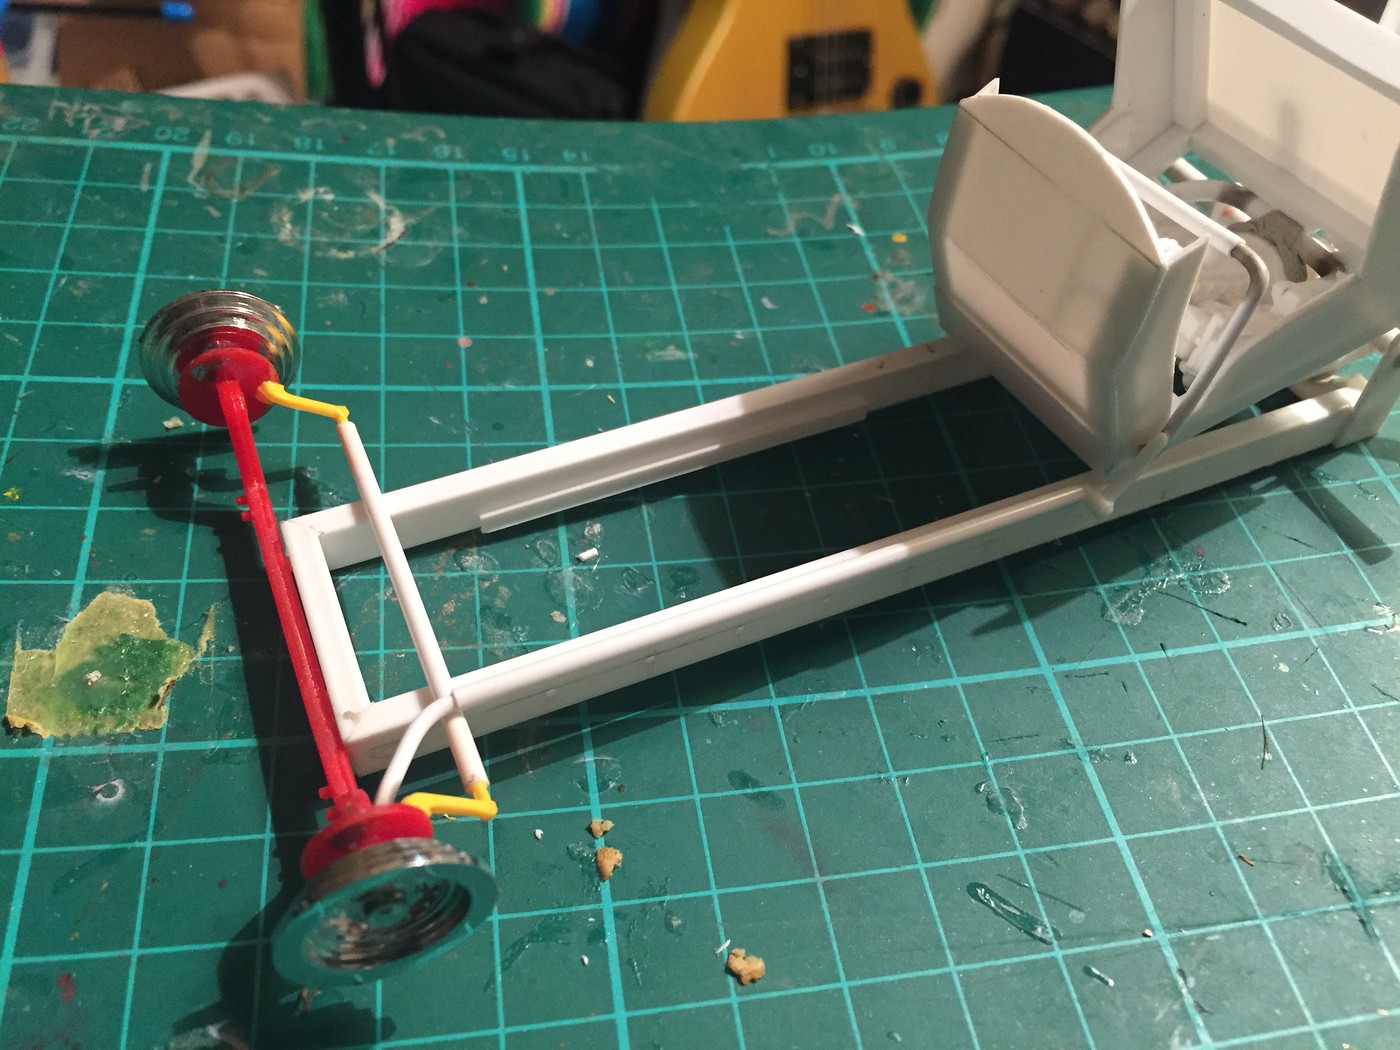 Whilst I was doing that I glued the awful two part front tyres with some superglue and a load of mini pegs I found at the dollar store - they're SUPER handy! 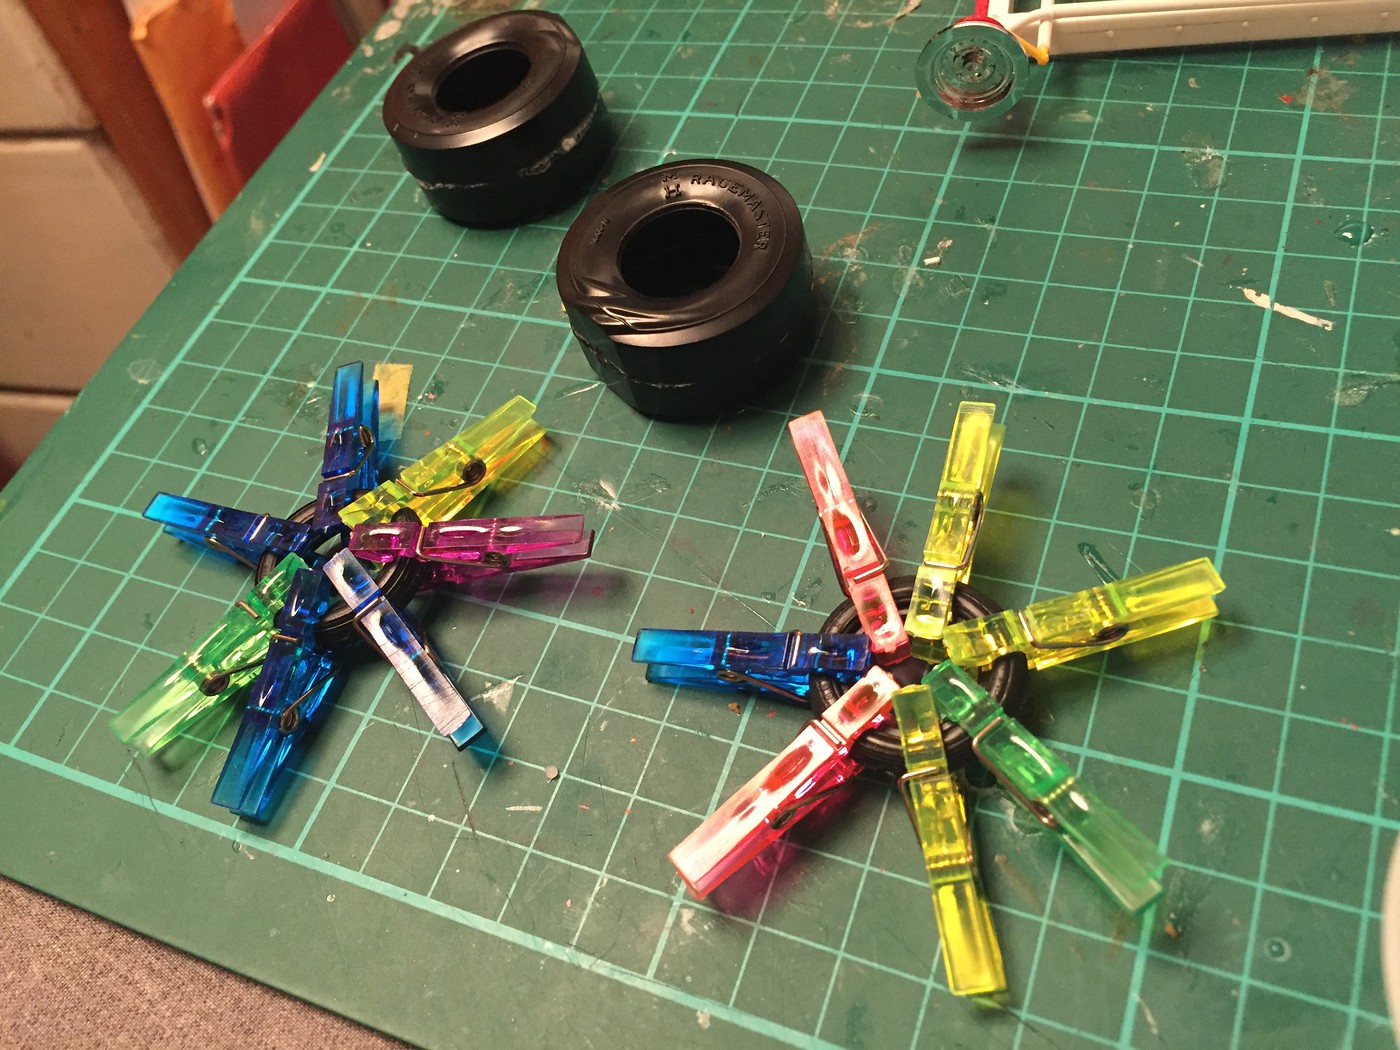 Almost ready for paint! 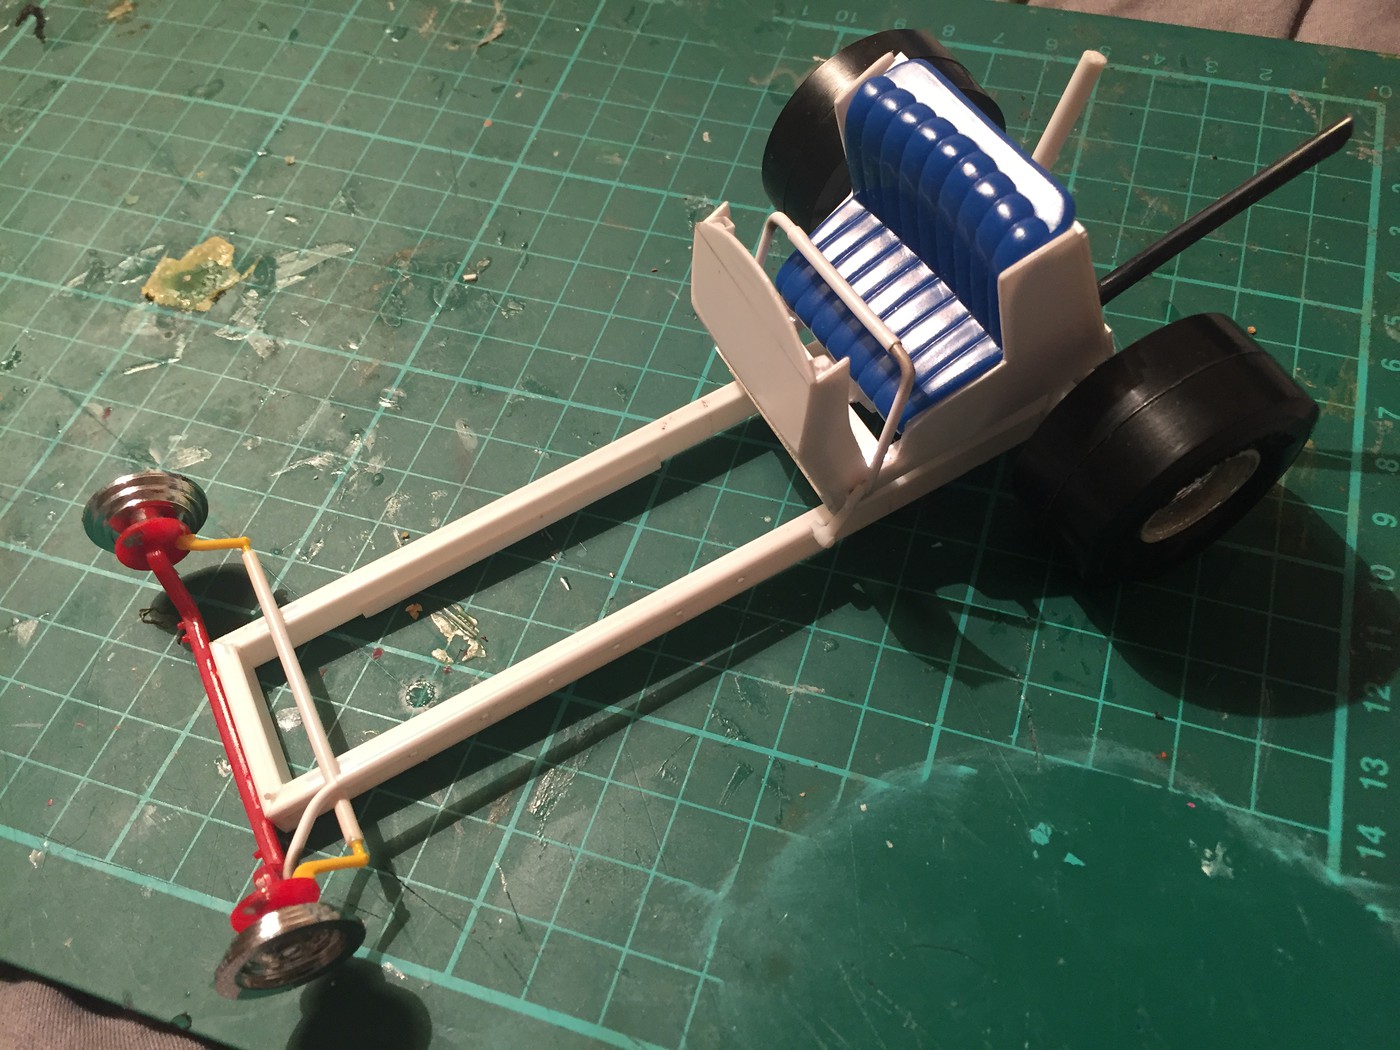 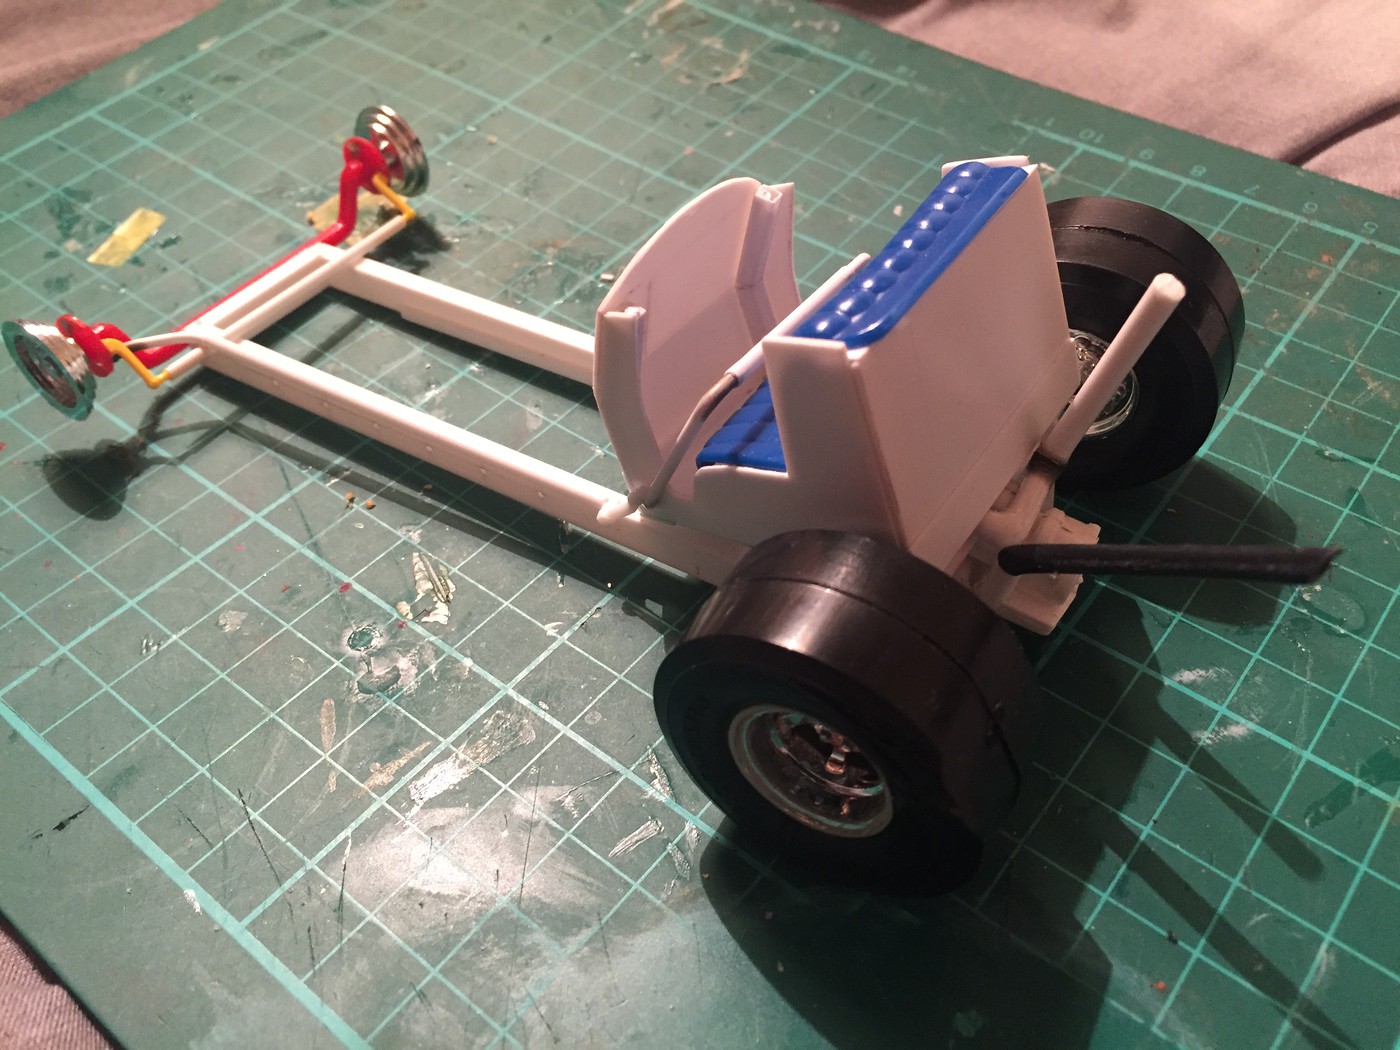 More soon! |
|
|
|
Post by "ScratchFever" on Jun 15, 2017 6:58:13 GMT -6
That is looking super duper my friend....
|
|
|
|
Post by hobbybobby on Jun 16, 2017 15:59:34 GMT -6
In fact, Jim, this is a great idea for a Showrod and you're on a good way!  |
|
|
|
Post by kabdriver on Jul 5, 2017 12:20:57 GMT -6
Got a little paint on the body yesterday and managed to get the edges cleaned up today once it had baked for a while: 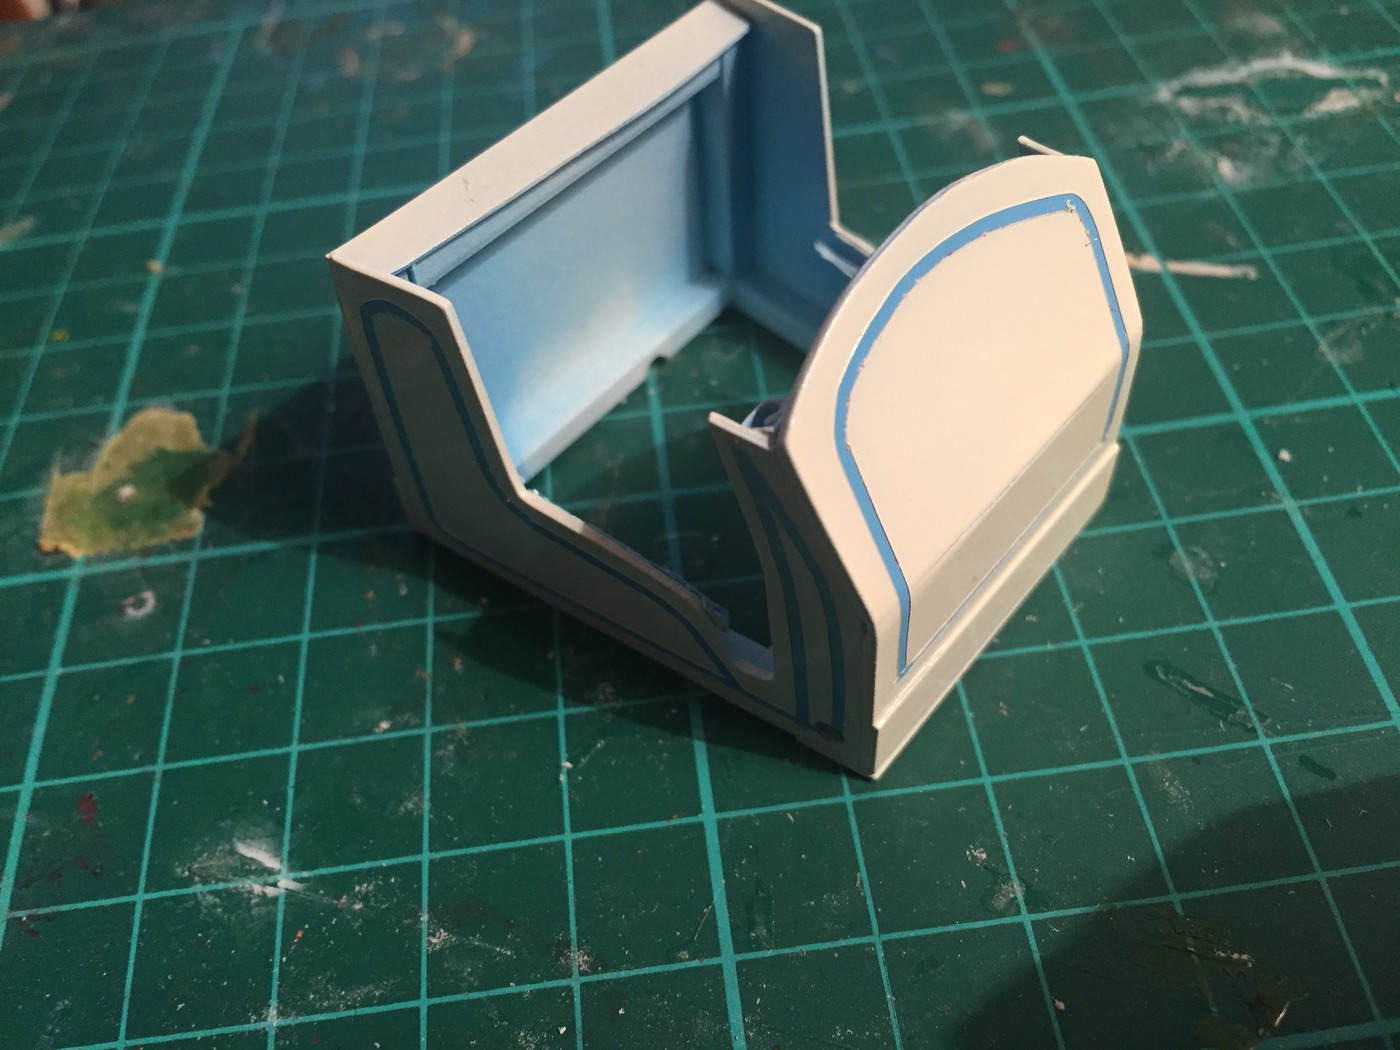 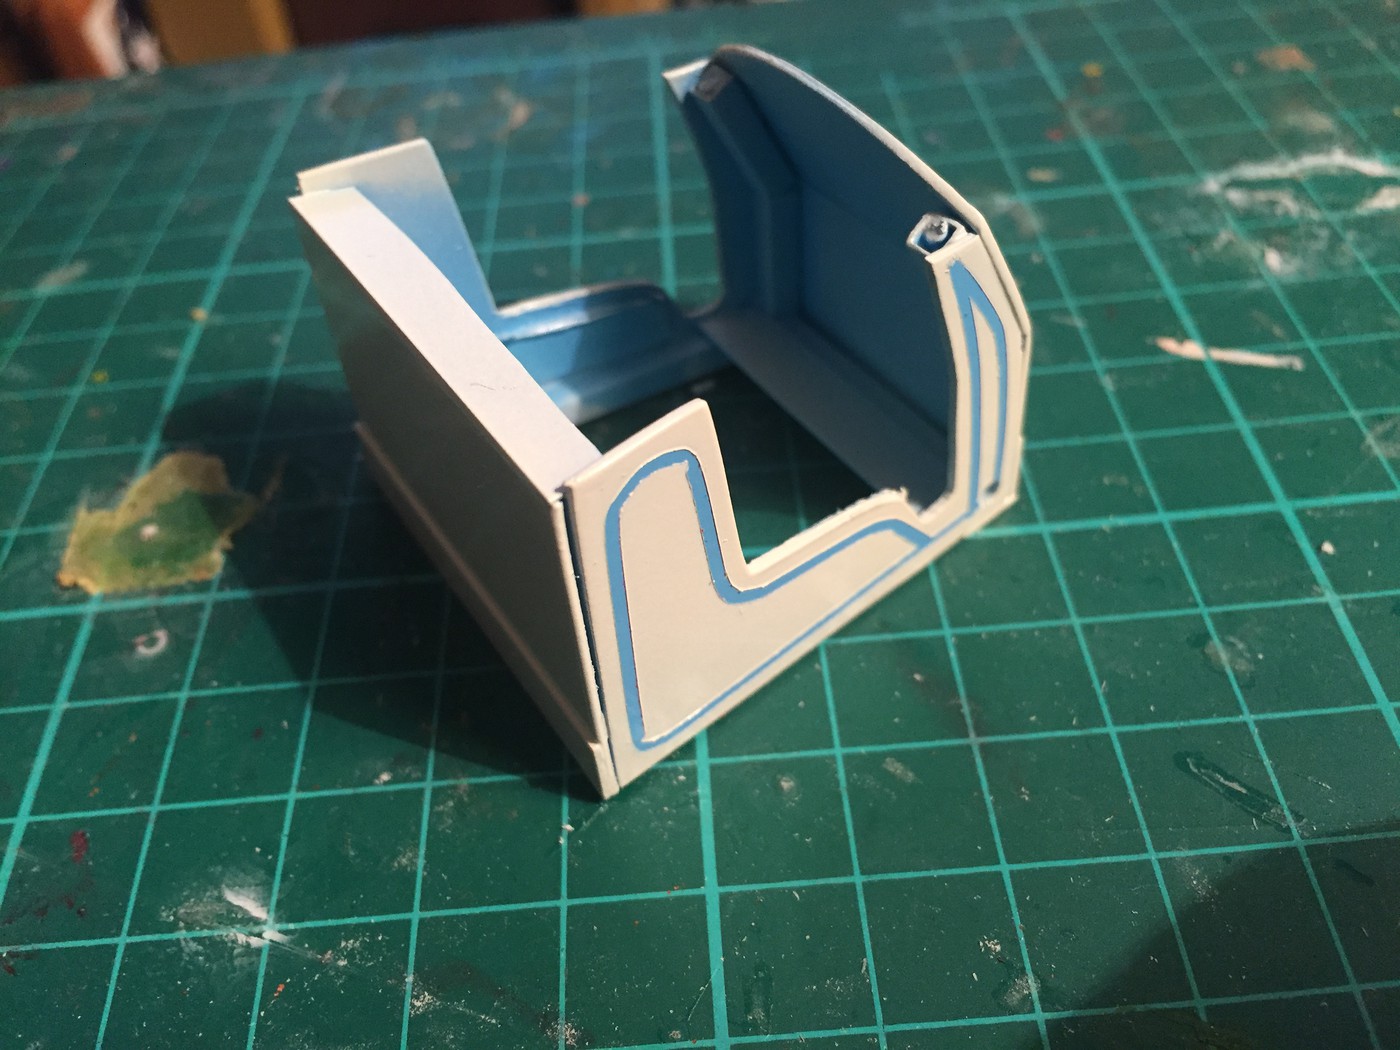 The edges around the pinstriping were raised up and a litle rough from the thickness of the paint so I wet sanded them down a touch to clean them up With that done, I designed some lettering and made a mask for the drop shadow part of the graphics.  I airbrushed a little Tamiya flat black in a light haze like so: 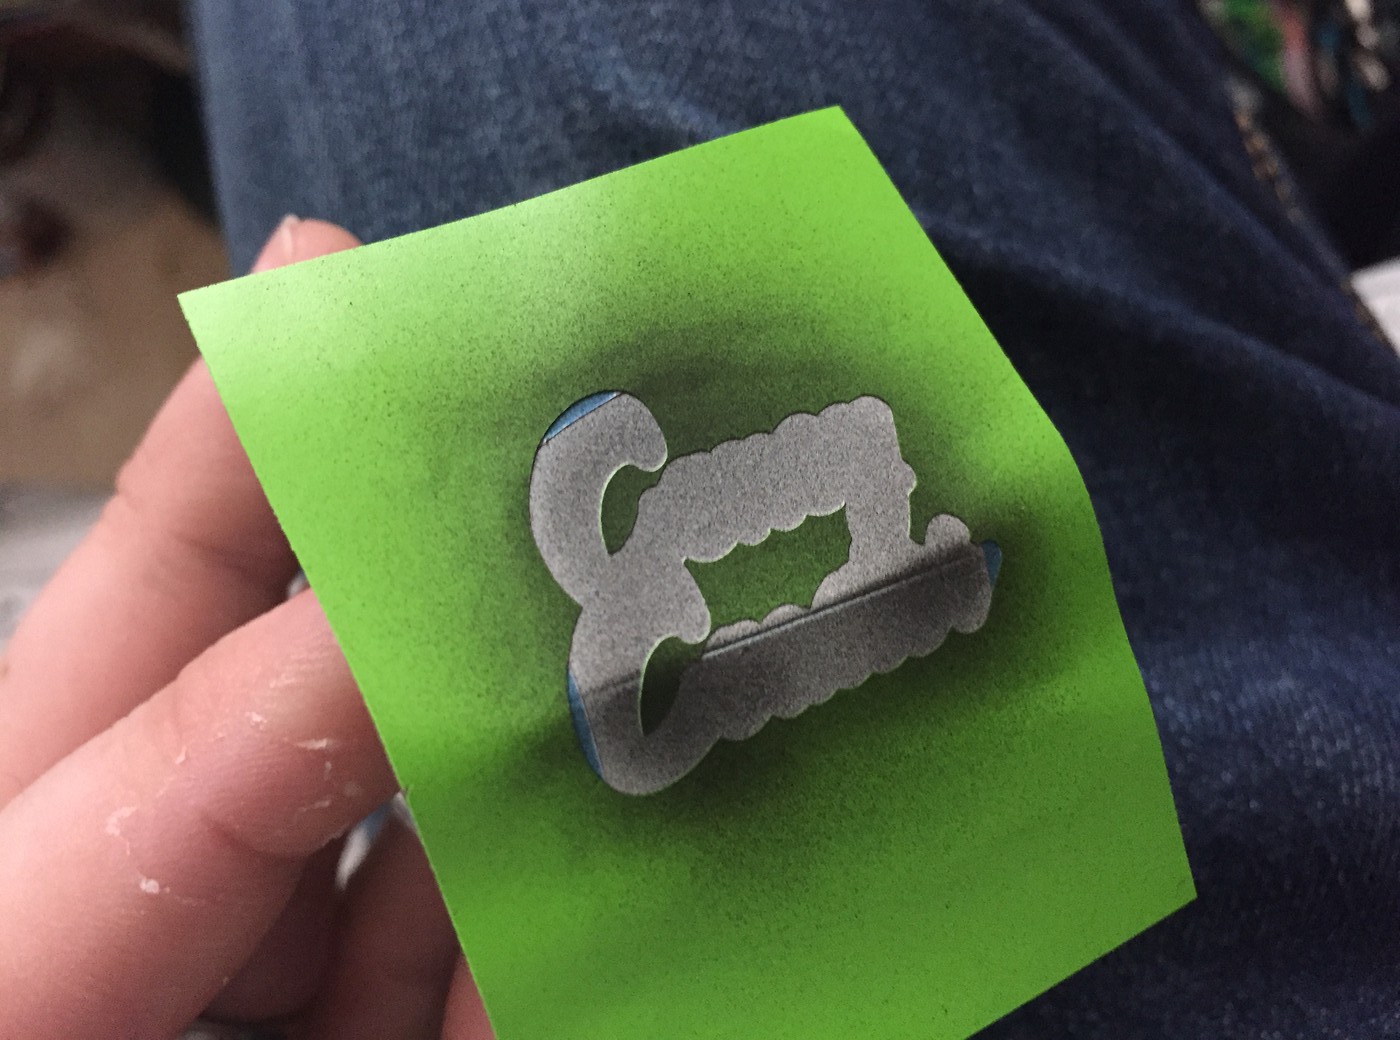 Next up I cut out the lettering from some thin gold vinyl: 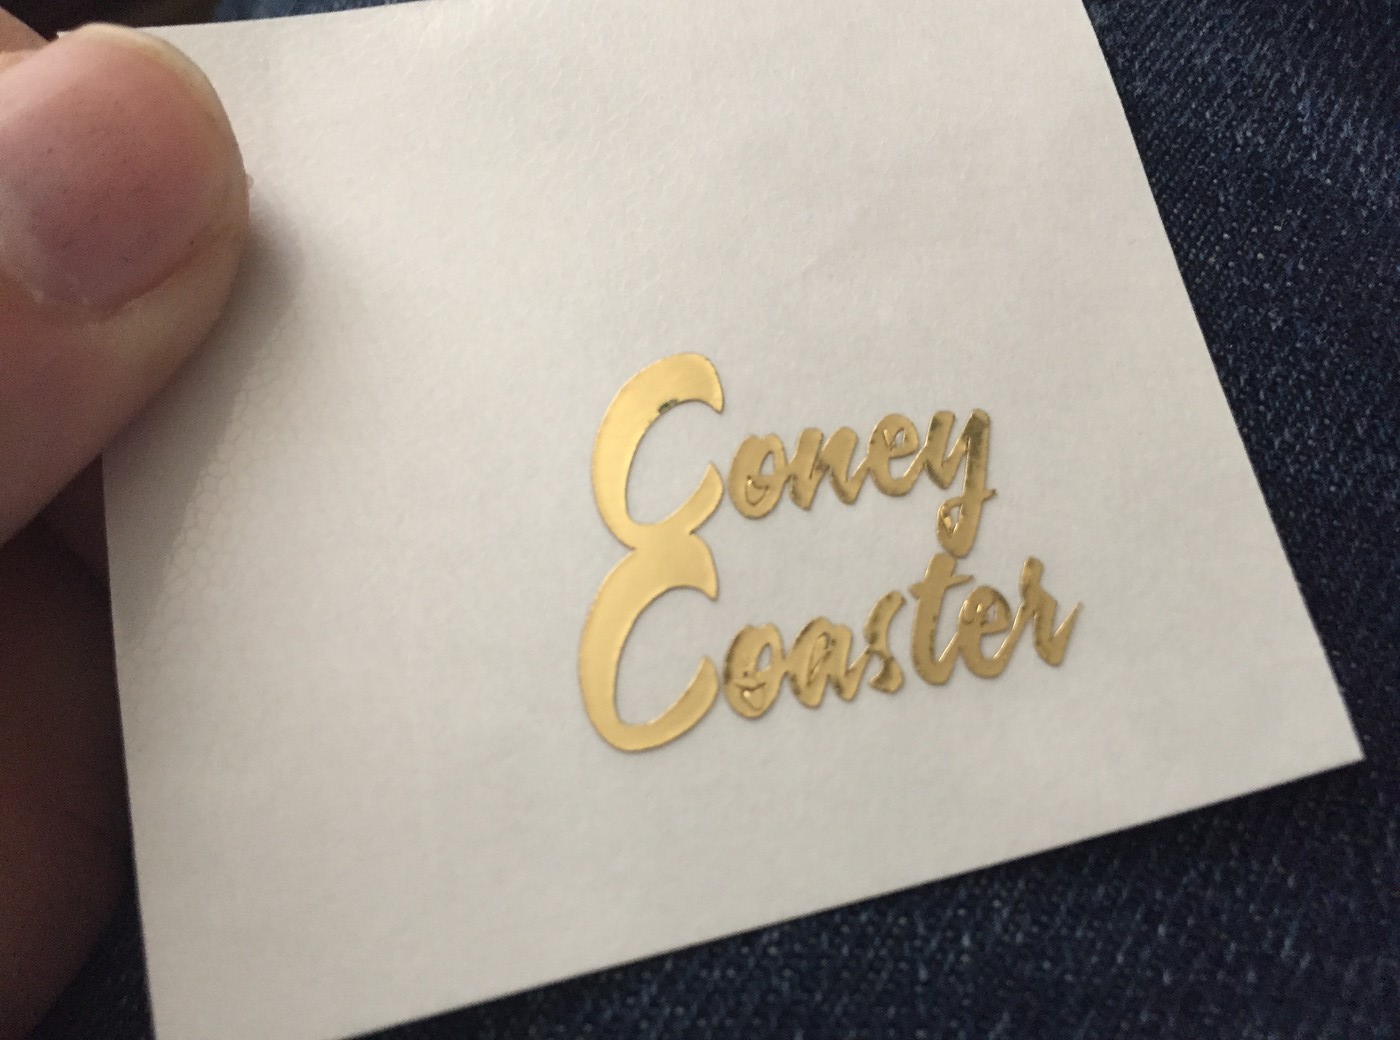 Et voila! 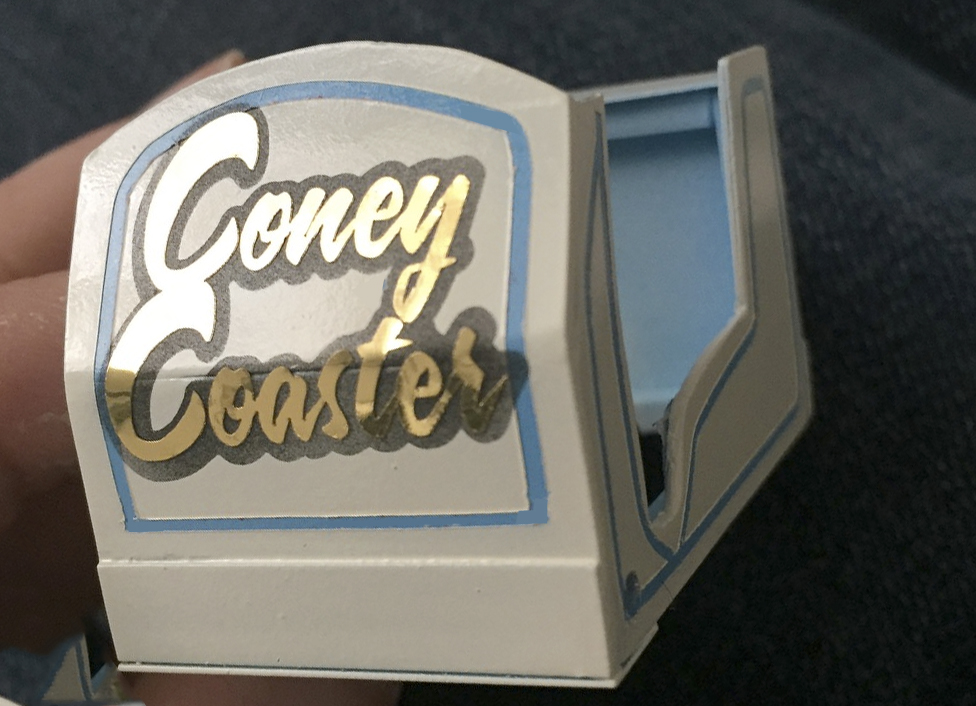 Next up I need to do a bunch of Alcladding and get the seat painted and she's ready for assembly! |
|


 Straight back to work...


