|
|
Post by kabdriver on Jul 6, 2017 16:36:52 GMT -6
So, I started collecting parts for my next project after the roller coaster showrod that I'm finishing off now. I was thinking of combining this... 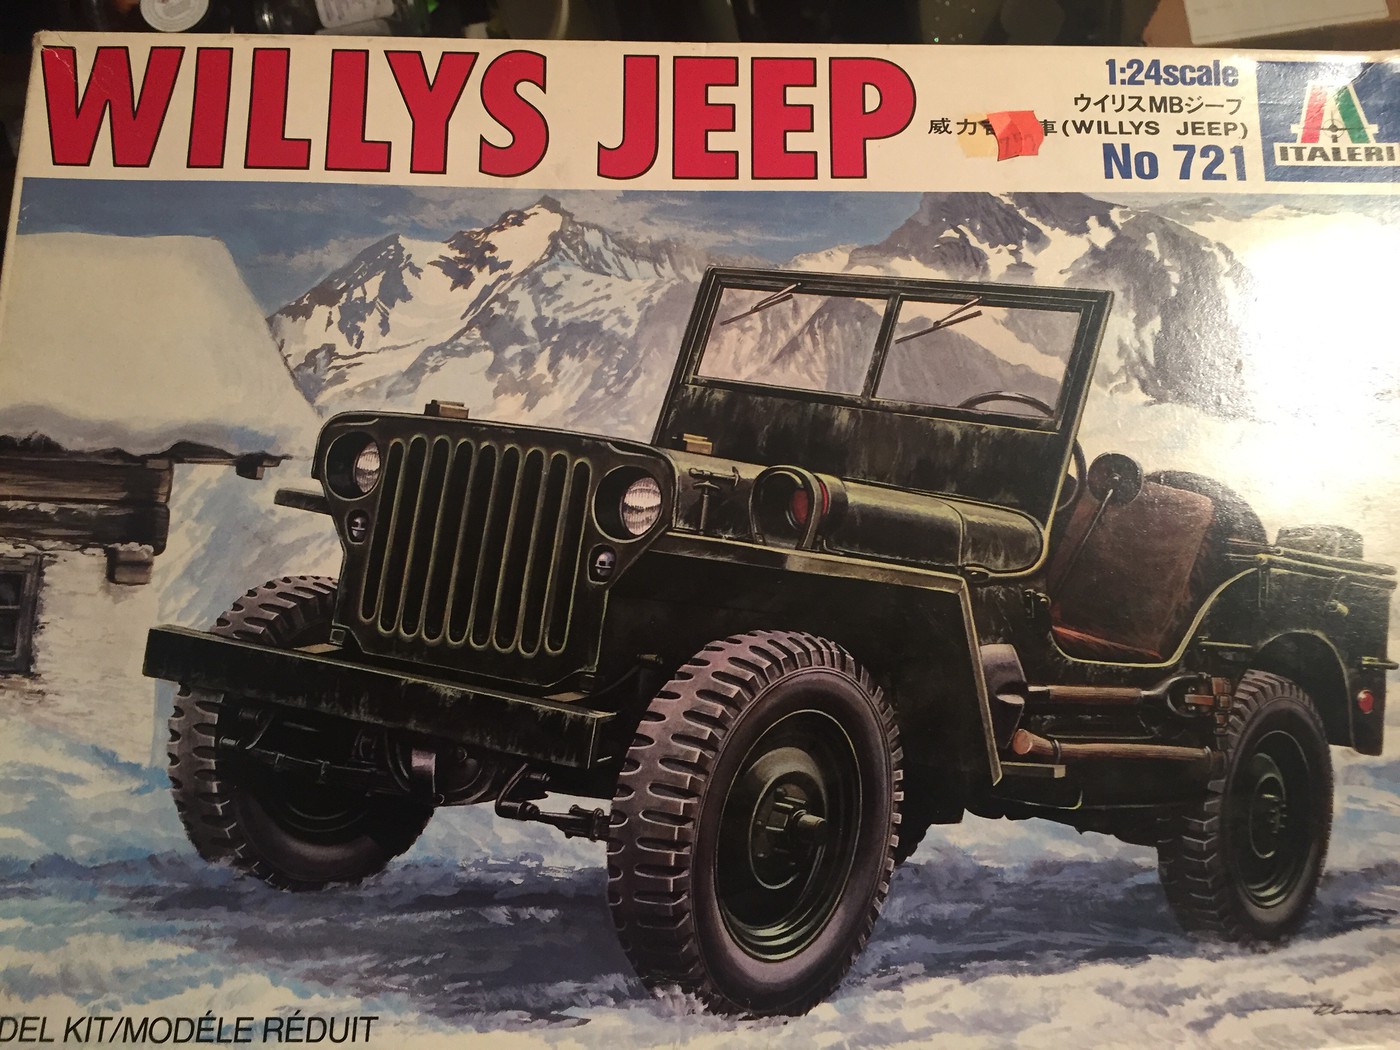 With some 3d printed tyres like this... 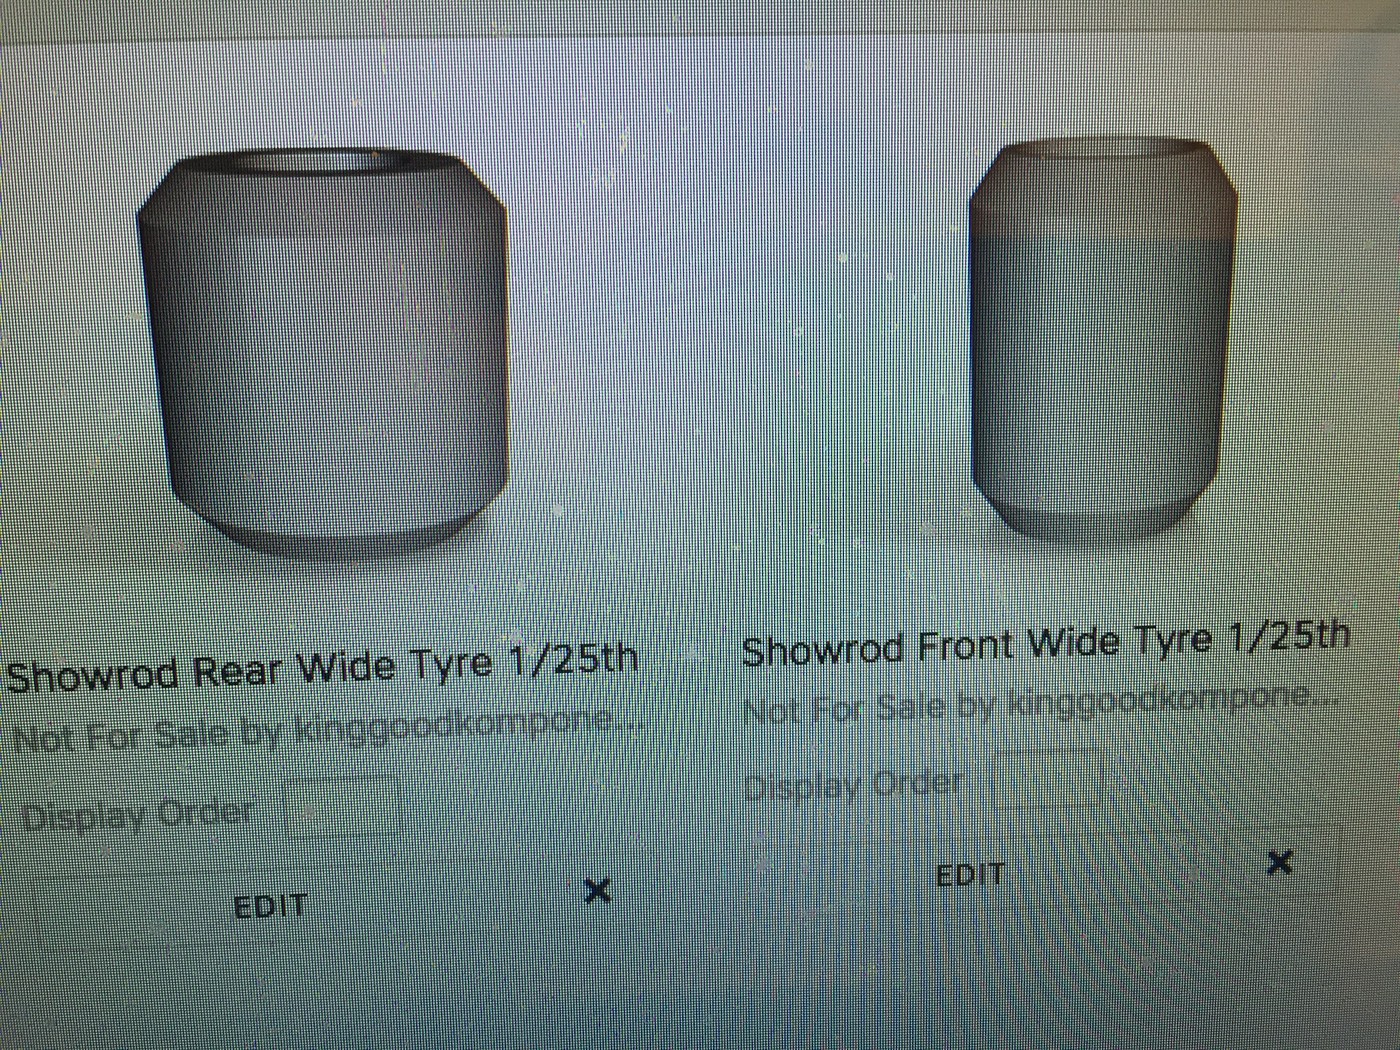 To make something like this! 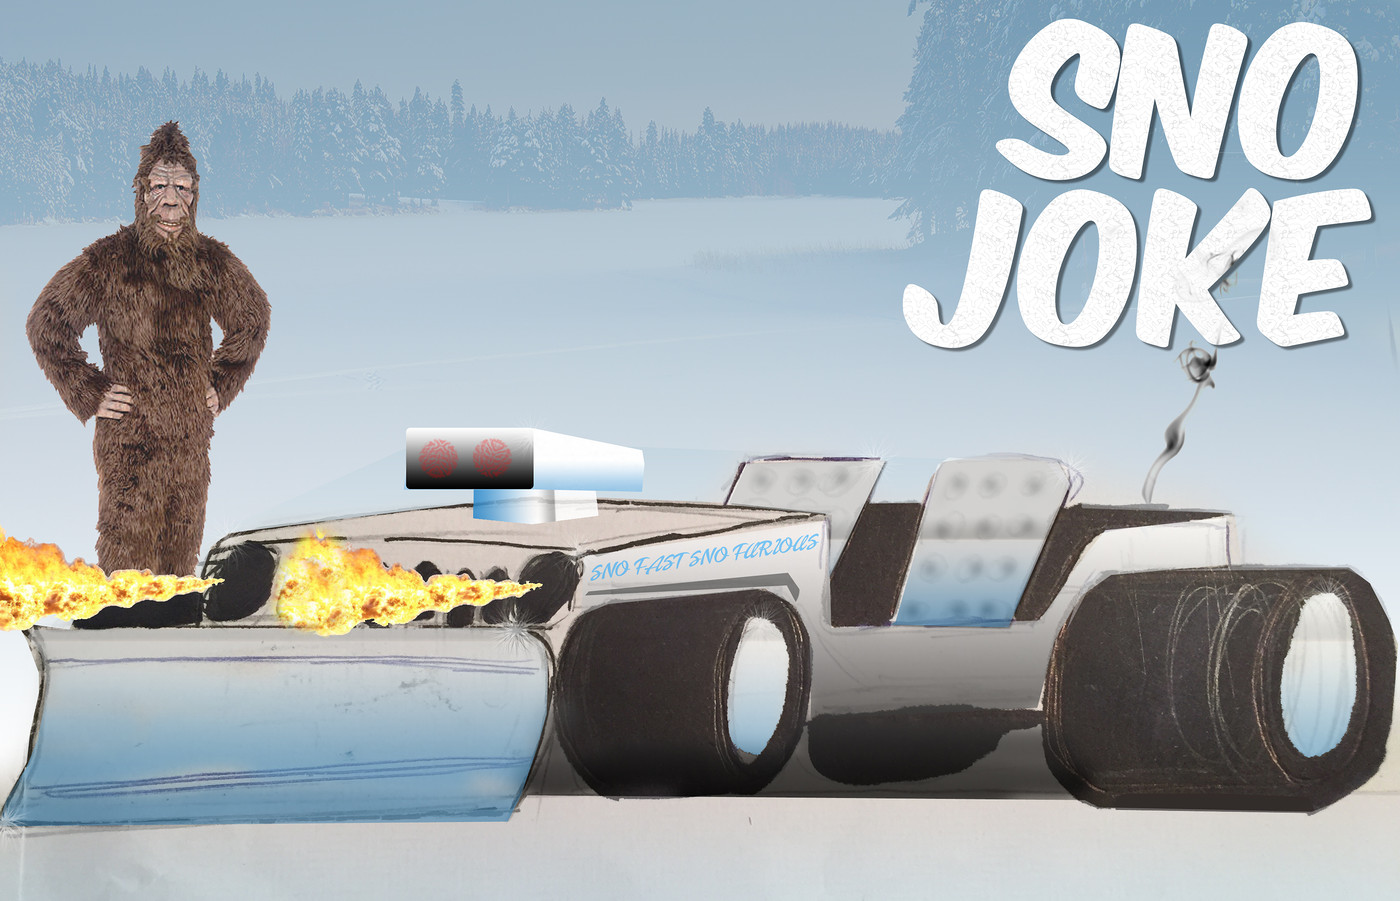 No build pics yet - I just got home and the kit was here waiting for me - but I'm excited about the idea! Drop it as far as possible, put some wide tyres on there, add a snowplow (because you GOTTA have a theme, right?), keep the 4 wheel drive and the stock Willys egine (but add a big blower or something to up the power output some)...it'd be a fun thing to drift around on a snowy day! Off to read the instructions and look over the parts! |
|
|
|
Post by kabdriver on Jul 7, 2017 14:00:57 GMT -6
|
|
|
|
Post by 41chevy on Jul 8, 2017 6:25:28 GMT -6
What a cool project! I like the idea. Paul
|
|
|
|
Post by kabdriver on Jul 9, 2017 12:50:40 GMT -6
So, I started on the first and biggest job this weekend - getting the stance right. This thing is gonna need a HUGE drop and every trick in the book to get it how I want it. First up, slicing up the frame to zee it: 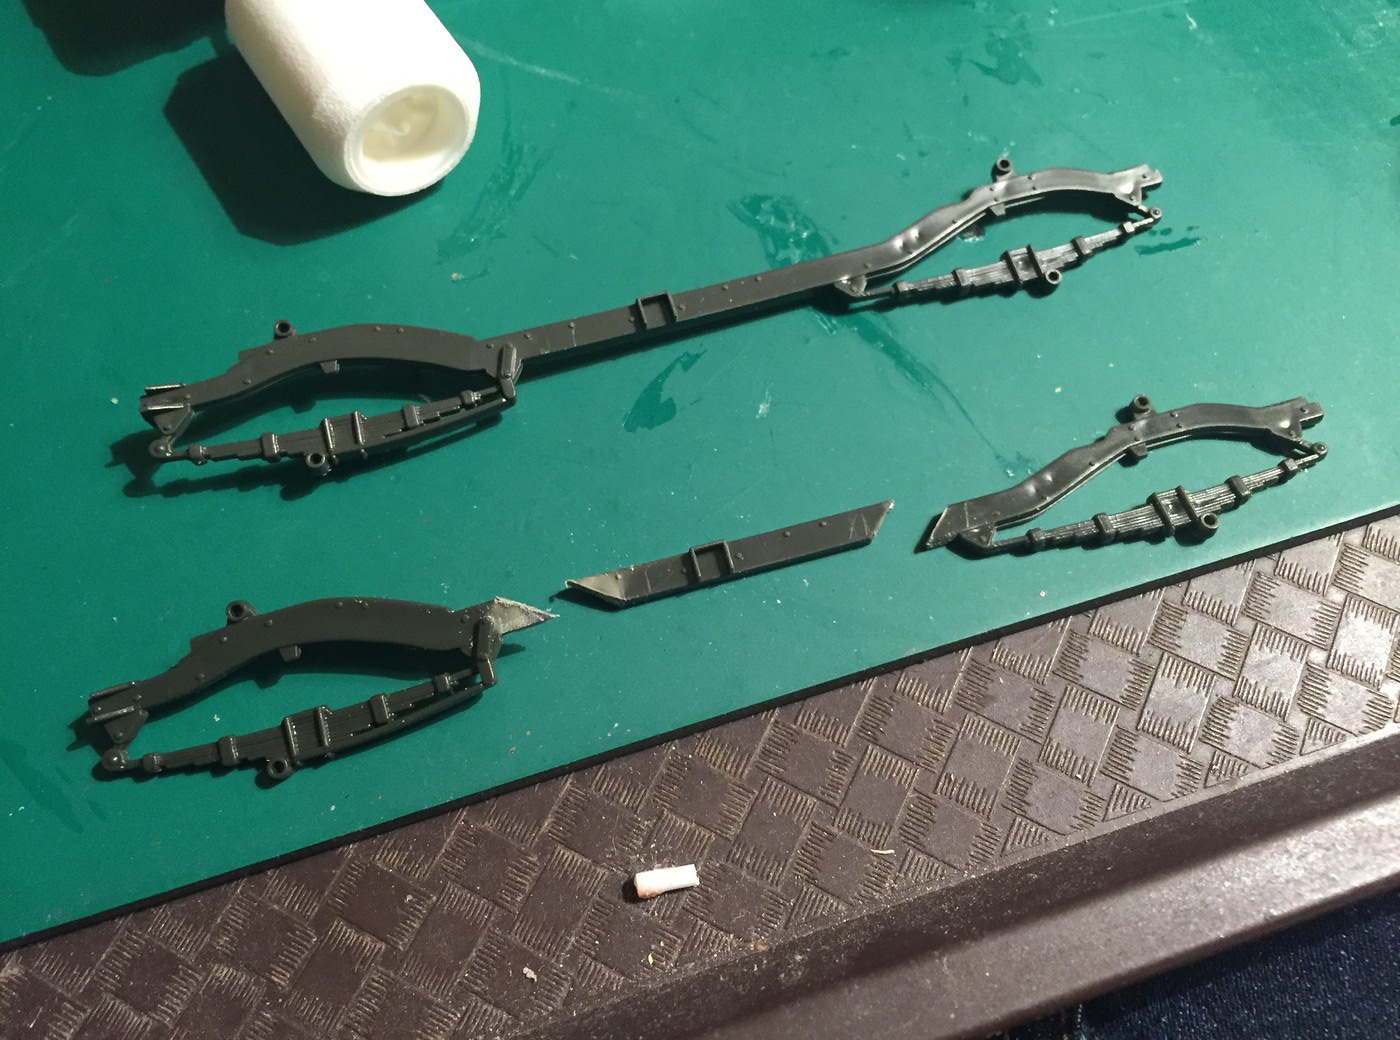 I sliced each rail into three pieces and carefully glued them back in place, with the centre supports, on a little jig that I made: 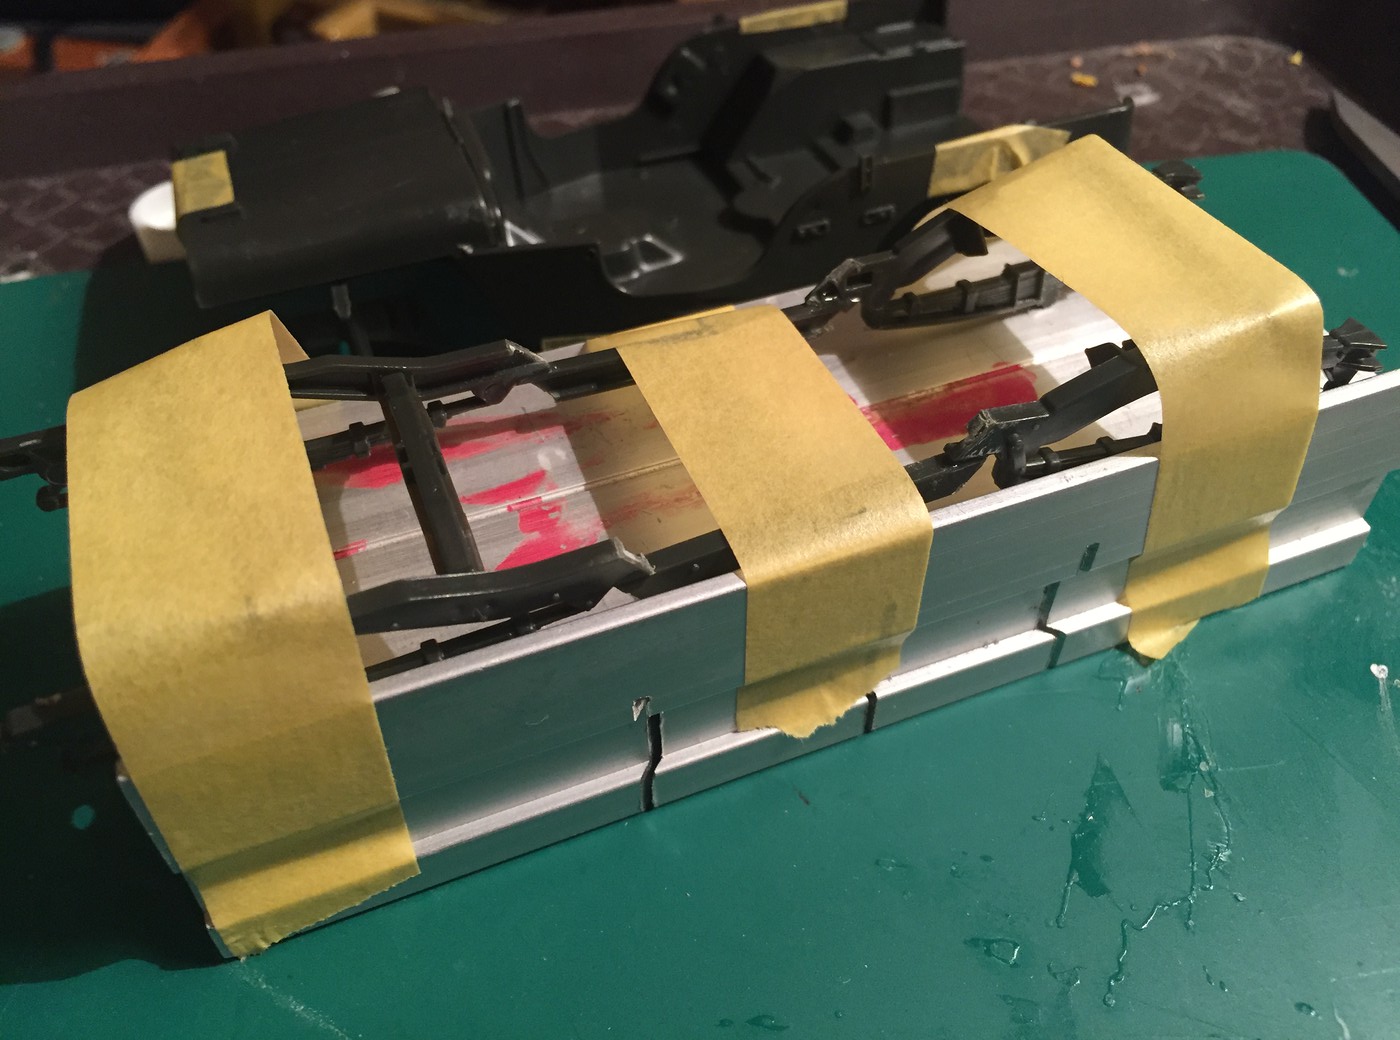 Tada! 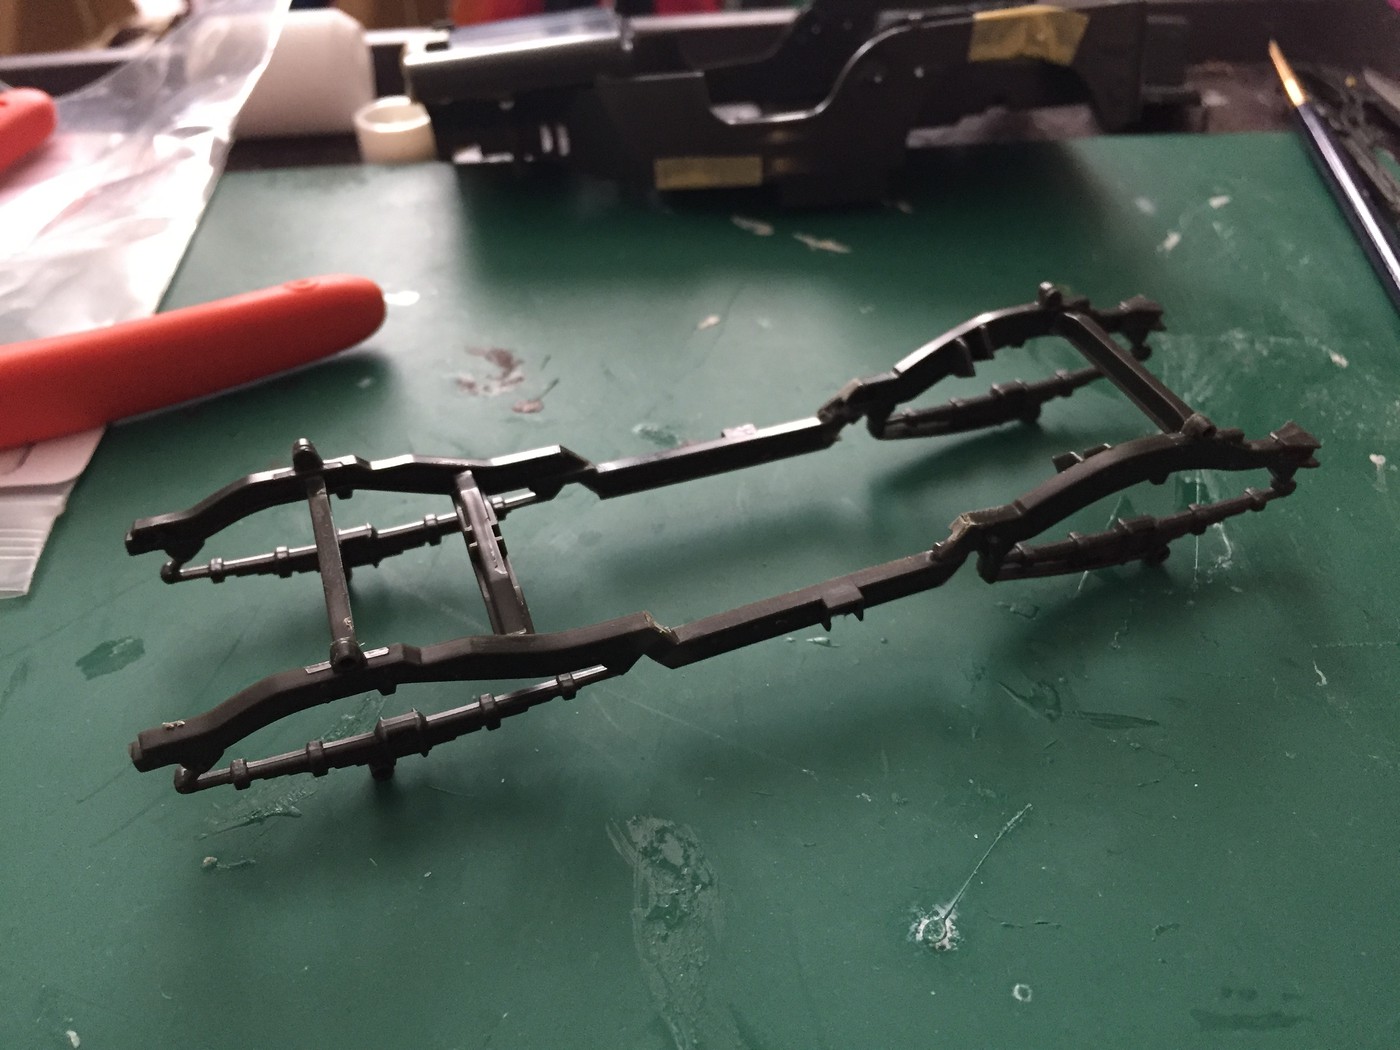 Gained about a 4 inch scale drop this way, and hopefully I can use all the stock running gear (albeit souped up a little) without TOO MANY modifications (famous last words...) Added some plates to the frame to help hold it together. Not pretty, but if I was doing this for real I'd definitely do this...plus they'll be mostly hidden when the body is on anyway 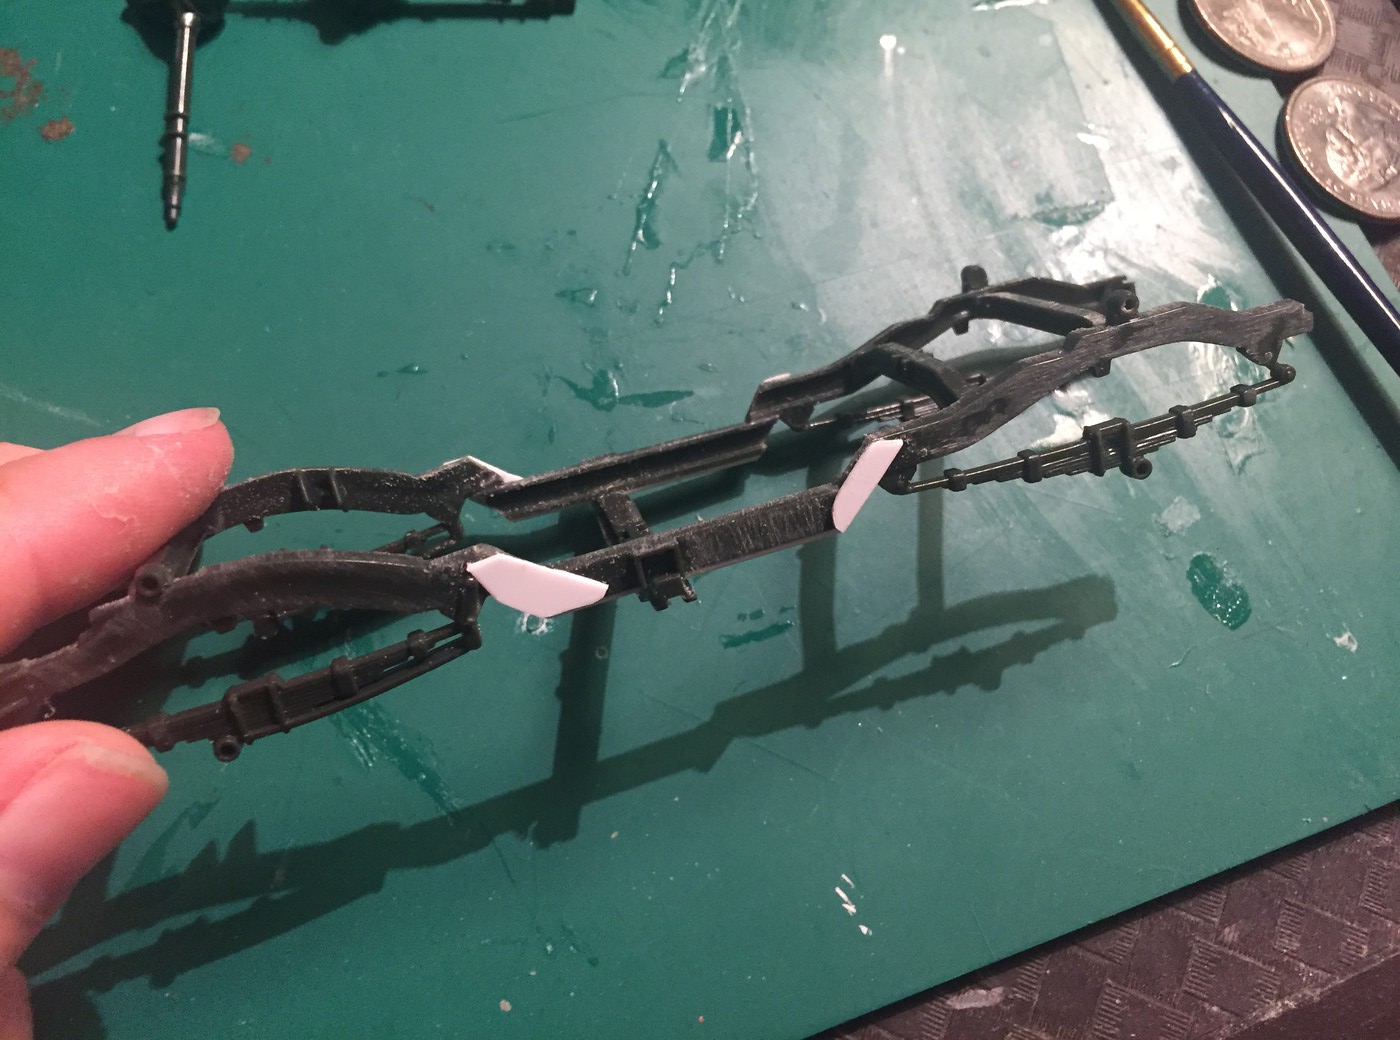 I also added some half round bar to the bottom of the frame rails which I'll blend in with some putty just to make it look a little prettier 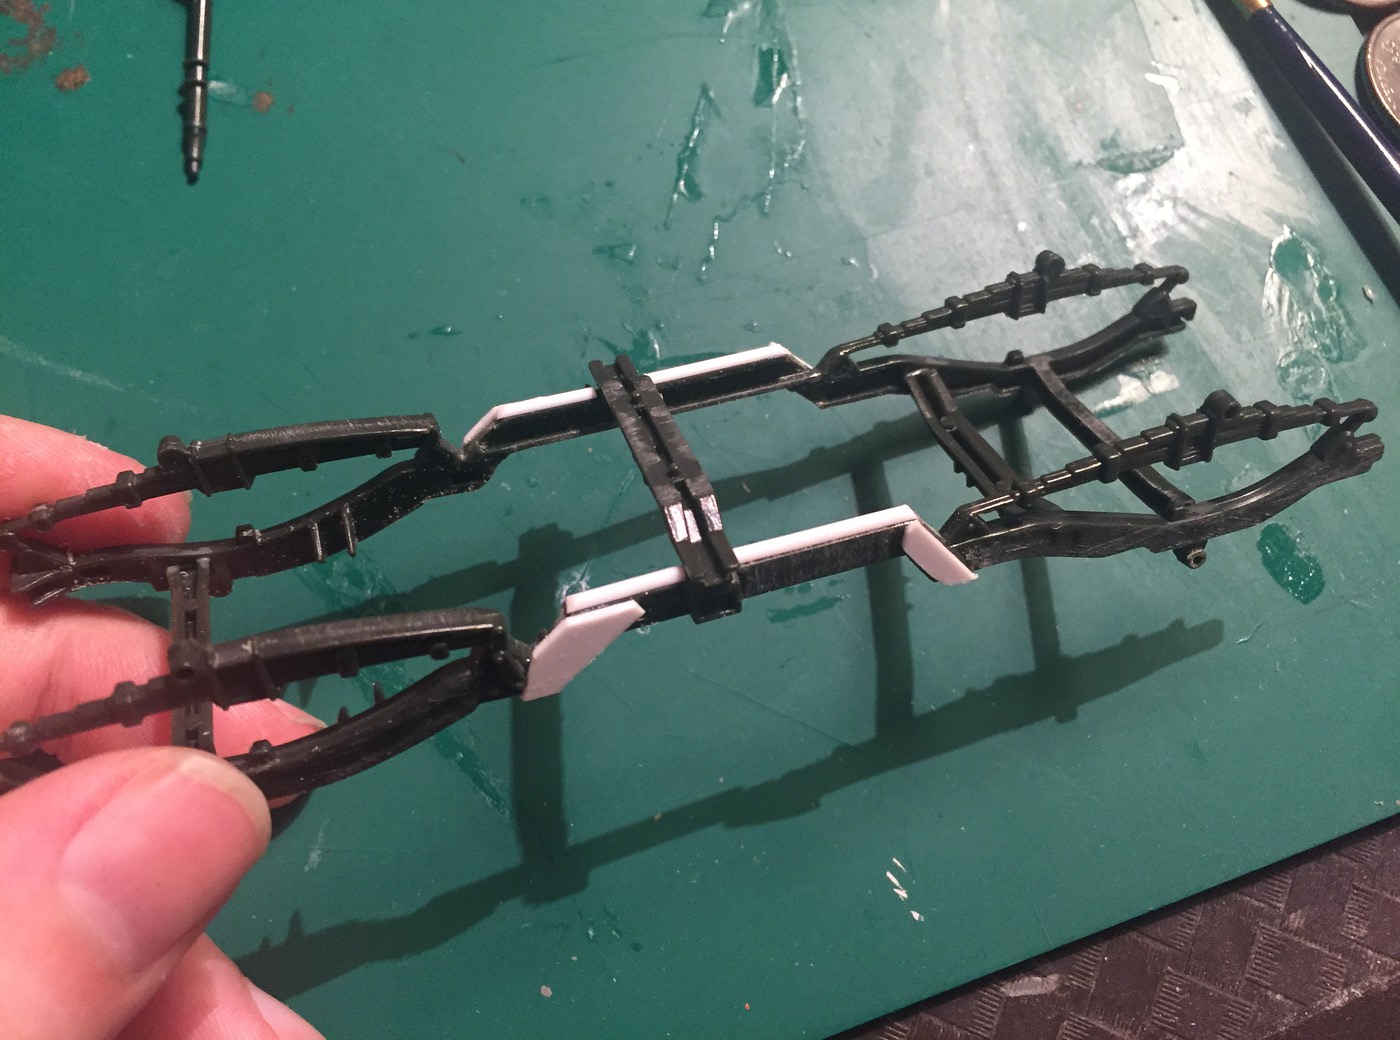 Now I need to mess with the floorpan to make it fit the zee'd chassis and get that part as low as I can too. More soon! |
|
|
|
Post by kabdriver on Jul 12, 2017 17:45:10 GMT -6
Next job was to do some cutting and fab on the floorpan to channel it down over the frame. First I removed the rear deck with a razor saw 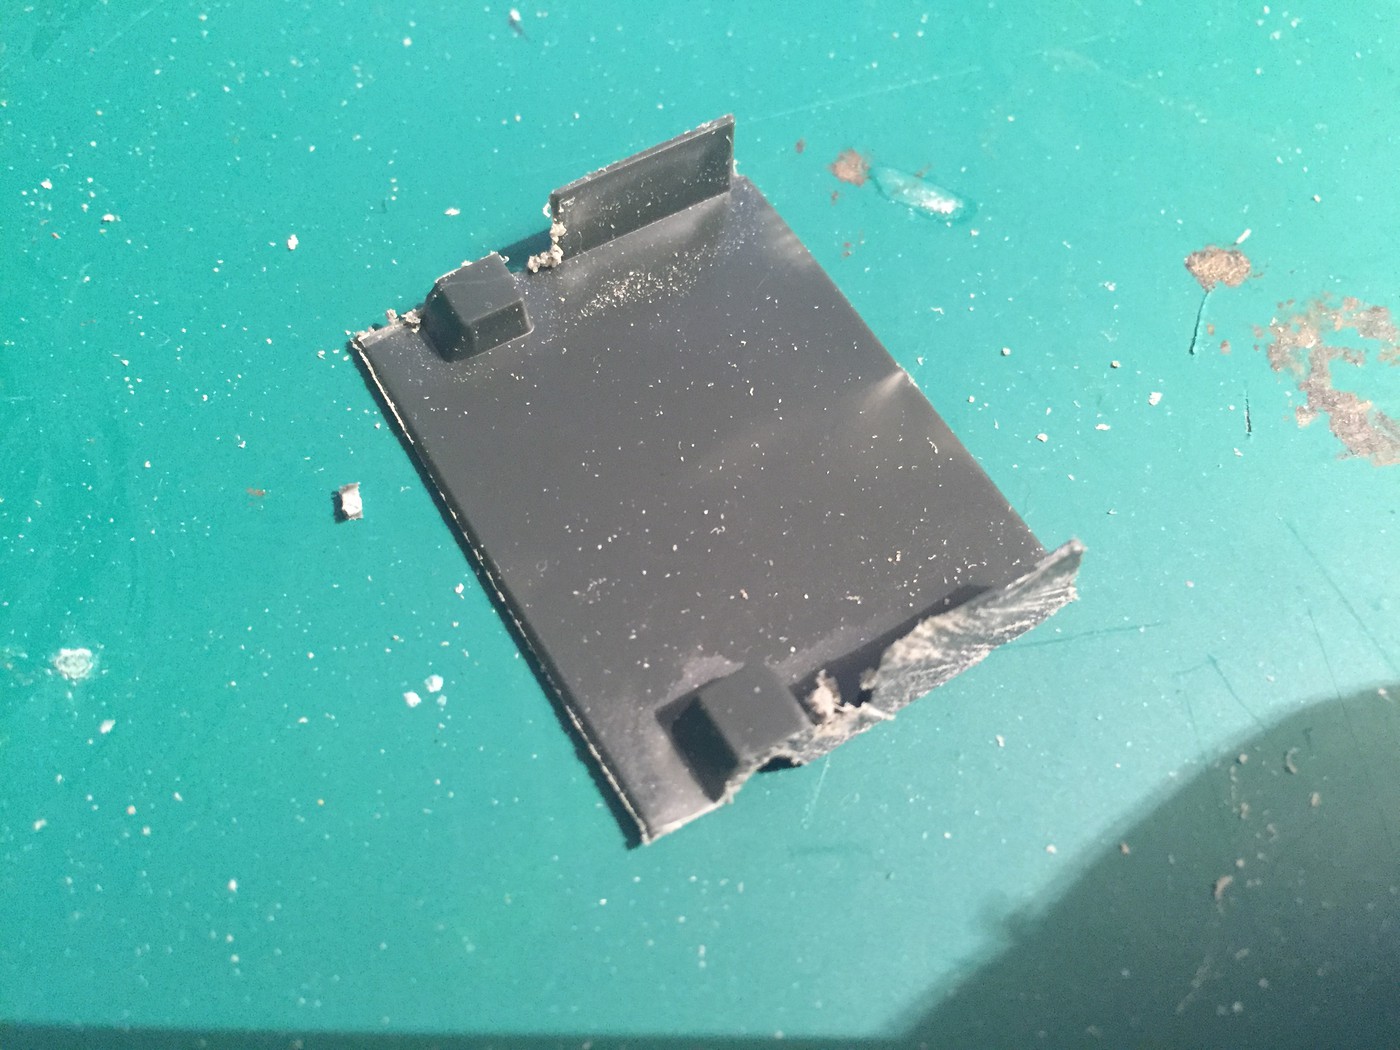 And then slotted the floor to allow the frame rails to drop through it: 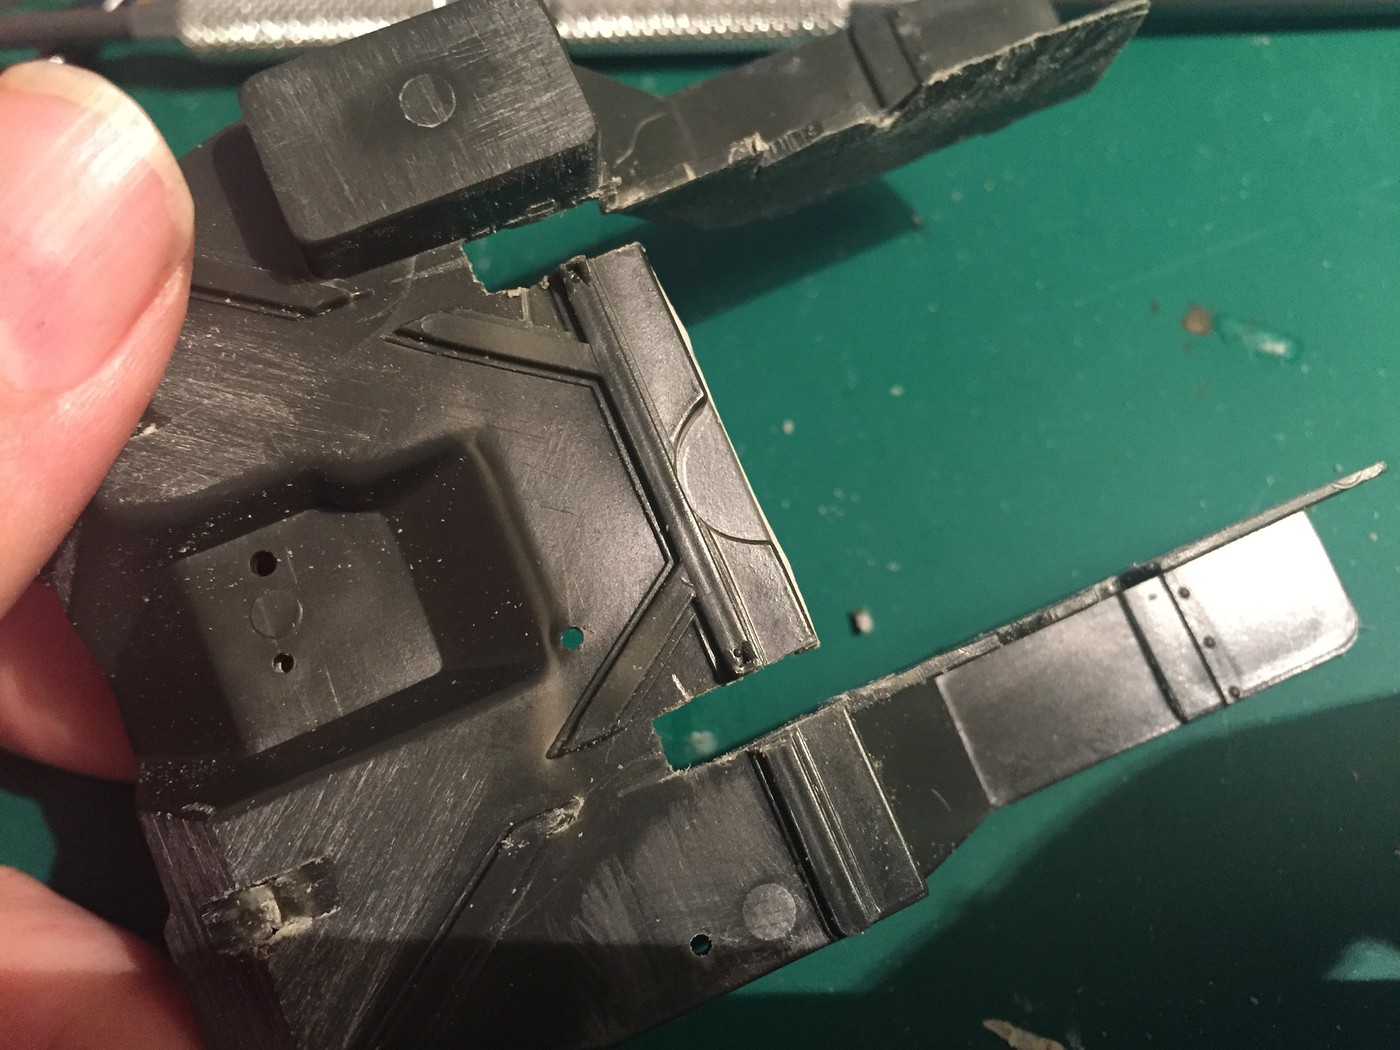 That's better! You can see the white reenforcing plates on the frame poking through the floor here. Whilst I was doing it, I cut some small styrene pieces to plug a couple of holes left over from all the cutting: 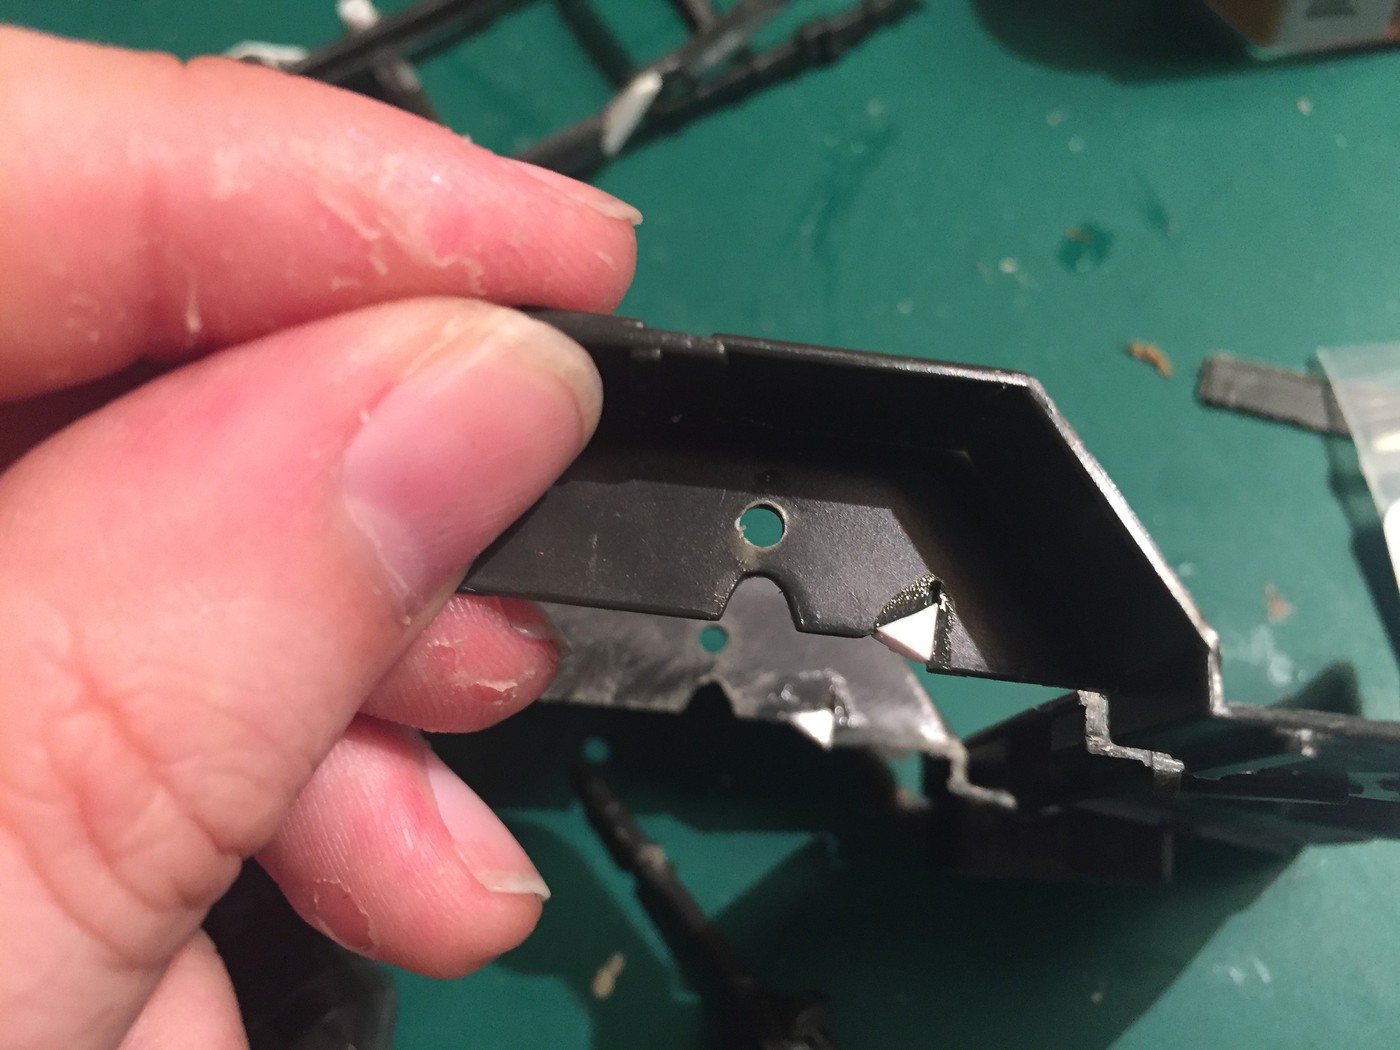 That'll work! 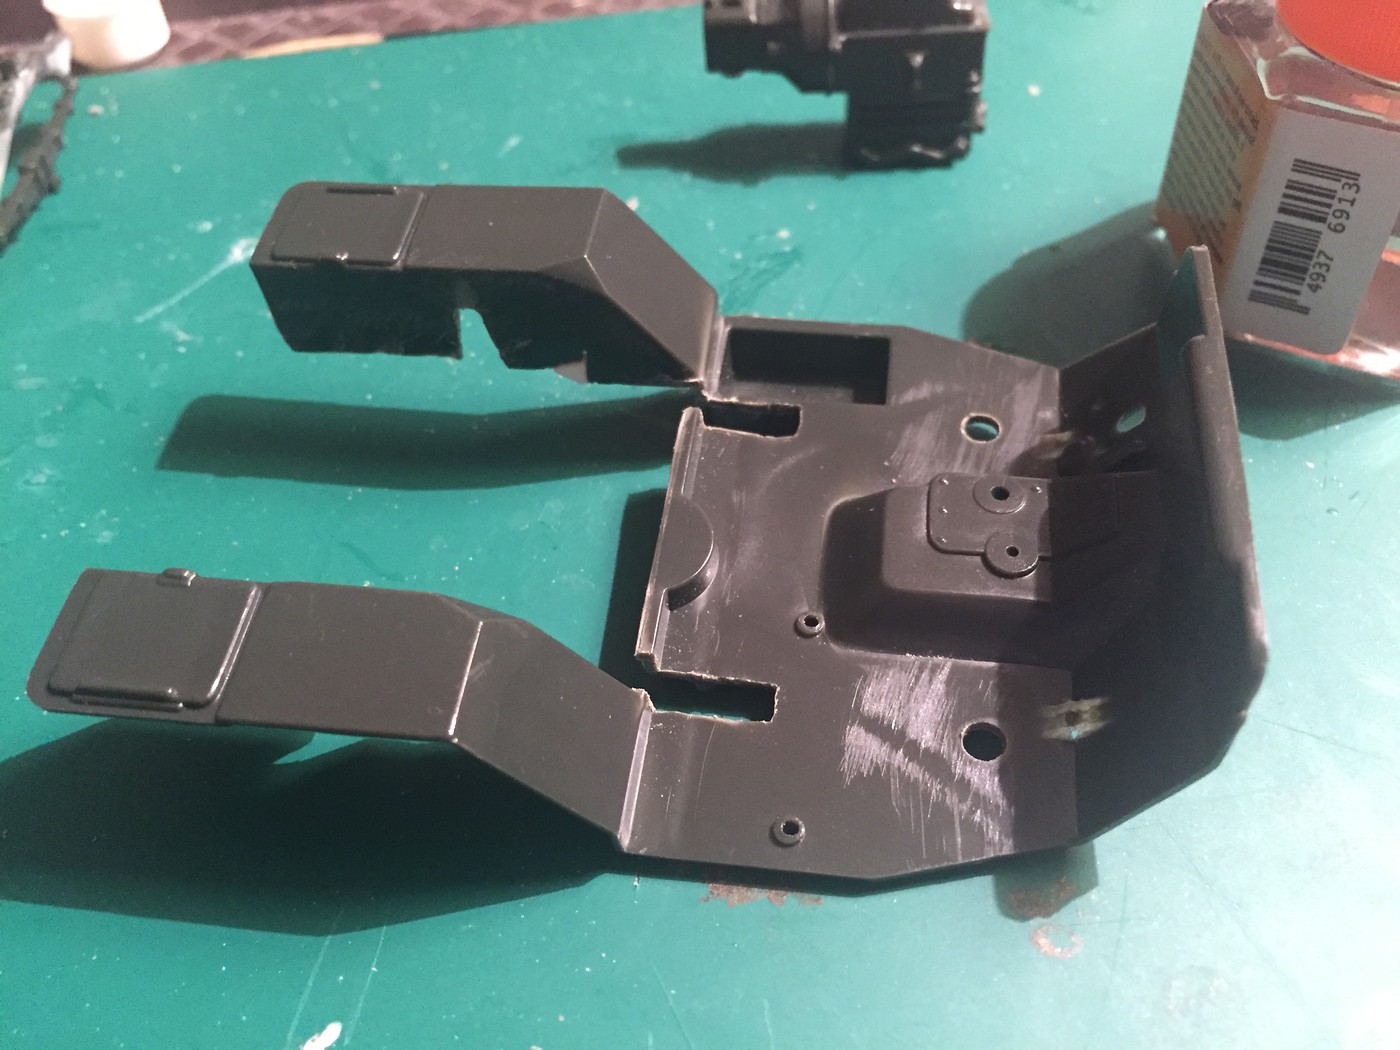 Next I made a new raised rear deck from some styrene sheet and half round bar - this really shows how much of a drop the floor pan has had: 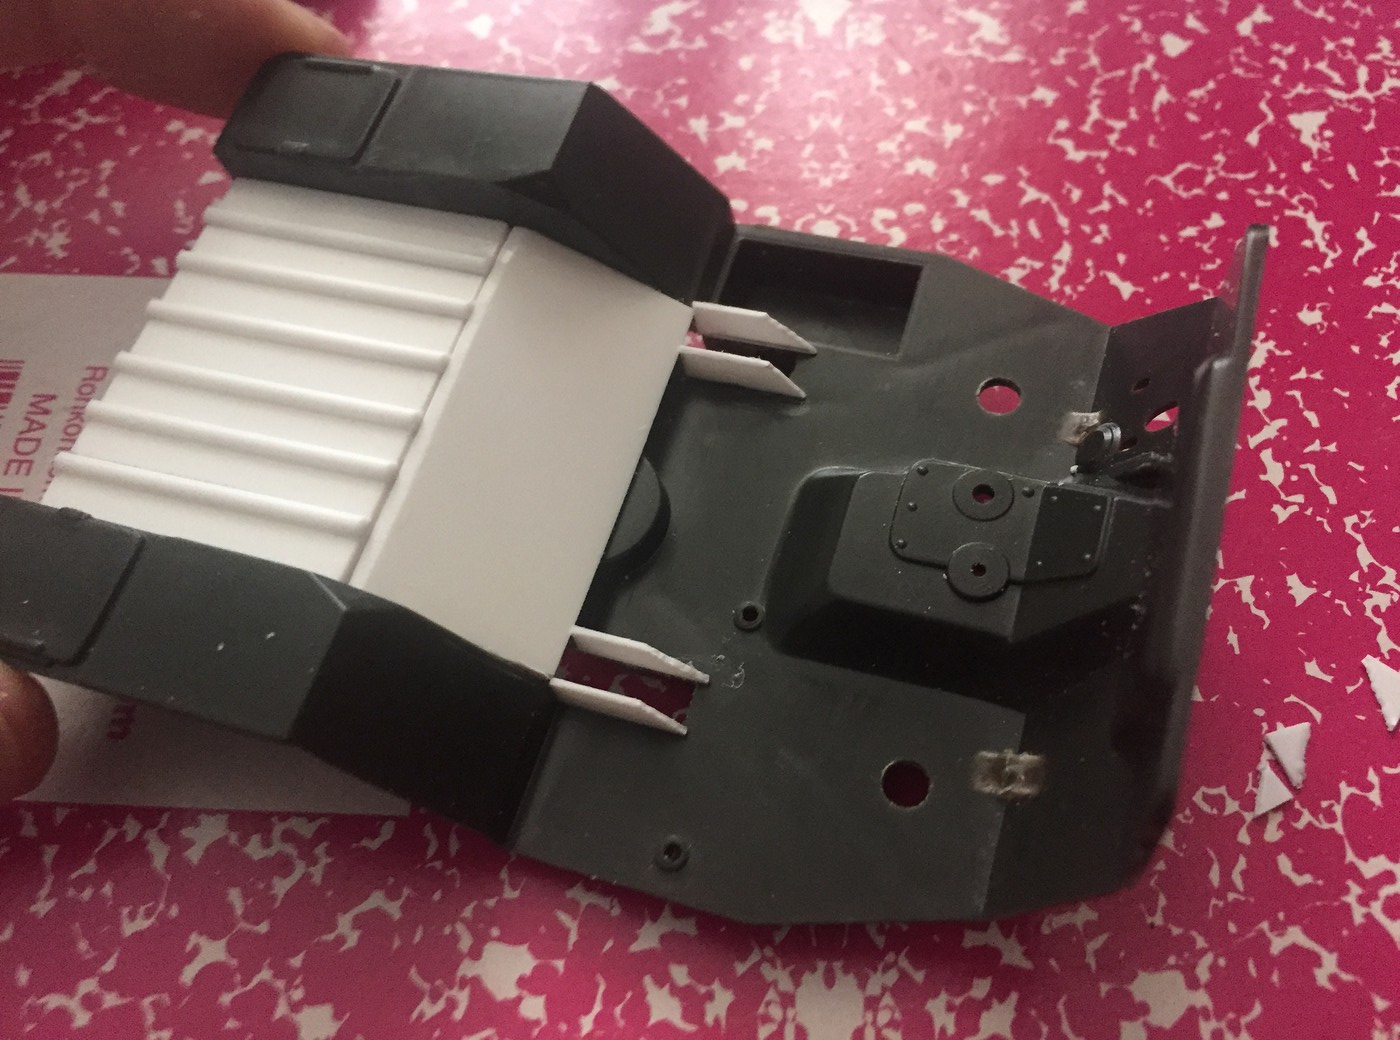 And the (semi) finished piece compared to an unmodified part 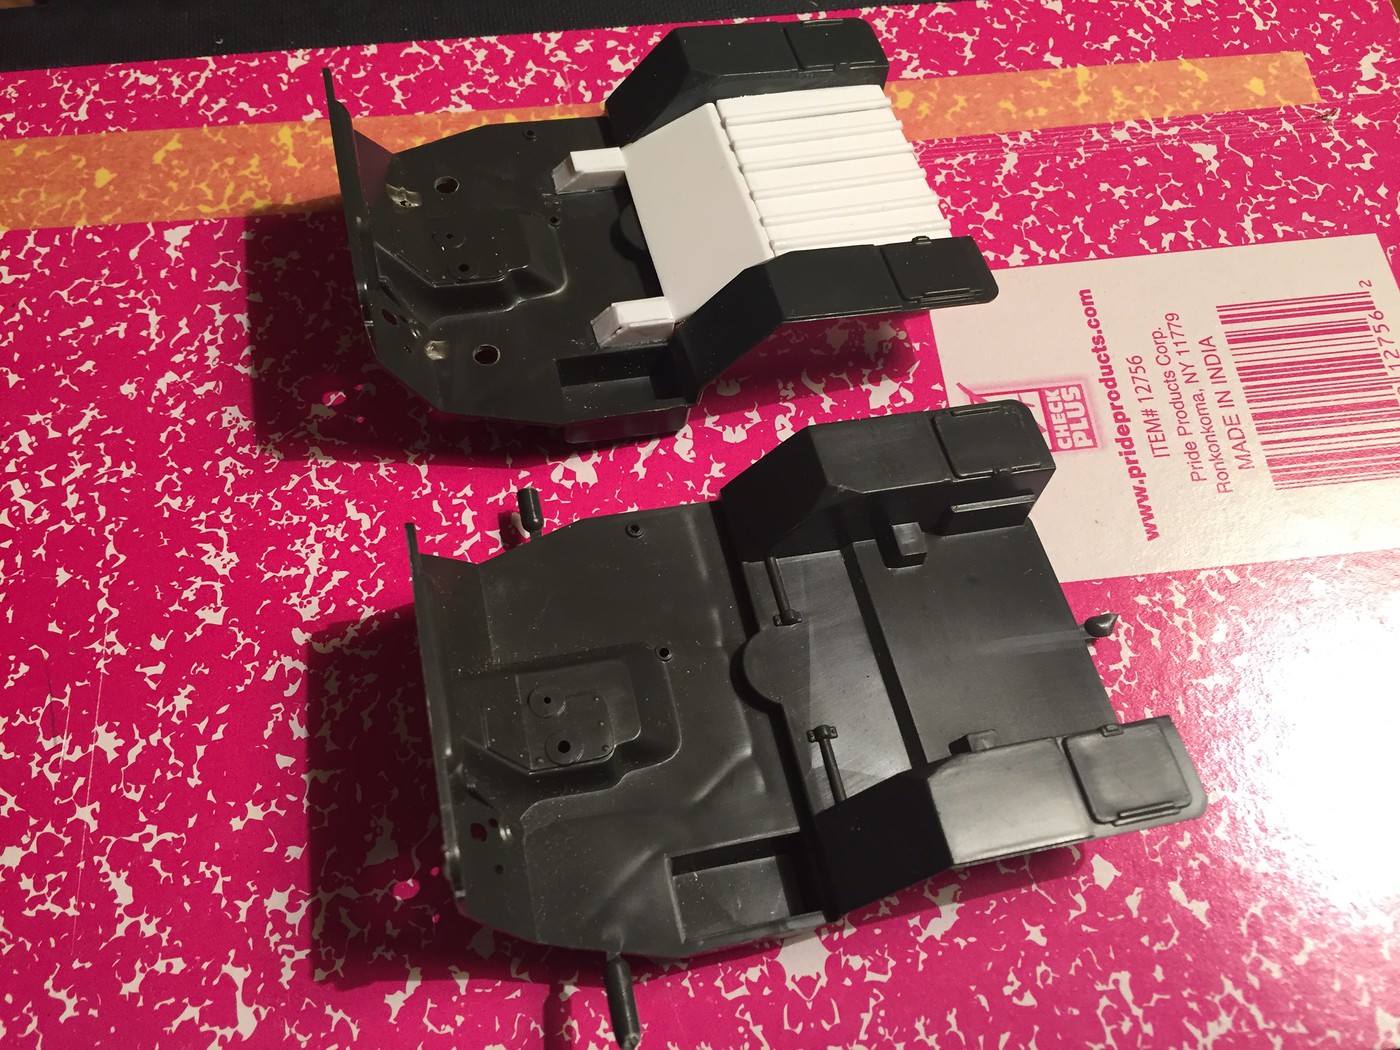 Next job is to channel the body and get that mounted and squared up - more soon! |
|
|
|
Post by kabdriver on Jul 18, 2017 13:14:19 GMT -6
OK, so next step (now that I've done some research) is to resin cast the tyres for this thing, which is in progress now, in my bathroom so I don't get shouted at for making a mess... 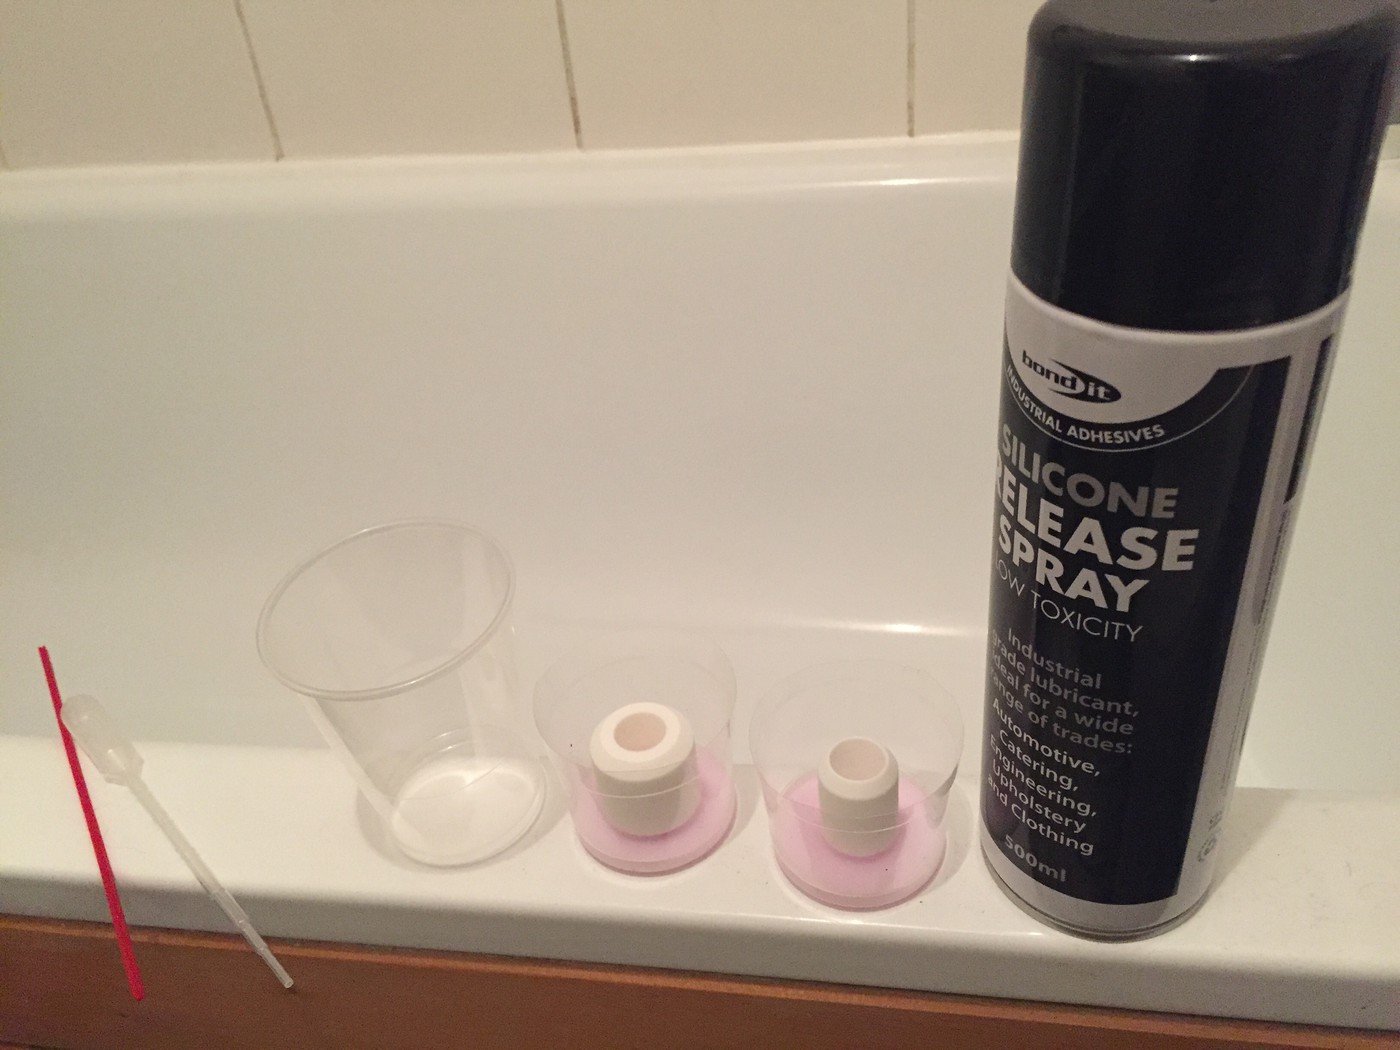 So, whilst the RTV rubber is setting I started some work on the engine. I drilled the head for plug wires, and got the block assembled and the split siles smooth. As you can see there's some moulded in detail on there, a distributor and a coil and there's a started moulded in too. 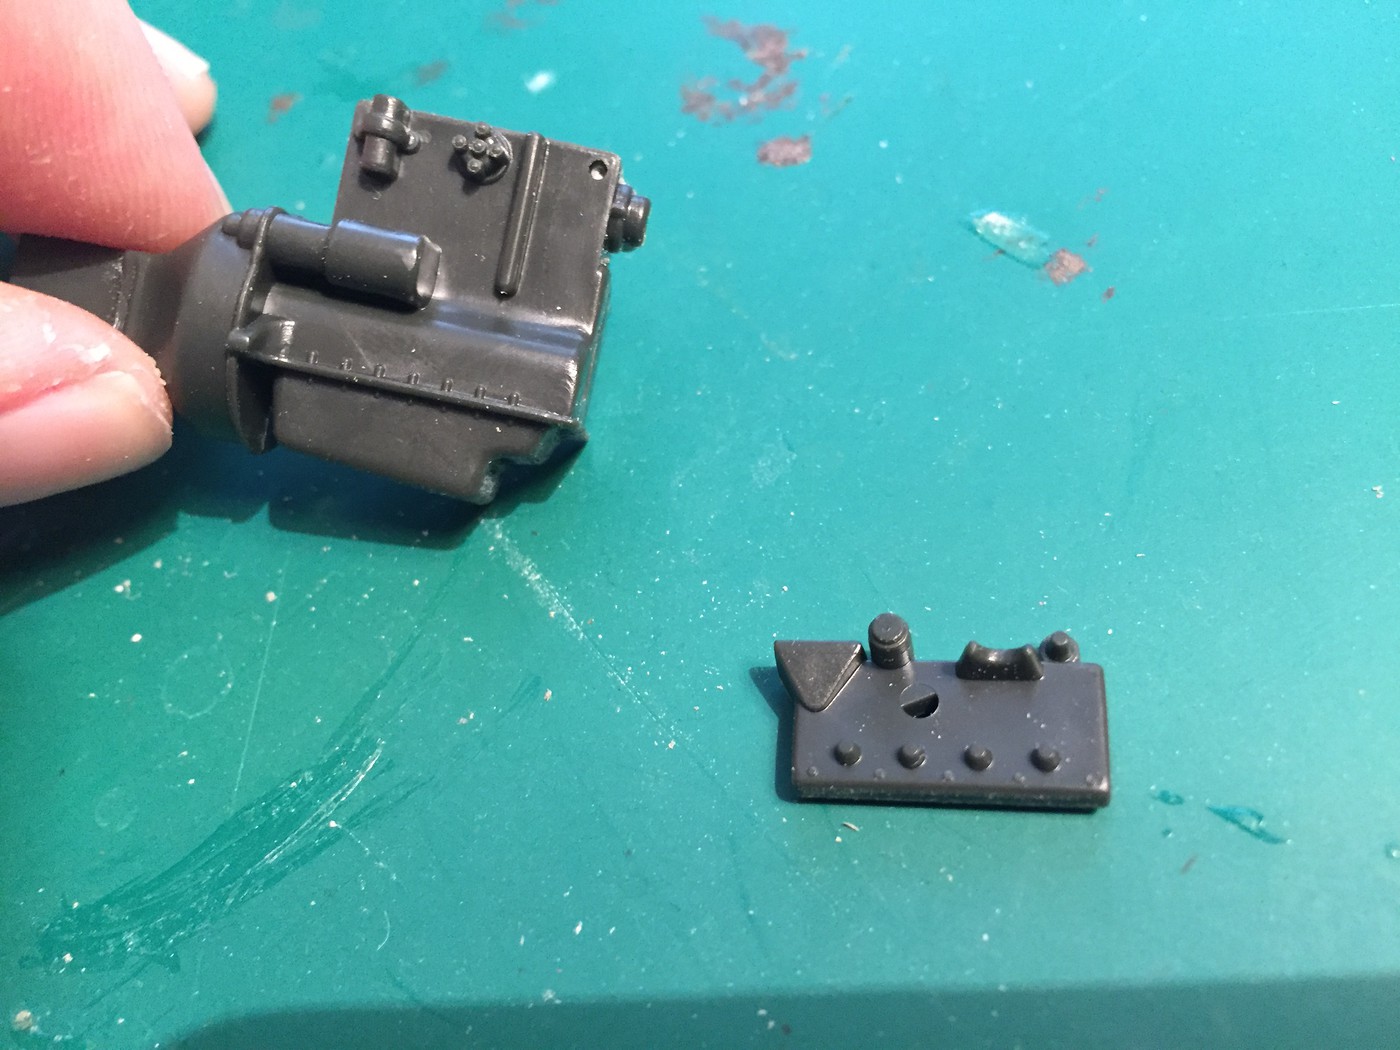 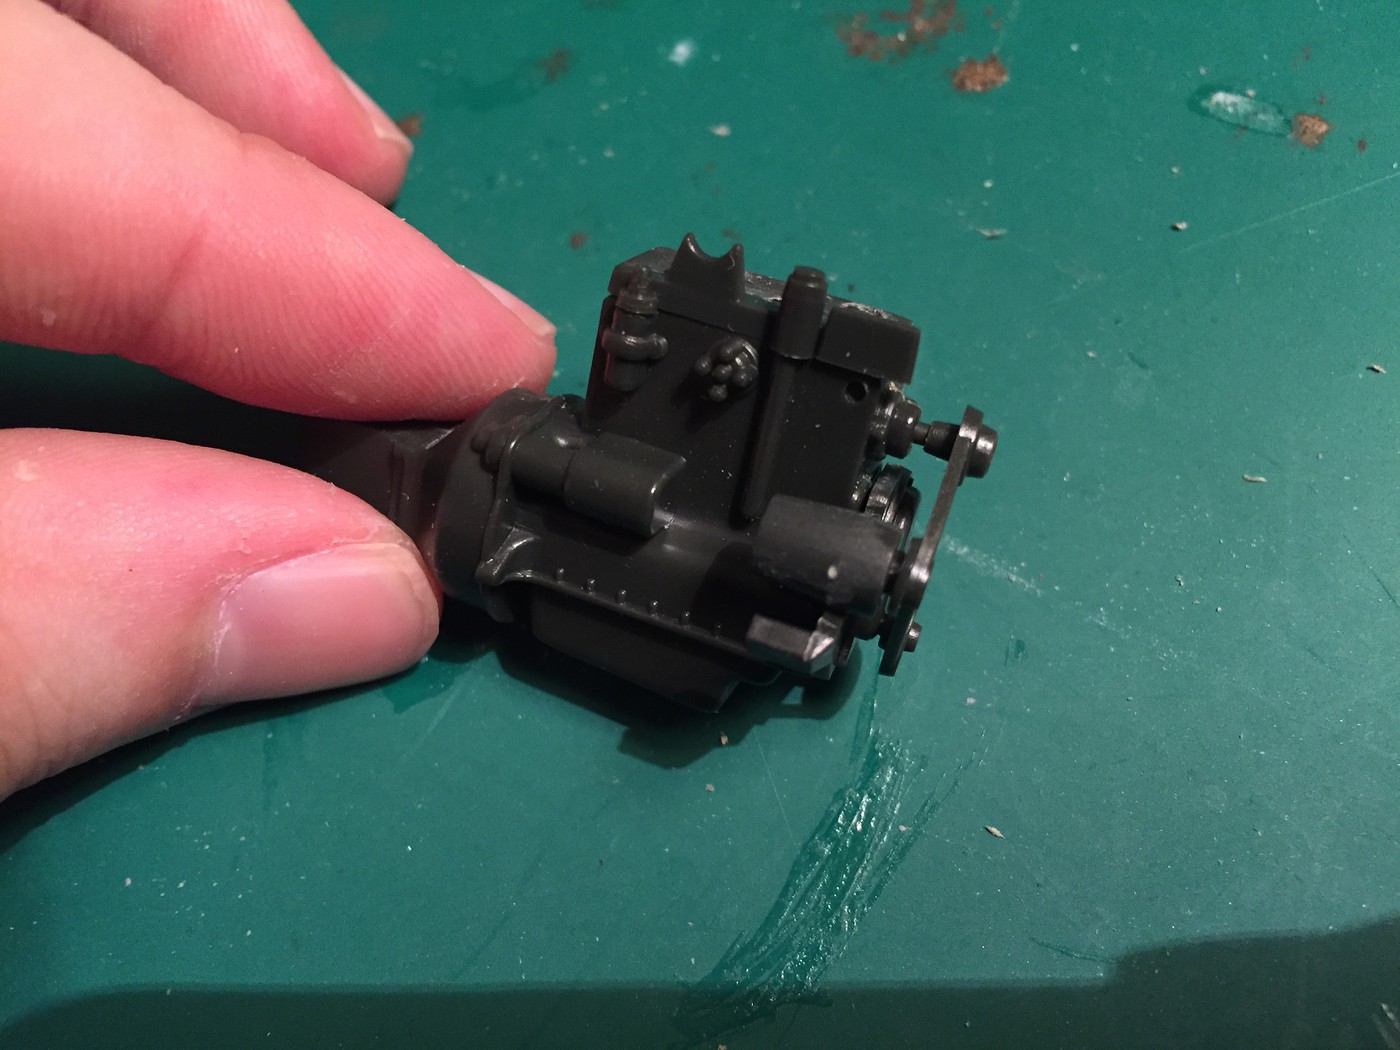 The kit alternator isn't quite round for some reason - it cones off at the end, so I removed that and replaced it. Whilst I was at it I added a photoetched bracket to the block for it to mount to. it doesnt need it to build the kit, but the real ones have them. I drilled a little hole in there too so I can wire it when the time comes. 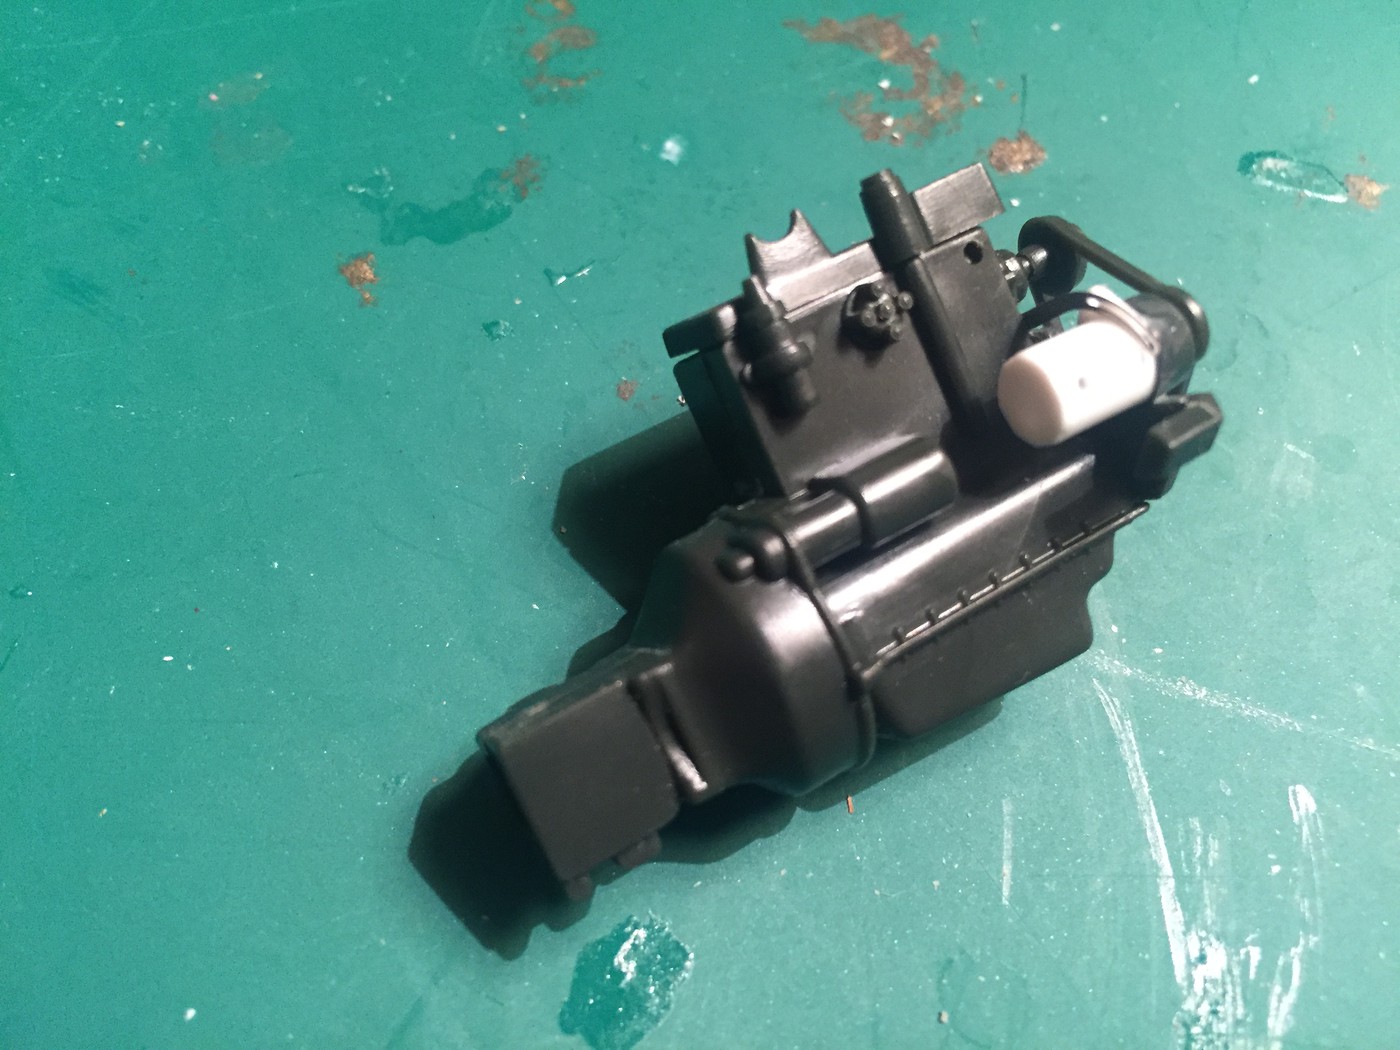 I also added a little doodad from a watch to simulate the 'fan' part of the alternator, and I'll add a photoetched bolthead on the bracket once it's all in place for good 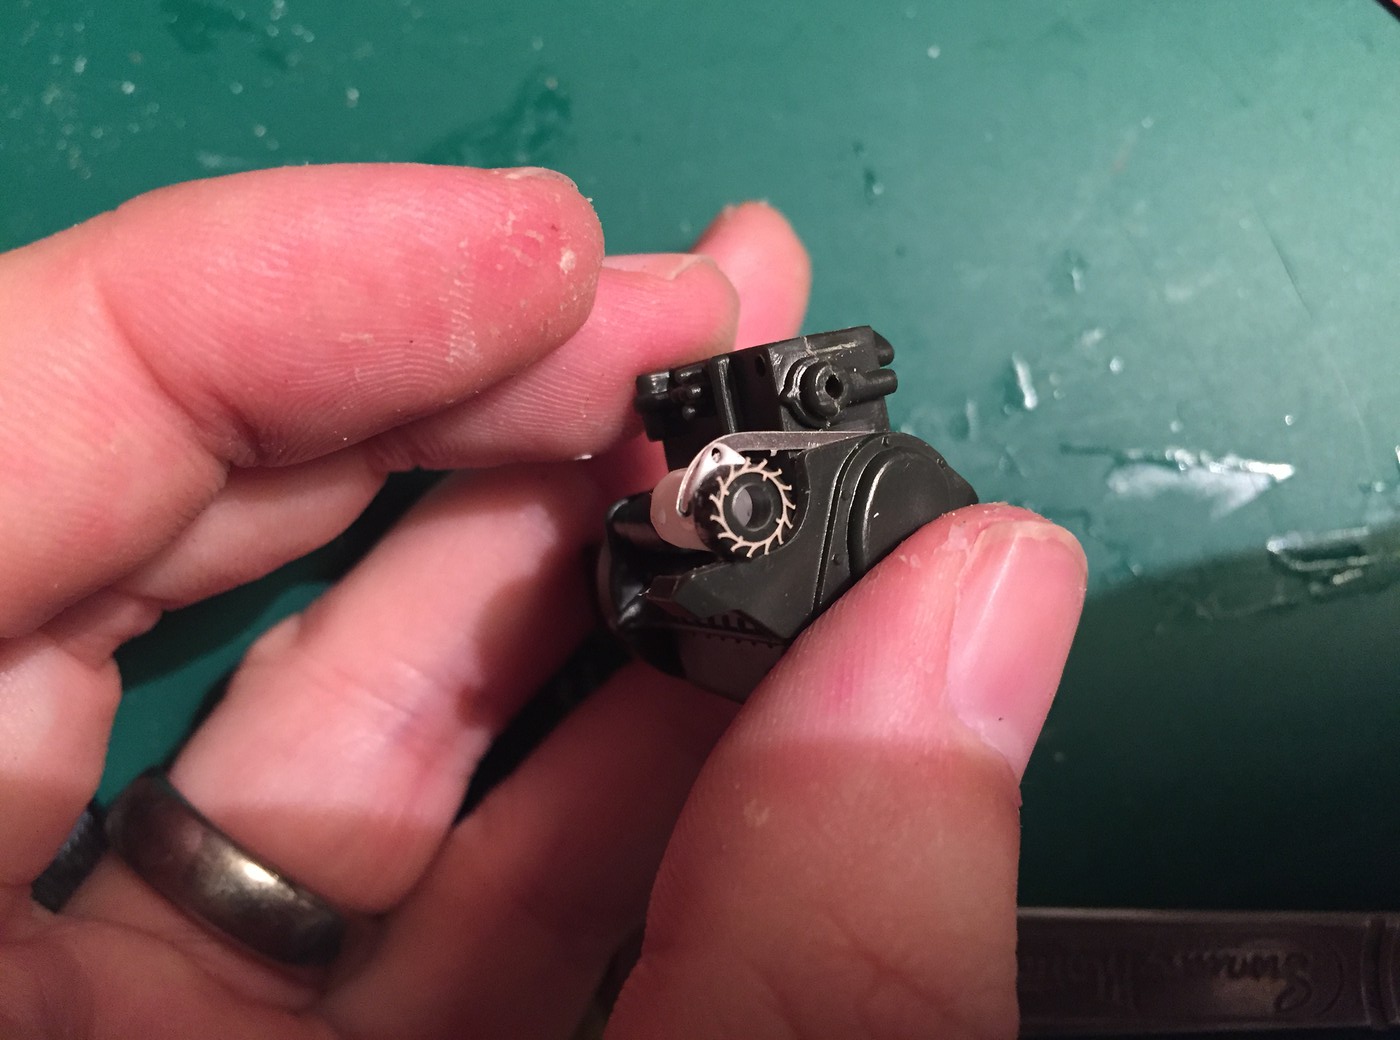 Next up, I sanded off the molded in detail on the passenger side of the block, added a little tab to mount the a machined aluminum coil and drilled a hole for an aftermarket distributor: 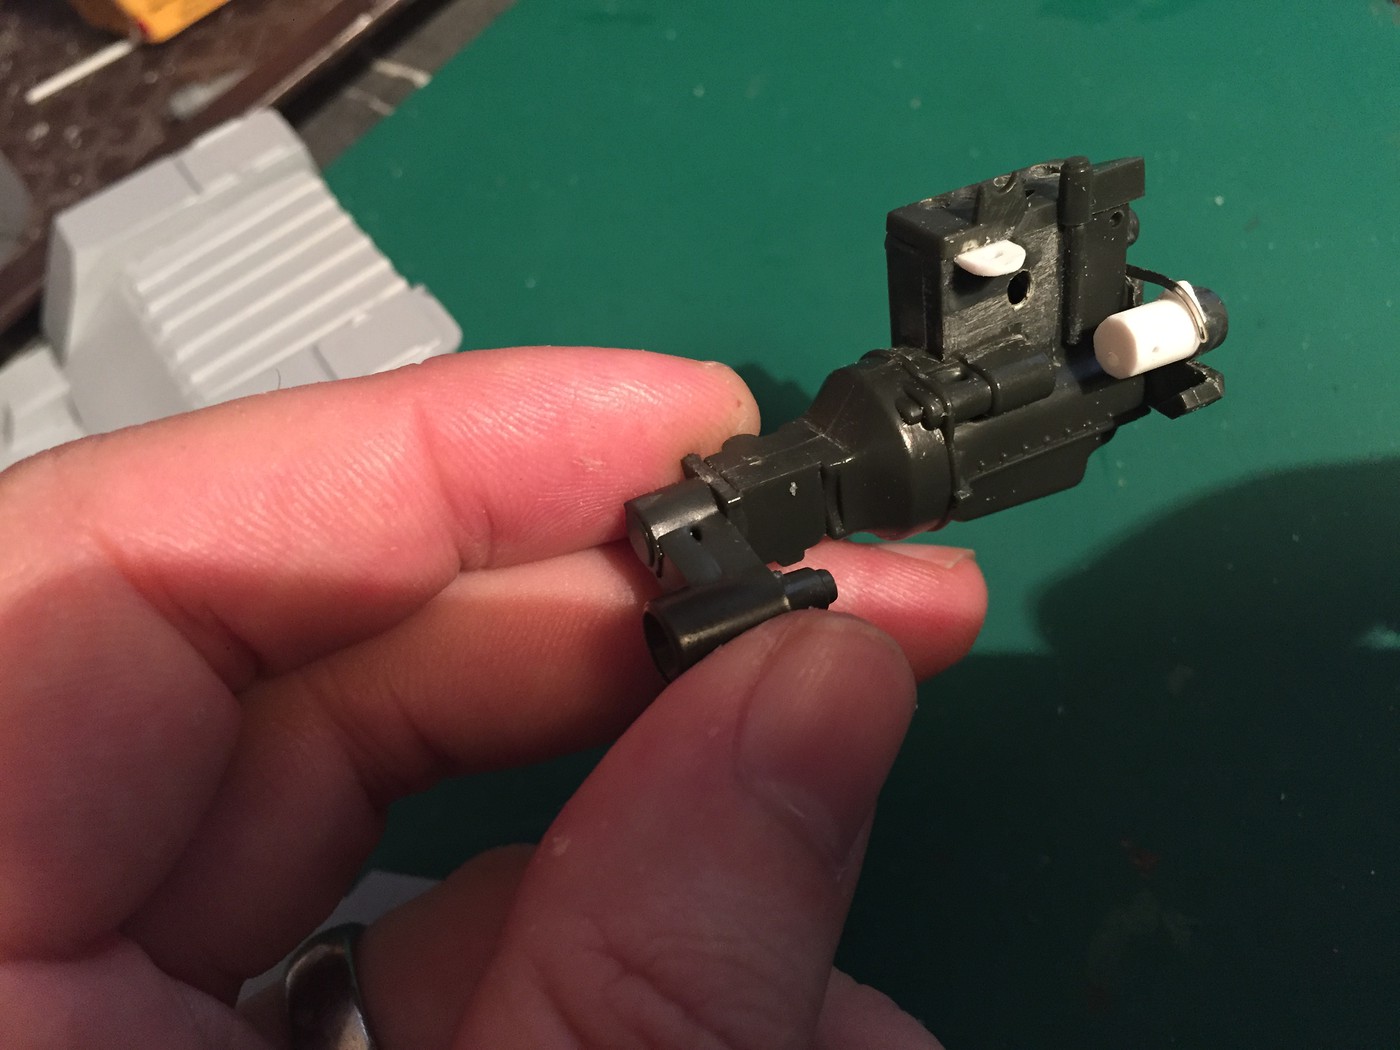 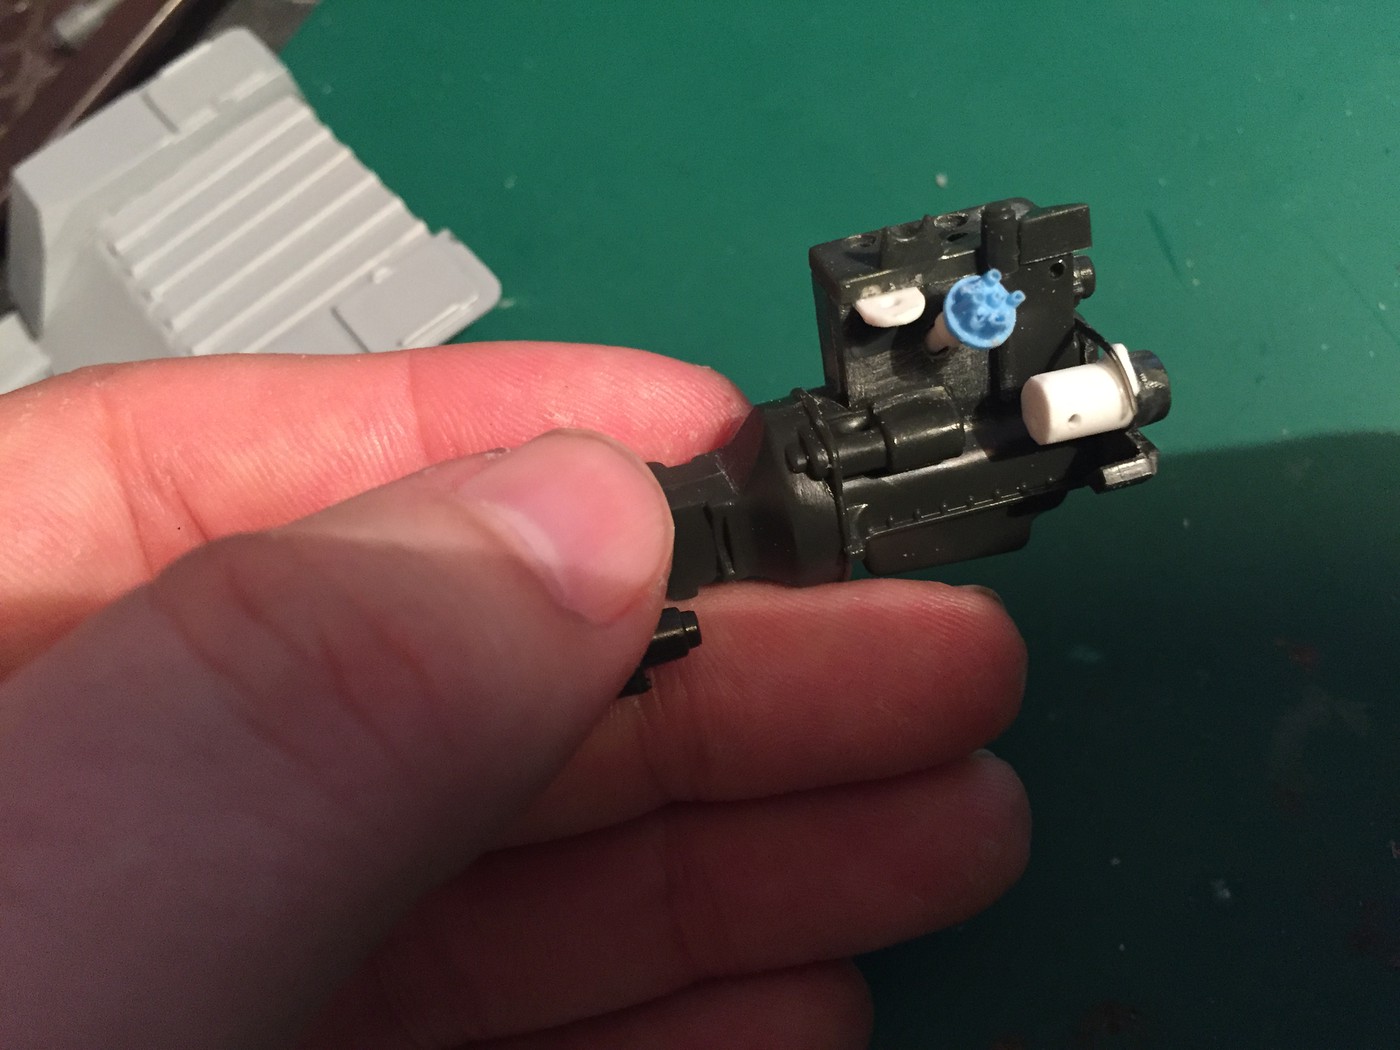 The little tab stands out a little too much for my liking at the minute but I didnt want to clamp the coil to the block, I wanted to keep it nice and smooth - and I figured out the tab will be hidden by the air filter most likely when I've figured that out anyway. I also want to work out a better way of securing the engine in the chassis when it comes to gluing it - the fit is a little vague right now. Then, final update for the day (so far anyway), was to make a new exhuast. The stock one is kinda weedy (although I'm sure adequate for the relatively few horsepower this engine puts out), so I used the stock header with some styrene tube and a late model Corvette exhaust, hacked into 3 or 4 pieces to get the bends, into a new pipe. 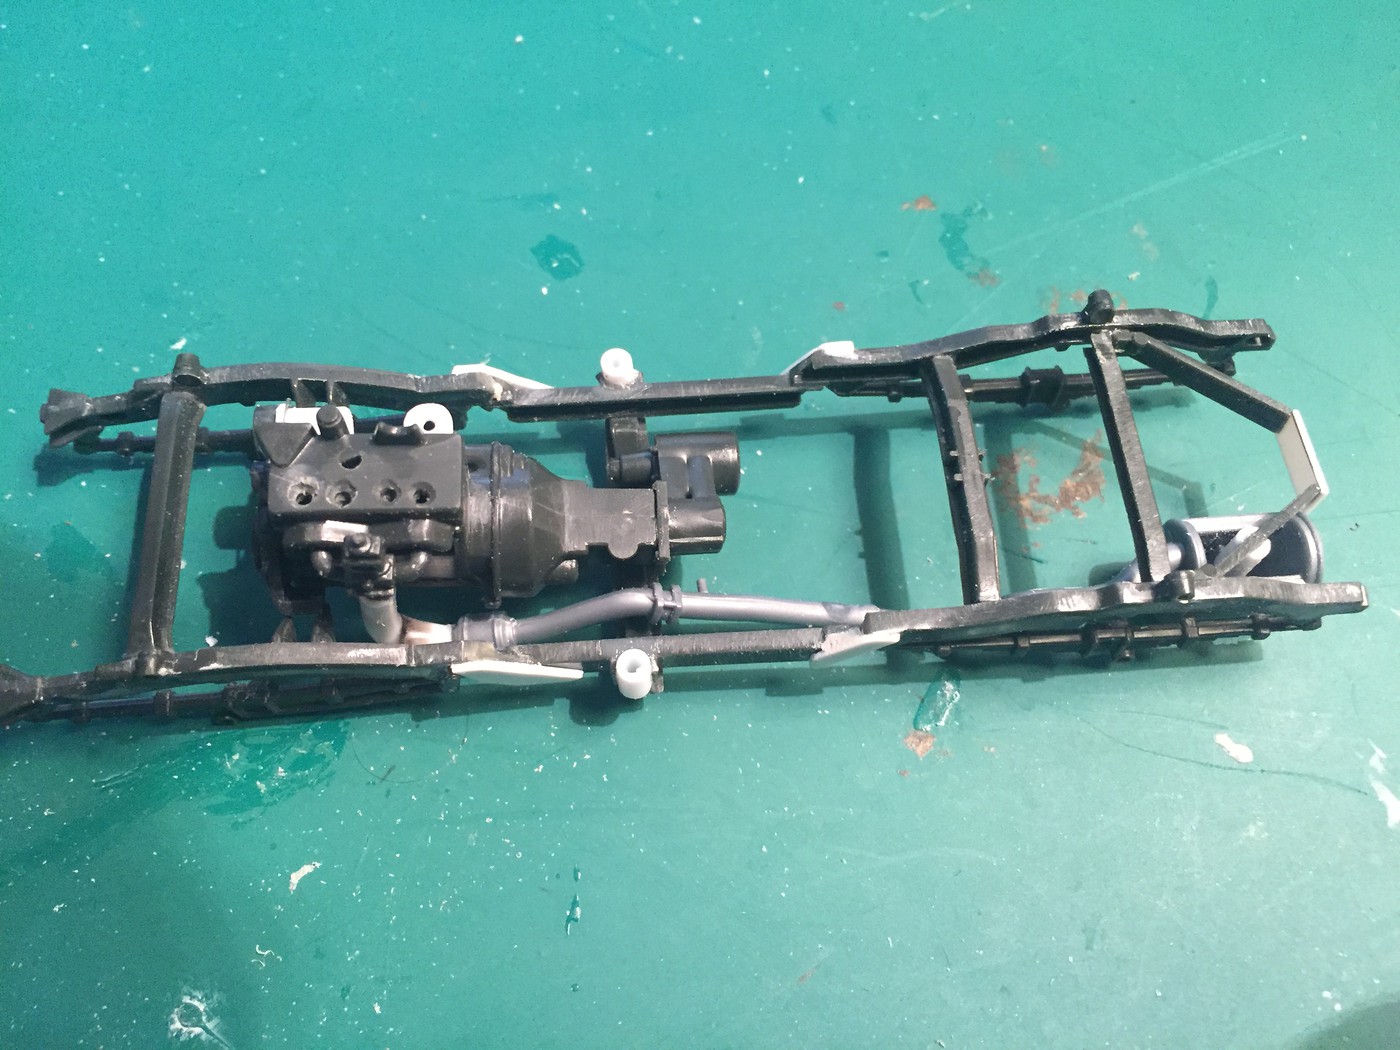 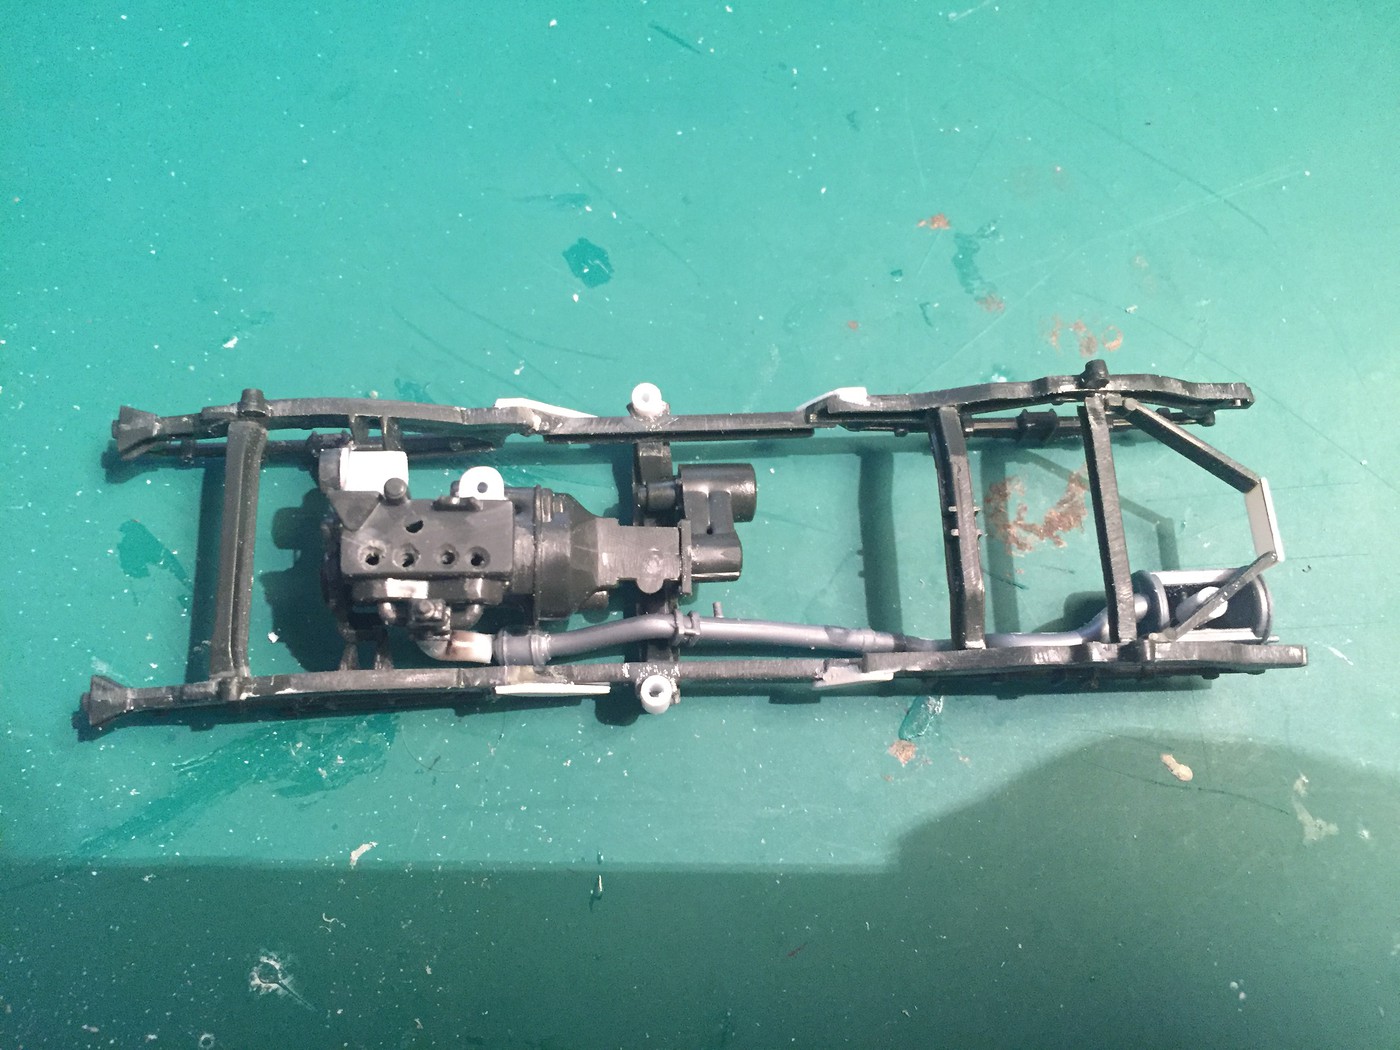 None of this work (probably 20 hours on and off so far) is ammounting to anything very impressive to look at so far, so next job is to get the body worked out so it at least looks like something  More soon! |
|
|
|
Post by "ScratchFever" on Jul 19, 2017 7:41:24 GMT -6
Looking good thus far my friend keep it coming..!!
|
|
|
|
Post by 41chevy on Jul 19, 2017 8:02:35 GMT -6
Engine details are looking good. I like the watch part for the generator fan, what a great idea!
|
|
|
|
Post by kabdriver on Jul 22, 2017 10:42:40 GMT -6
Looking good thus far my friend keep it coming..!! Thanks bud! |
|
|
|
Post by kabdriver on Jul 22, 2017 10:43:57 GMT -6
Engine details are looking good. I like the watch part for the generator fan, what a great idea! Thanks Paul! I got a little pot of watch parts from eBay a while back - there's a tonne of little useful doodads and things in there! Gears, springs, little bars and rods and screws and all kinds of stuff |
|
|
|
Post by kabdriver on Jul 22, 2017 10:58:06 GMT -6
Made a little progress on this thing this week - a lot of research and messing with little bits and pieces. I wanted to make a brake master cylinder as there's not one included in the kit. It should look like this... 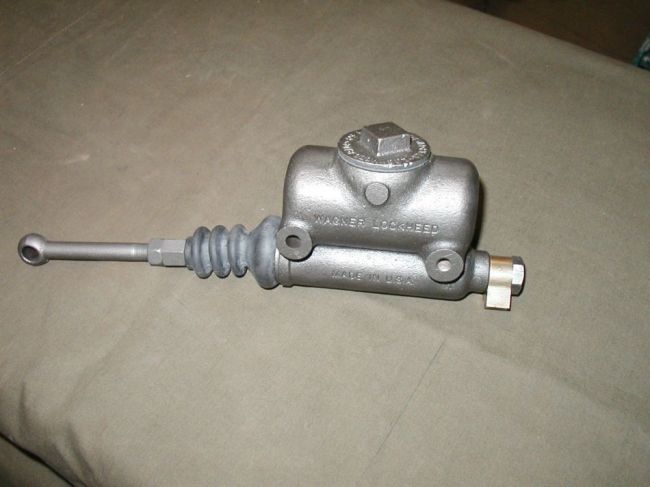 So I fabbed one up with some round bar of various different sizes and some hex bar for the mounting bolts. The rubber bushing is a simpler design than the one in my reference pic, more like the ones that later models of this jeep seem to have and I made that from a little hexagonal bead from Hobby Lobby that I cut and sanded to roughly the shape I wanted. The pushrod is another watch part. Not quite finished, but getting there...gonna do a little more on it today and then figure out where I can mount it on the frame 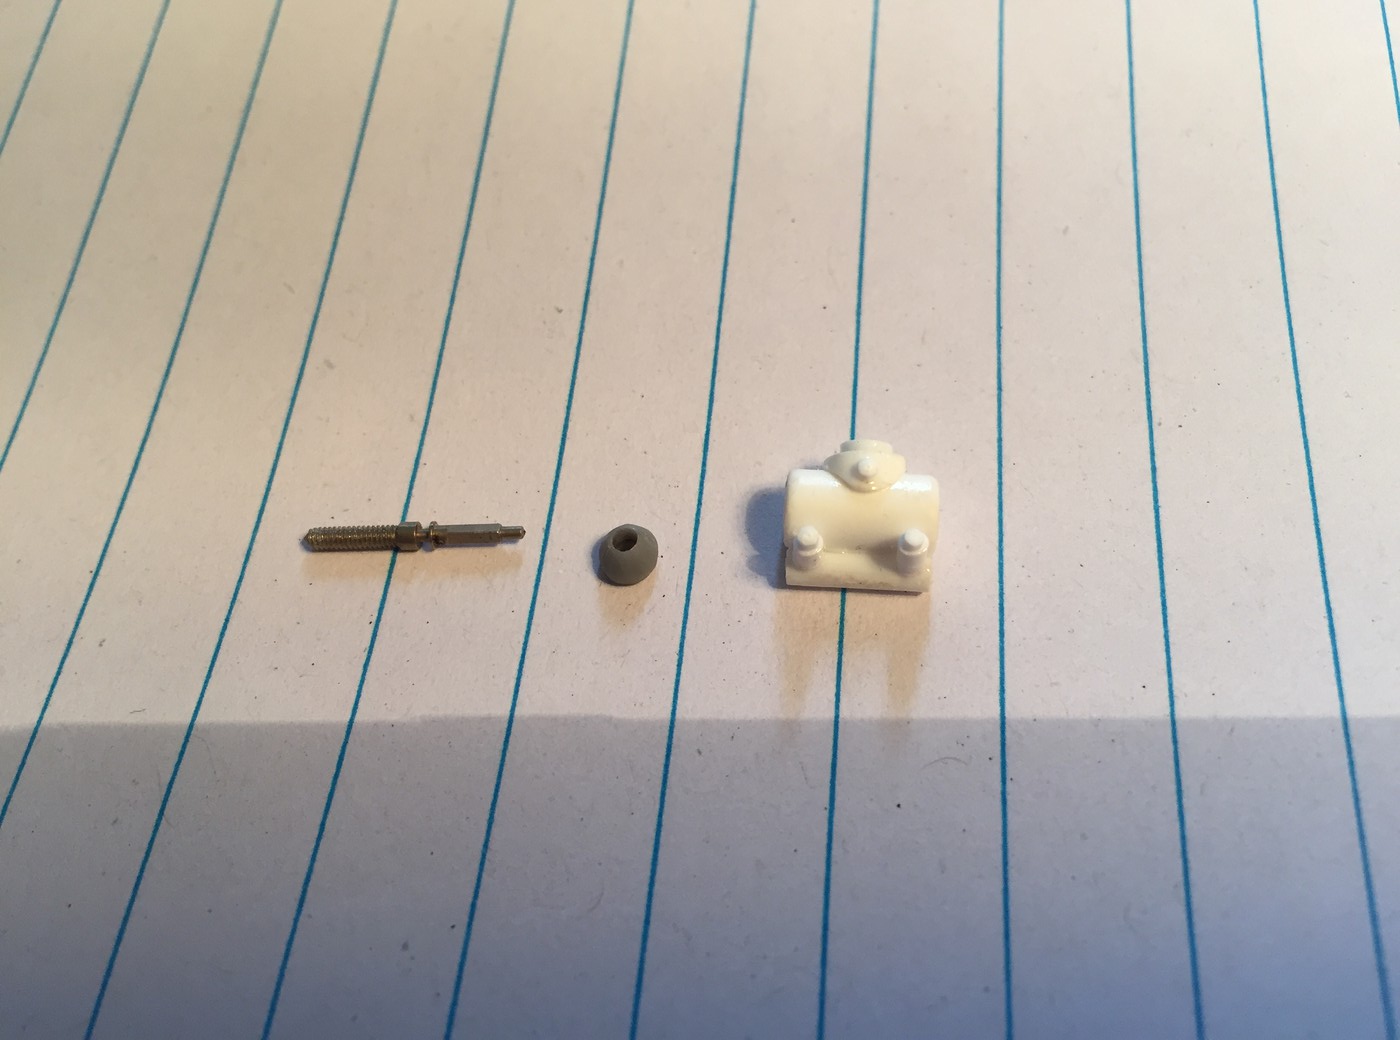 And the piece assembled as it is so far 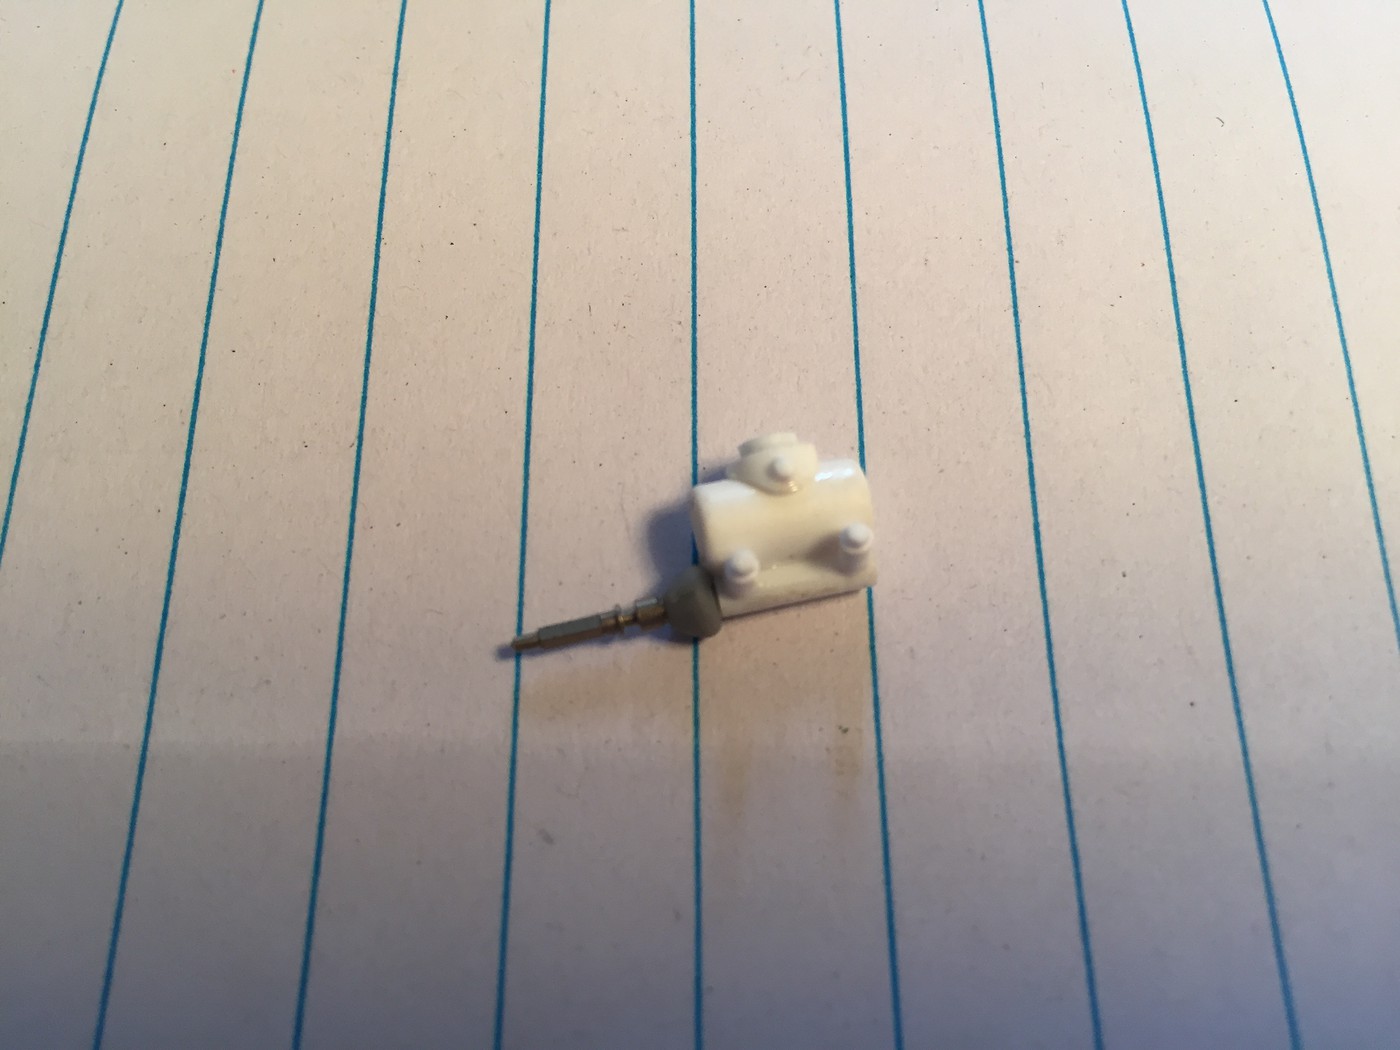 In the meantime I started casting some wheels for it - or making the mold anyway. I've already made the mold for the tyres so I'm going to cast a set of parts all in one go once I've got these molds done. These wheels are from the AMT Depth Charger - I've only got one pair of them and I want to build the kit so I'm going to make an extra set that I can mess with. 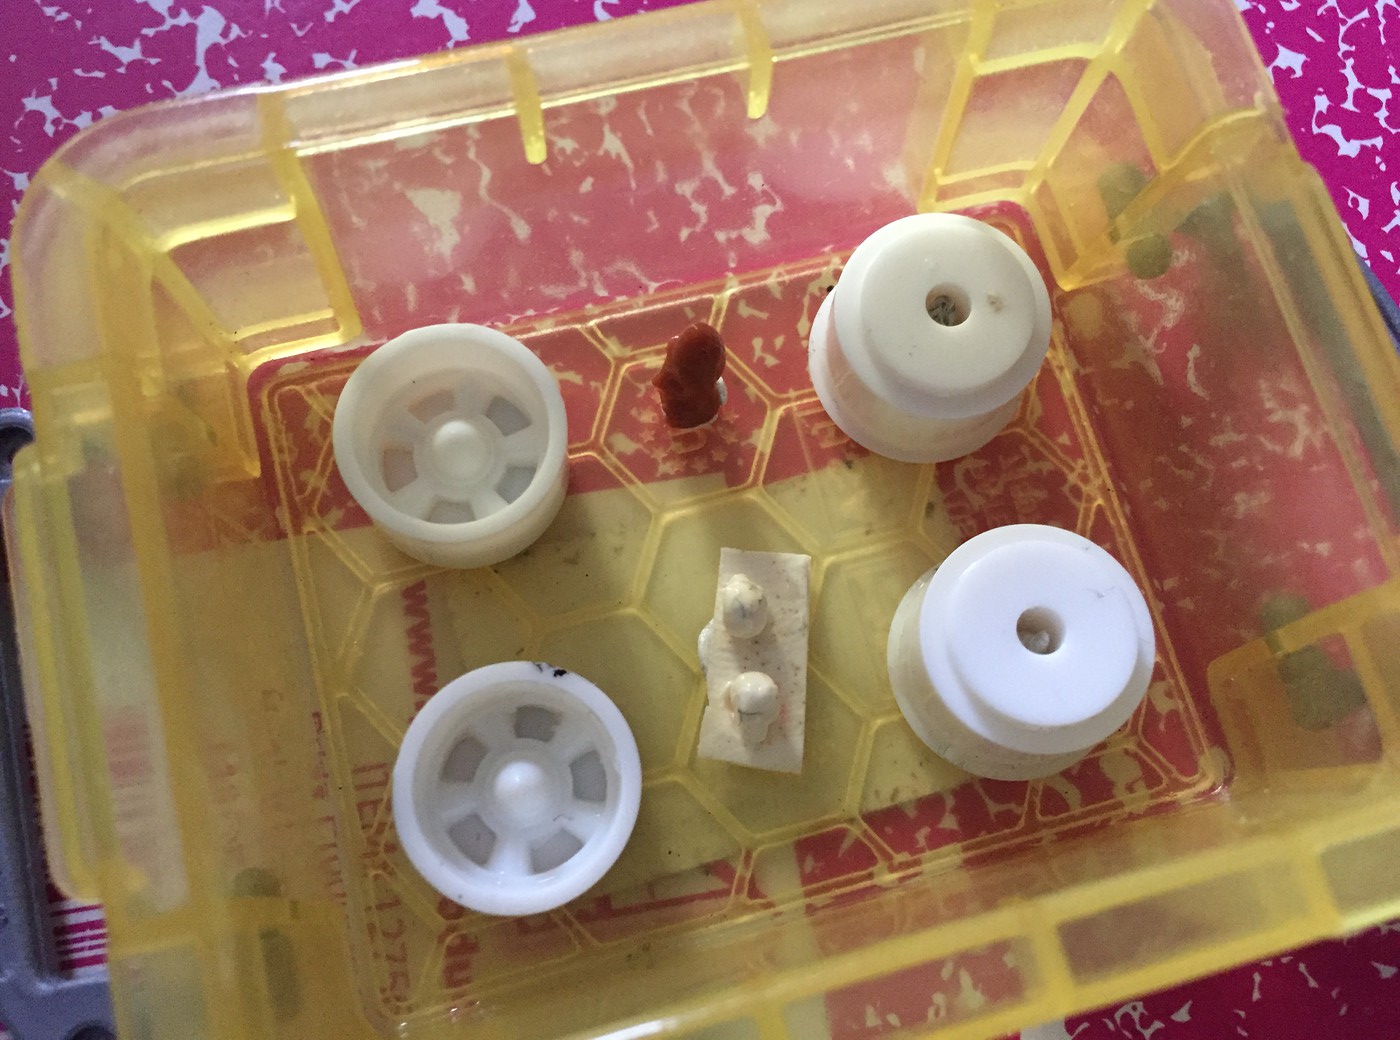 And finally for today, my paint came! This is a nice deep pearl blue that I'm planning on using for the chassis, the engine and the interior tub. Hopefully it looks good! Anyone tried clearcoating over this stuff? 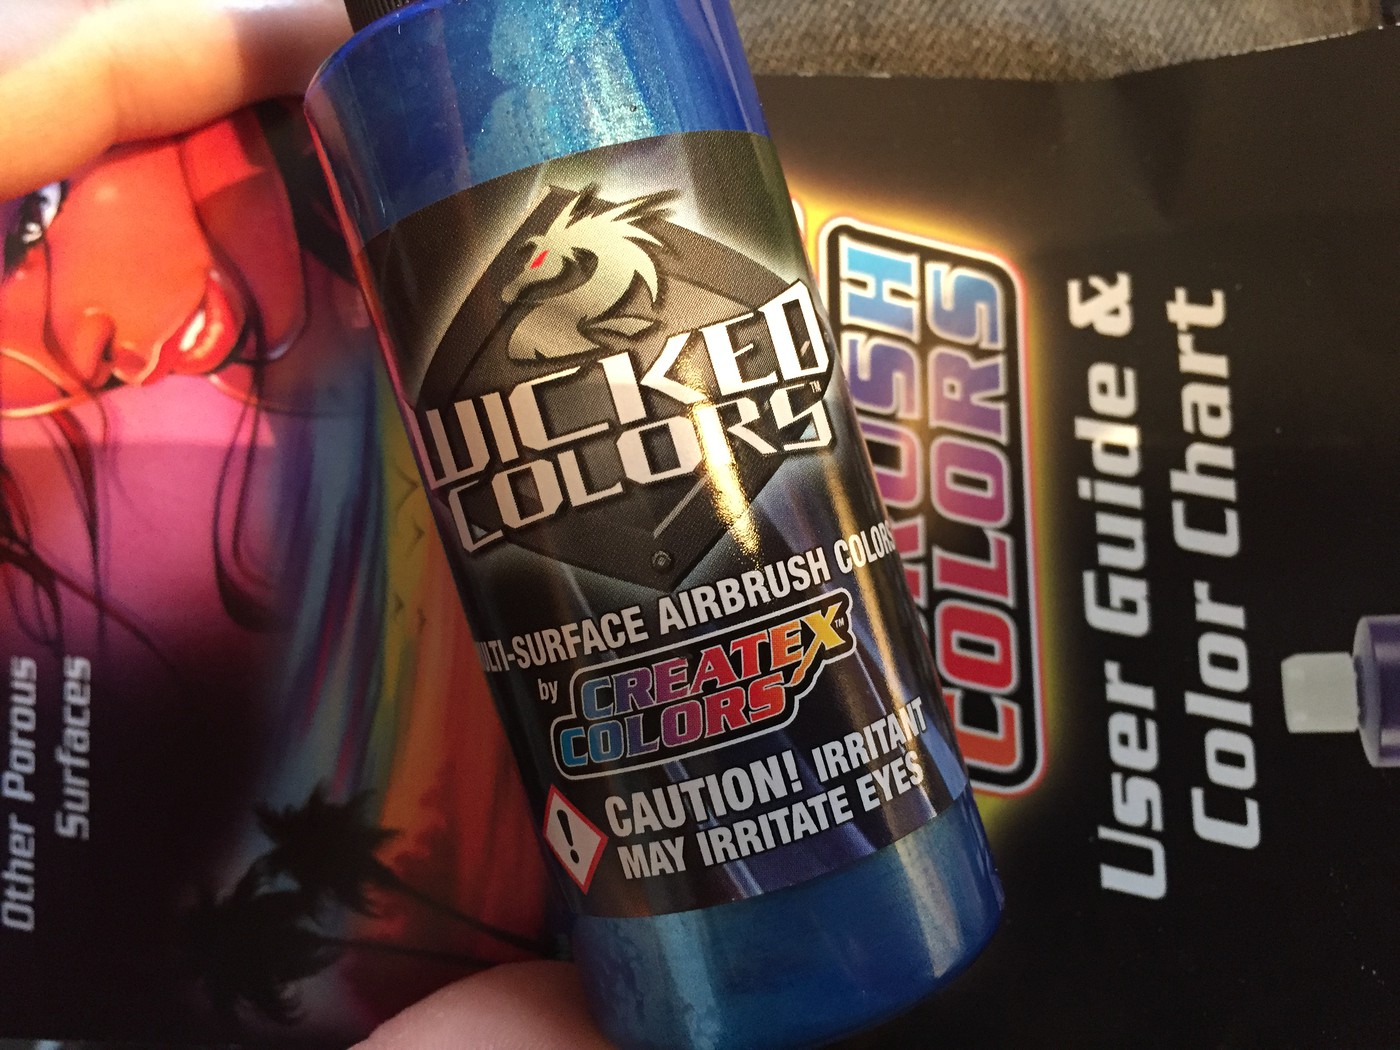 More progress as I make it! |
|
|
|
Post by 41chevy on Jul 22, 2017 13:40:32 GMT -6
Createx makes a gloss clear coat. I've a Sci-Fi modeller friend who uses Plastikote Universal Clear over Createx and Auto Air colors.  |
|
|
|
Post by kabdriver on Jul 22, 2017 14:51:42 GMT -6
Createx makes a gloss clear coat. I've a Sci-Fi modeller friend who uses Plastikote Universal Clear over Createx and Auto Air colors. Ahh great, so I can use lacquer over it ok? Great! Thanks Paul! |
|
|
|
Post by 41chevy on Jul 23, 2017 8:29:45 GMT -6
Createx makes a gloss clear coat. I've a Sci-Fi modeller friend who uses Plastikote Universal Clear over Createx and Auto Air colors. Ahh great, so I can use lacquer over it ok? Great! Thanks Paul! I'd test a part, but from what I've learned is lacquer is O.K. I've used Tamiya gloss lacquer over Poly S water based paint with no issues. Paul |
|
|
|
Post by kabdriver on Jul 23, 2017 9:42:40 GMT -6
Brilliant, thanks Paul! I'll give it a try! I'd really like to make the shiny bits, well, shiny! Meanwhile, my seats arrived! These are bomber seats from Replicas and Miniatures: 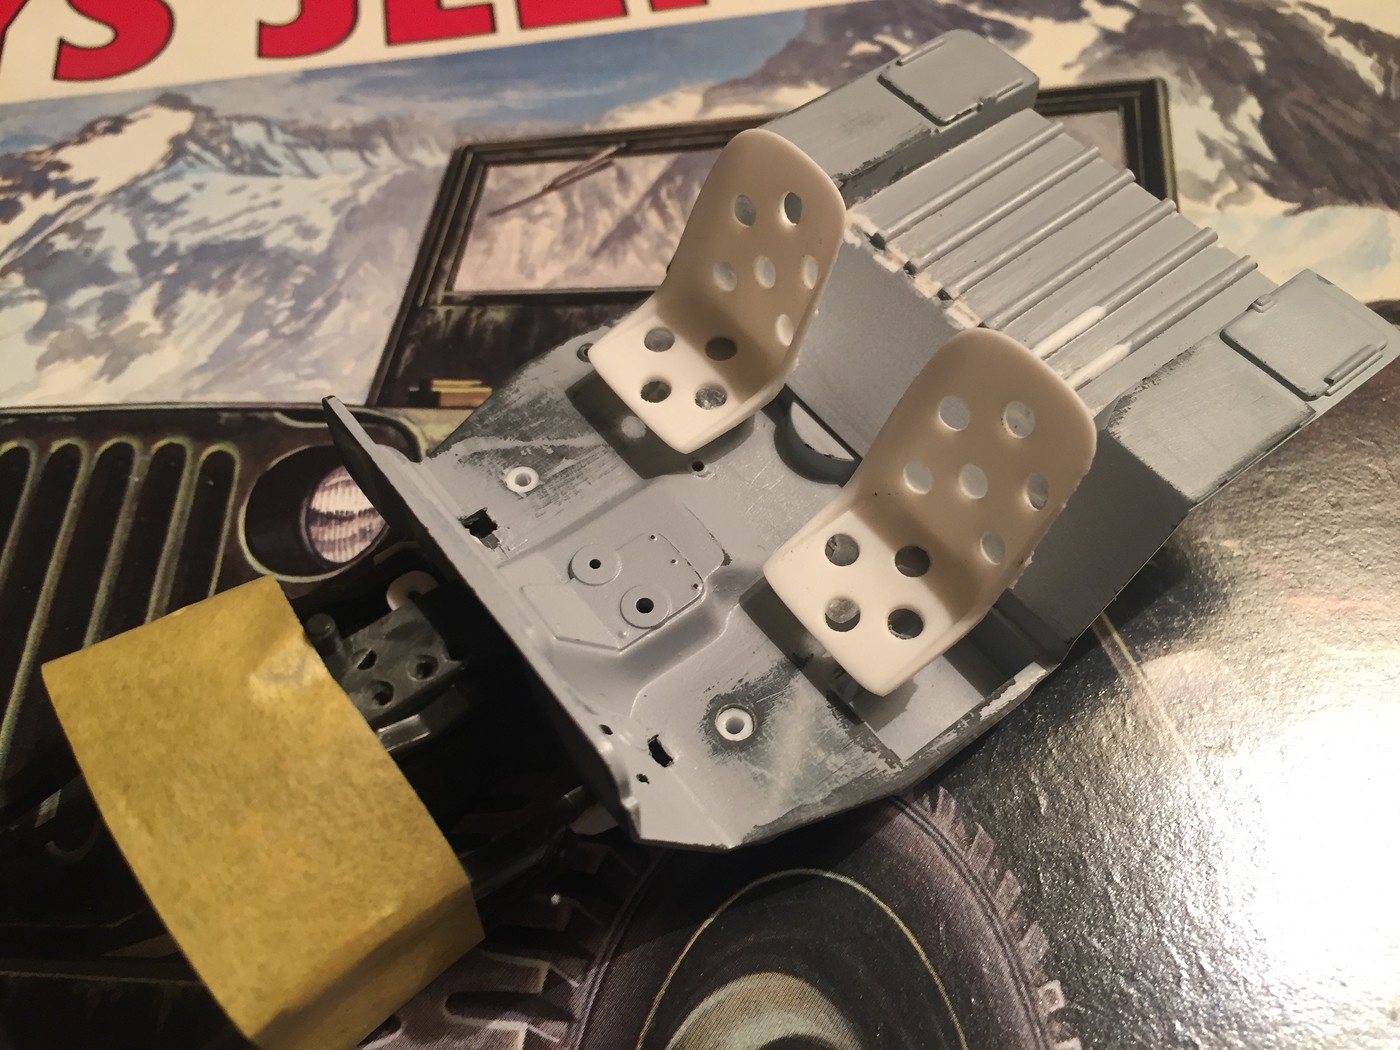 Next, I channeled the body over the interior tub a little and got it taped in place just to make sure there won't be any fitment issues further down the line when it's painted 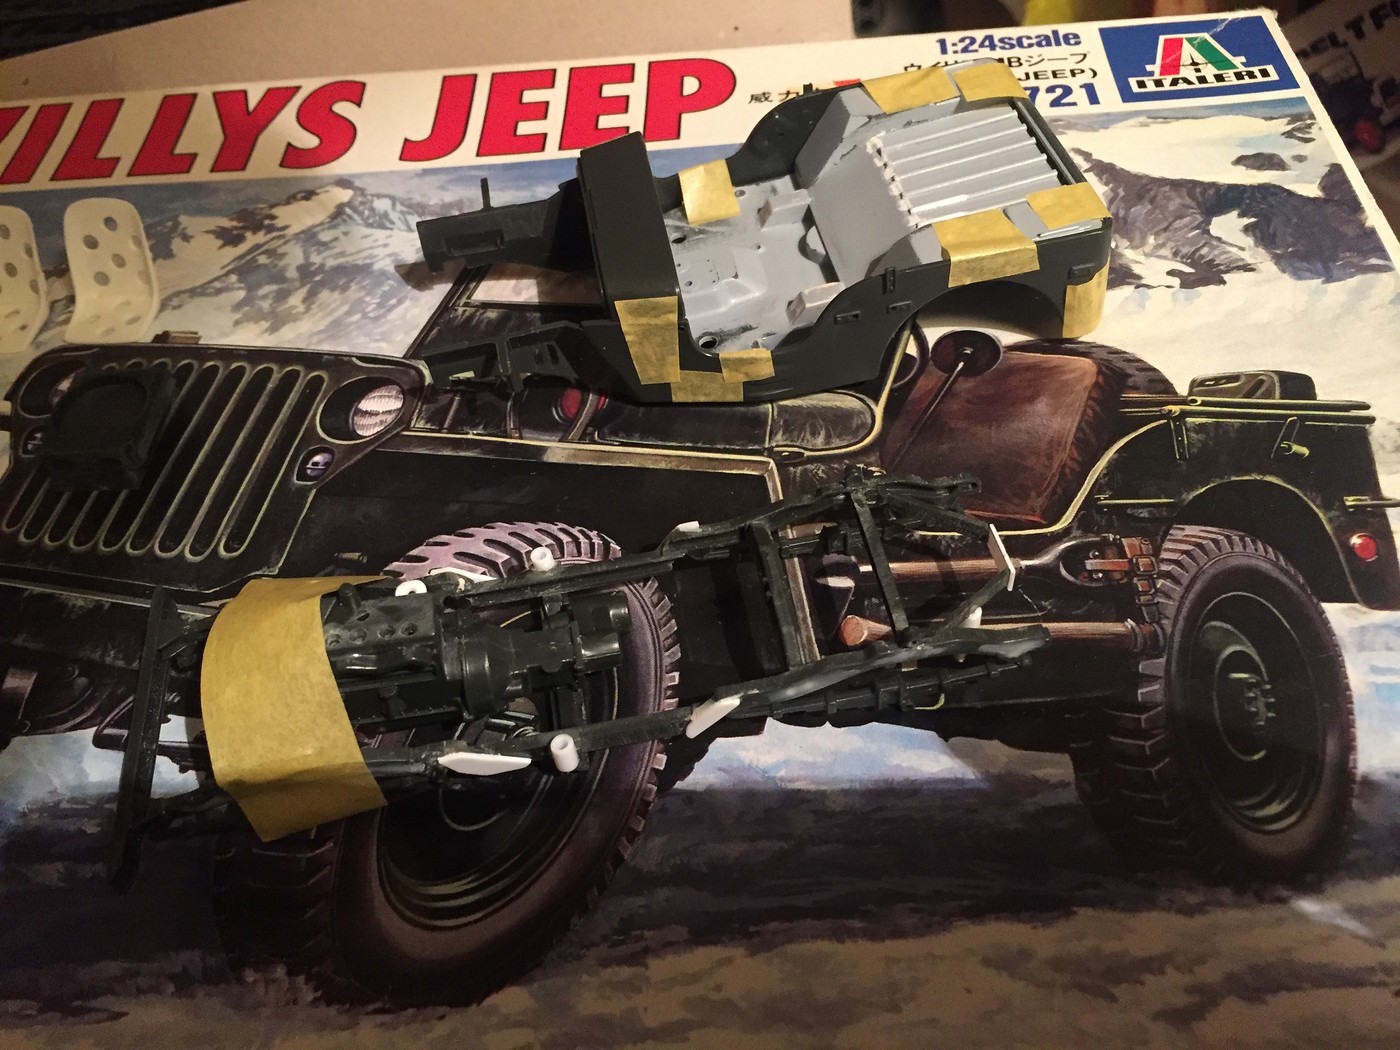 I always imagined a slight wedge shape to the body of this build, and the stance will achieve some of that but I chopped a slice out of the hood too with a razor saw: 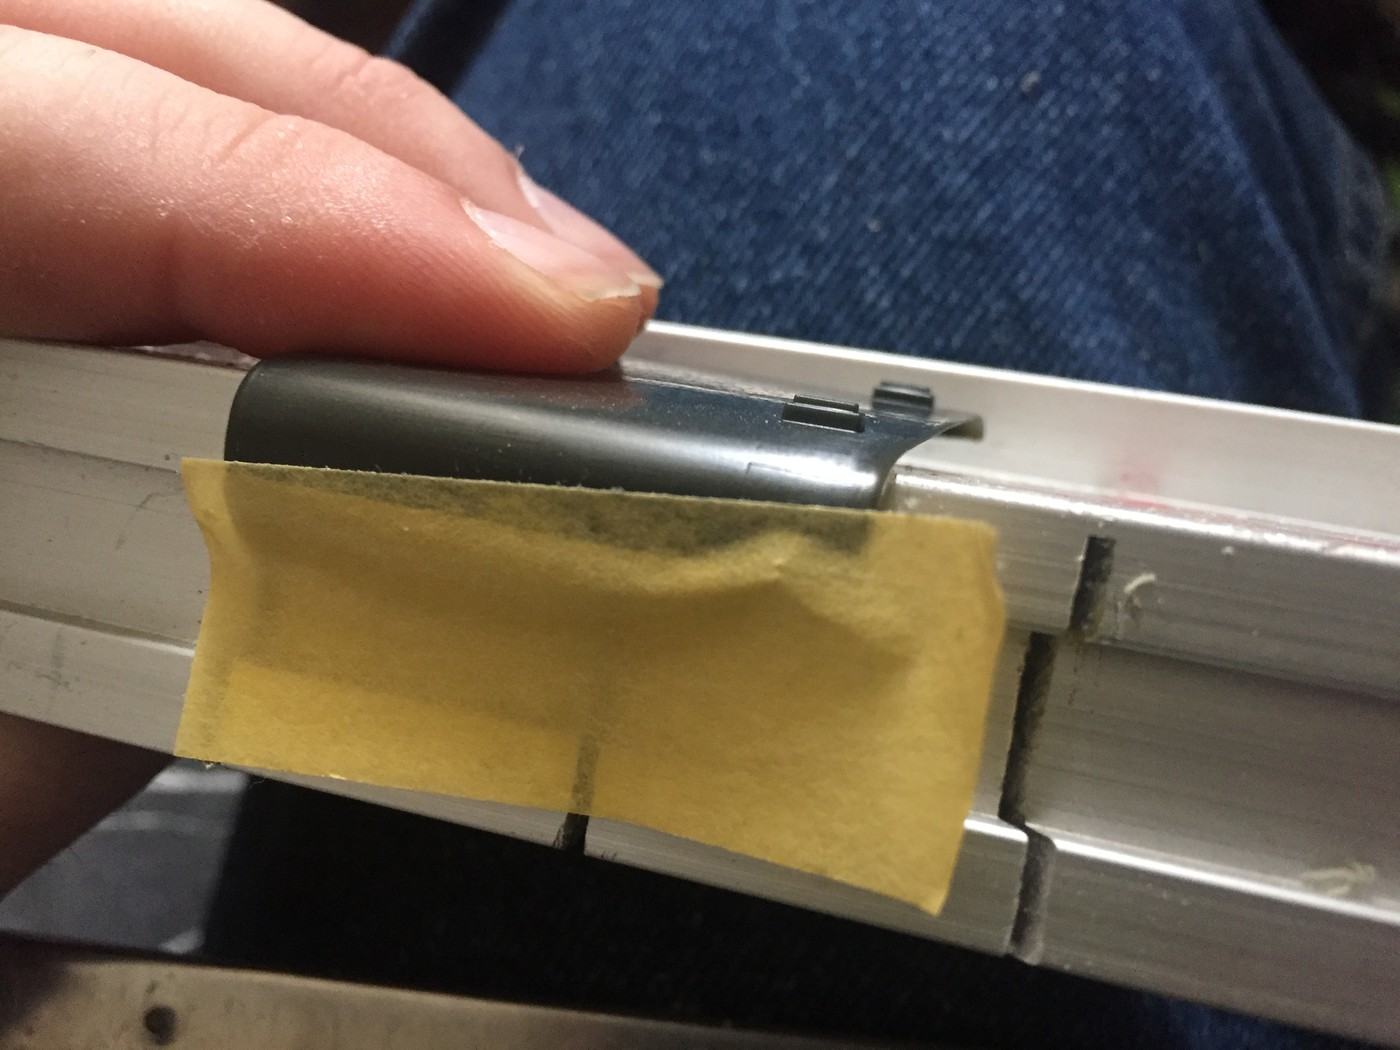 Tada! 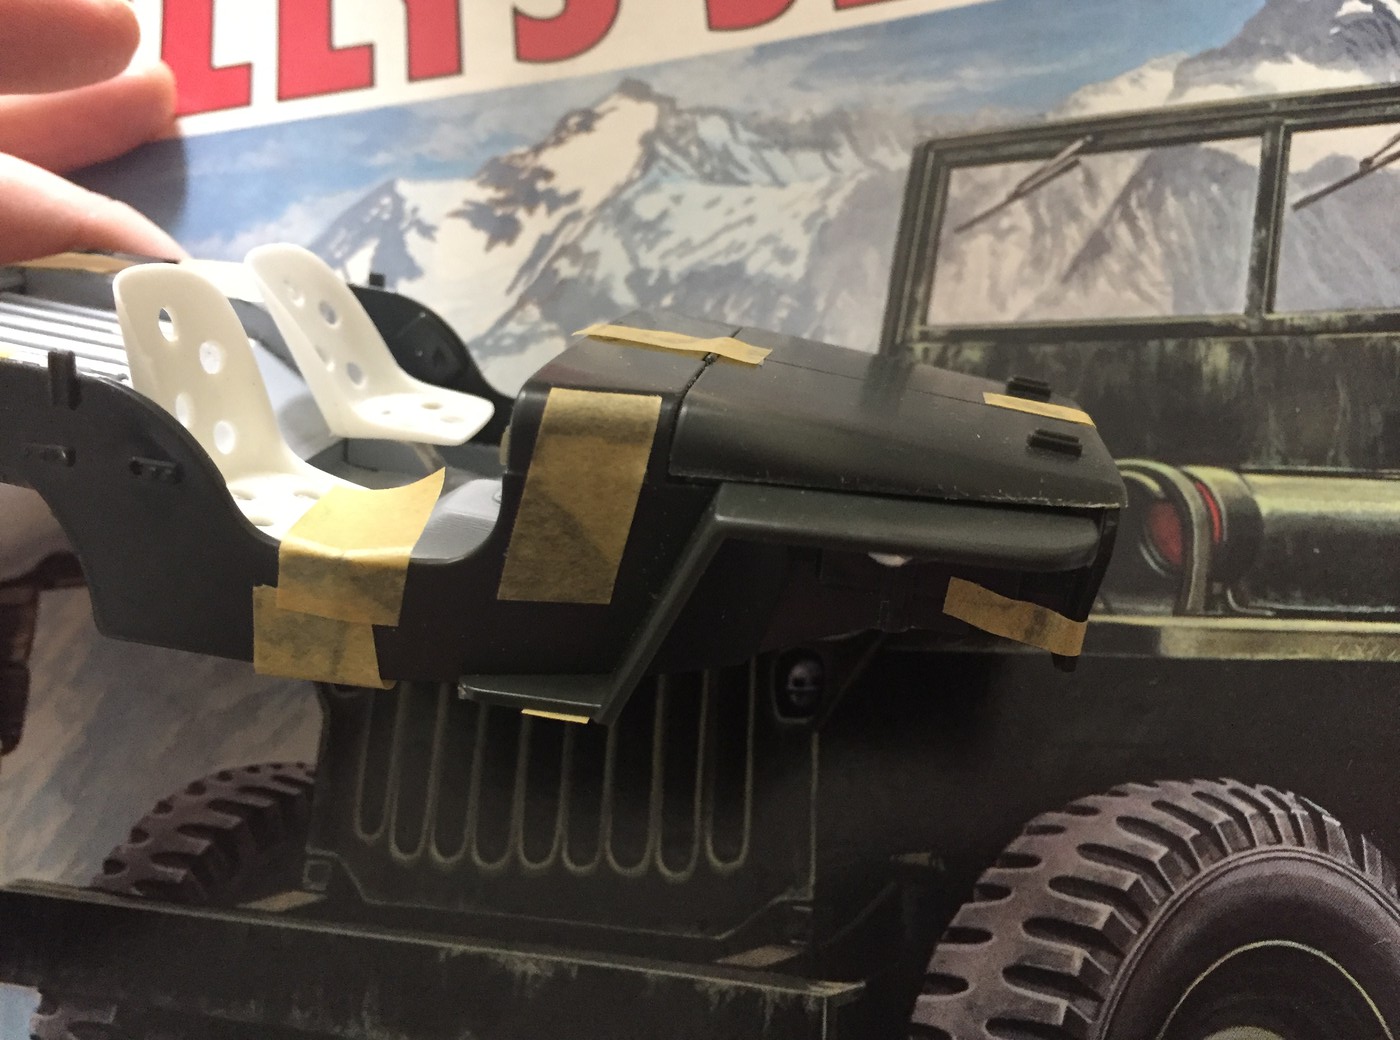 I'm still waiting for the resin parts that I cast yesterday to set (advertised 3 hour cure time, 12 hours later I'm still waiting) so time to get the chassis finished off ready for paint and do some research on plumbing and wiring the engine! More soon! |
|
|
|
Post by kabdriver on Jul 23, 2017 17:11:37 GMT -6
Just a small update, because I was excited... So, I'm going with a pearl blue for most of the moving parts, the interior tub and the chassis. I went with the Createx color I showed in a previous post, but I wanted it a little darker than the color it came as in the bottle: 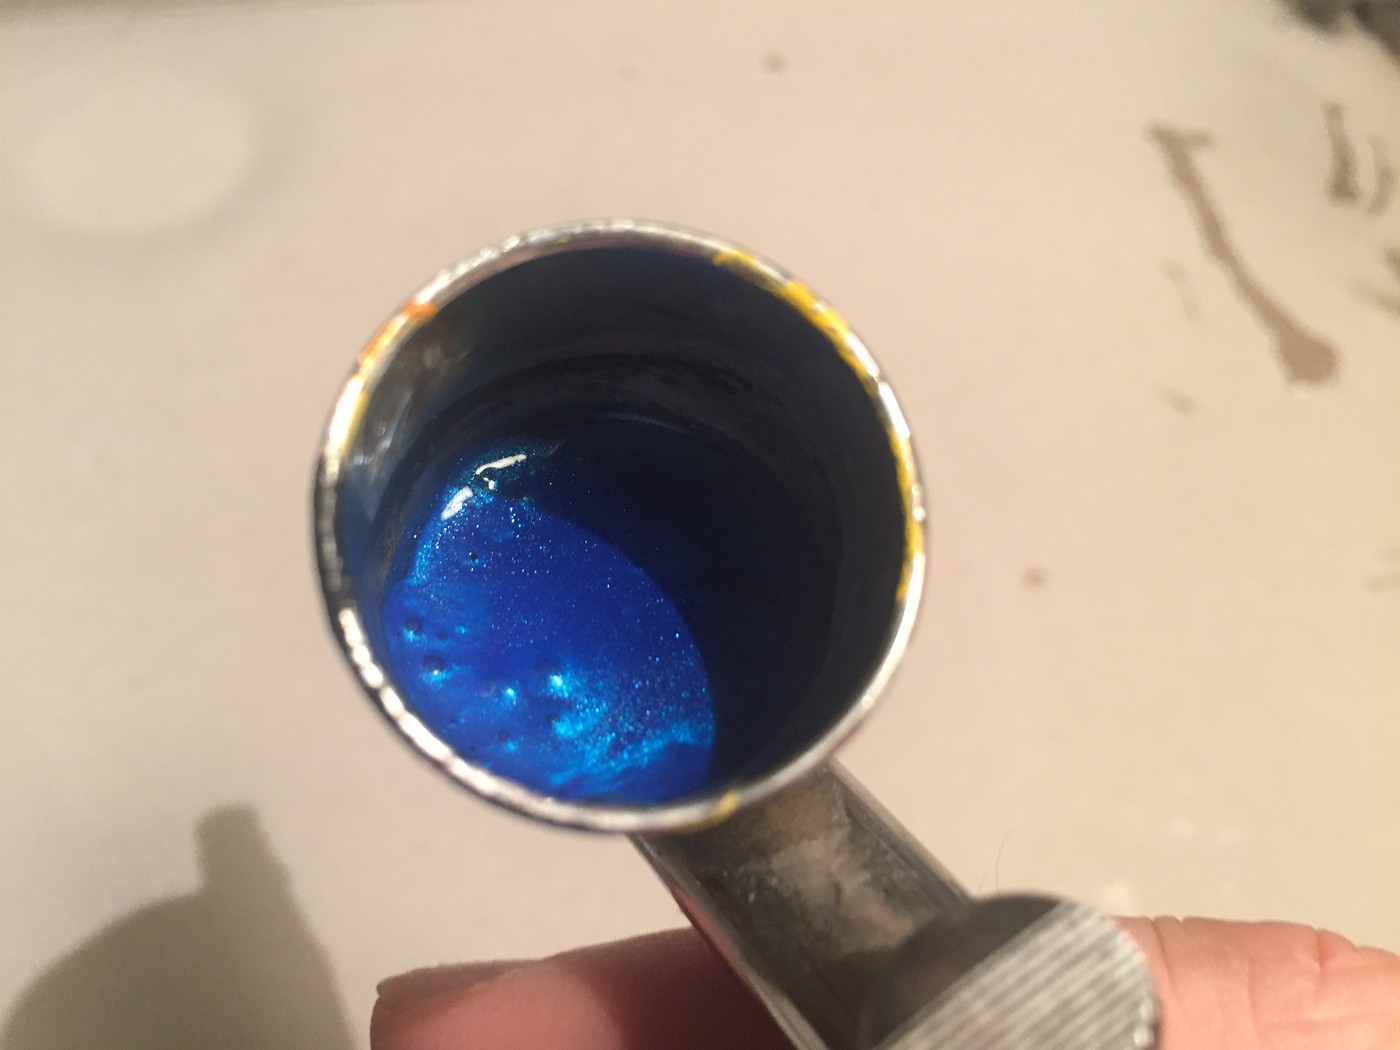 So, first job was to flat-black the chassis and engine (the other bits aren't quite ready yet) with Tamiya acrylic: 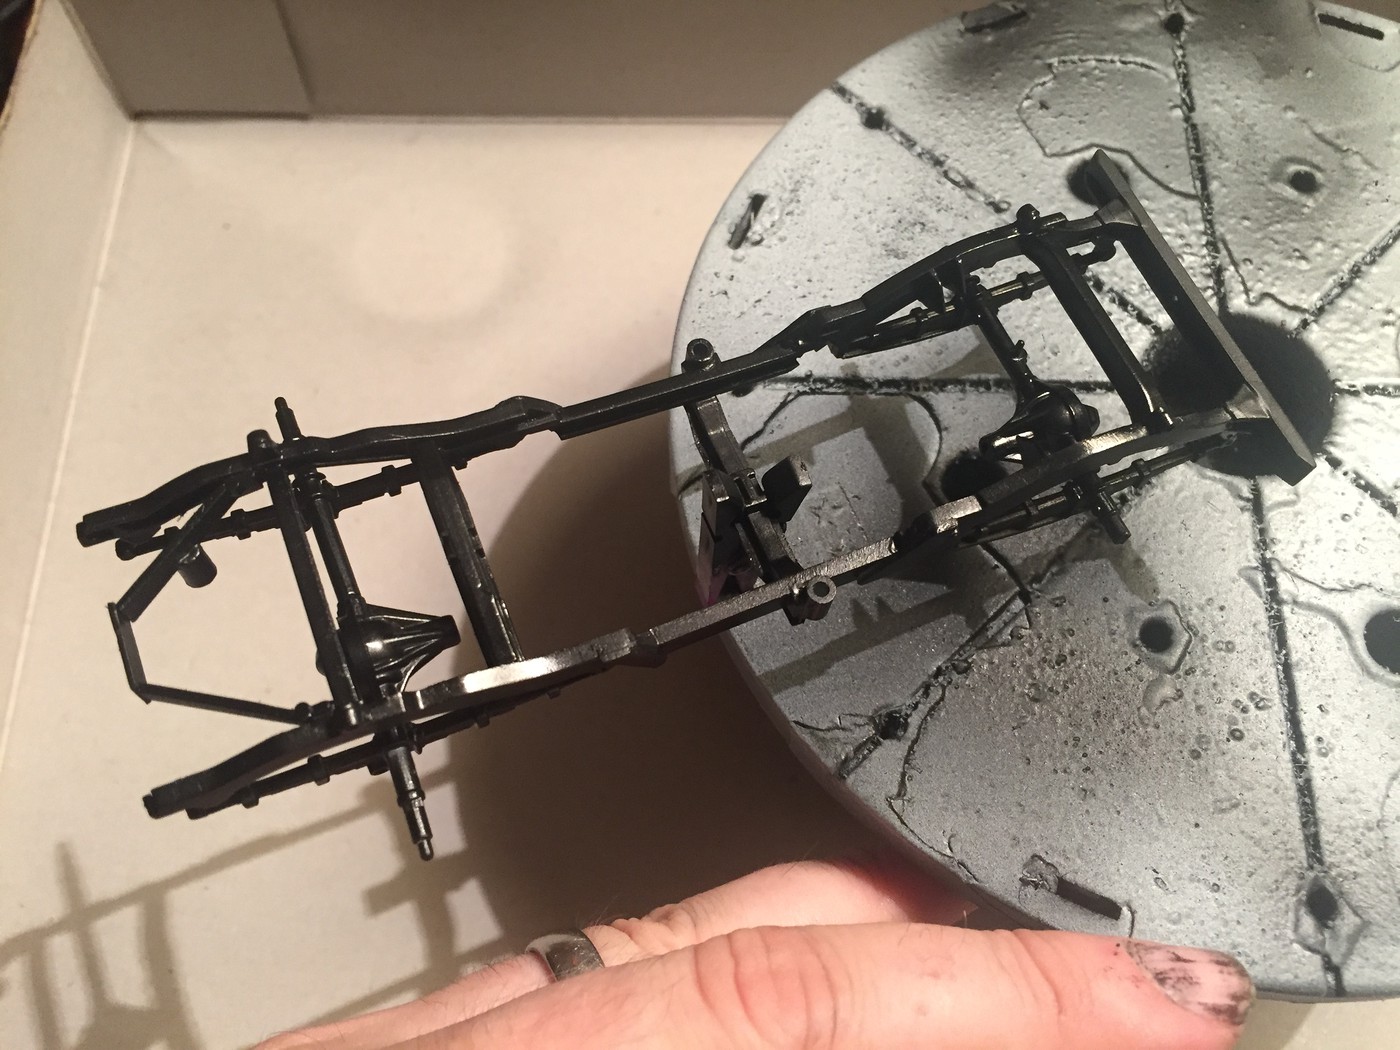 Then, some of the Createx blue. 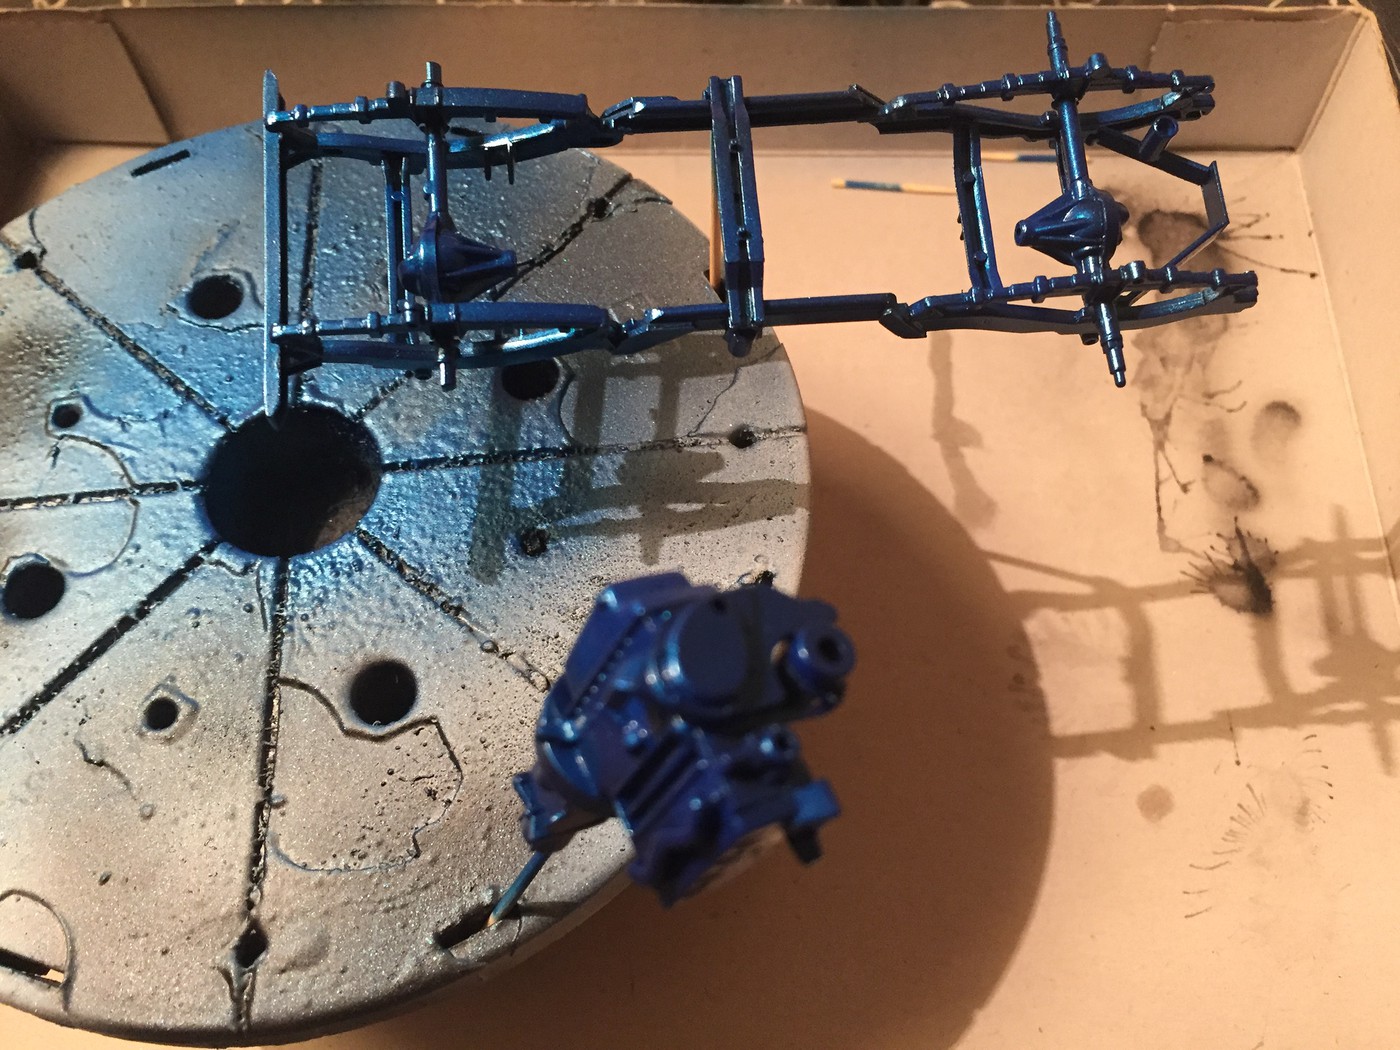 Pretty huh? 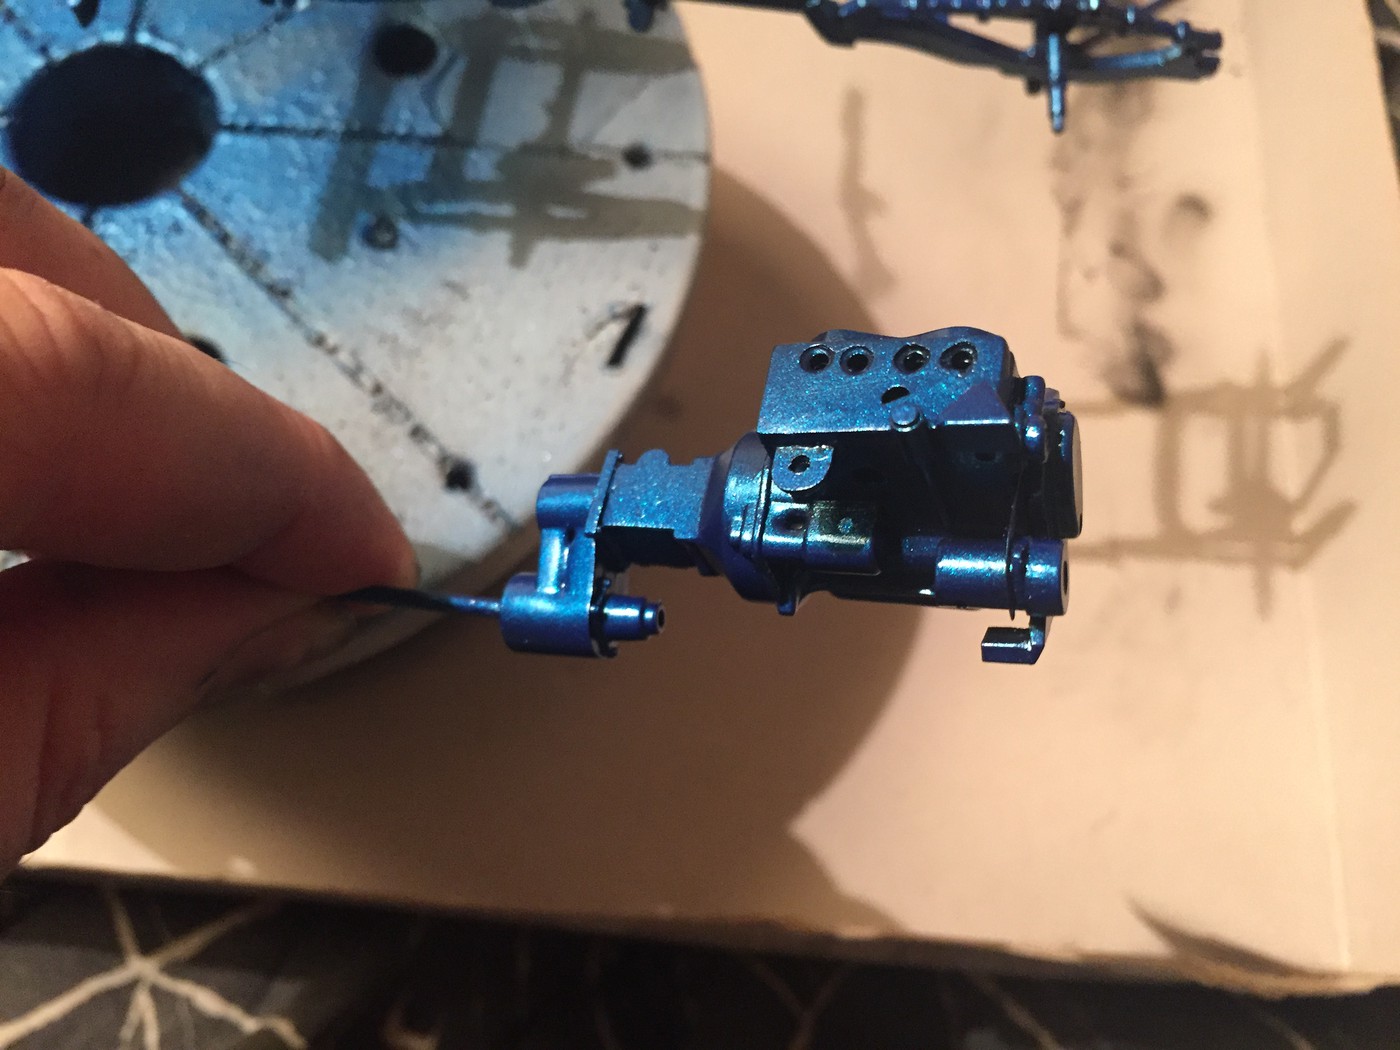 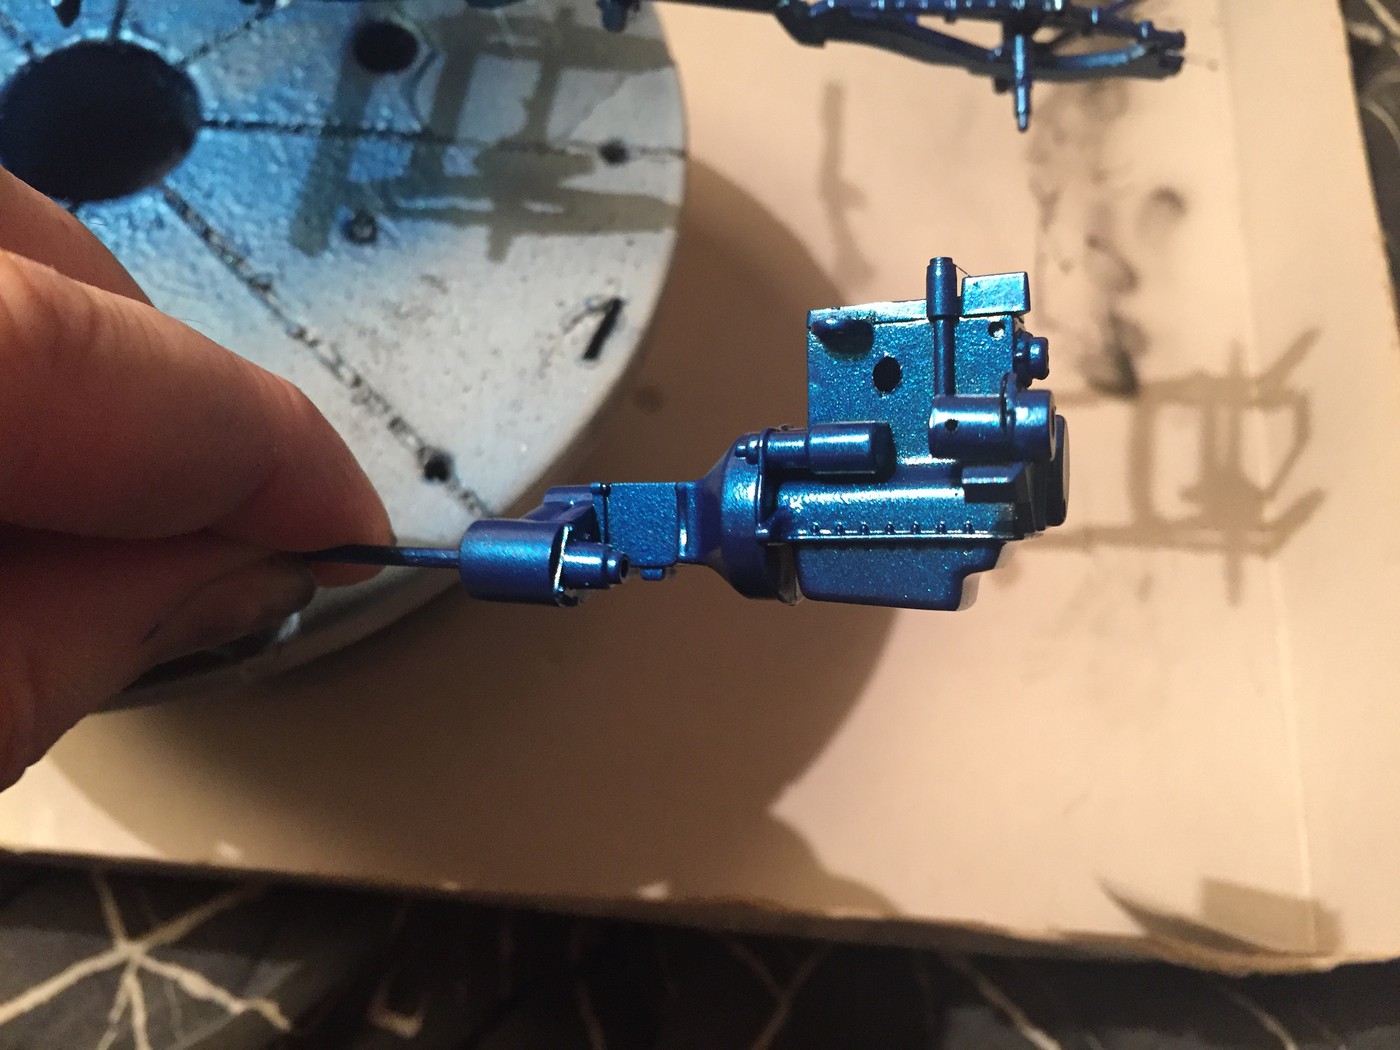 Can't wait to see it with some clear over the top! More soon! |
|
|
|
Post by kabdriver on Jul 26, 2017 7:34:55 GMT -6
Just a small update - made a new, smaller top to the fuel tank compartment on the interior tub...similar to the kit tank just smaller, and not quite so big 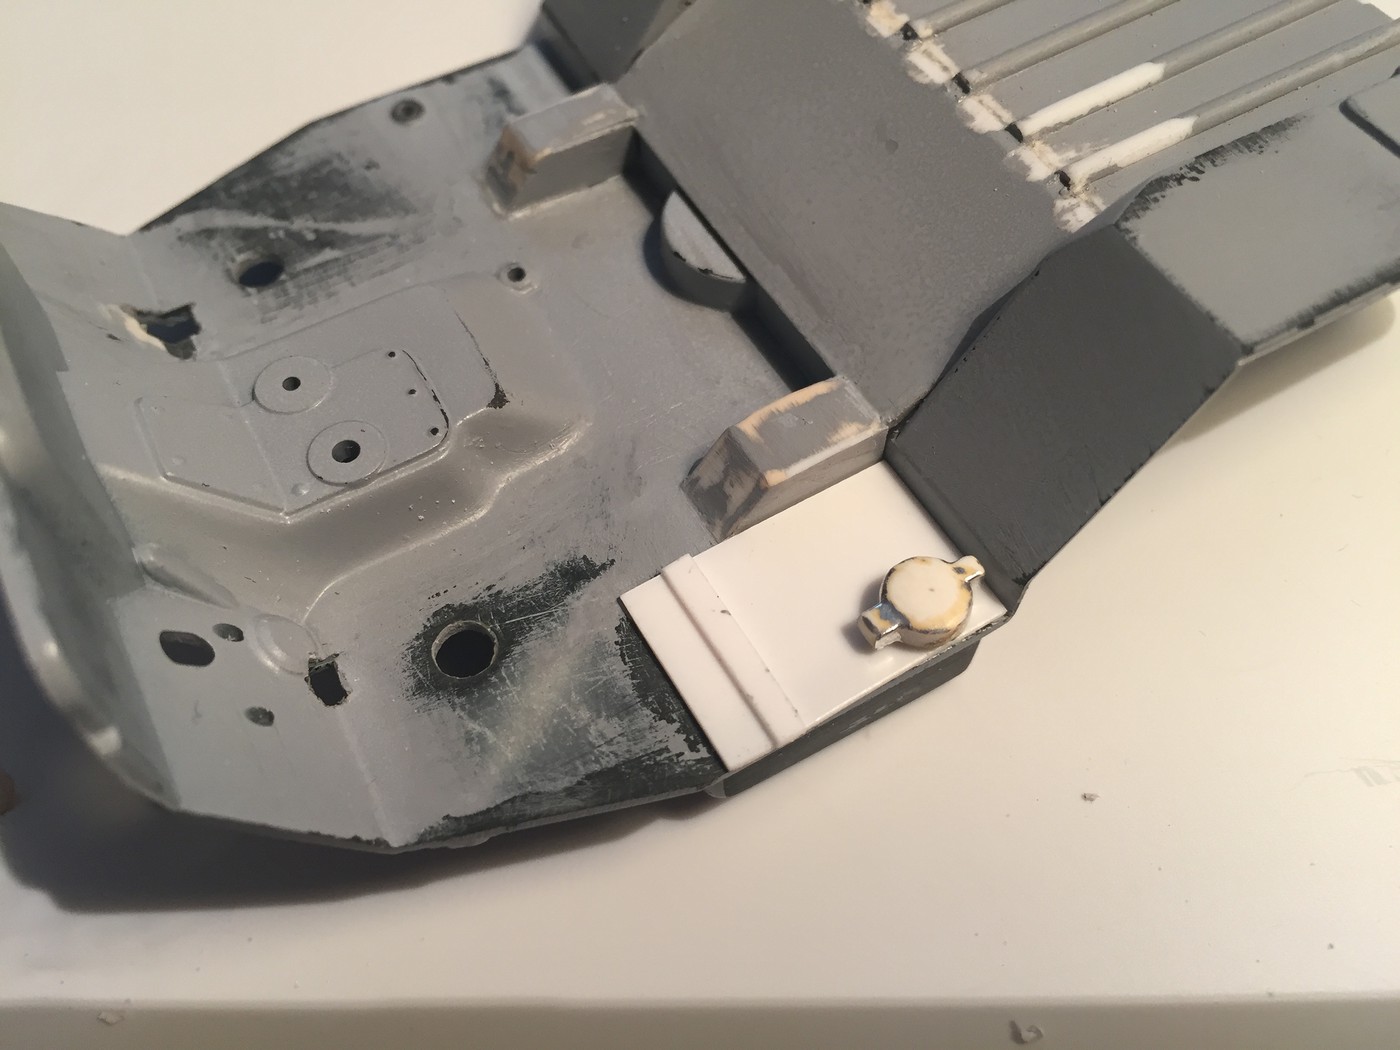 I used a parts box fuel cap, I'm not sure what it's from, and then I added a little metal doodad and some Michaels craft wire to make a sender unit 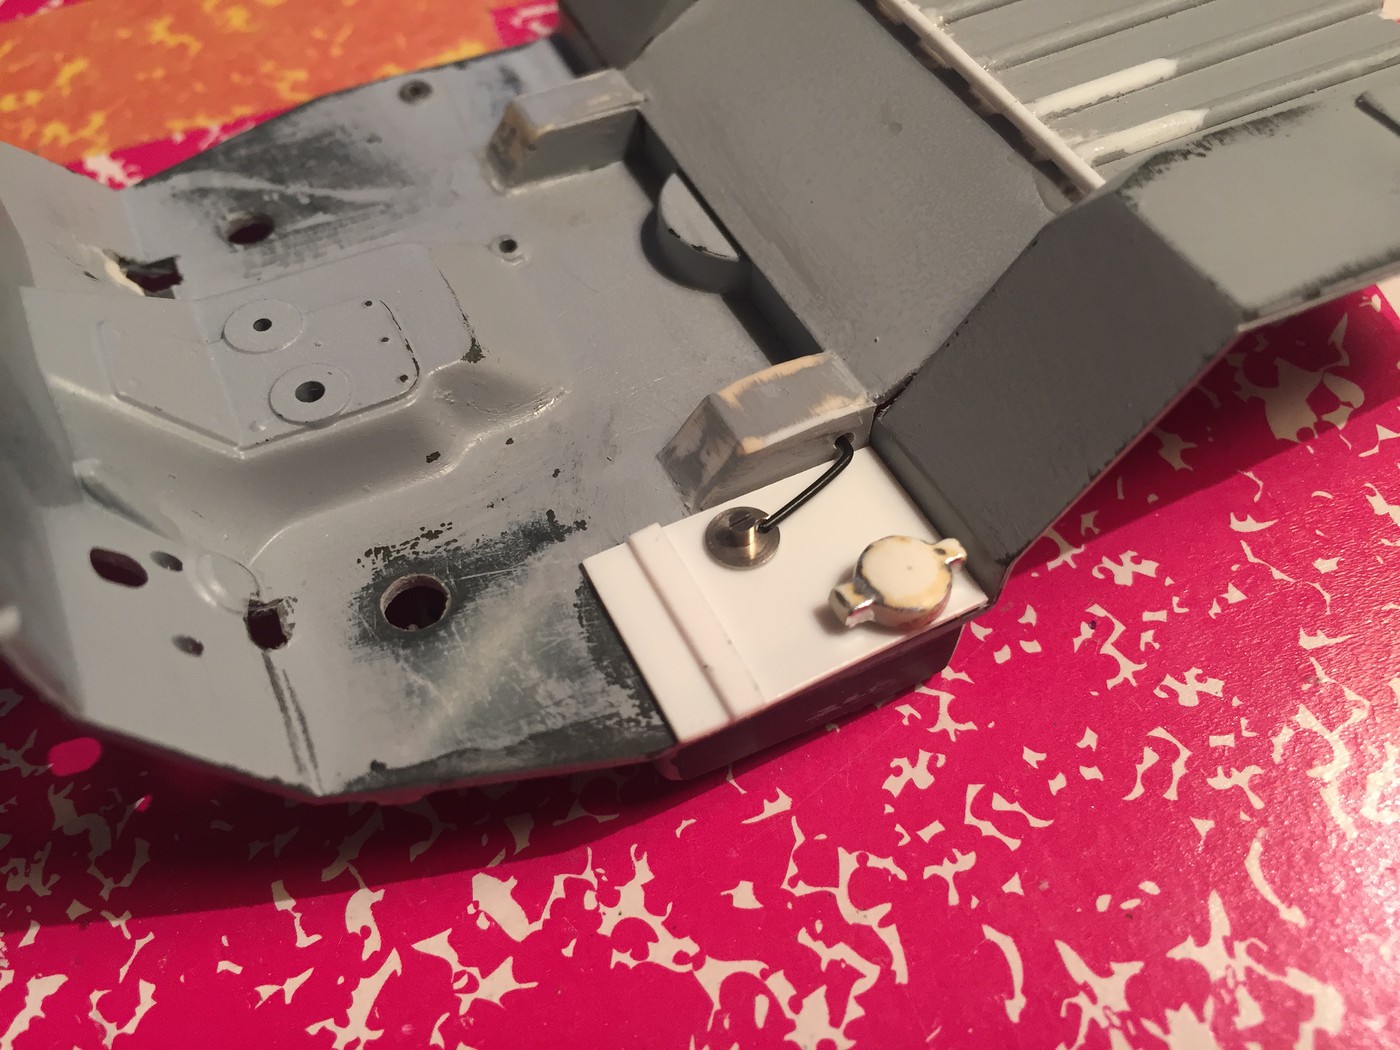 And a quick mockup to see all the pearl blue parts together. I hoping for a dry day soon so I can clearcoat! 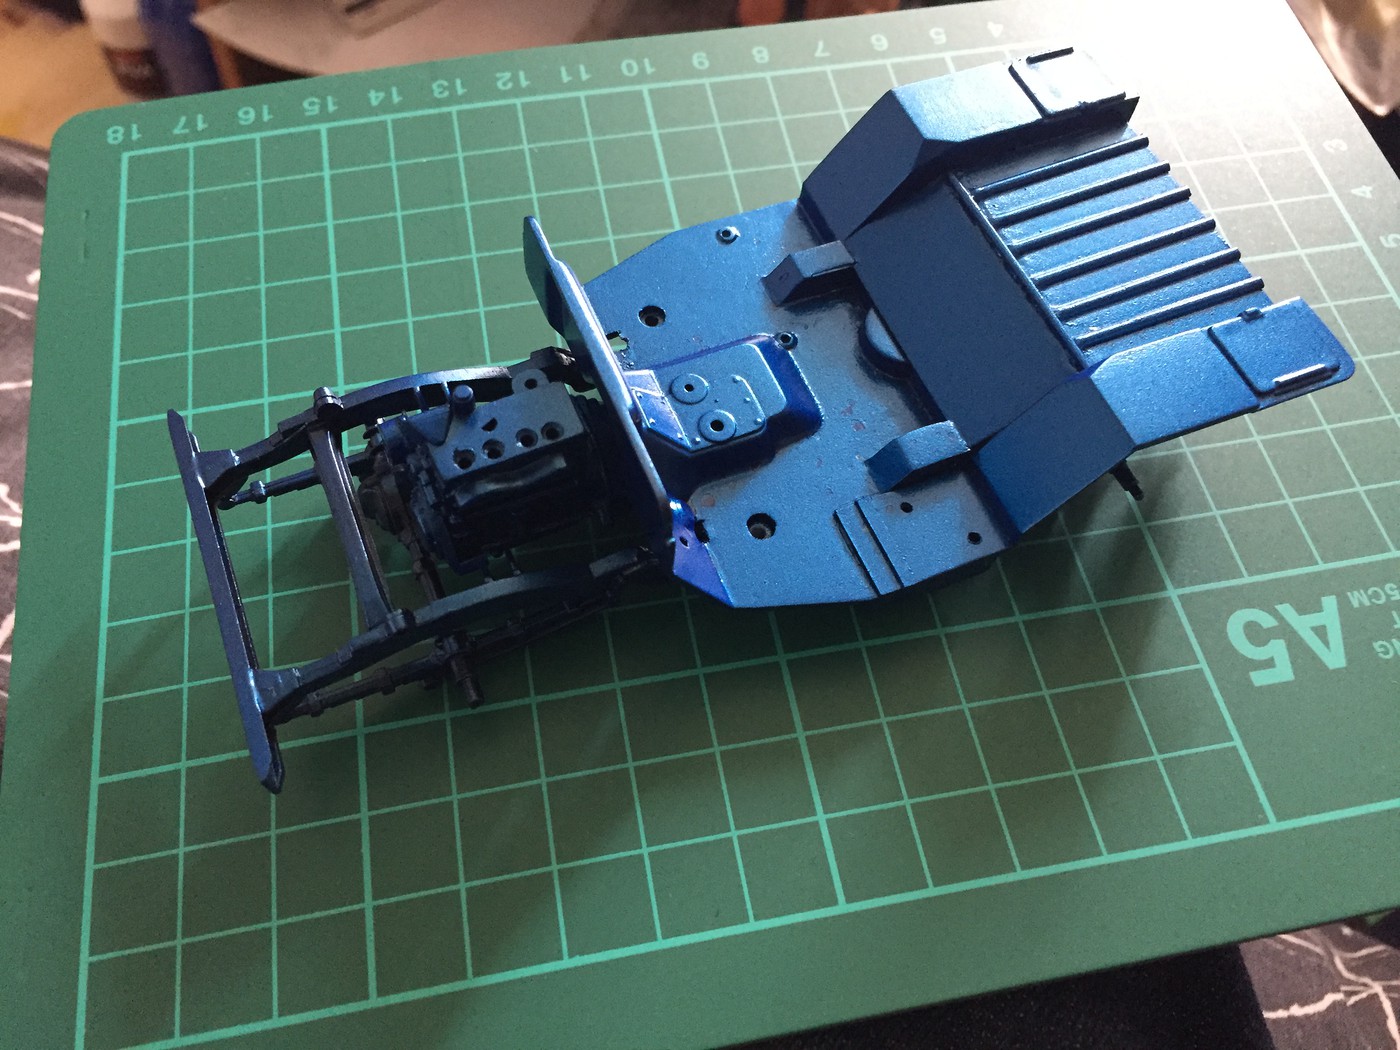 Meanwhile, I made some molds for the resin parts I wanted to make for this thing (wheels, tyres, some little bits and pieces) and the molds came out GREAT but the clear resin I got from Michaels (which is all they had) was absolute junk. Followed the directions to the letter, wated for a day that wasn't humid etc. and almost all the parts never actually set. The packet says 20 minute set-time and a week later theyre still sticky. At least I got a refund when I showed them the stuff I made and got some more resin from somewhere else. I got a couple of wheelspacers anyway, and a LOT of junk parts that will never cure and that stick to my fingers when I touch them  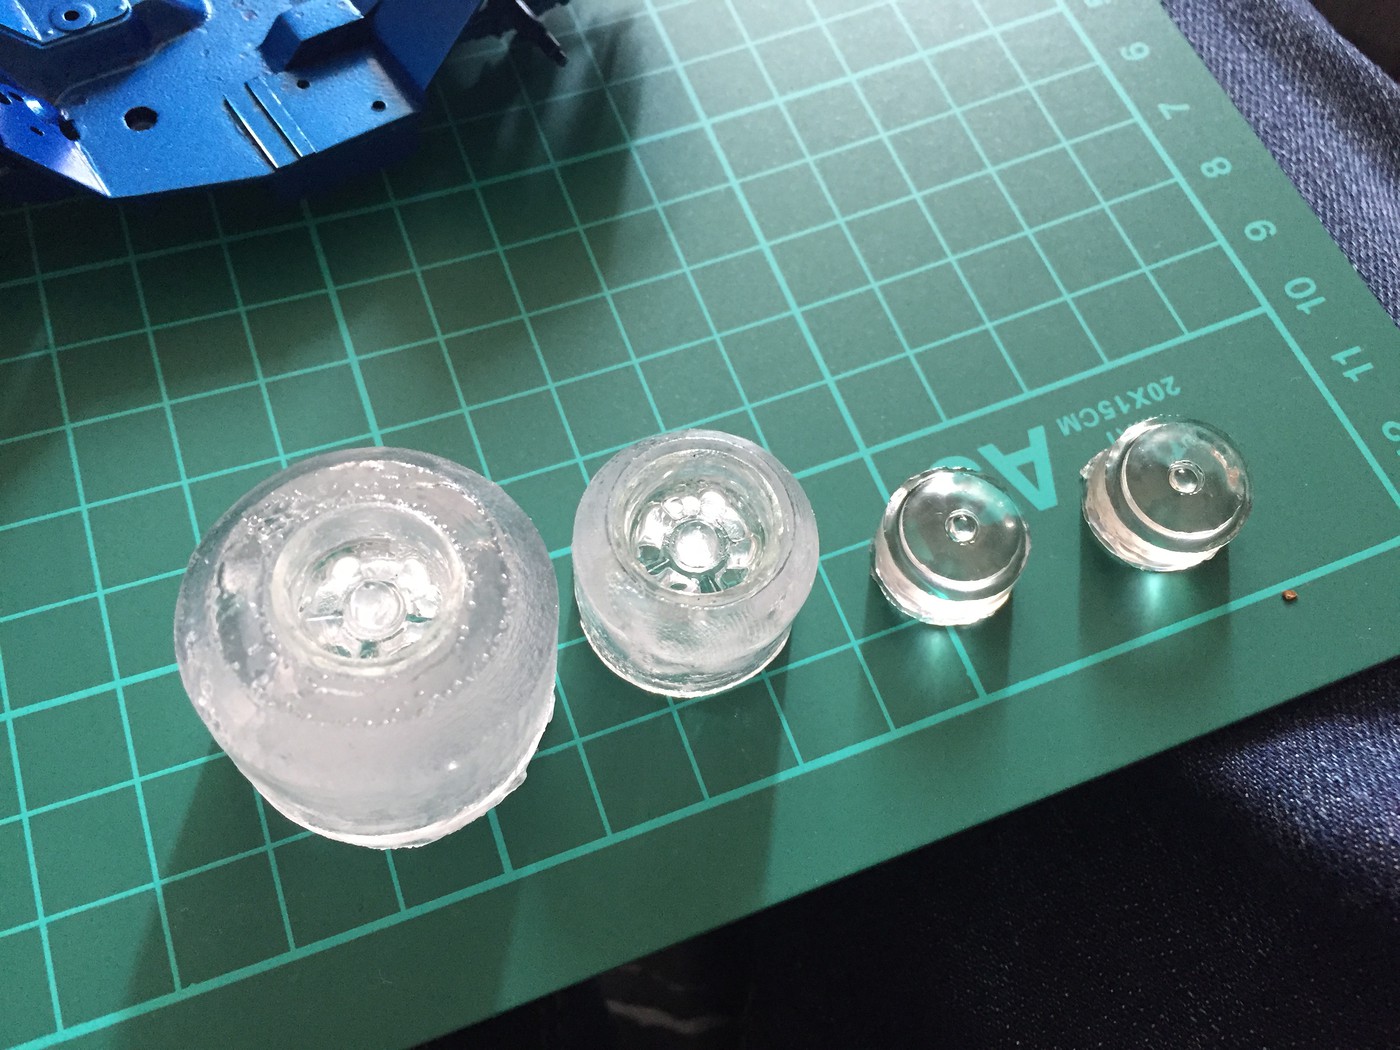 Anyway, more progress as I make it! |
|
|
|
Post by kabdriver on Jul 26, 2017 16:11:34 GMT -6
|
|
|
|
Post by 41chevy on Jul 28, 2017 9:37:37 GMT -6
WoW! Nice color! It's a match to Mopar 1960's Blue  I tried the Cast o lite clear resin from Michaels and had the same thing happen. Resin has a shelf life and mine was old out of their store. I order mine now from BMF. Got to get me some watch parts! Lots of neat thingies I can use!! Paul |
|
|
|
Post by kabdriver on Jul 28, 2017 12:13:49 GMT -6
WoW! Nice color! It's a match to Mopar 1960's Blue  I tried the Cast o lite clear resin from Michaels and had the same thing happen. Resin has a shelf life and mine was old out of their store. I order mine now from BMF. Got to get me some watch parts! Lots of neat thingies I can use!! Paul It's funny - before clearcoat it looked like that blue color that you see on Subarus quite often - the rally color that they like to run with the gold wheels. But with clear over it it darked right up to the kind of shade I was hoping for - which really makes the pearl flip/flop work well and makes the sparkles really shine. Speaking of which, got the frame and chassis clearcoated: 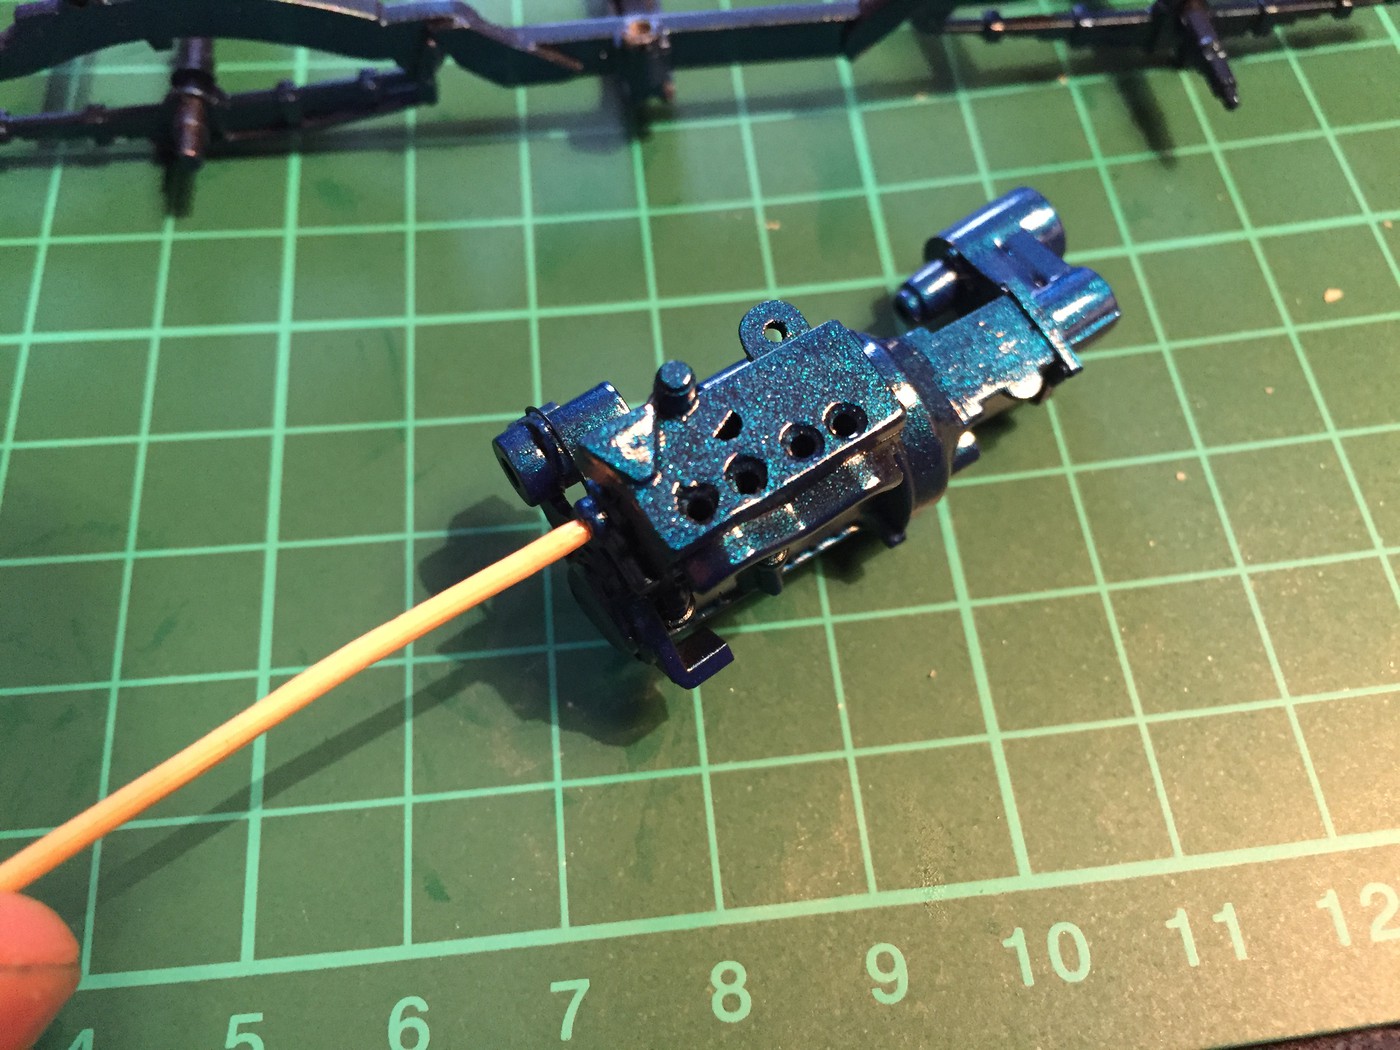 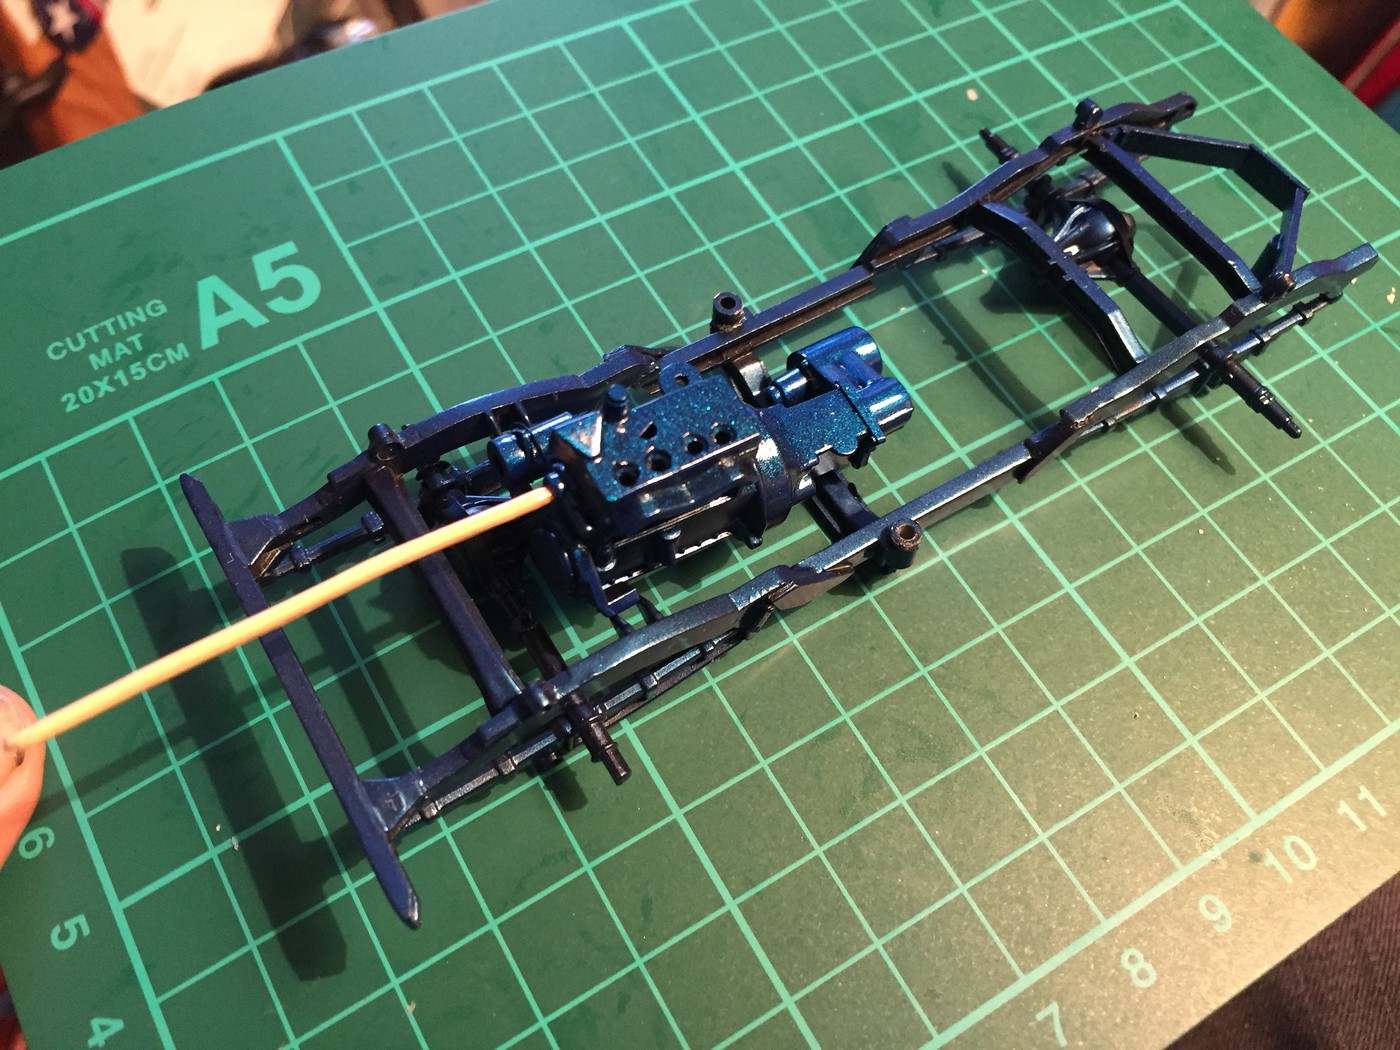 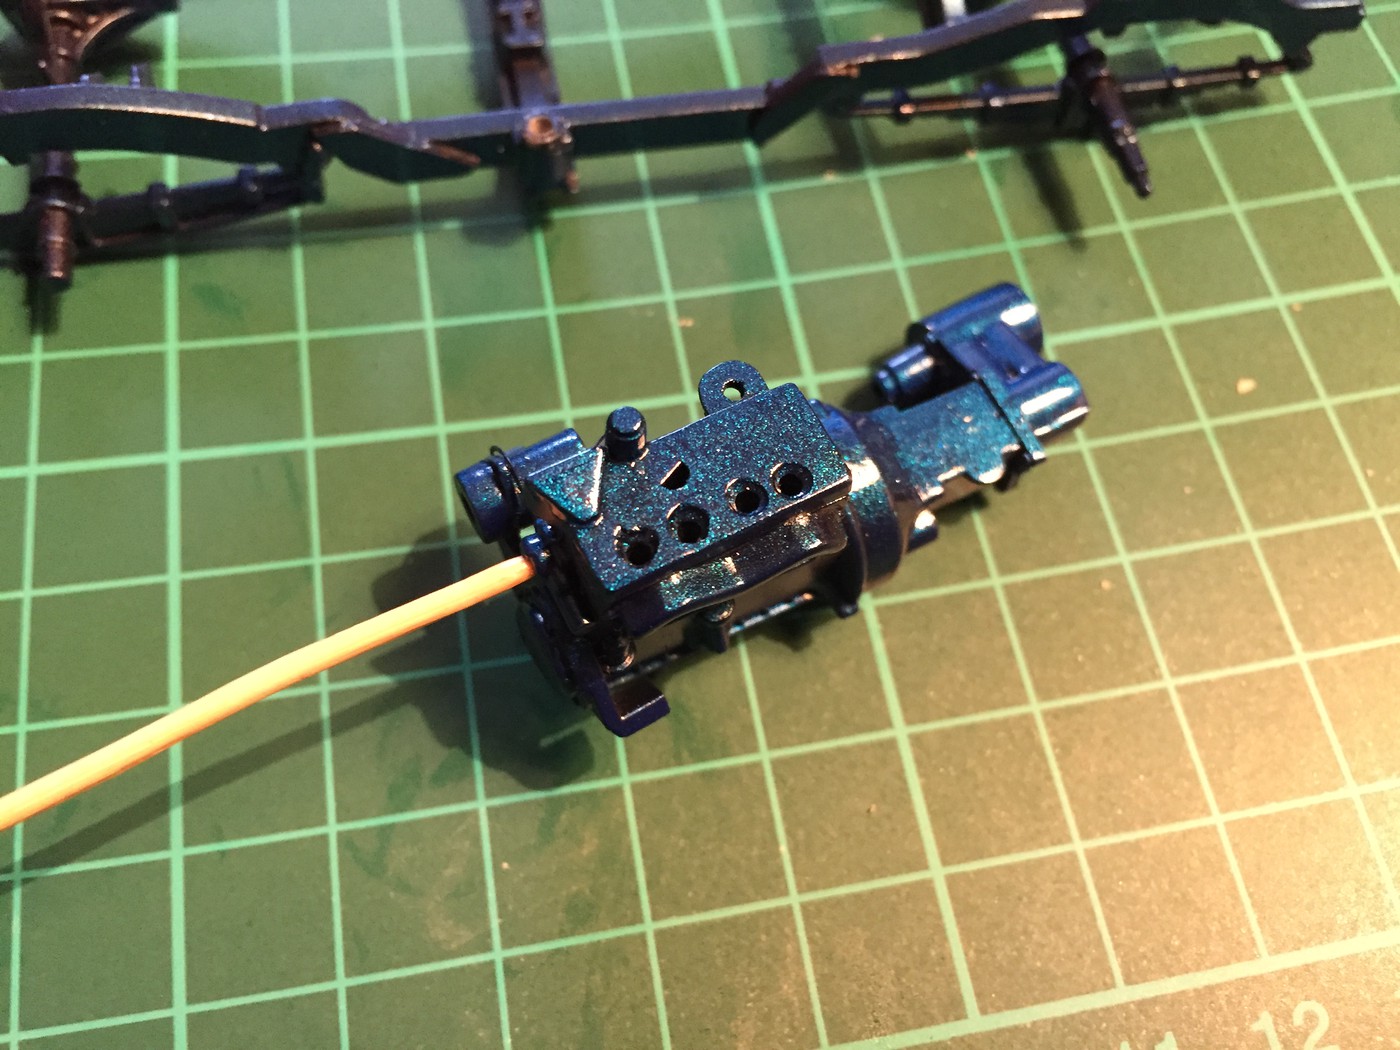 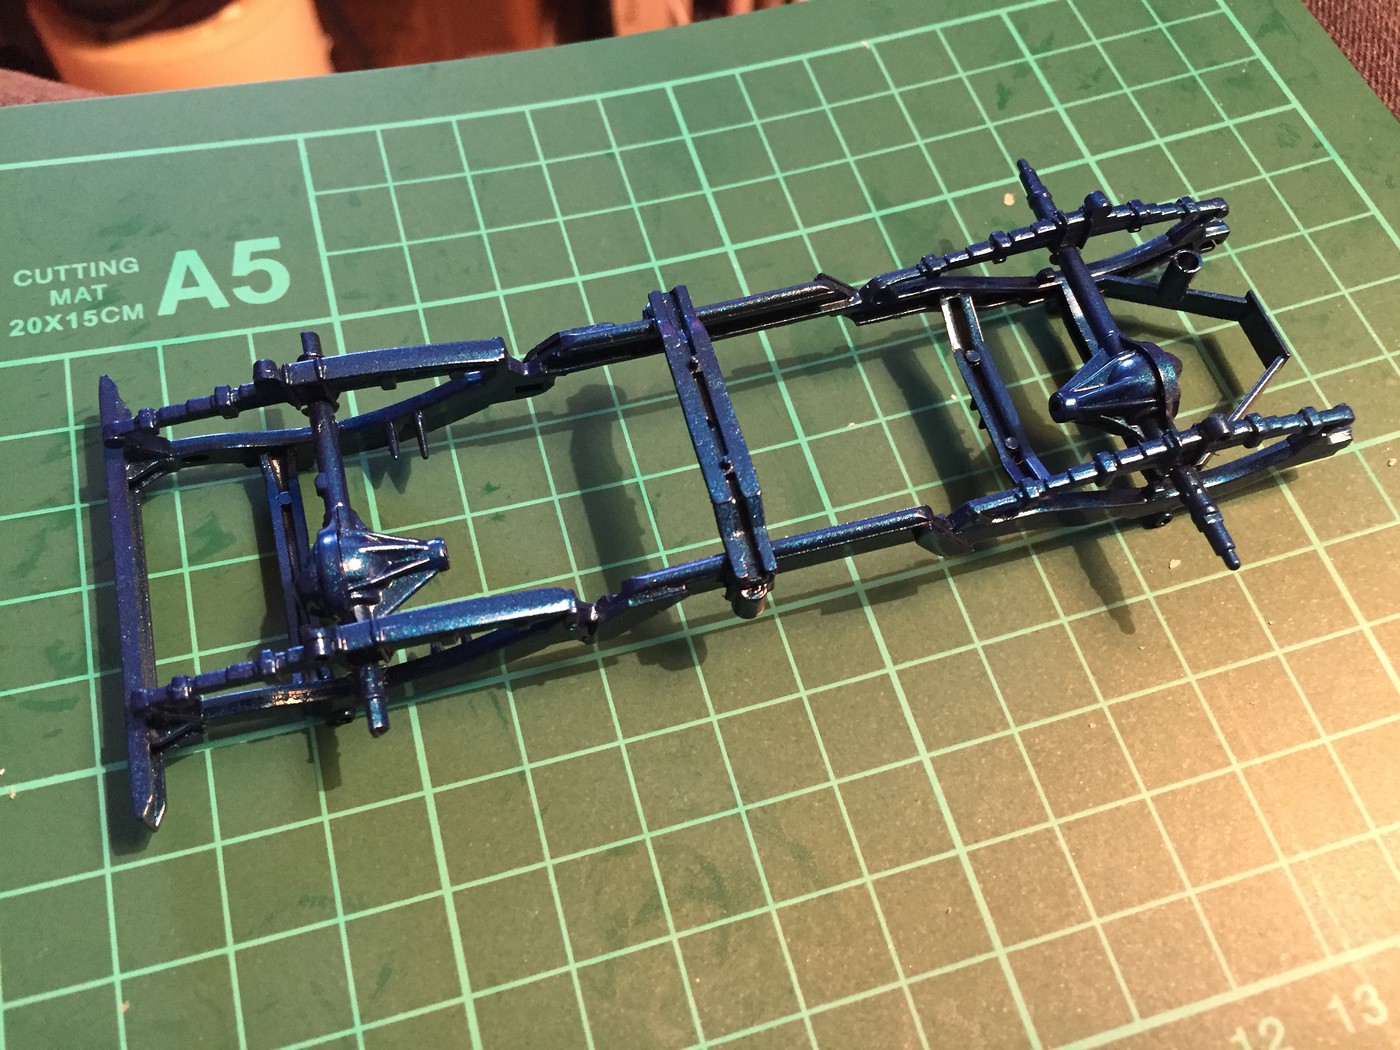 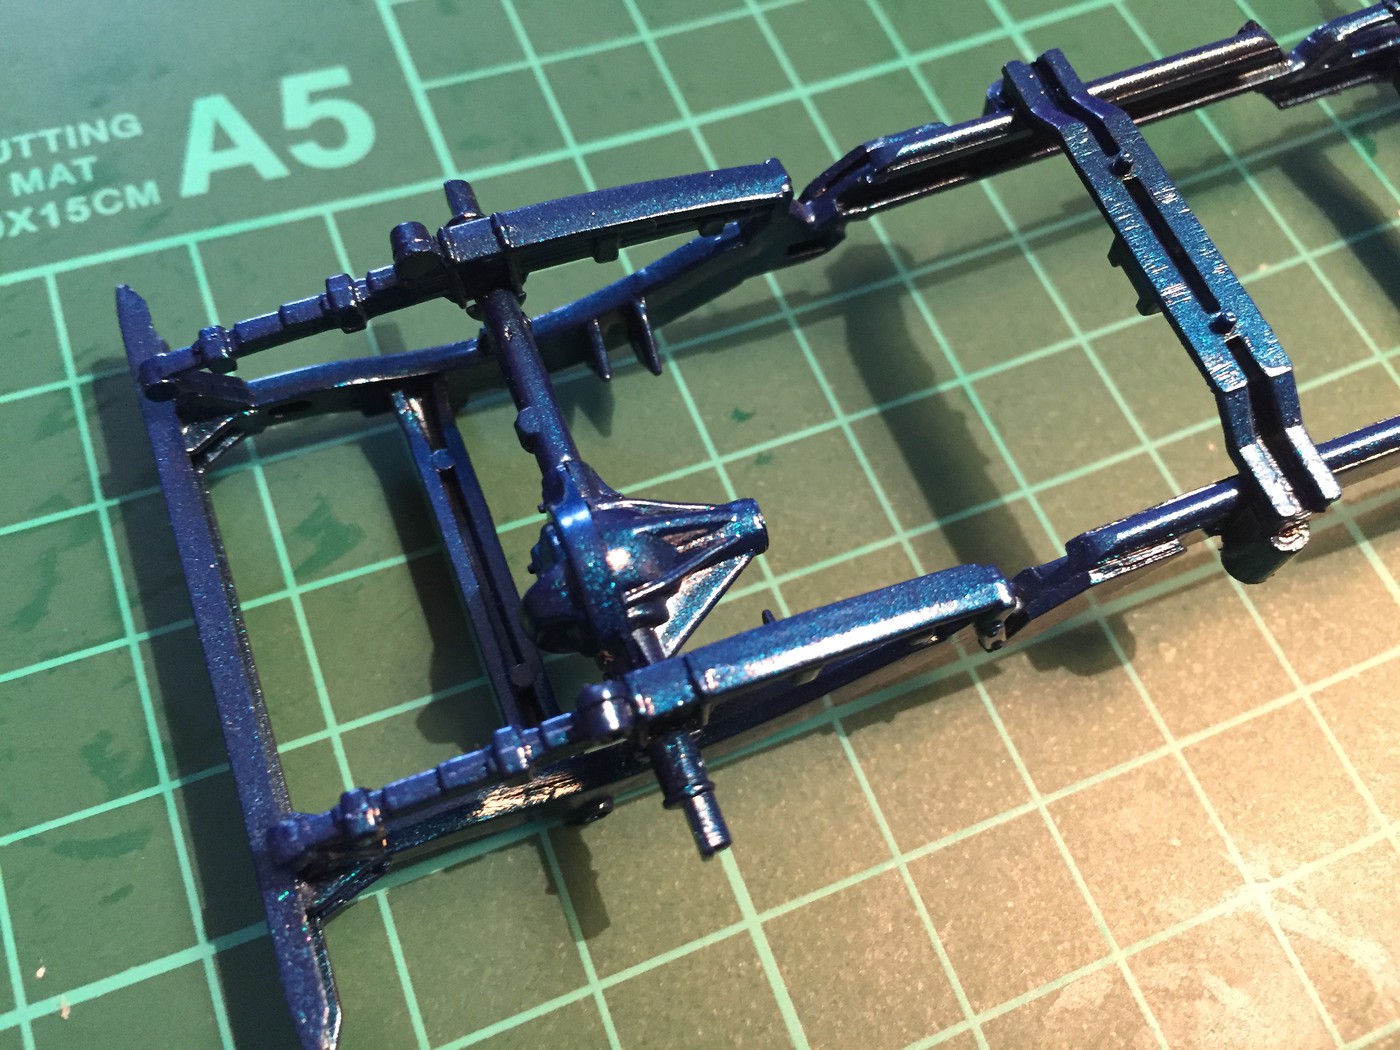 And now, having filled some little imperfections in the resin tyres with some filler they're ready for some Tamiya Rubber Black acrylic: 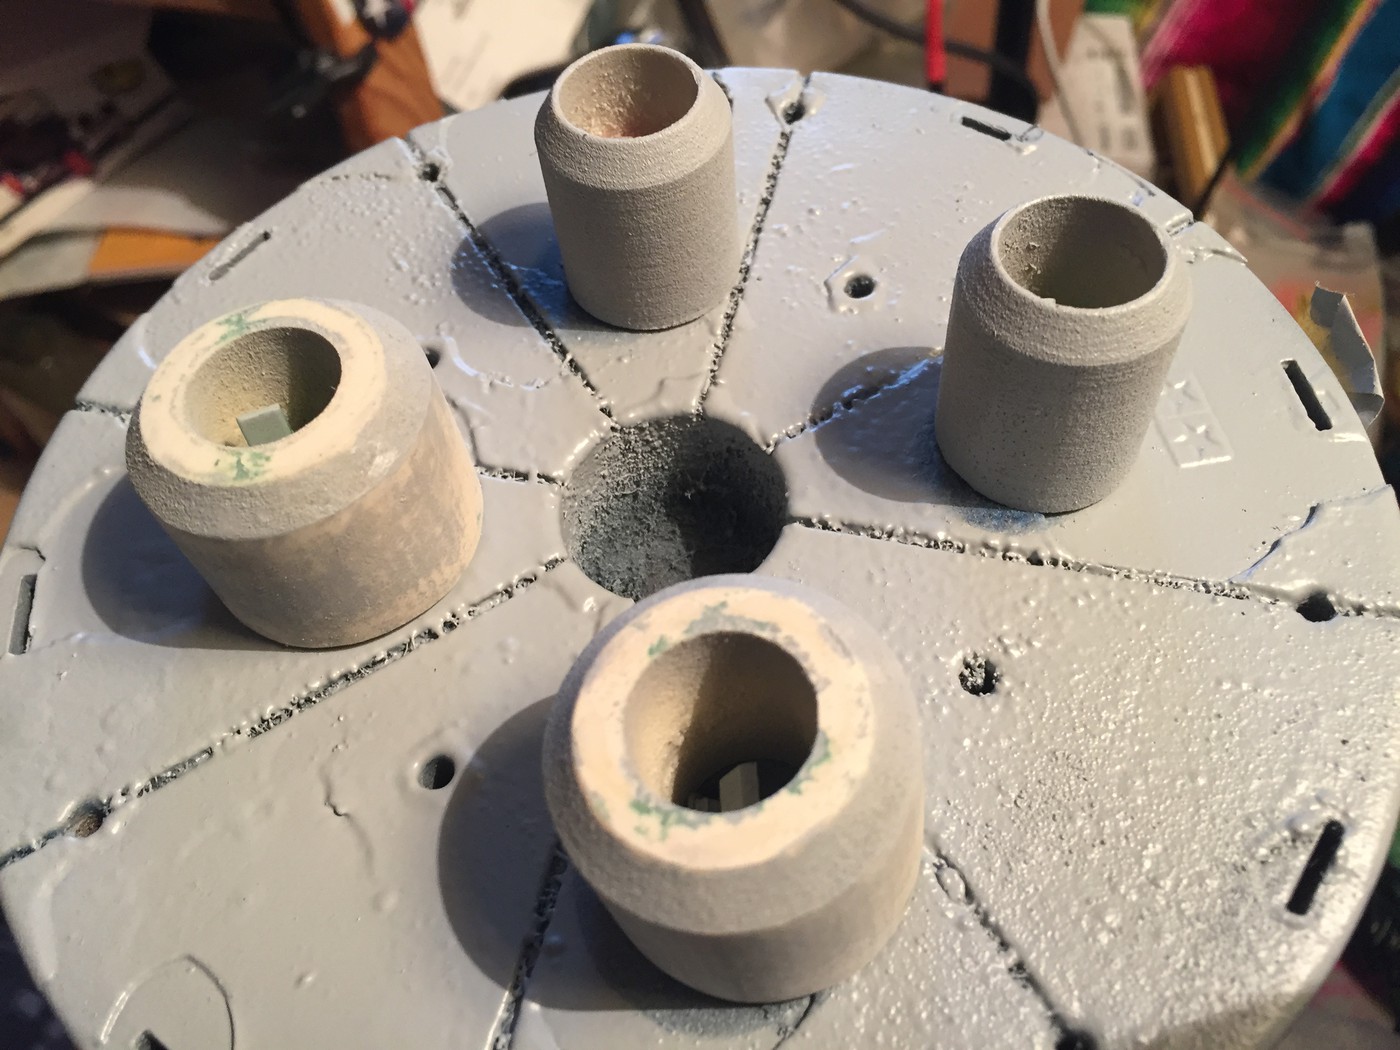 More soon! Can't wait to start getting the engine assembled now that the clear has set! |
|
|
|
Post by kabdriver on Jul 29, 2017 10:39:22 GMT -6
Next job I needed to do before I could start assembling the engine was to mask off and paint a little moulded in detail that forms part of the exhaust... 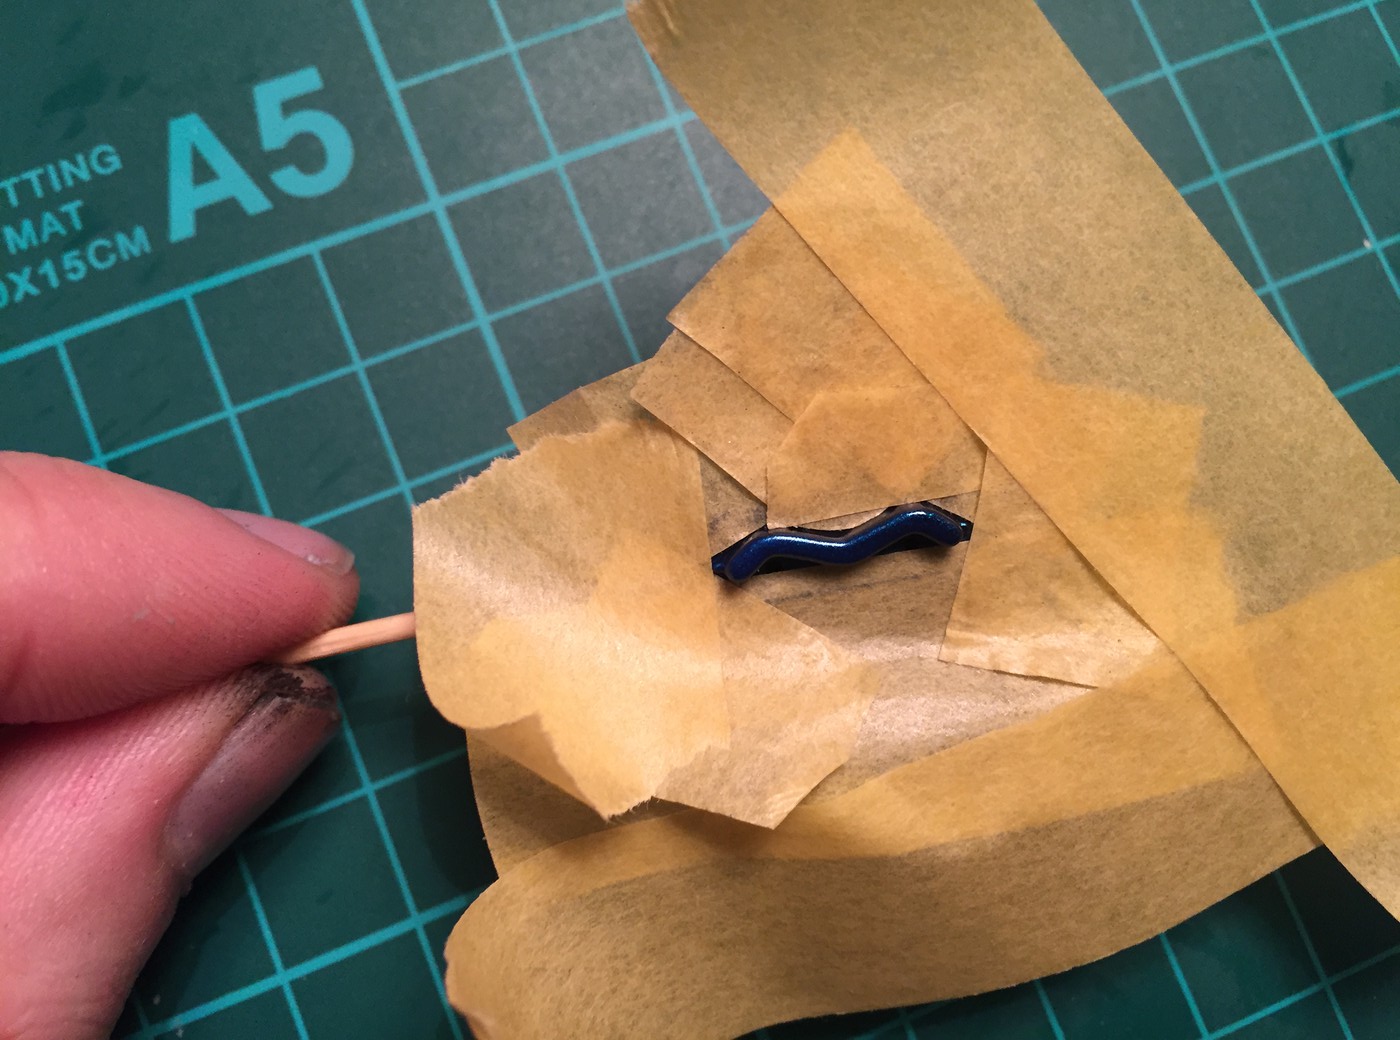 A little gloss black and Alclad later... 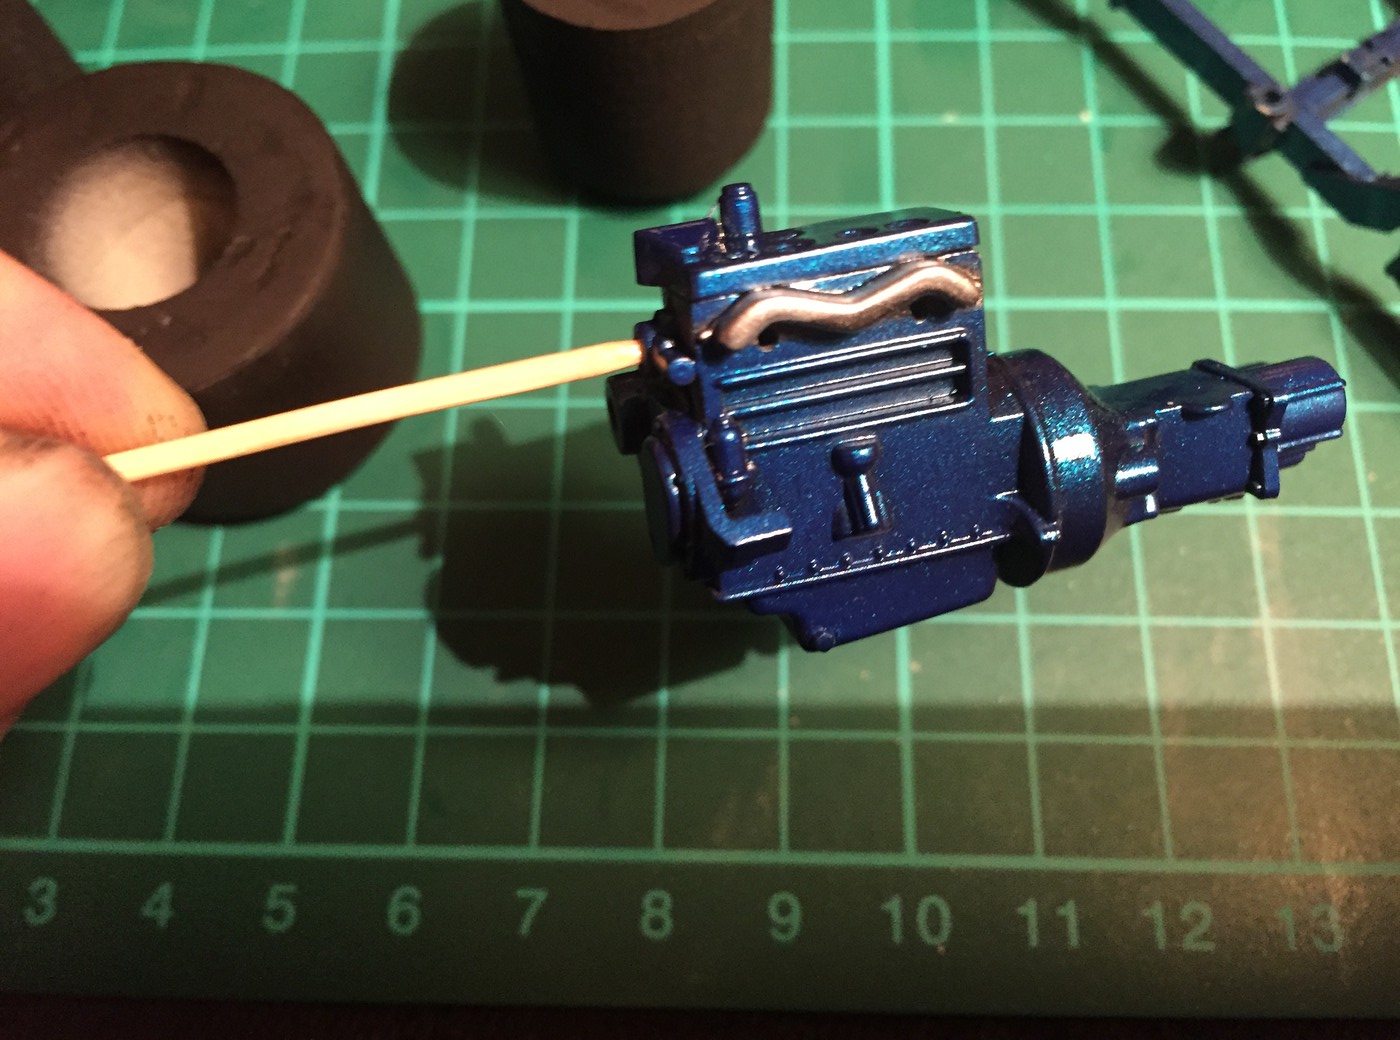 I did the wheels at the same time but I wasn't pleased with them, so they got cleaned up this morning ready for another go 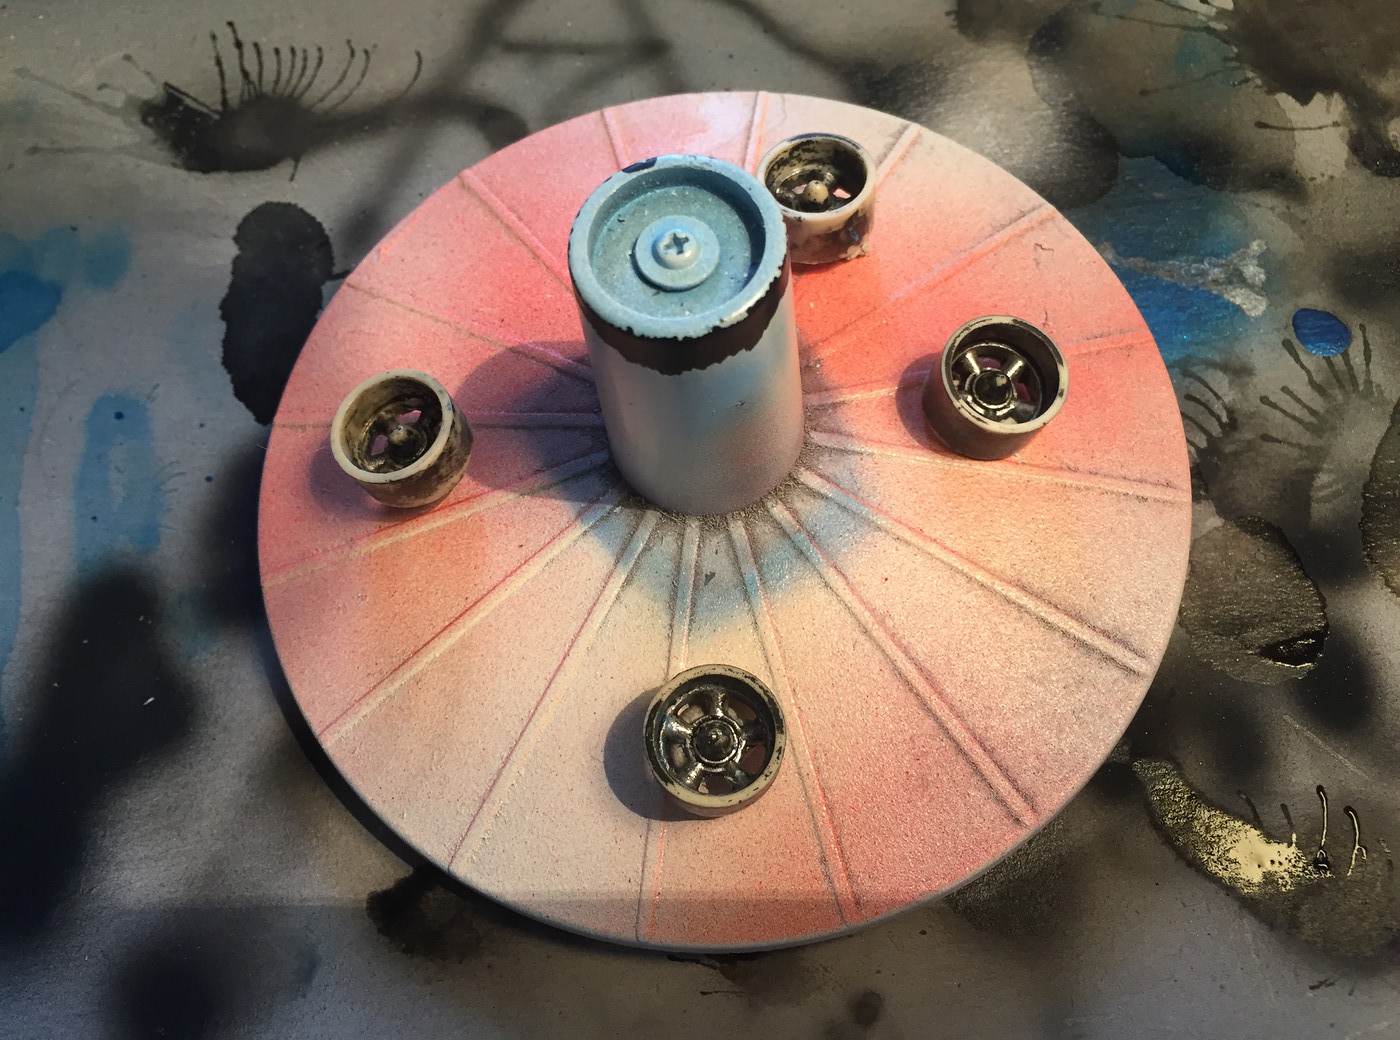 I did the brake master cylinder whilst I was at it - shiny! 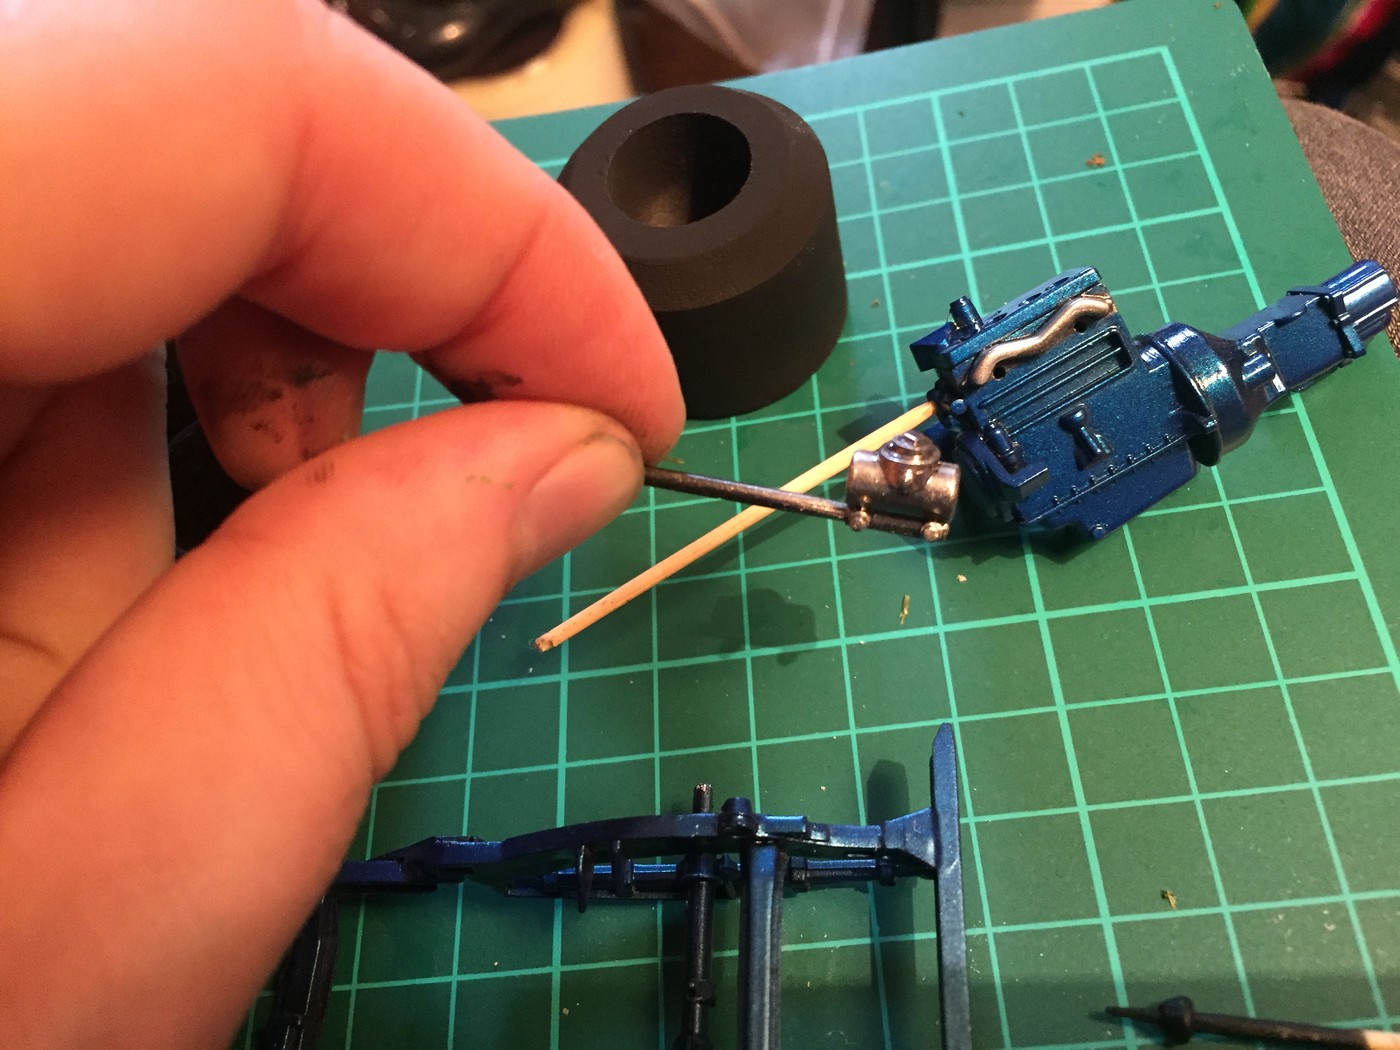 And I got the tyres painted too...looking forward to getting this thing sitting on it's wheels! This chassis is going to look WILD with the big tyres and the 4 wheel drive. 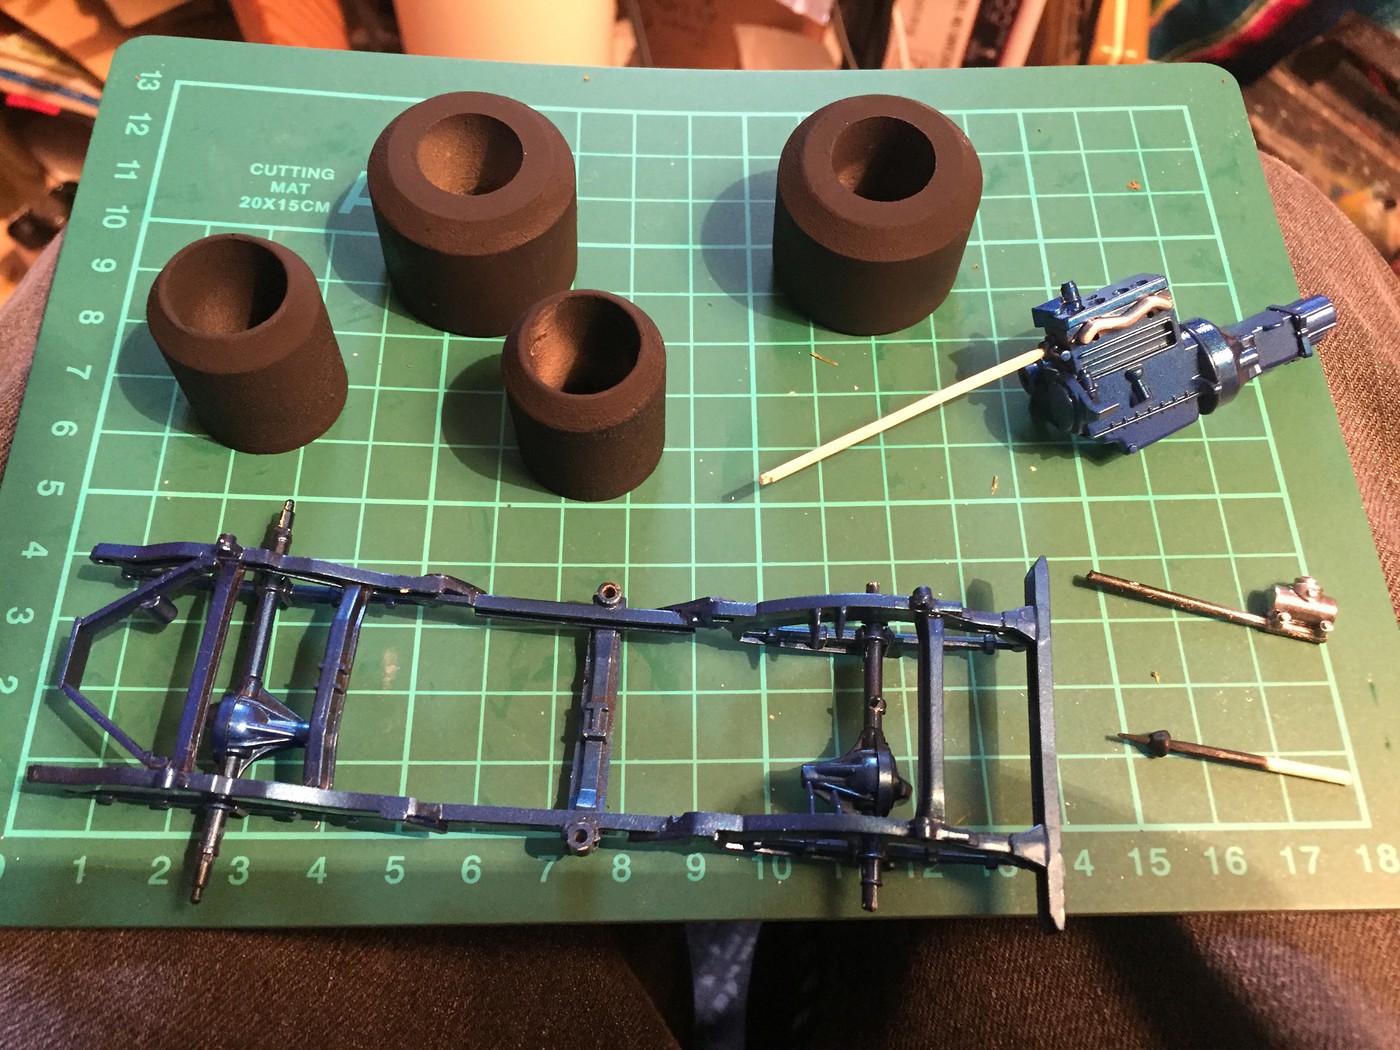 More now - I'm going to do a little more work some something or other whilst I watch the Formula One qualifying for the race tomorrow! |
|
|
|
Post by kabdriver on Jul 31, 2017 8:11:12 GMT -6
It's a semi-nice day, it's not raining (yet) and I've got some time to work on this thing. Time for some clearcoating! 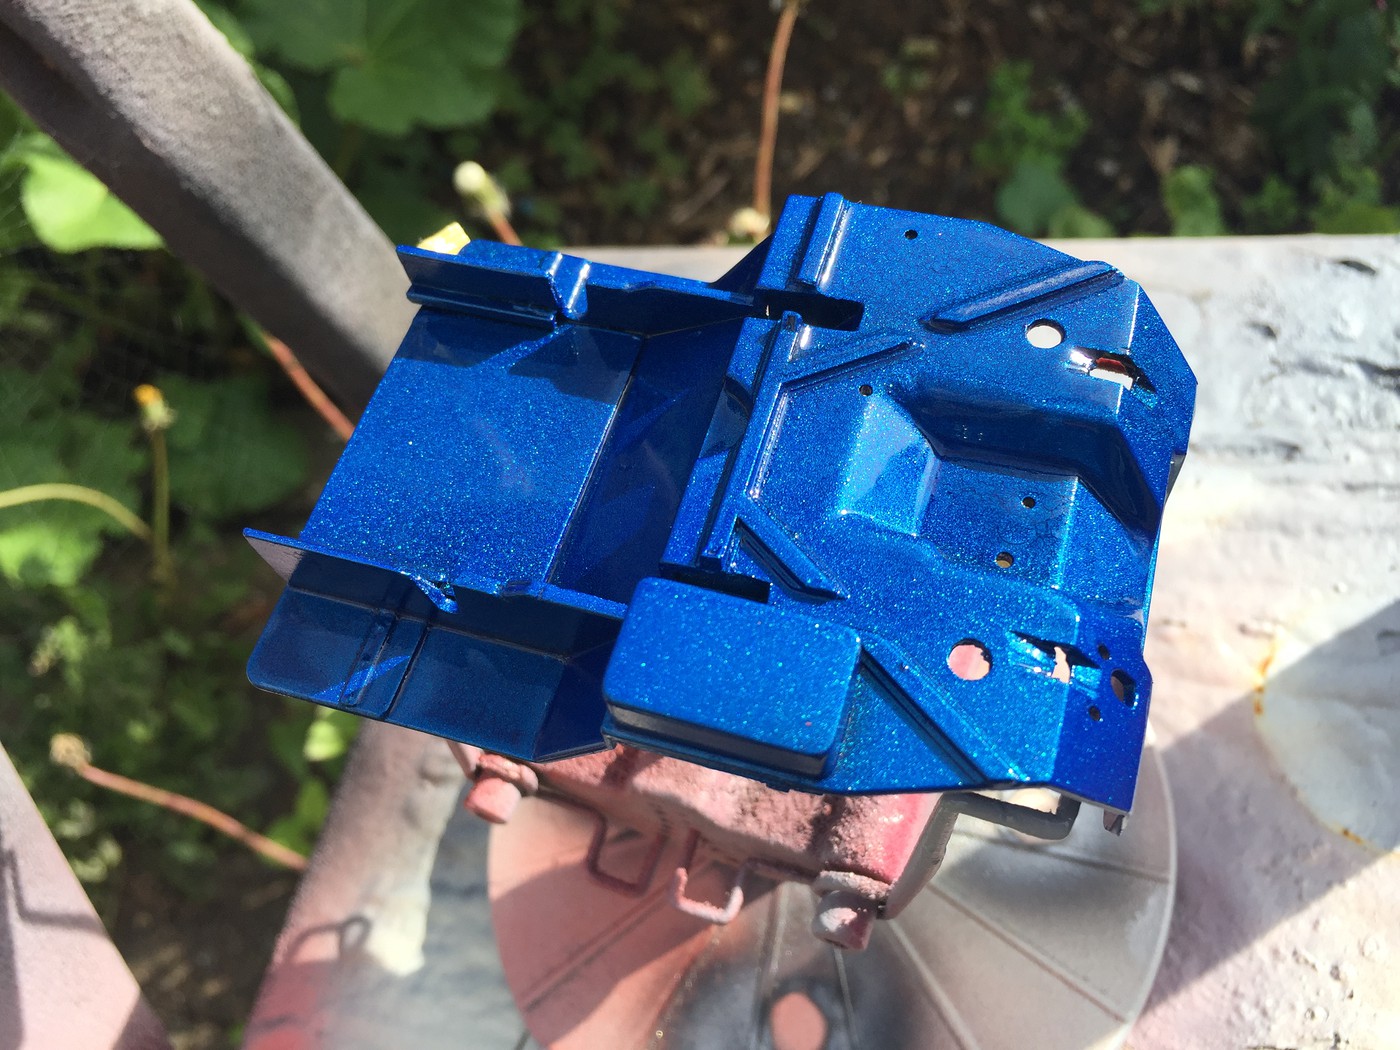 Ohhhhh, shiny! 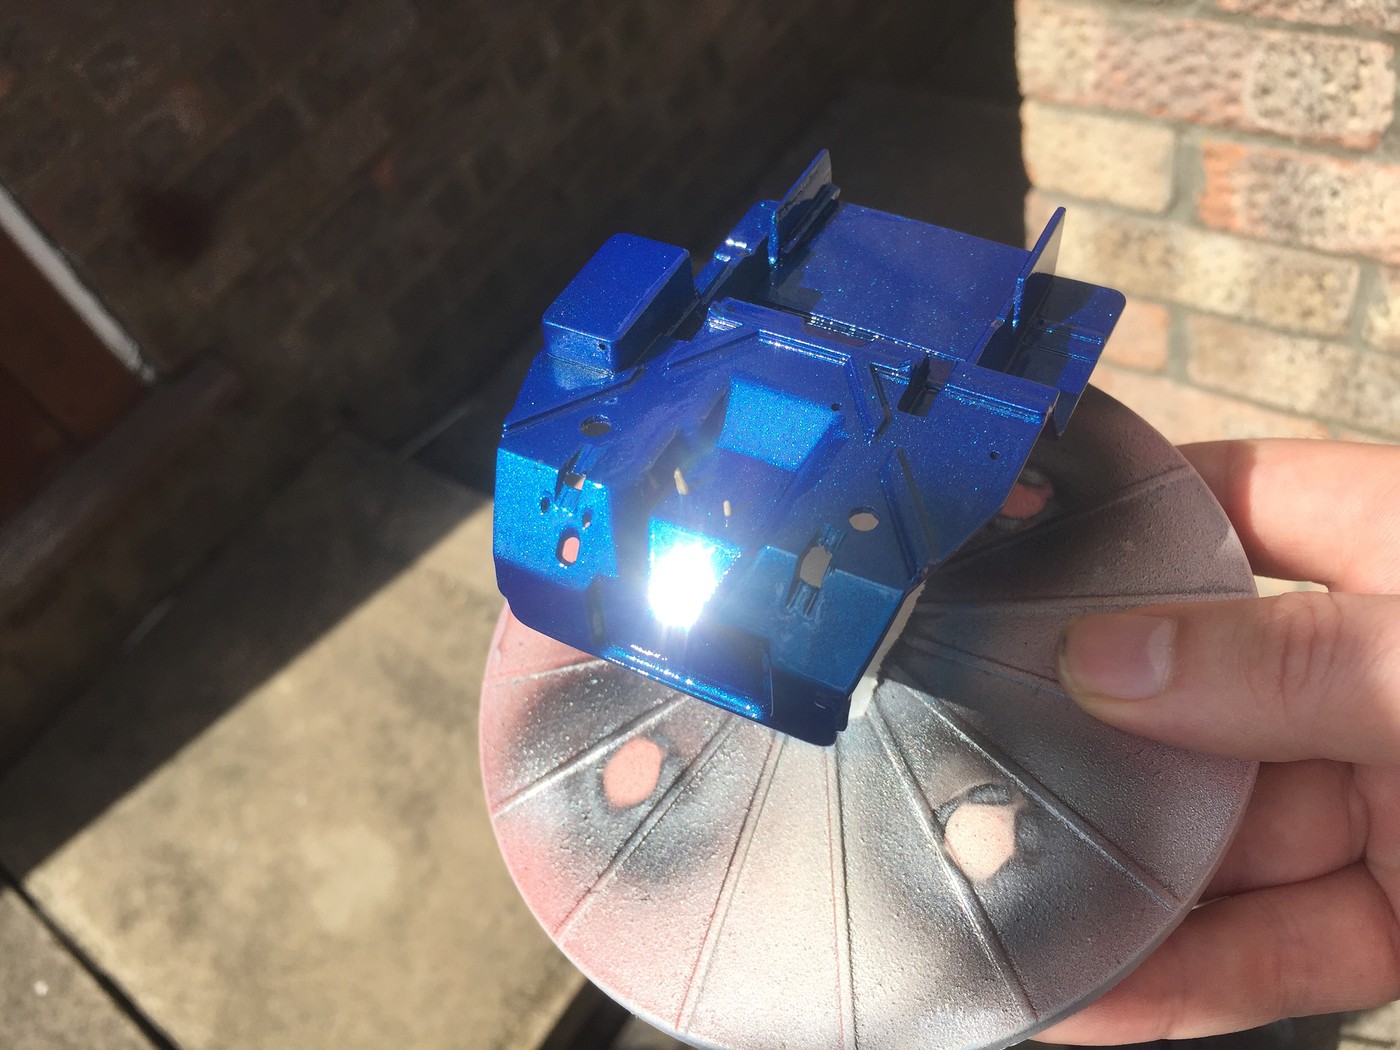 |
|
|
|
Post by 41chevy on Aug 1, 2017 10:47:44 GMT -6
Tamiya Metallic Orange TS-92
|
|
|
|
Post by kabdriver on Aug 1, 2017 11:10:03 GMT -6
Tamiya Metallic Orange TS-92 What about it Paul?  |
|
|
|
Post by kabdriver on Aug 1, 2017 14:52:52 GMT -6
Slow but steady progress - not had much time to work on this today, but got a bit done. First up I researched how the plumbing works for the brakes on these and found a diagram: 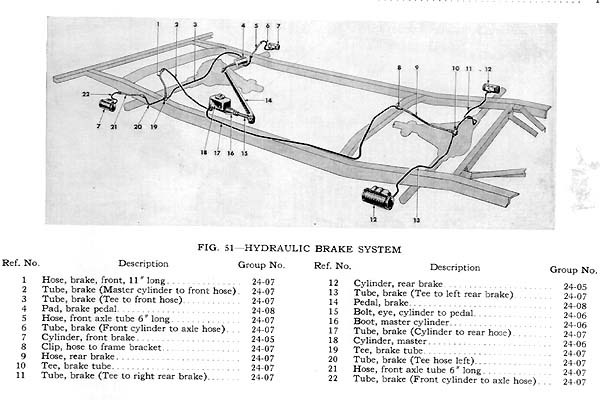 And made some simple lines from some craft wire that I've got here: 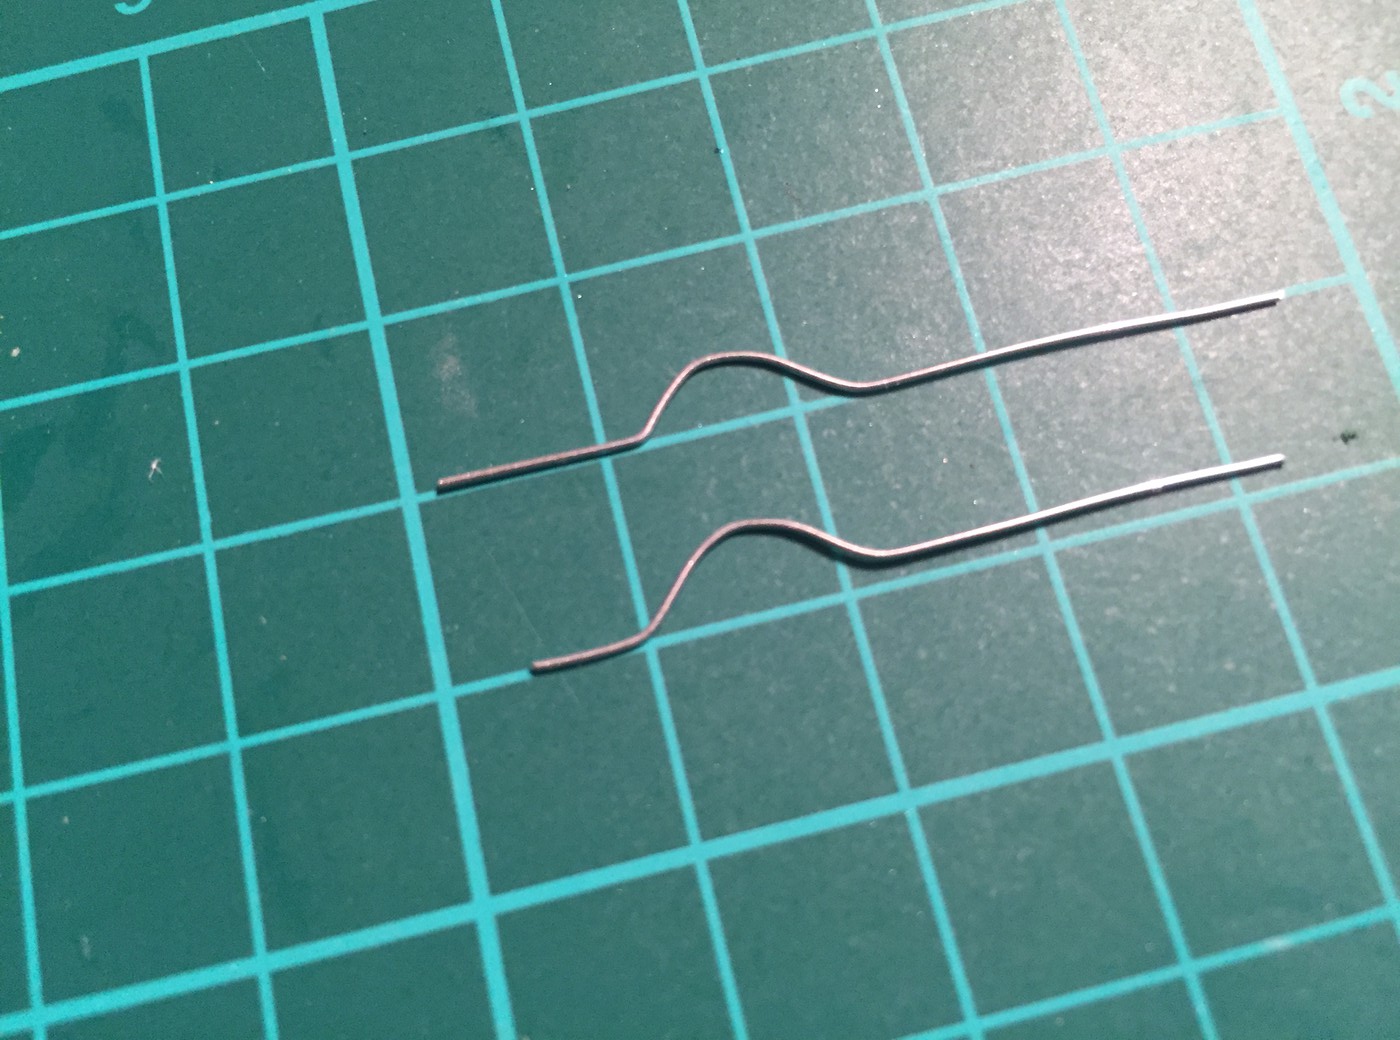 Tada! 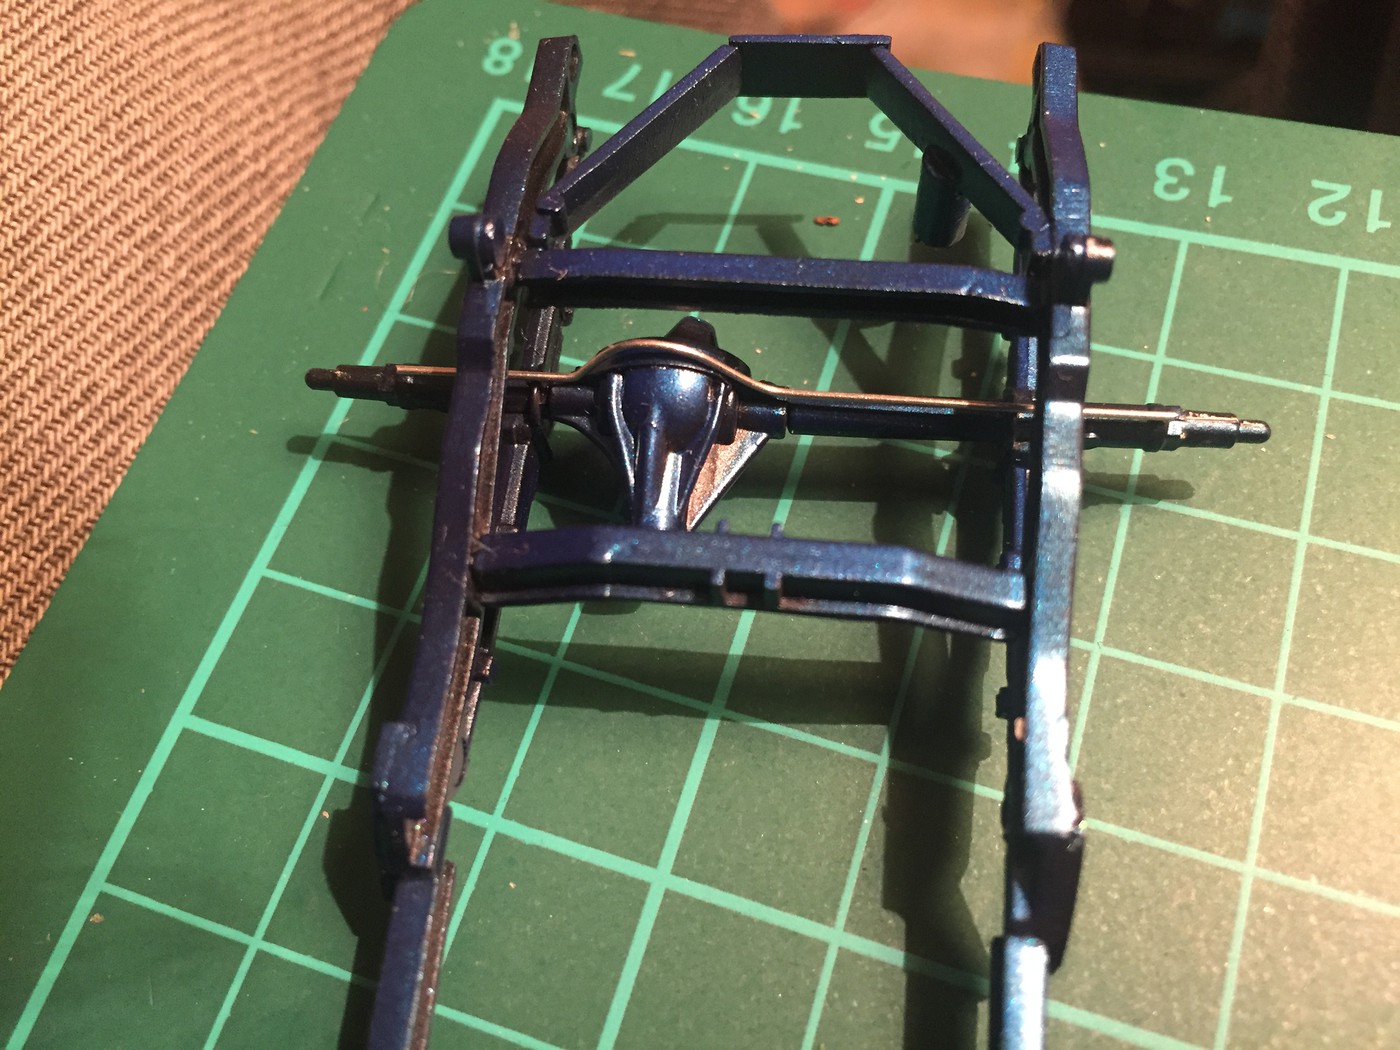 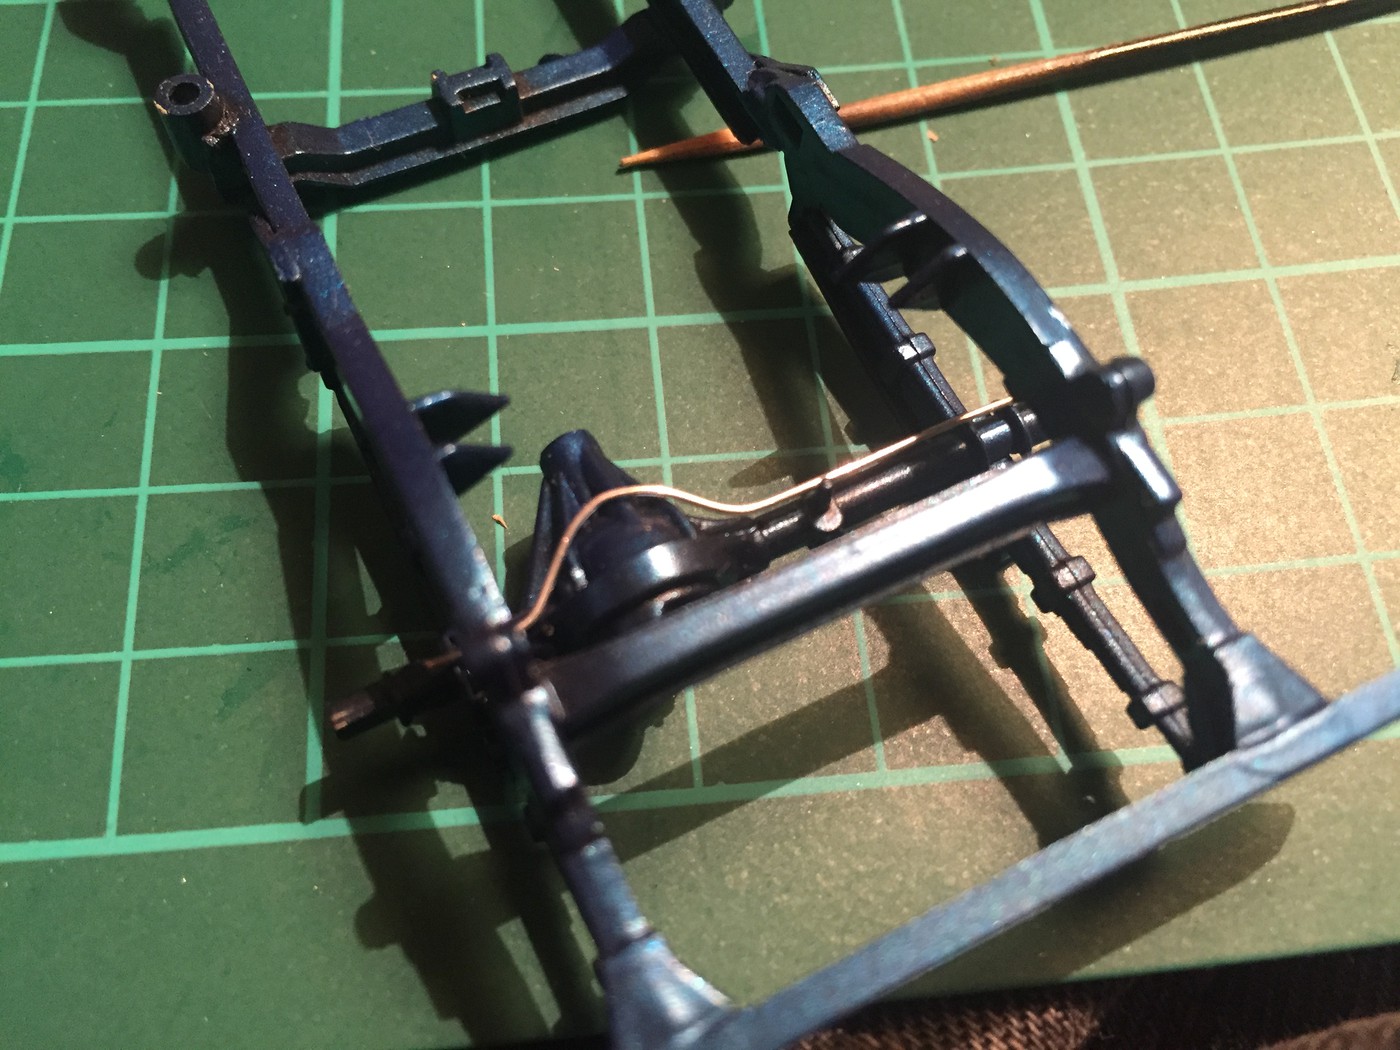 I ran out though, so I'll finish those off another day - or find some material to make rubber hoses running up into splitters from the master cylinder. Next up, I wanted to do some foil work on the interior tub 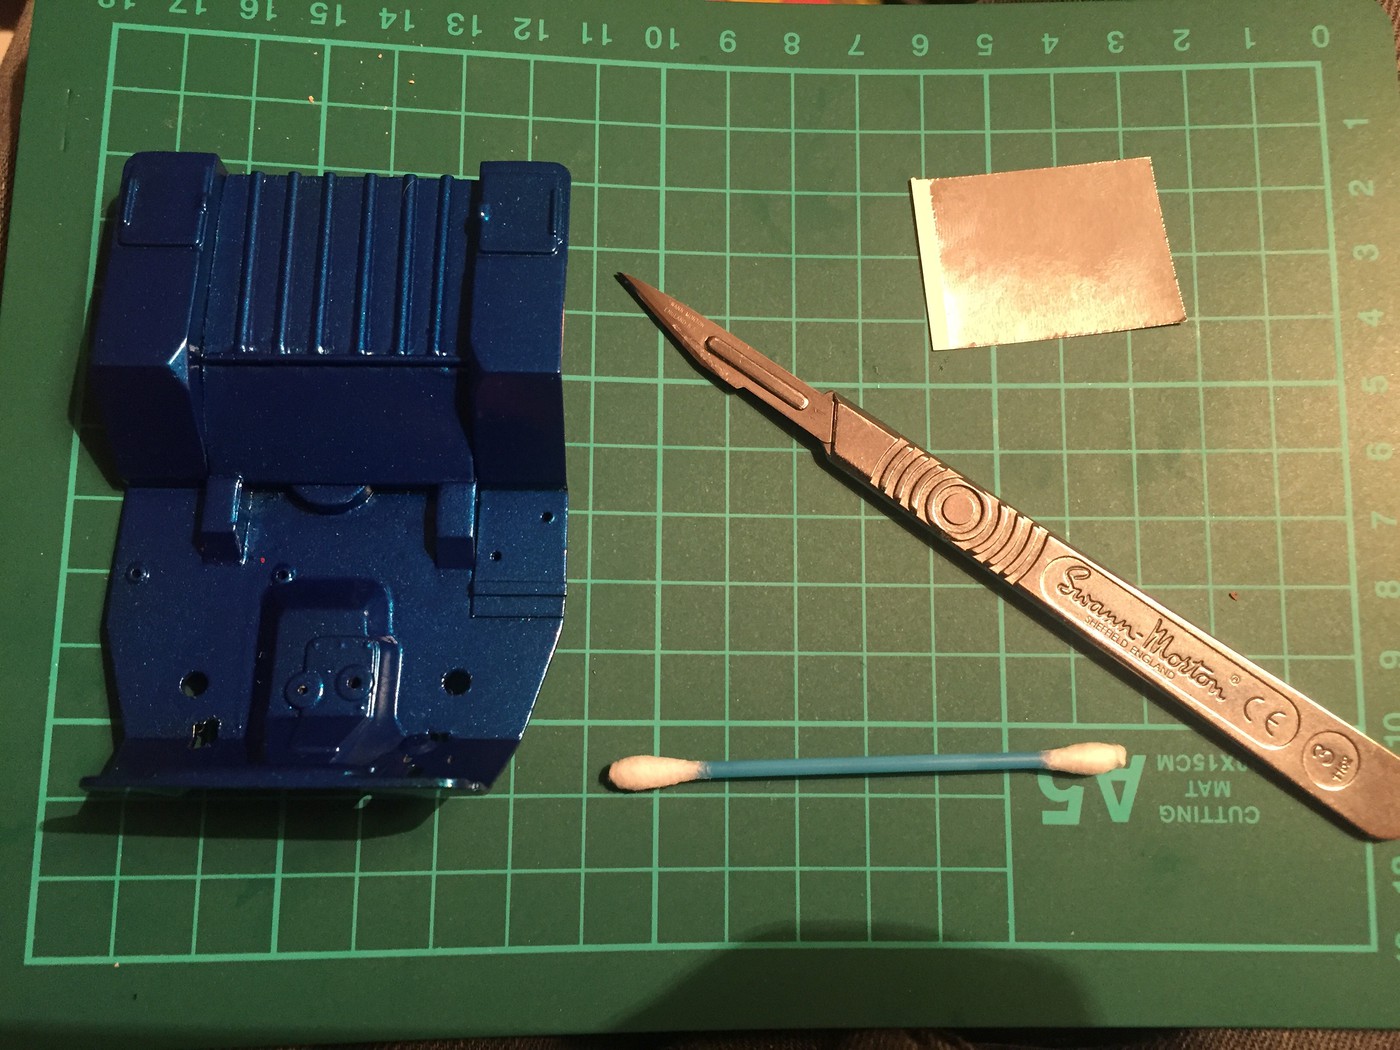 Nothing too fancy - the bed in particular isn't too important because there'll be some stuff in there, but I wanted a little bit of visual interest in there 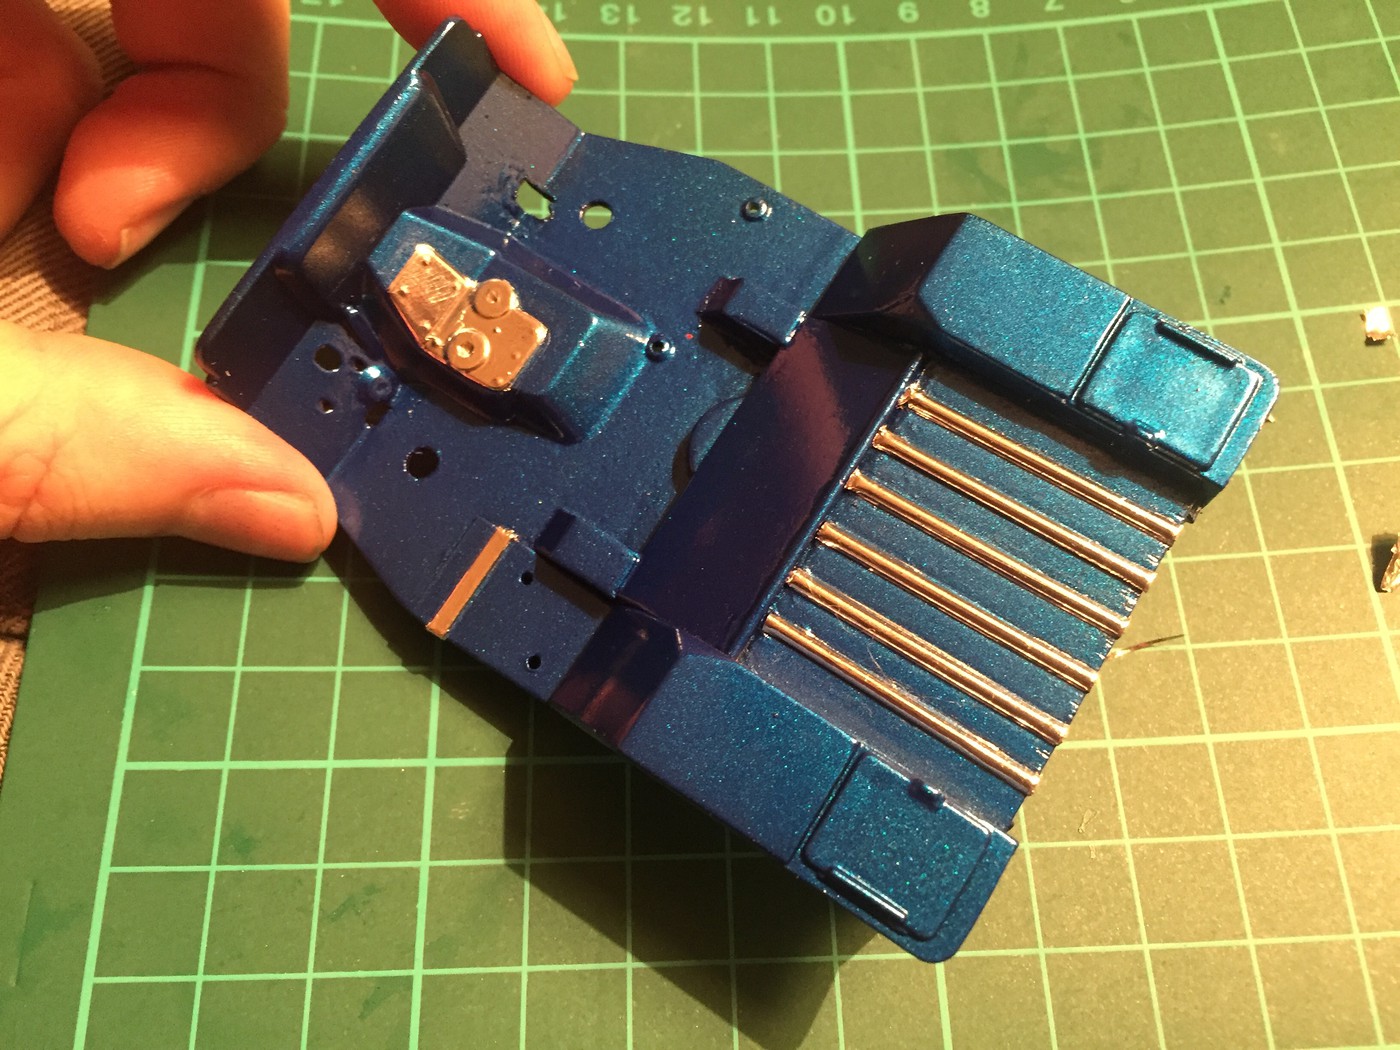 And with that done, I removed all but the gaiter from the stock gear levers (note, there's two on these jeeps - the second one is to swap between high and low range gears) and modified them my resin cast skulls and glued in place 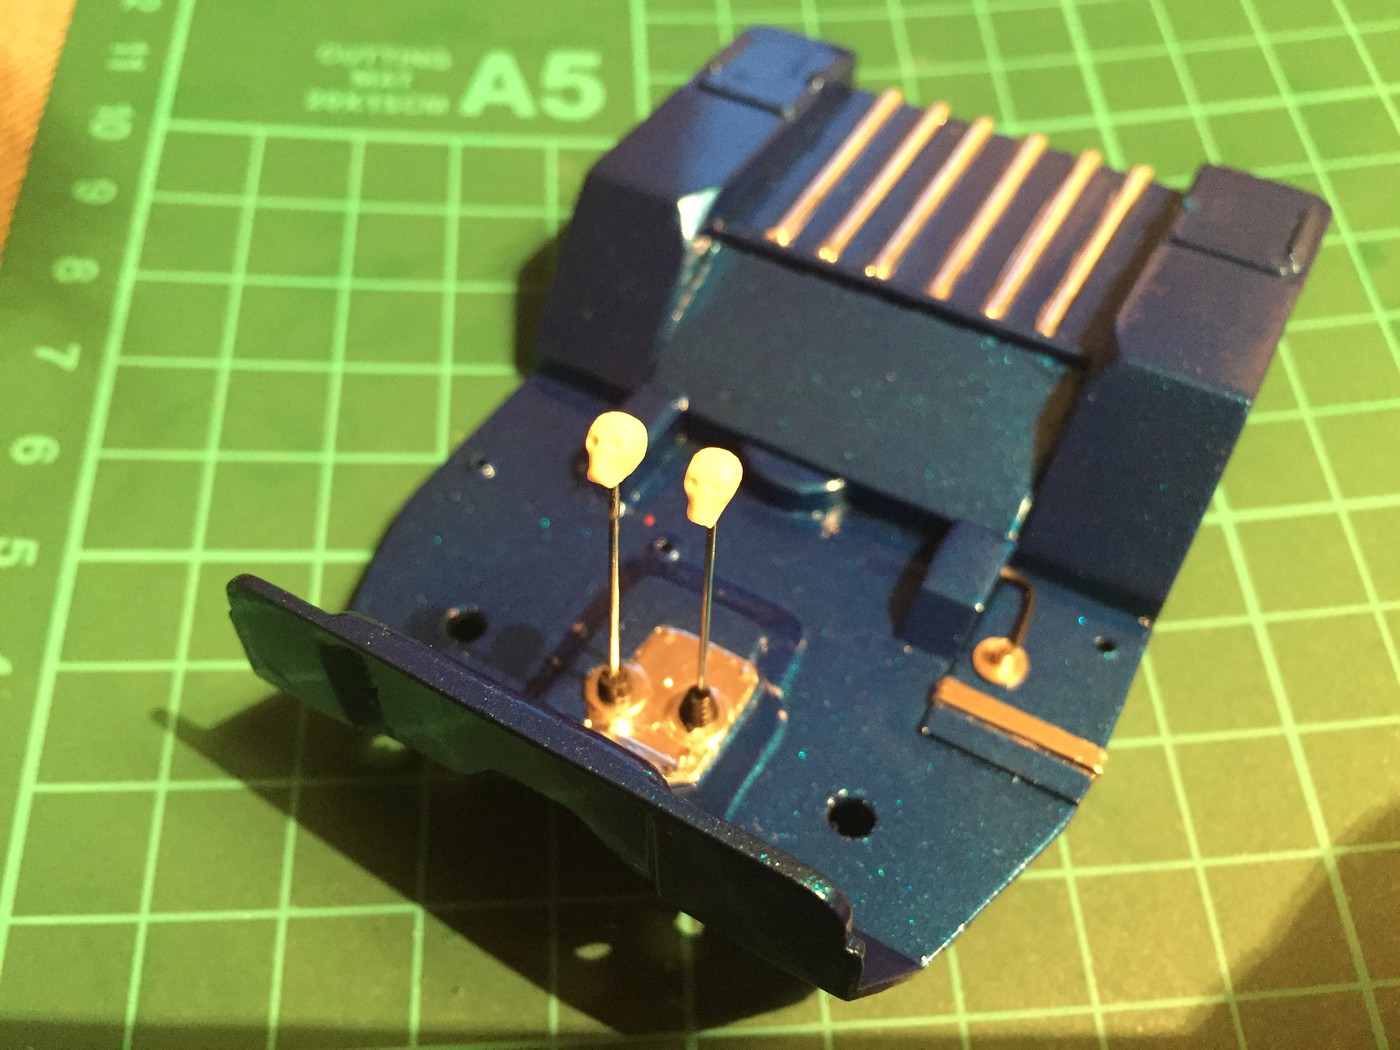 Meanwhile, I've cleaned up the resin bomber seats that I got and got them ready for Alclading - I've got a TONNE of Alclad to do actually, I've been preparing and collecting bits for a few days now so I can shoot them all at once. More progress soon! |
|
|
|
Post by grumpy on Aug 2, 2017 0:18:06 GMT -6
wow looking good bud
|
|
|
|
Post by 41chevy on Aug 2, 2017 9:45:56 GMT -6
Tamiya Metallic Orange TS-92 What about it Paul?  Dang lost the pic of the taco trike body I painted with it, to show you the color. ;( |
|
|
|
Post by kabdriver on Aug 2, 2017 10:08:55 GMT -6
I'd love to see it if you find it!
|
|
|
|
Post by kabdriver on Aug 3, 2017 12:06:40 GMT -6
Just a little update - I've not had much chance to get any painting done but I spent a while on the multi-piece body today getting that assembled. It was kind of a PITA - there's no easy way to hold the pieces together as you glue them and it's easy to get them askew, so I carefully tacked them together with a little cement and got it as straight as I could using a cutting mat and a set square to make sure it was about right and then used some more glue to hold it together. It's starting to look like a Jeep now! 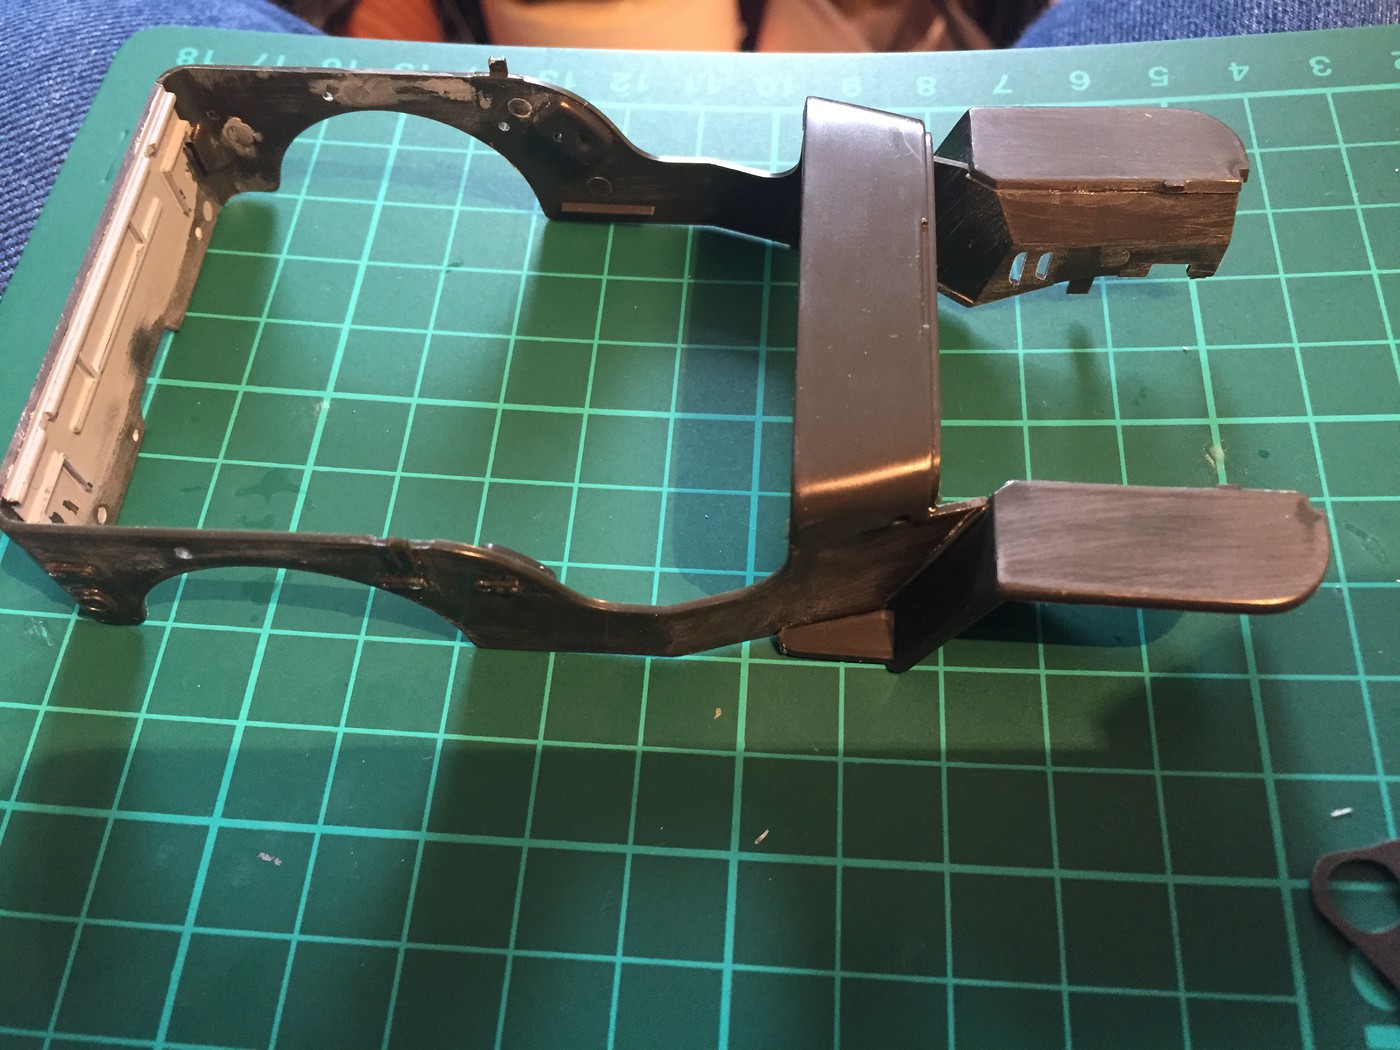 Meanwhile, I ordered the new Revell GMC truck kit to steal the snowplow from: 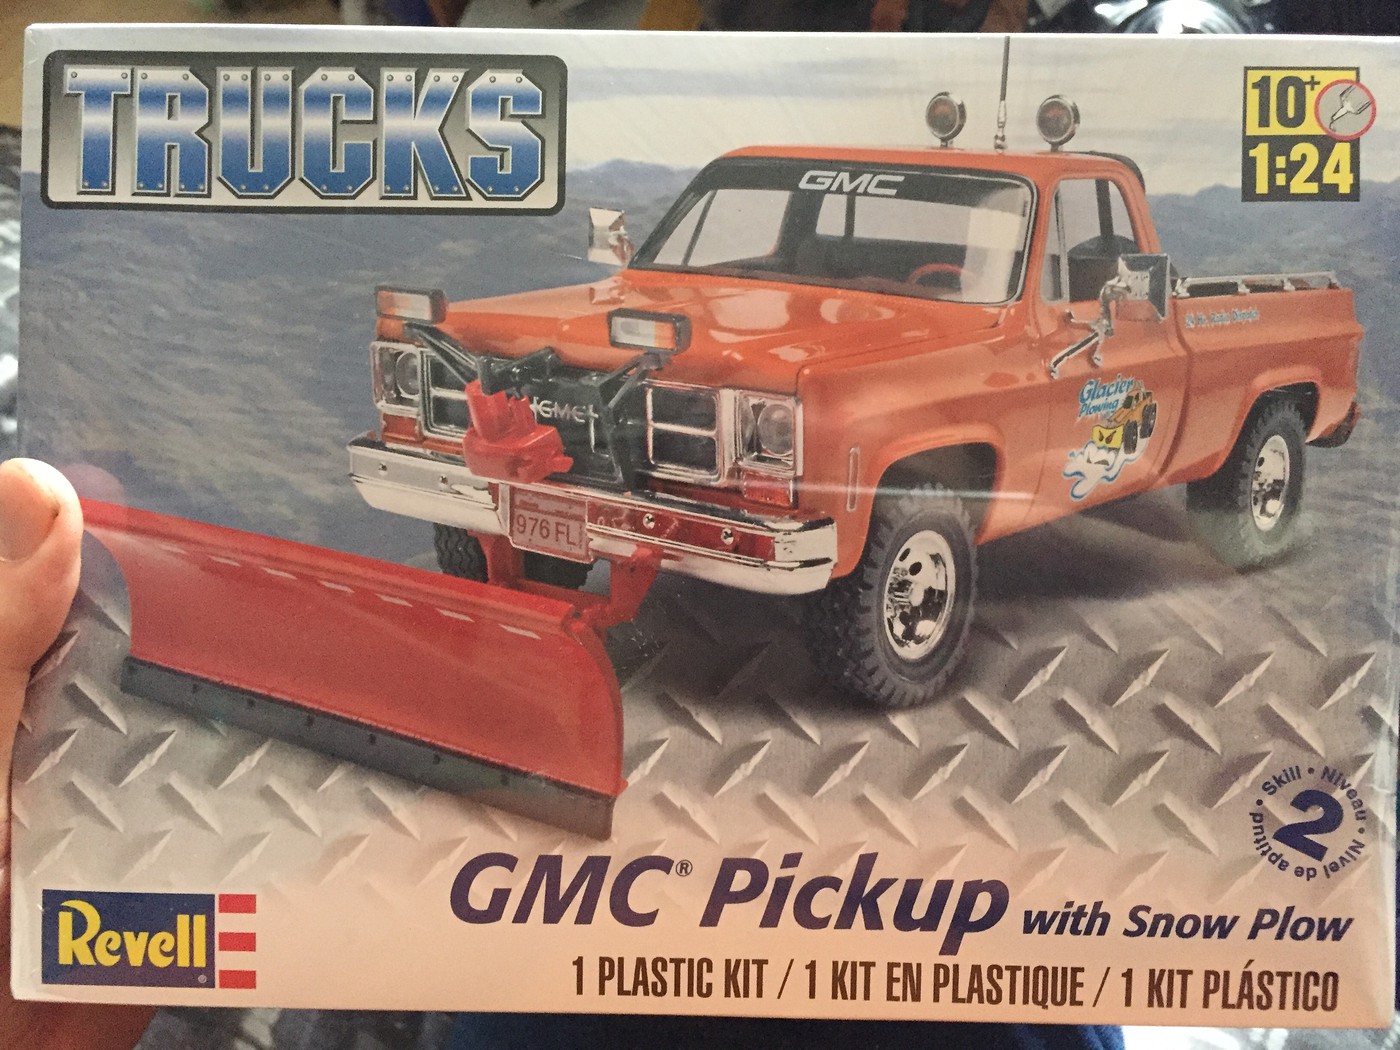 Looks like it'll work! 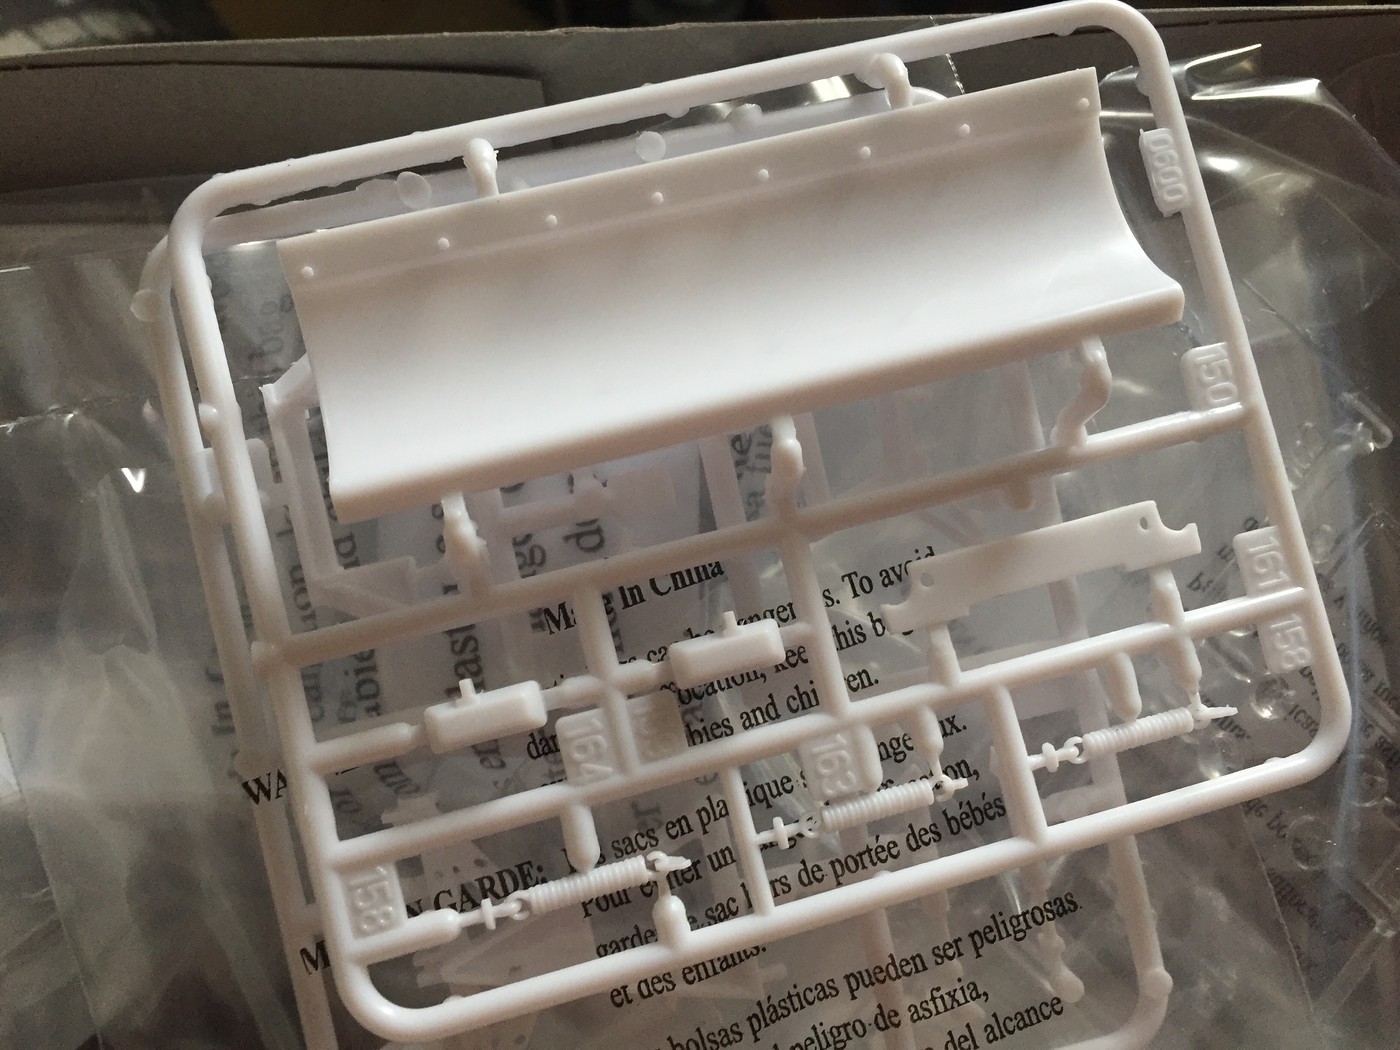 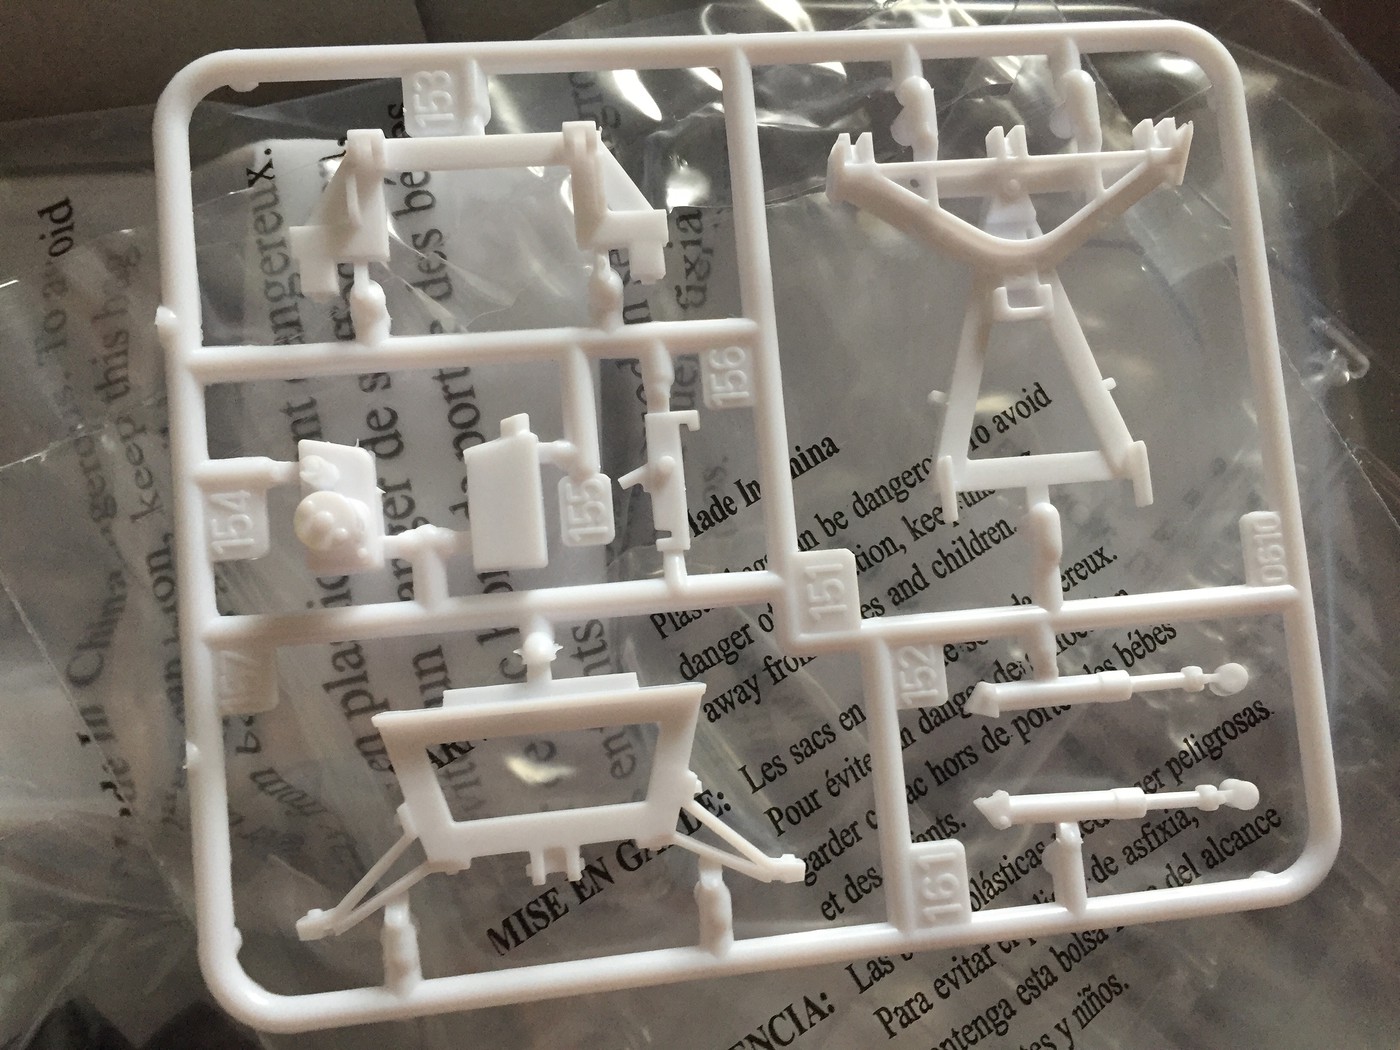 And I started fabricating some Showrod Snow Shoes to put in the bed of this thing - they still need some clean up and to find some mesh or gauze, but I thought they'd be a fun little detail to add! 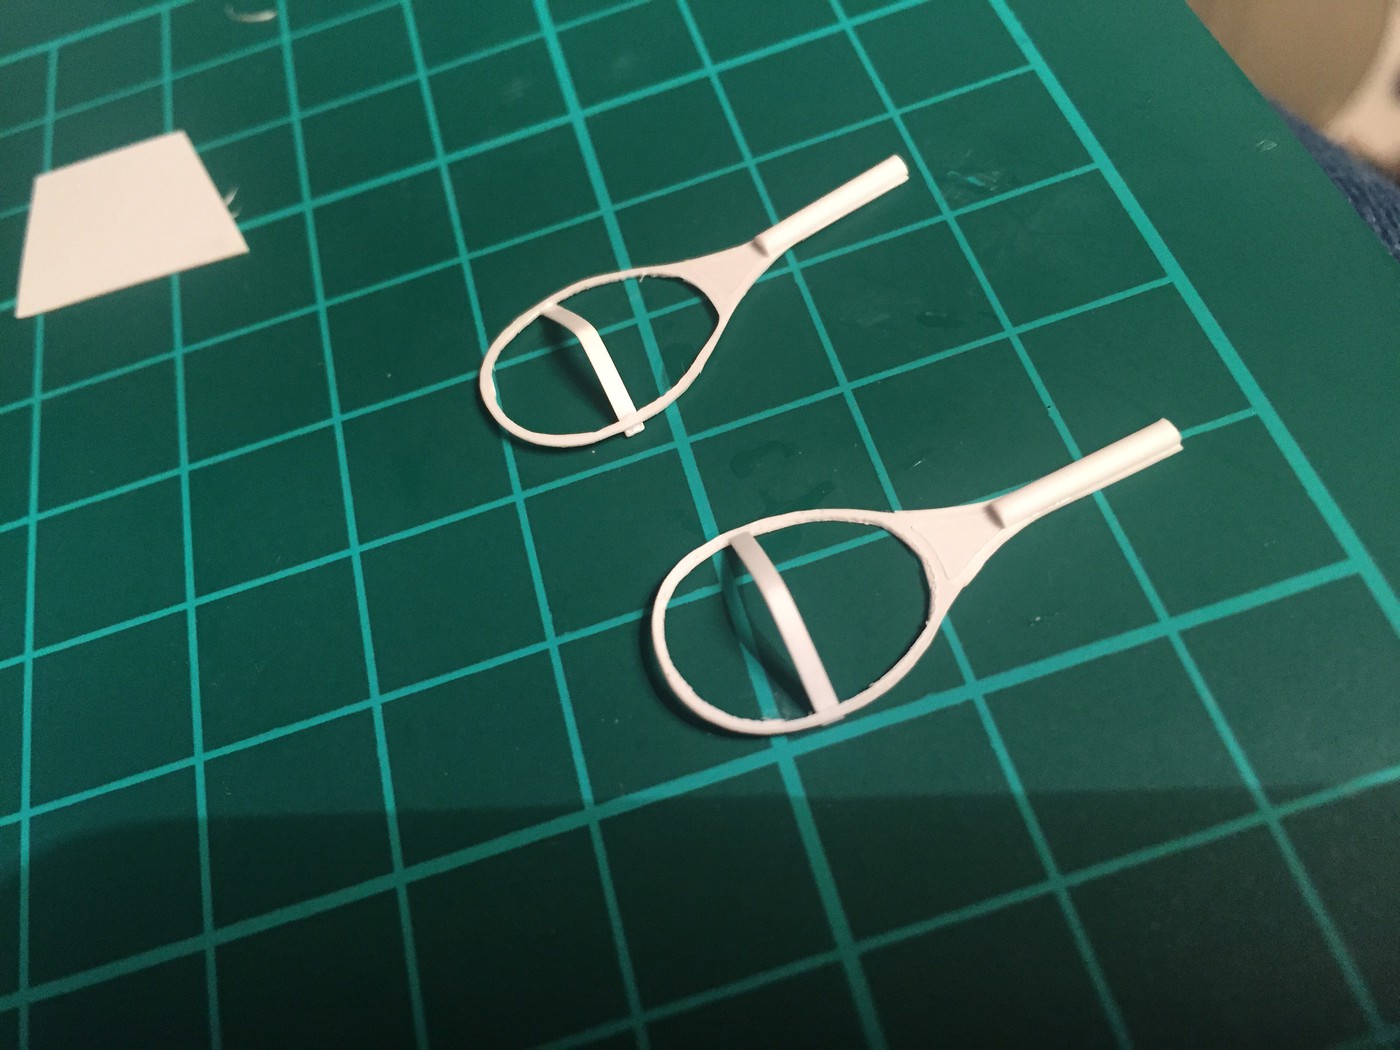 I'm going to go with a Wicked Colors Pearl White for the body, and I found a build on here (before Photobucket hijacked all the pictures) that had some cool custom decals on so I'm going to try and copy them from the pics and create a little tribute of sorts - glad I saved the picture for inspiration! More soon! |
|
|
|
Post by 41chevy on Aug 4, 2017 10:37:38 GMT -6
Be cool to do the plow it self from clear or tinted clear plastic, like the SNO-Way plows. A clear packing tube could work. Paul
|
|

