|
|
Post by rocketeer on Aug 4, 2017 12:19:07 GMT -6
Man, you are just blazing away on this one!
I've had similar problems with clear casting resin; it seems to be very sensitive to ambient temperature. I poured some clear bits last winter, and they didn't really set up until I set them on my furnace (warmest spot in the house). Lately I've been using Gedeo Pebeo from Michaels, and it's the best I've come across so far.
|
|
|
|
Post by kabdriver on Aug 5, 2017 5:59:52 GMT -6
Be cool to do the plow it self from clear or tinted clear plastic, like the SNO-Way plows. A clear packing tube could work. Paul Ohh, that's a cool idea! I wish I'd thought of that sooner!  |
|
|
|
Post by kabdriver on Aug 5, 2017 6:00:55 GMT -6
Man, you are just blazing away on this one! I've had similar problems with clear casting resin; it seems to be very sensitive to ambient temperature. I poured some clear bits last winter, and they didn't really set up until I set them on my furnace (warmest spot in the house). Lately I've been using Gedeo Pebeo from Michaels, and it's the best I've come across so far. Interesting! The 'plain' resin that I used worked a treat, but the clear stuff I tried was just junk. I'll check out the stuff you recommended though! Thanks! |
|
|
|
Post by kabdriver on Aug 5, 2017 18:25:00 GMT -6
Made some progress on the Jeep today - actually, little bits over the past few days which I didn't get around to posting until now... First up, I Alcladed a load of little bits and pieces that I needed to do 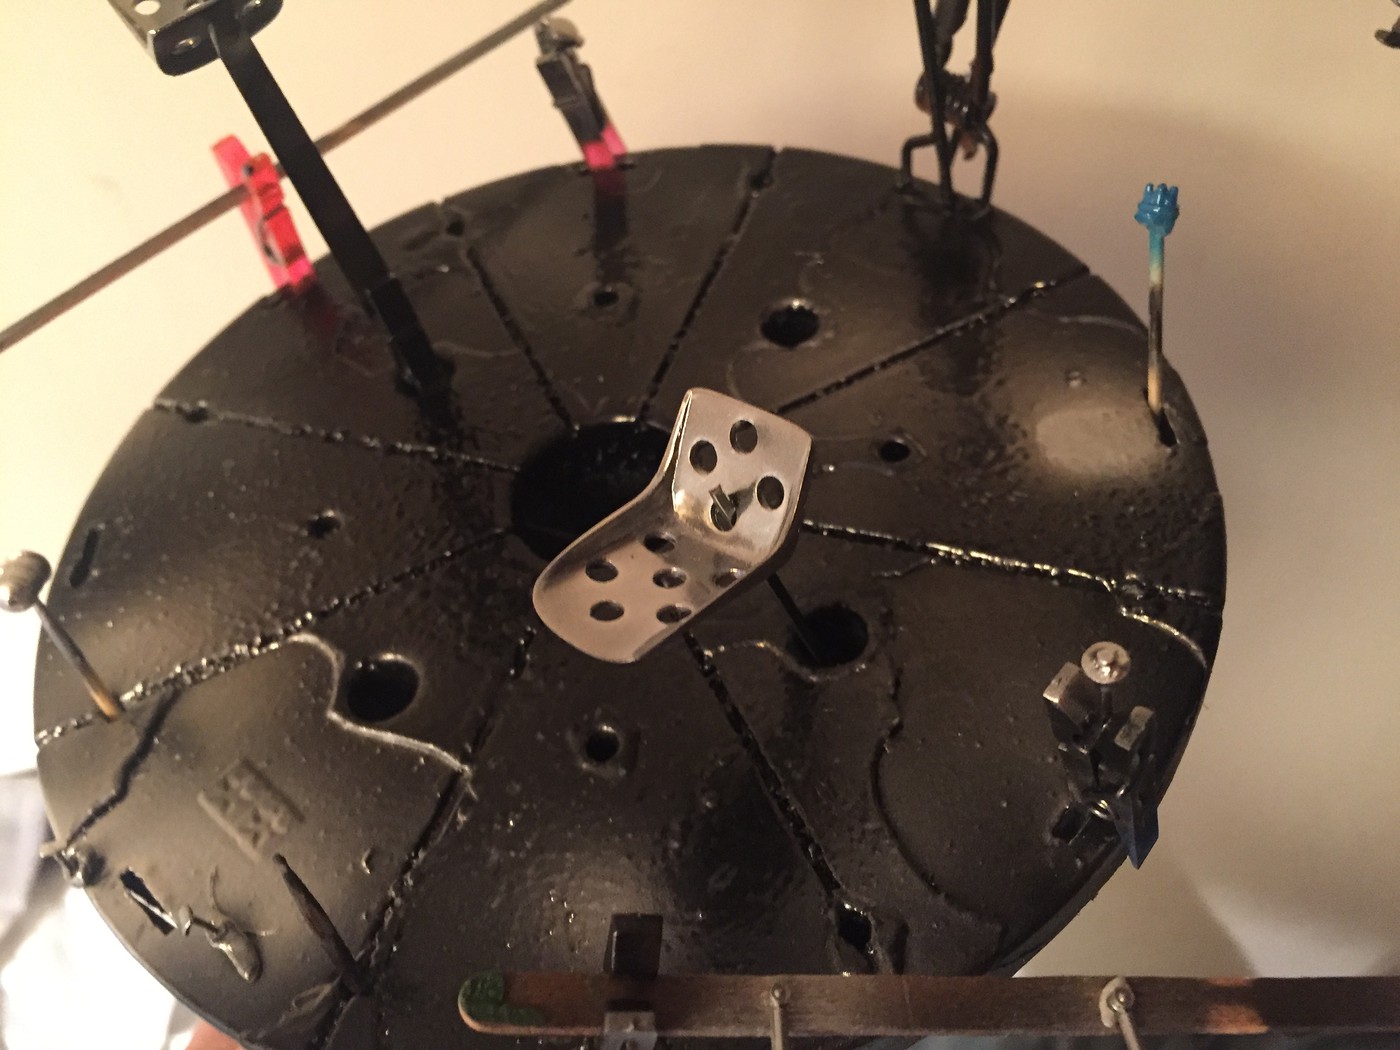 Something I wanted to try was airbrushing a heatstained effect on the exhaust, so I layered a little Tamiya yellow... 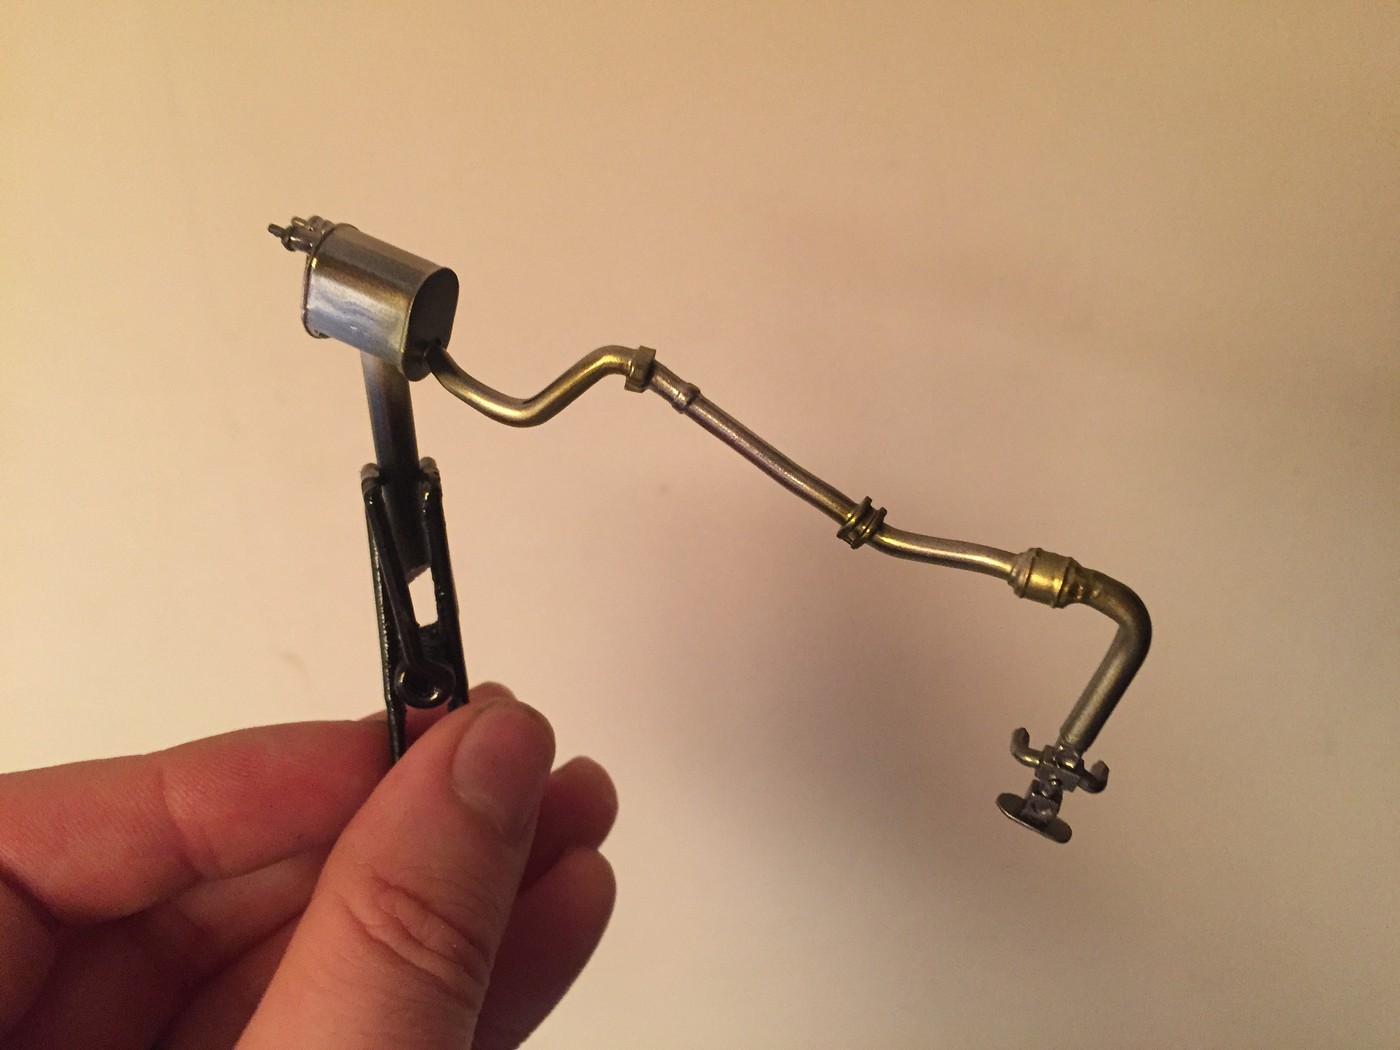 ...and then some clear blue 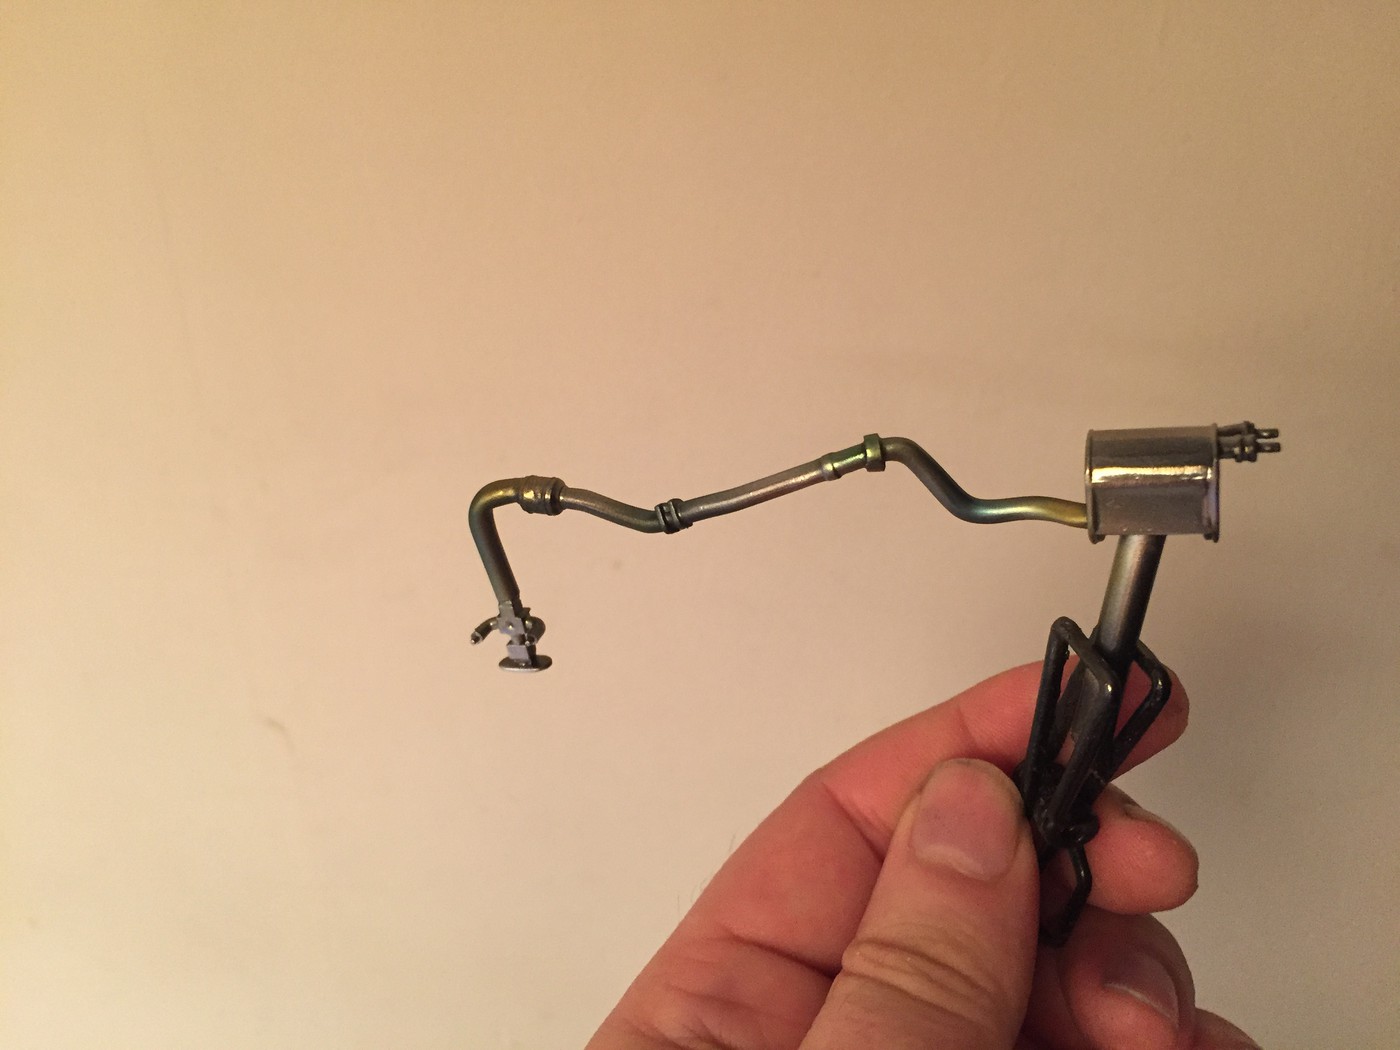 Next up, I ran an oil line from the filter down into the block: 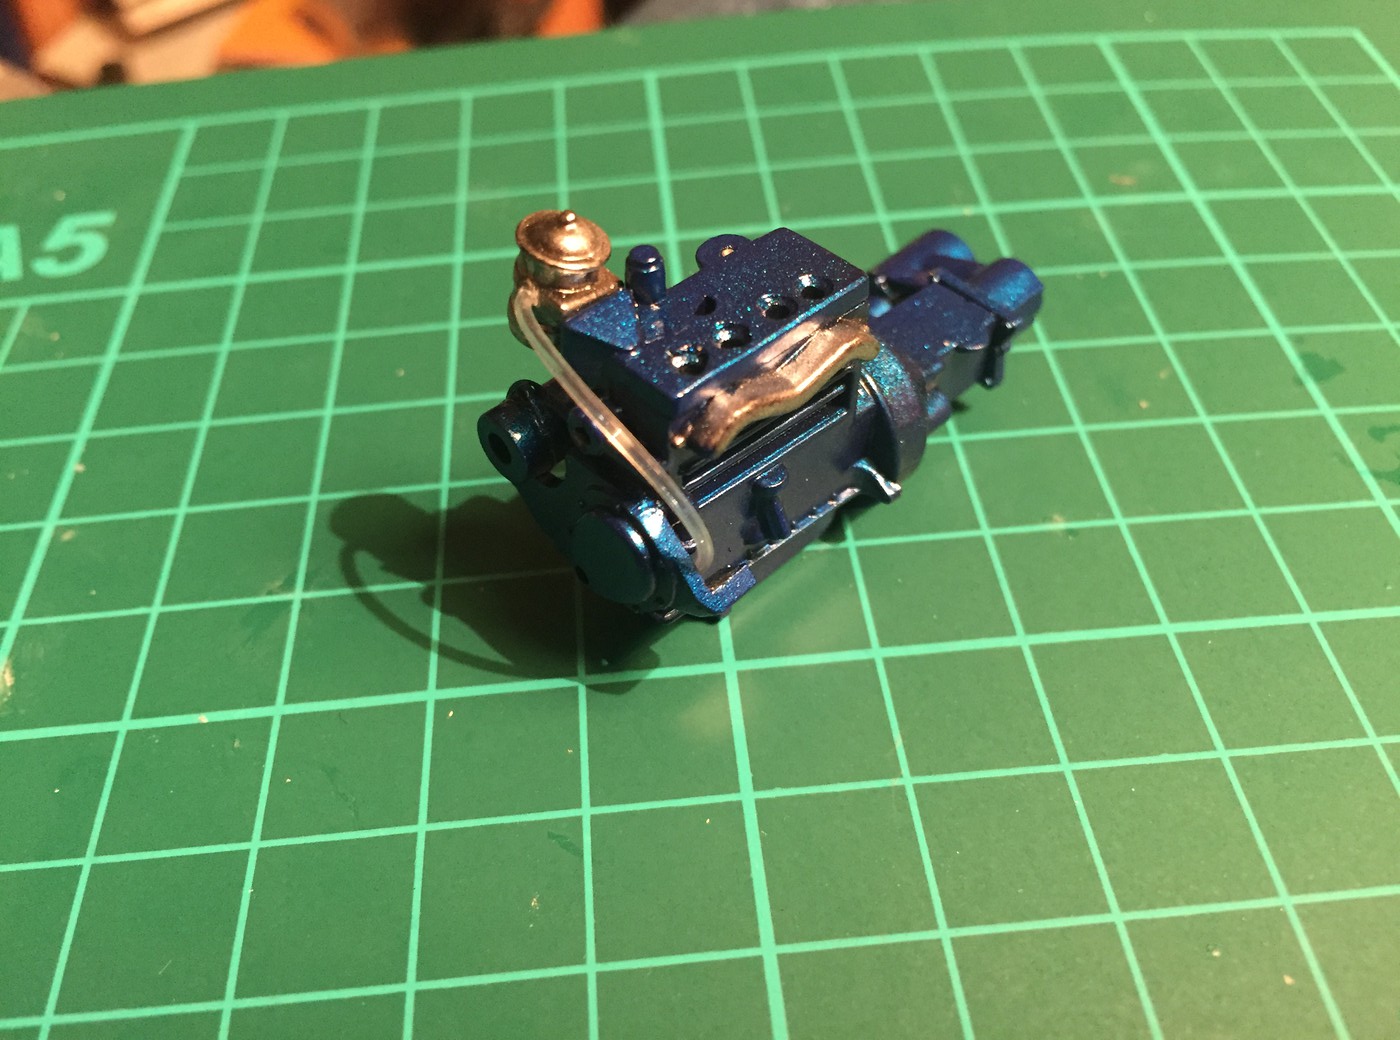 And wired the distributor: 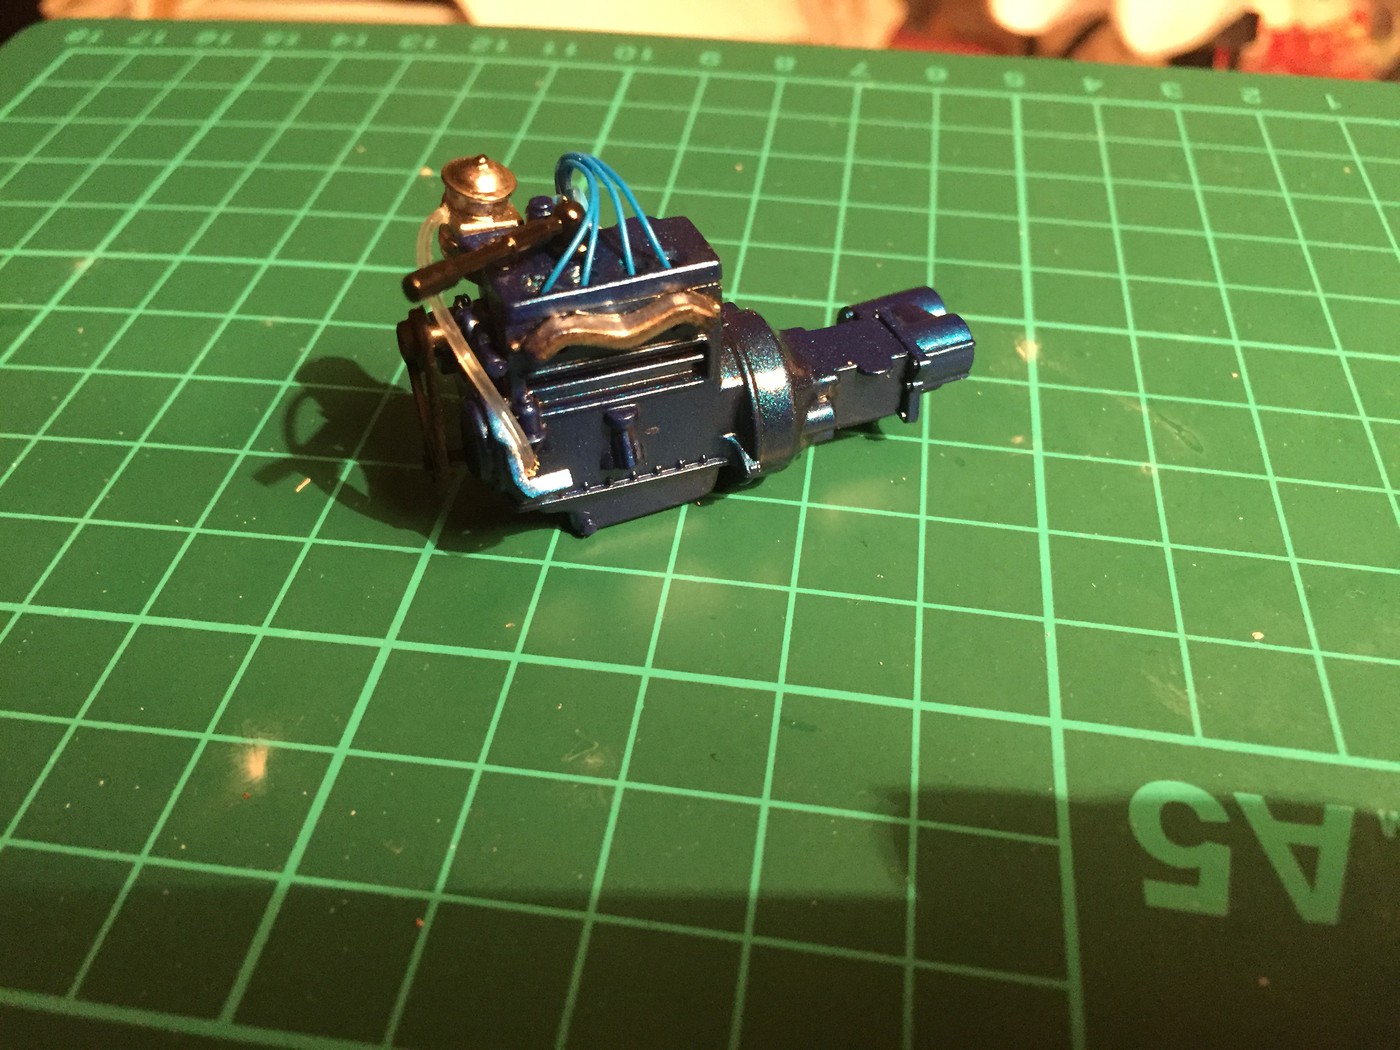 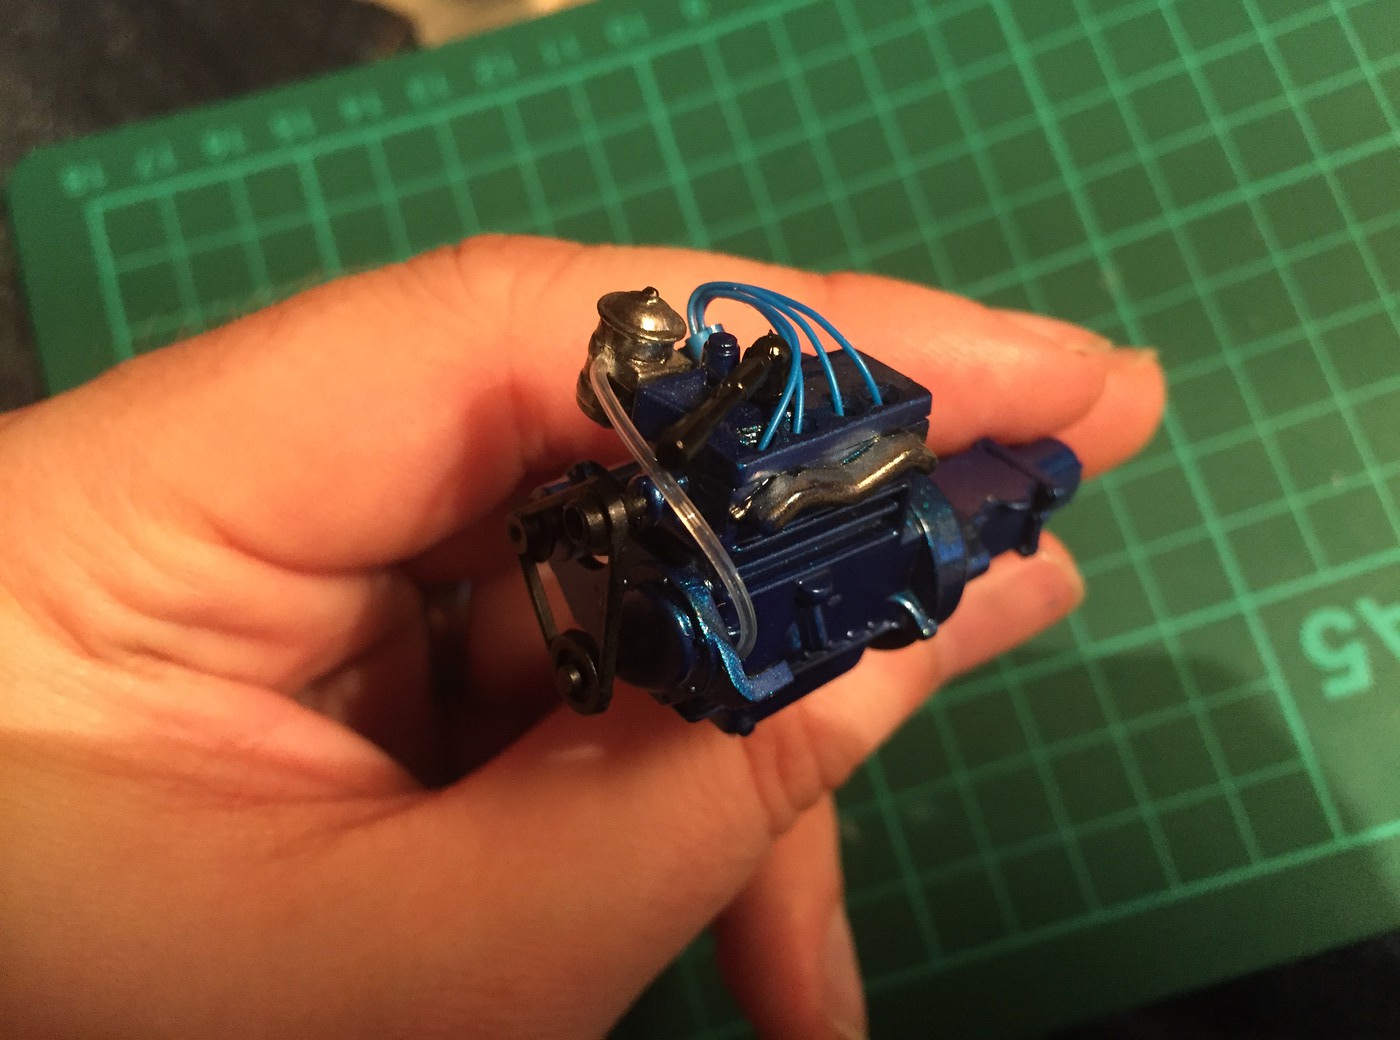 Next up, I assembled a Model Car Garage flathead fan to add some more visual interest to the engine - that little M0.5 bolt will hold it in place on the block 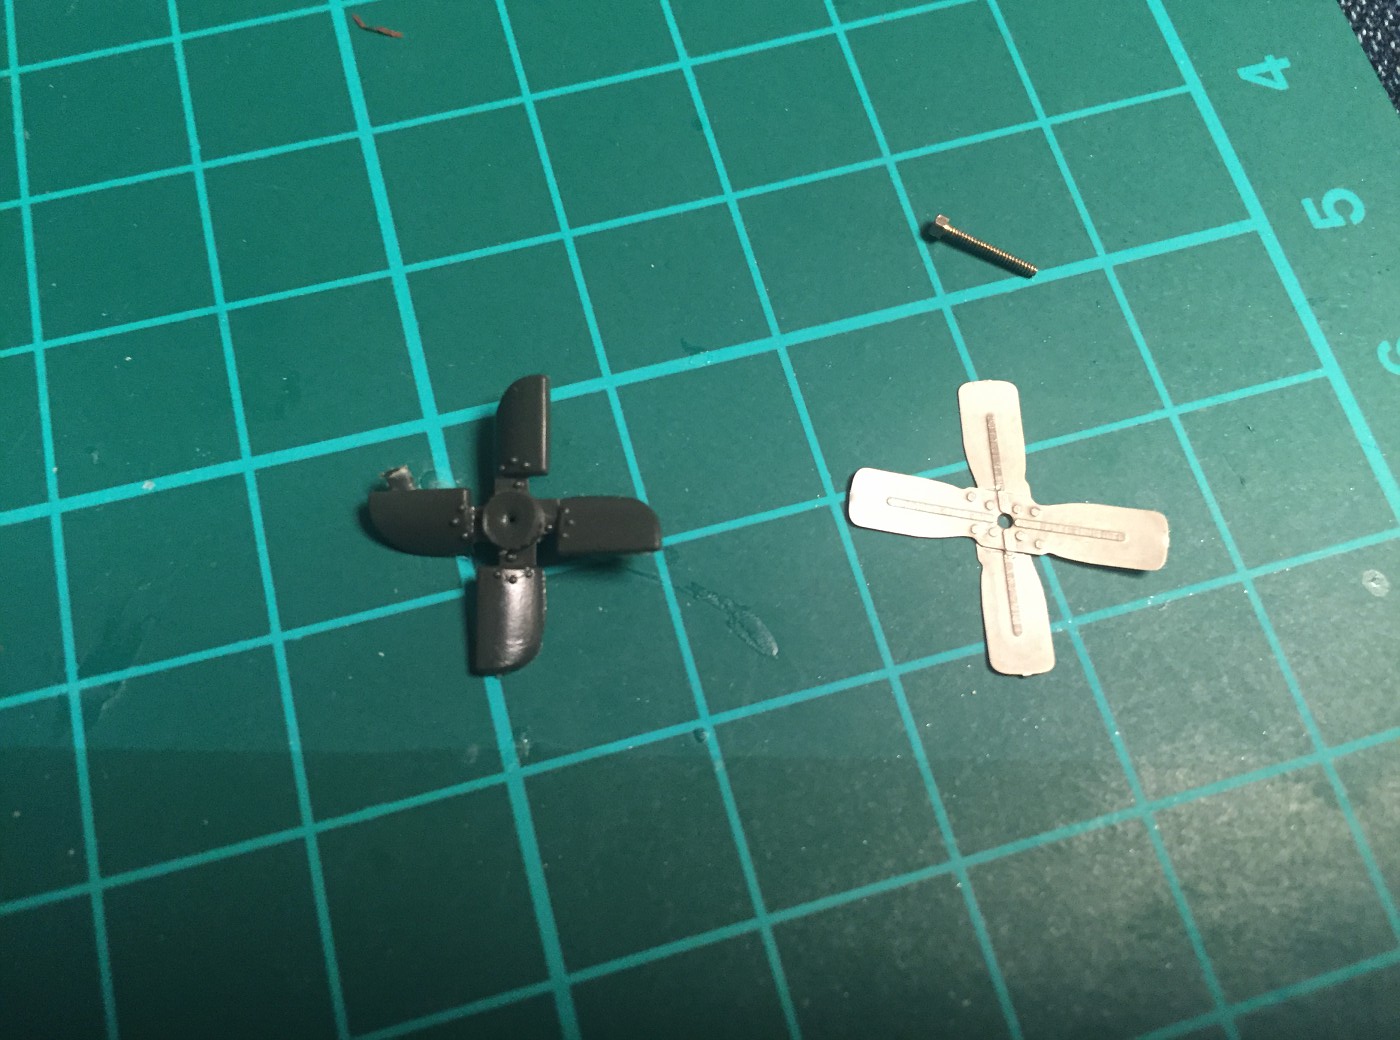 Tada! 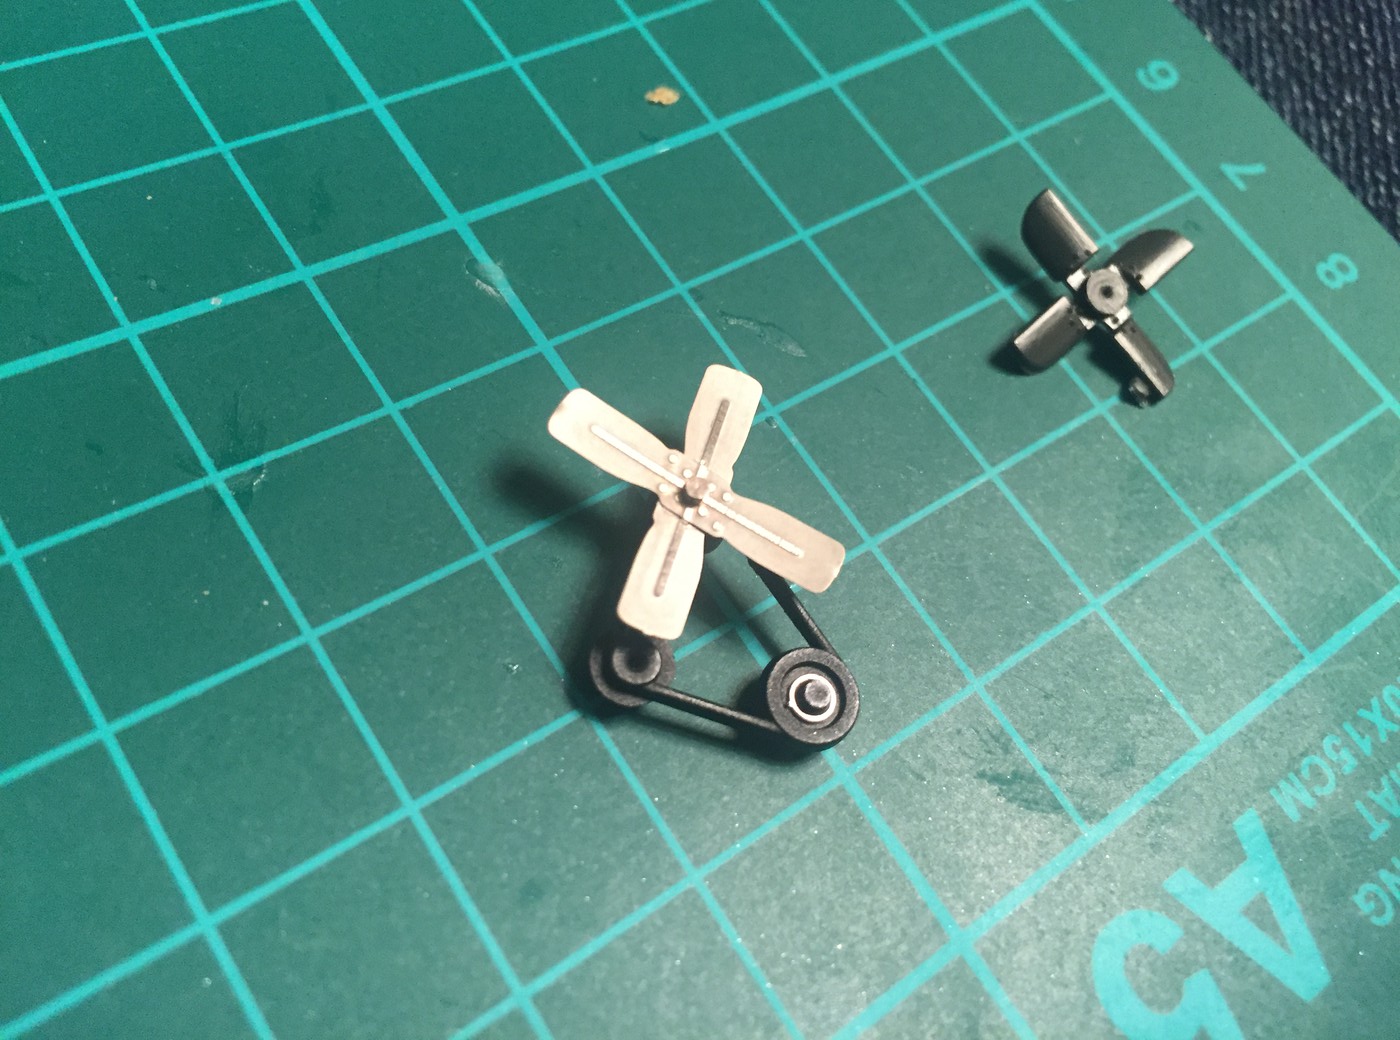 And finally, I made some floormats for the interior tub: 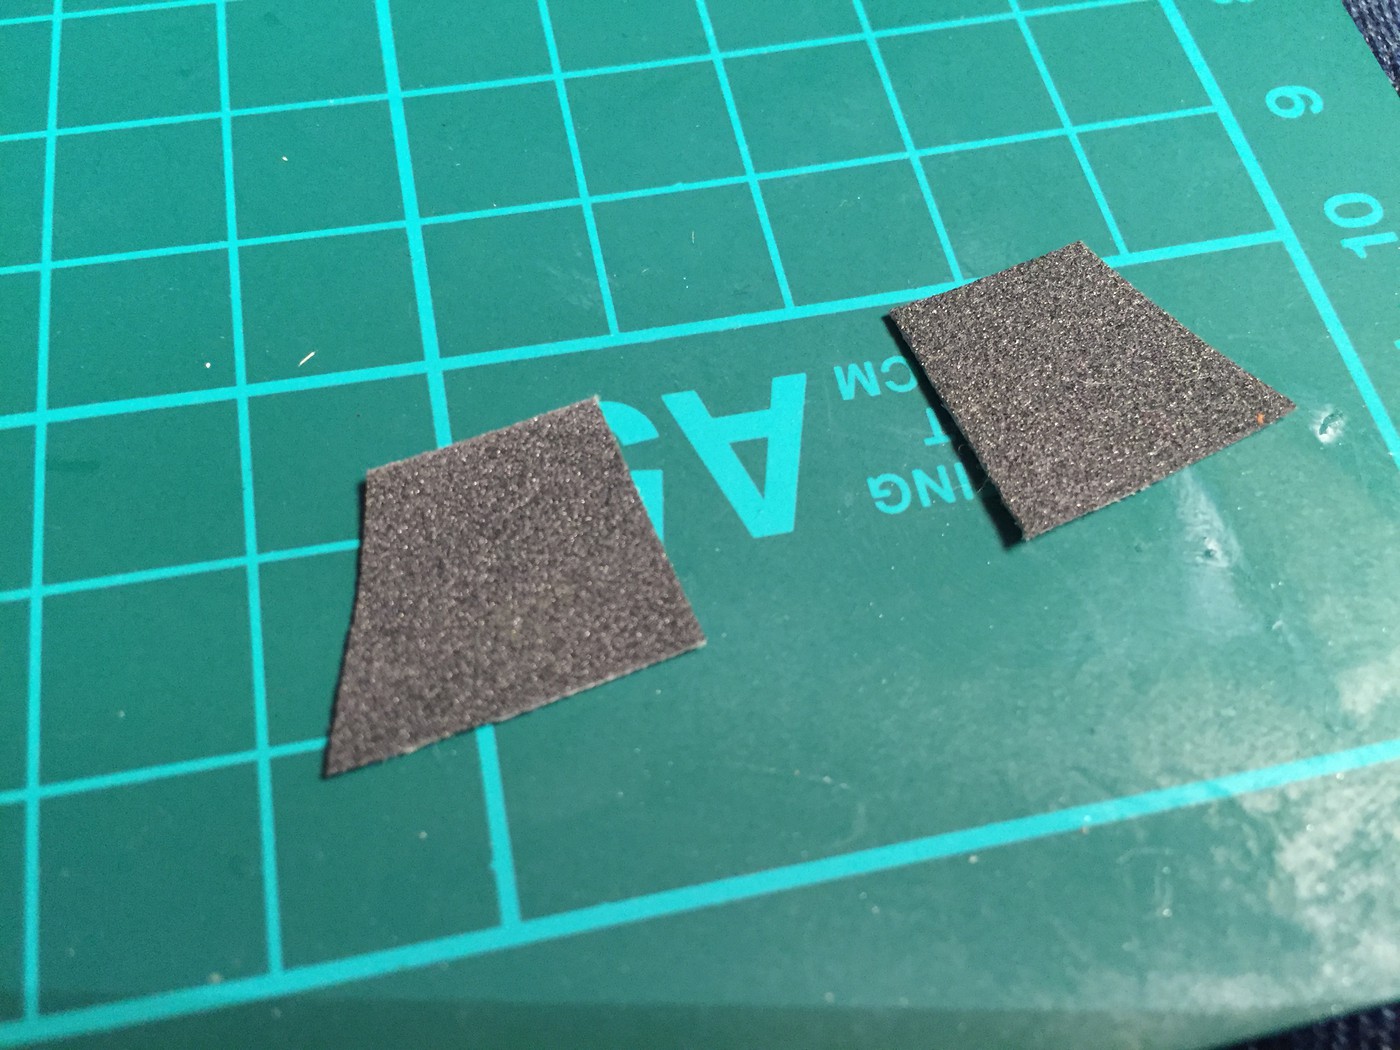 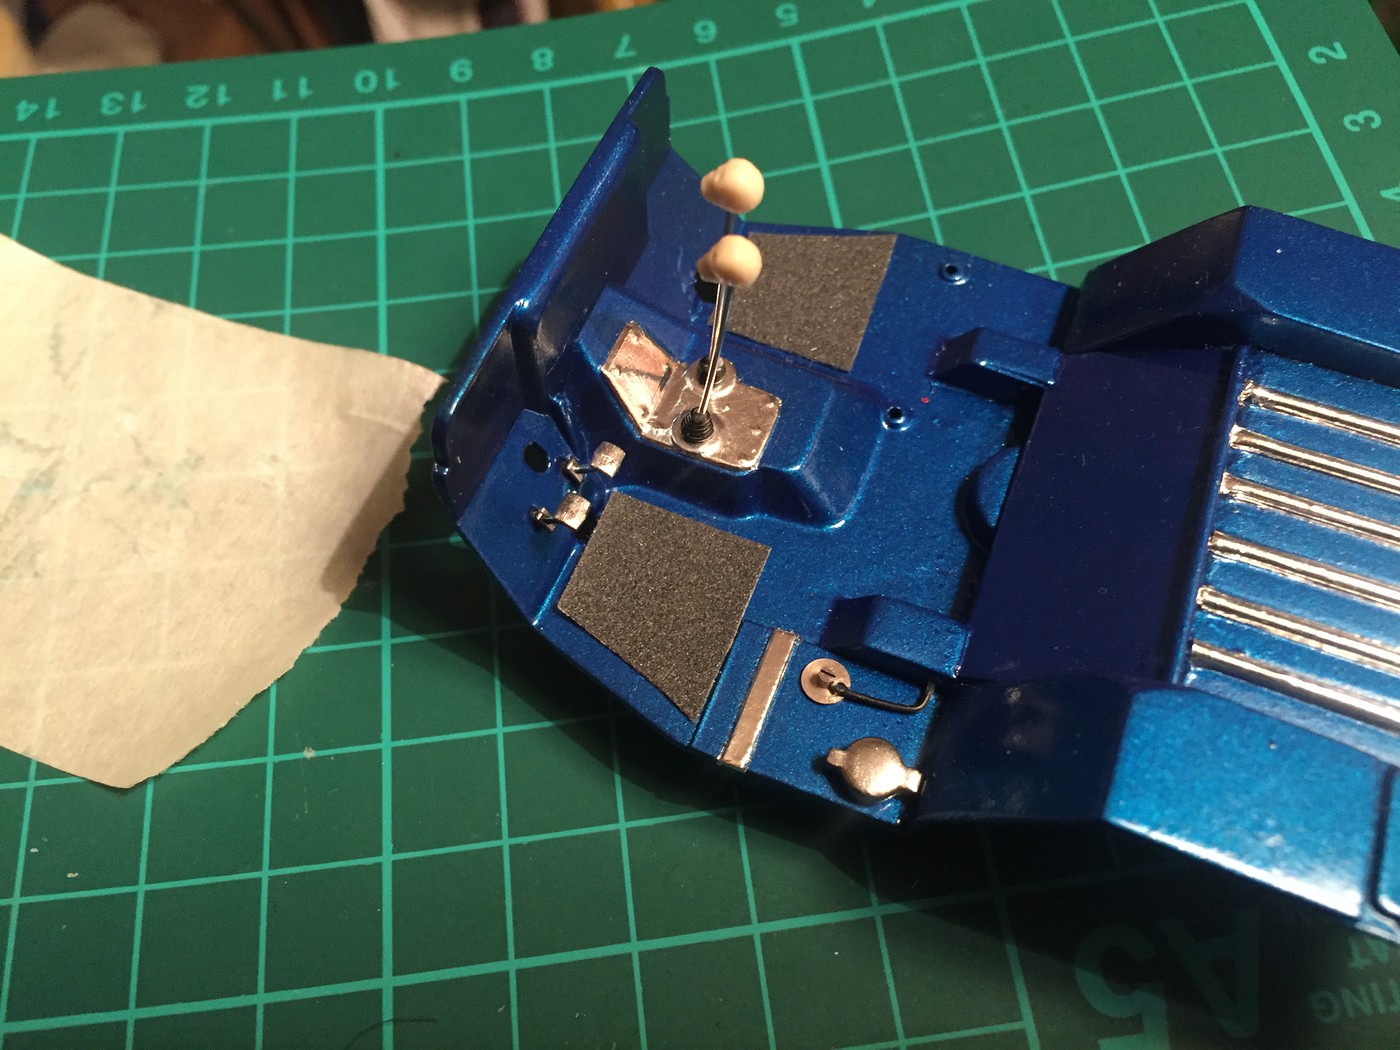 And got the seats installed 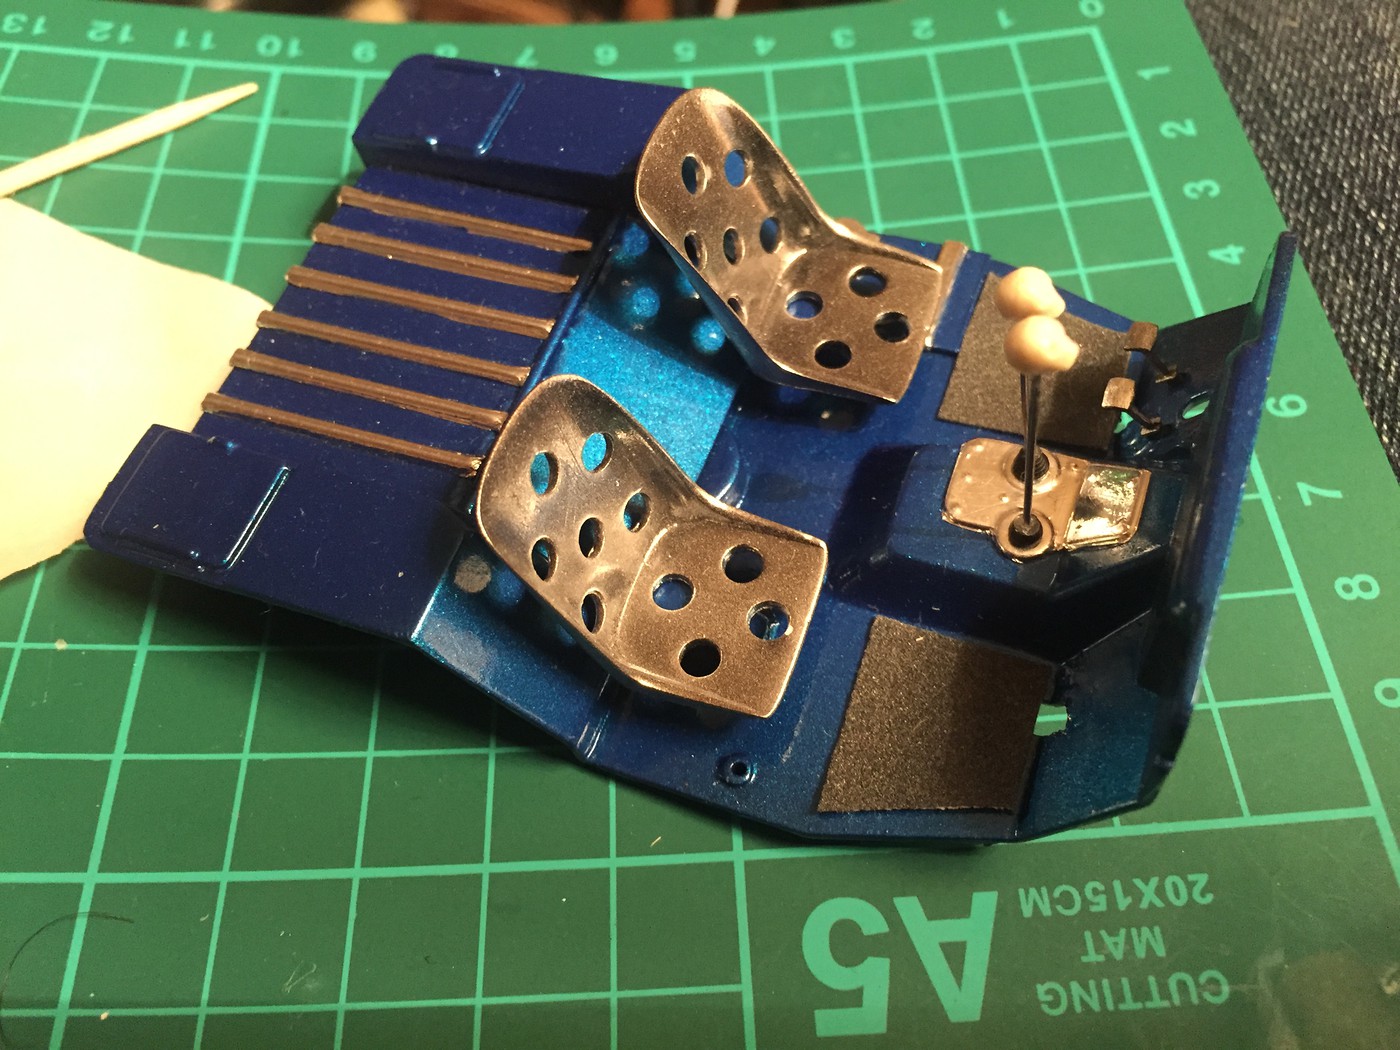 More soon! |
|
|
|
Post by 41chevy on Aug 6, 2017 11:12:19 GMT -6
The exhaust looks great (along with all the other goodies)
One other trick for exhaust on shiny chrome is a "wash" of Al Clad Sepia. It gives the chrome the goldish look of slight exhaust heat just starting to discolor the plating.
|
|
|
|
Post by kabdriver on Aug 6, 2017 21:06:39 GMT -6
Ohh, great tip Paul! I'd never even HEARD of the sepia Alclad - I'll check it out!
|
|
|
|
Post by kabdriver on Aug 7, 2017 15:49:08 GMT -6
Got some assembly done on the chassis today - got the shocks and brake lines in place for good: 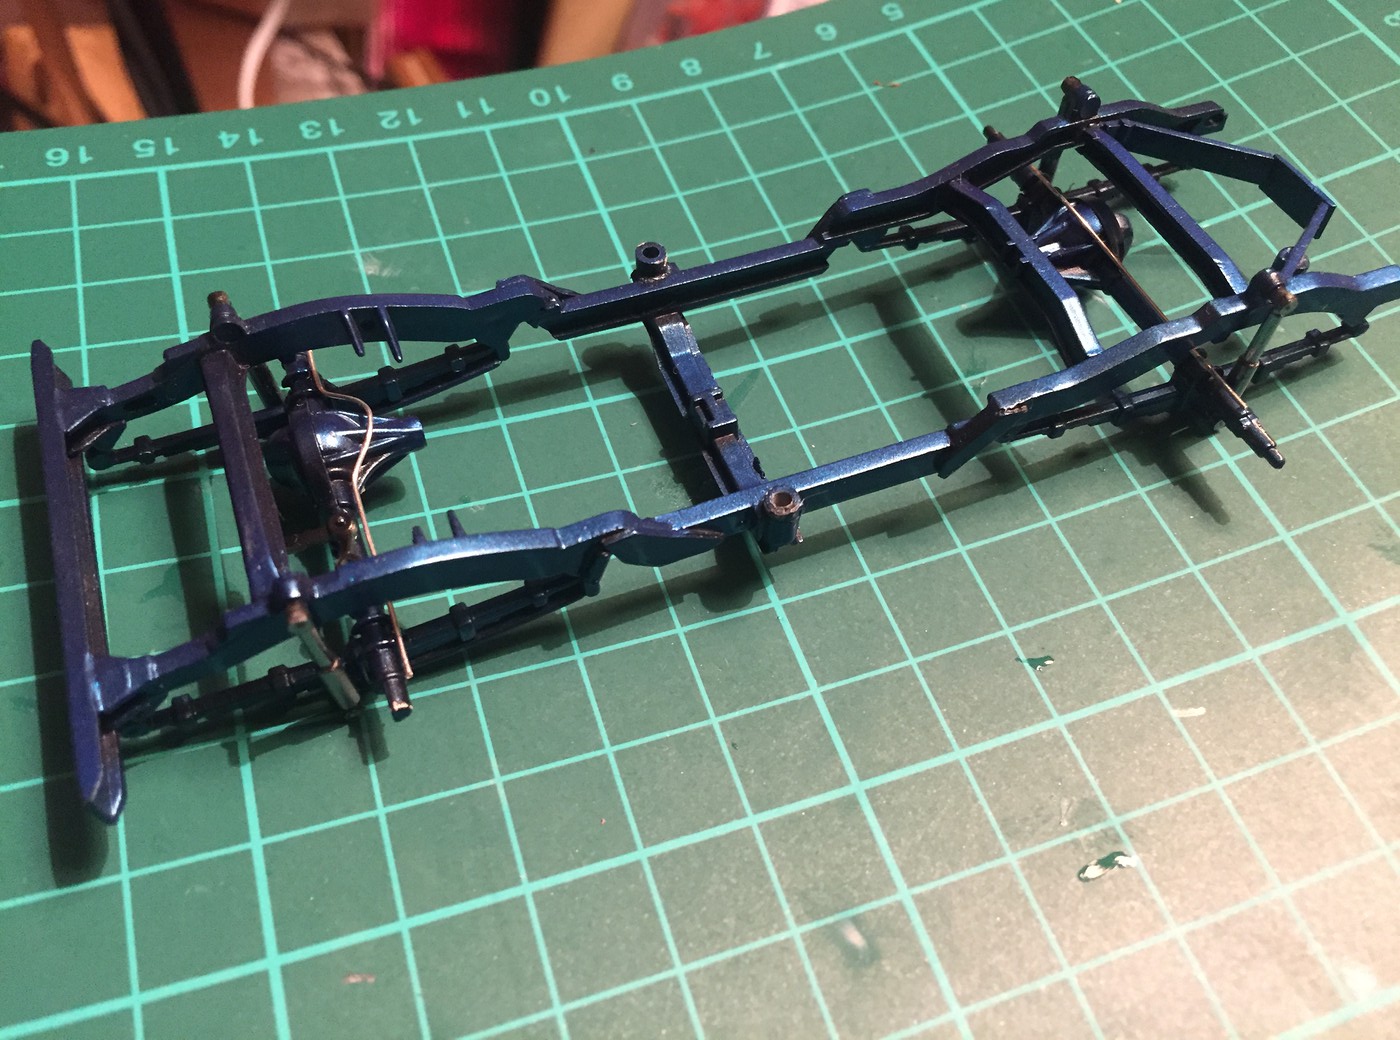 Got the brakes and hubs on - and got it on it's wheels! 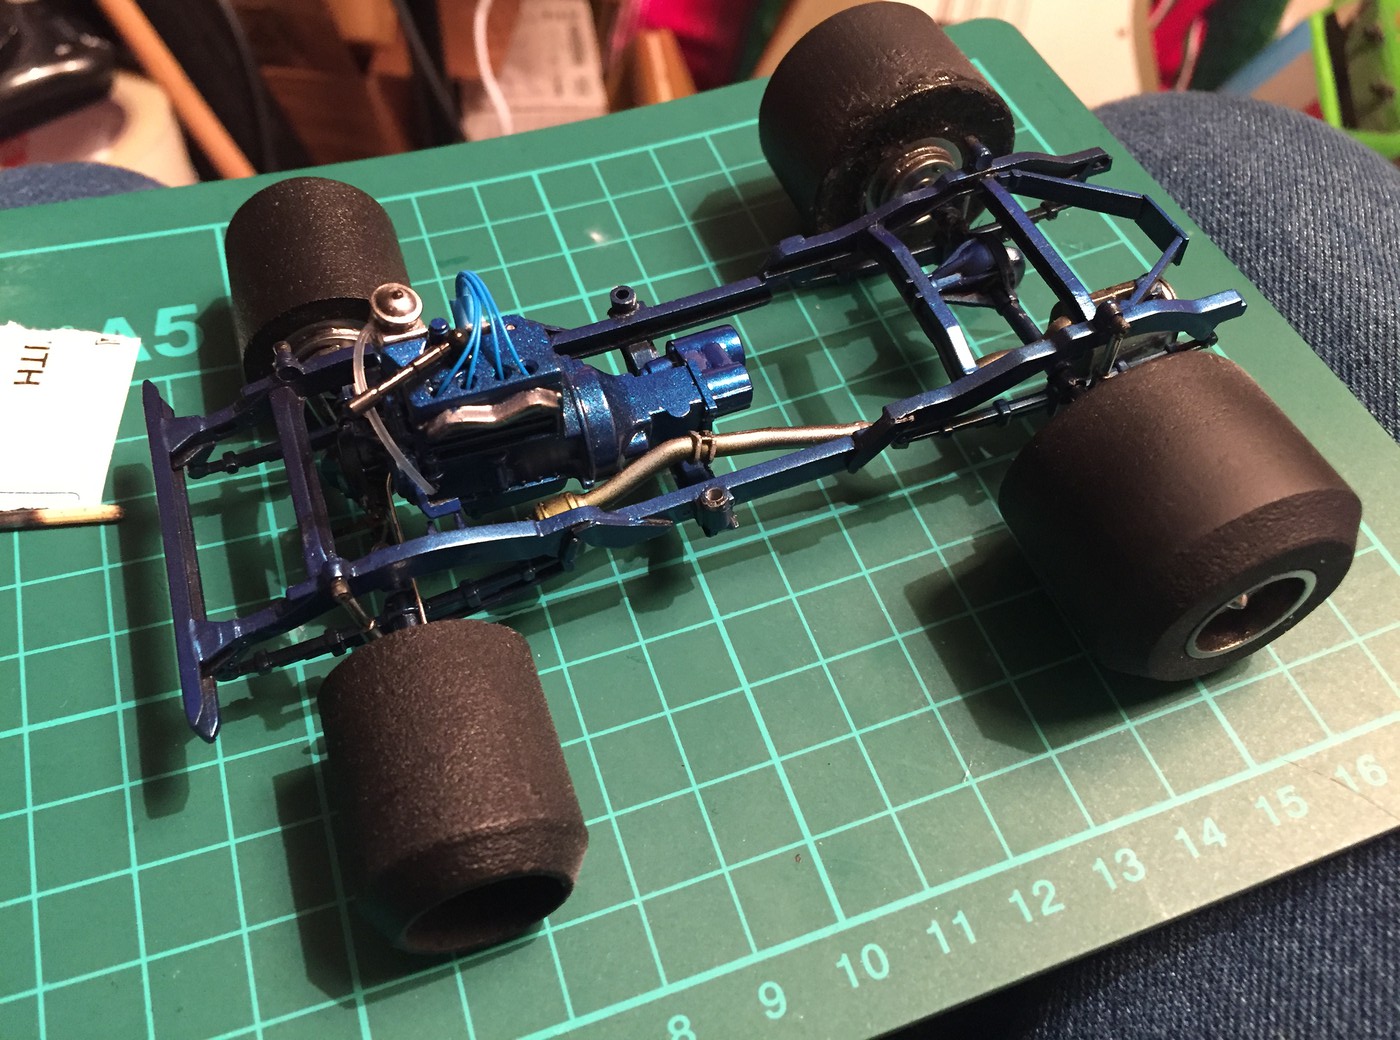 It's starting to look like a thing now! There's still some stuff to do on the chassis (the radiator, mount the brake master cylinder, get the engine assembled for good and mounted in place) but in the meantime I laid down abotu 15 thin coats of Tamiya white primer to cover the olive green plastic: 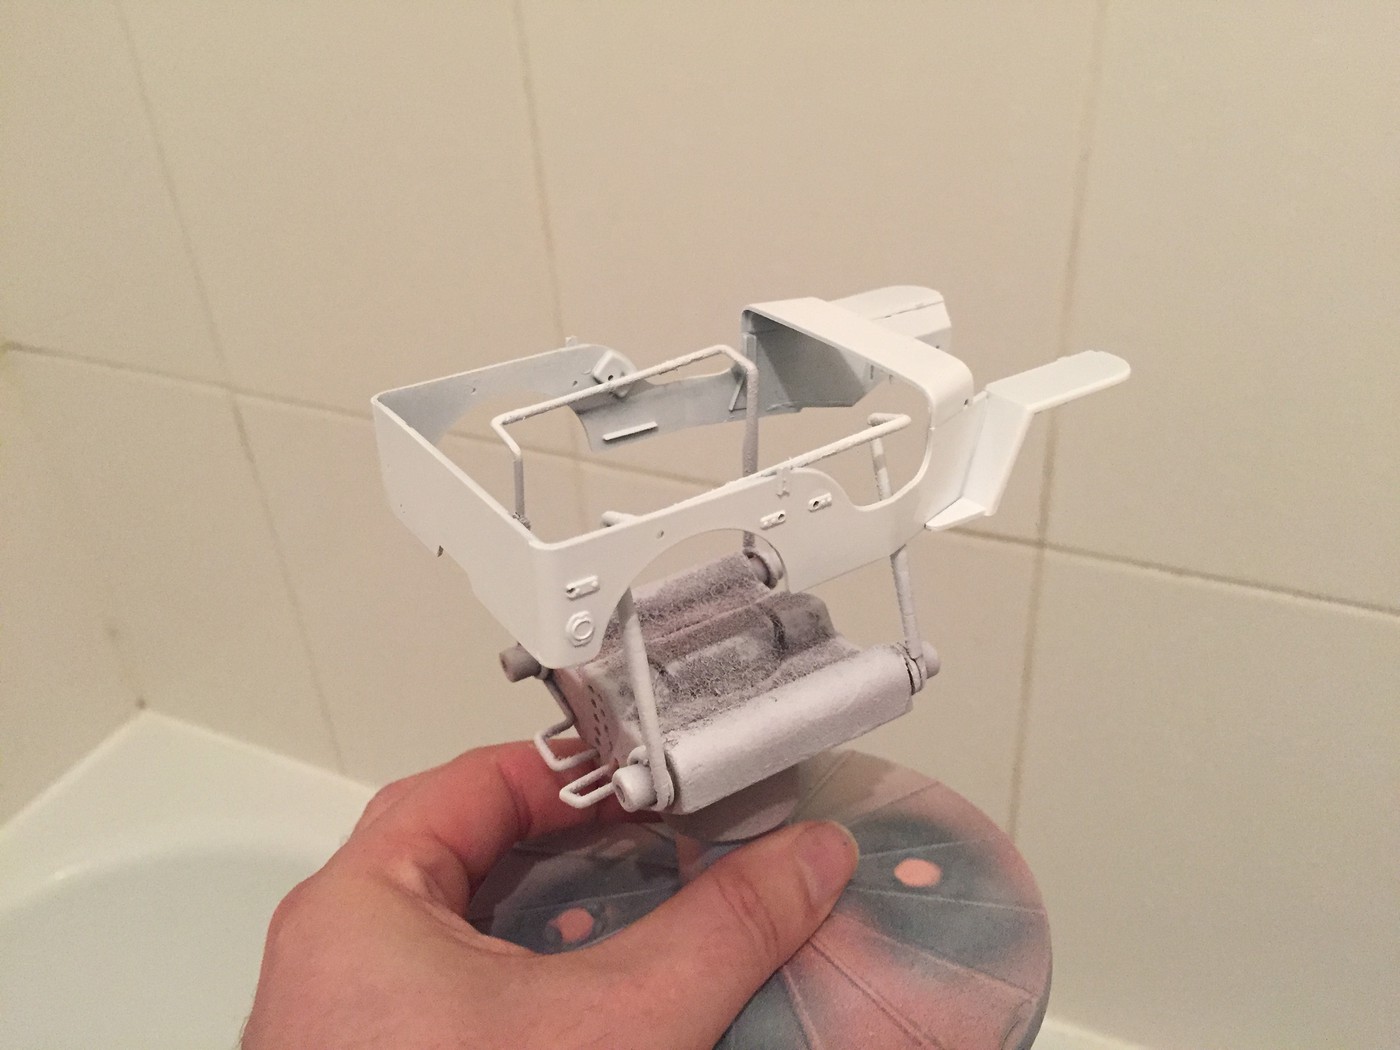 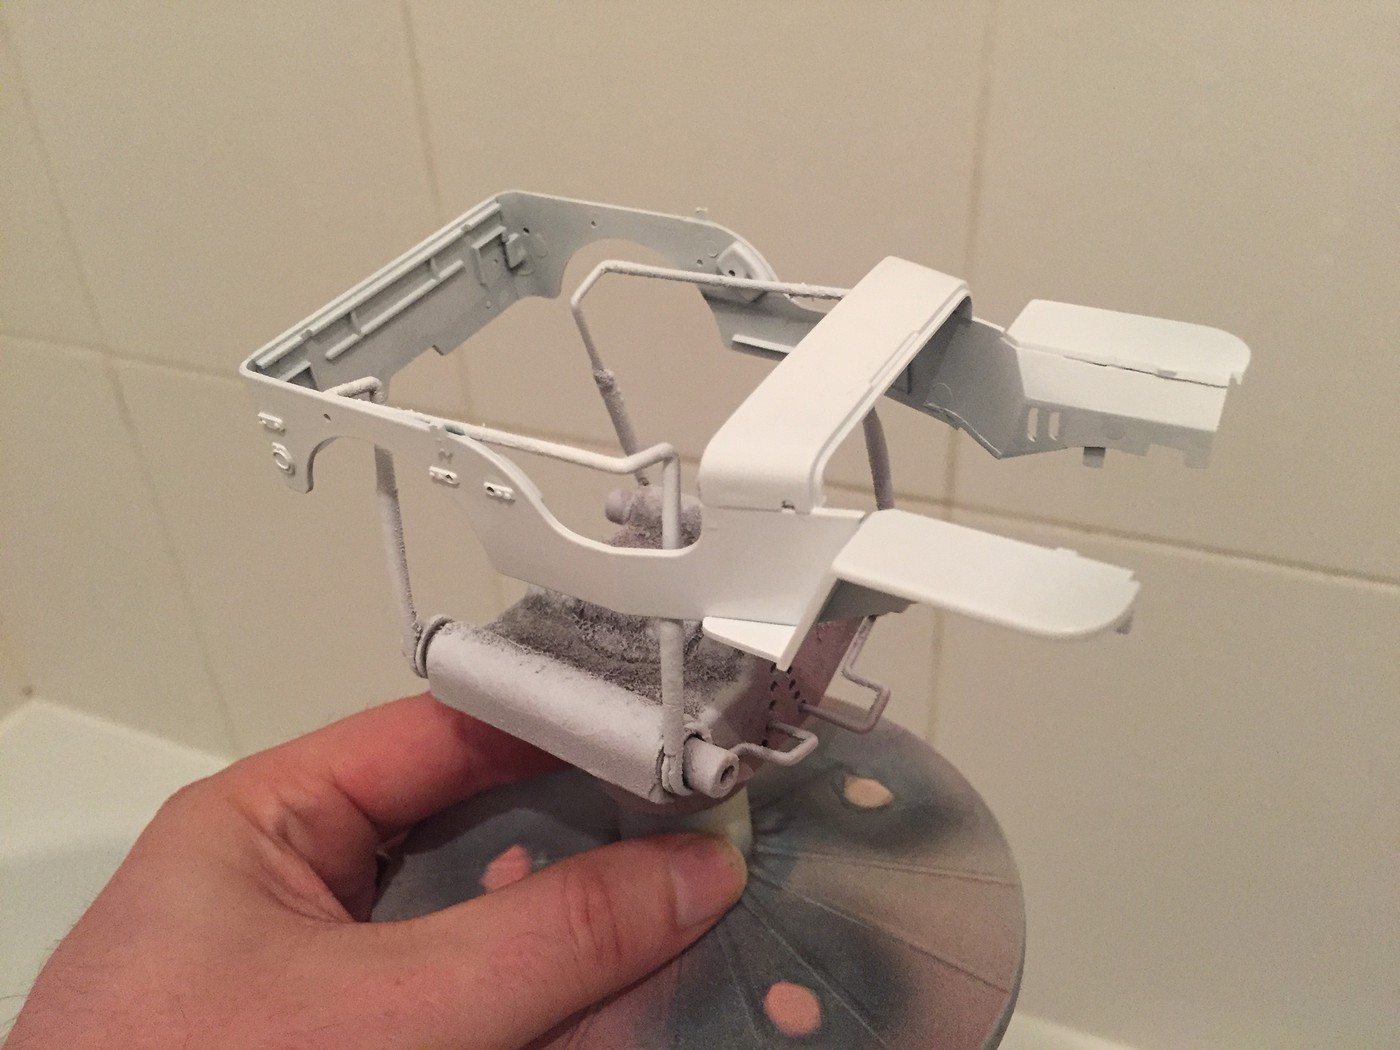 Ready for some basecoat tomorrow, hopefully! |
|
|
|
Post by patw on Aug 8, 2017 1:02:24 GMT -6
This is coming along really fast James, it looks superb! I use the Gedeo Pebeo as well for various parts and their white plaster for race seats and surfboards. Love the bomber seats too!  |
|
|
|
Post by kabdriver on Aug 8, 2017 5:41:50 GMT -6
Ohh, I'd never heard of Gedeo Pebeo until now Pat - interesting! It looks like they do various colored resins.
The surfboards and seats look cool! The bomber seats are from Replicas and Miniatures Co. of Maryland - they're really nicely made!
|
|
|
|
Post by patw on Aug 8, 2017 14:43:46 GMT -6
Well the black seat is a plastic race seat from one of my kits, I used it as the buck so the white seats are all plaster cast. The coloured surfboard is a fridge magnet I bought when we were out in Australia, looking to retire there and used that as the buck for the white ones. Pebeo do colours that you mix with either the plaster or crystal when casting. I don't see the bomber seats on the R&M website.
|
|
|
|
Post by kabdriver on Aug 8, 2017 15:07:37 GMT -6
Well the black seat is a plastic race seat from one of my kits, I used it as the buck so the white seats are all plaster cast. The coloured surfboard is a fridge magnet I bought when we were out in Australia, looking to retire there and used that as the buck for the white ones. Pebeo do colours that you mix with either the plaster or crystal when casting. I don't see the bomber seats on the R&M website. Interesting! And what did you do to make the mold? I'll have to check out their product line - thanks for the tip pat! I'll see if I still have the packaging or the part number for the bomber seats - but Ken Hamilton makes some GORGEOUS ones that I want to try, as does The Parts Box in Oz |
|
|
|
Post by rocketeer on Aug 9, 2017 12:25:29 GMT -6
...Ready for some basecoat tomorrow, hopefully! That paint stand looks like trouble to me; I've had similar setups result in the just-painted body falling off and landing (upside-down, of course) in the paint dust on the floor of my booth. If I were you, I'd at least secure it with a bit of tape. What I usually use is a stout hemostat, clamped onto some protrusion on the underside of the body. Also makes it super easy to hang the body upside-down while it's drying, to avoid having dust fall into the paint. Oh, and: Good-looking project!  |
|
|
|
Post by kabdriver on Aug 9, 2017 16:26:56 GMT -6
Ohhh, I like the 'hanging upside down' trick - thanks bud! And yeah, I don't want it falling in a load of dust and dirt - good shout! Meanwhile, not a great pic because it's kinda gloomy in here but I got some gorgeous white pearl laid down - ready for clear if the weather holds tomorrow!  |
|
|
|
Post by kabdriver on Aug 13, 2017 18:31:52 GMT -6
I had a busy week, but gave the pearl body some more coats of pearl white yesterday and a light coat of clear today to level it out nicely:  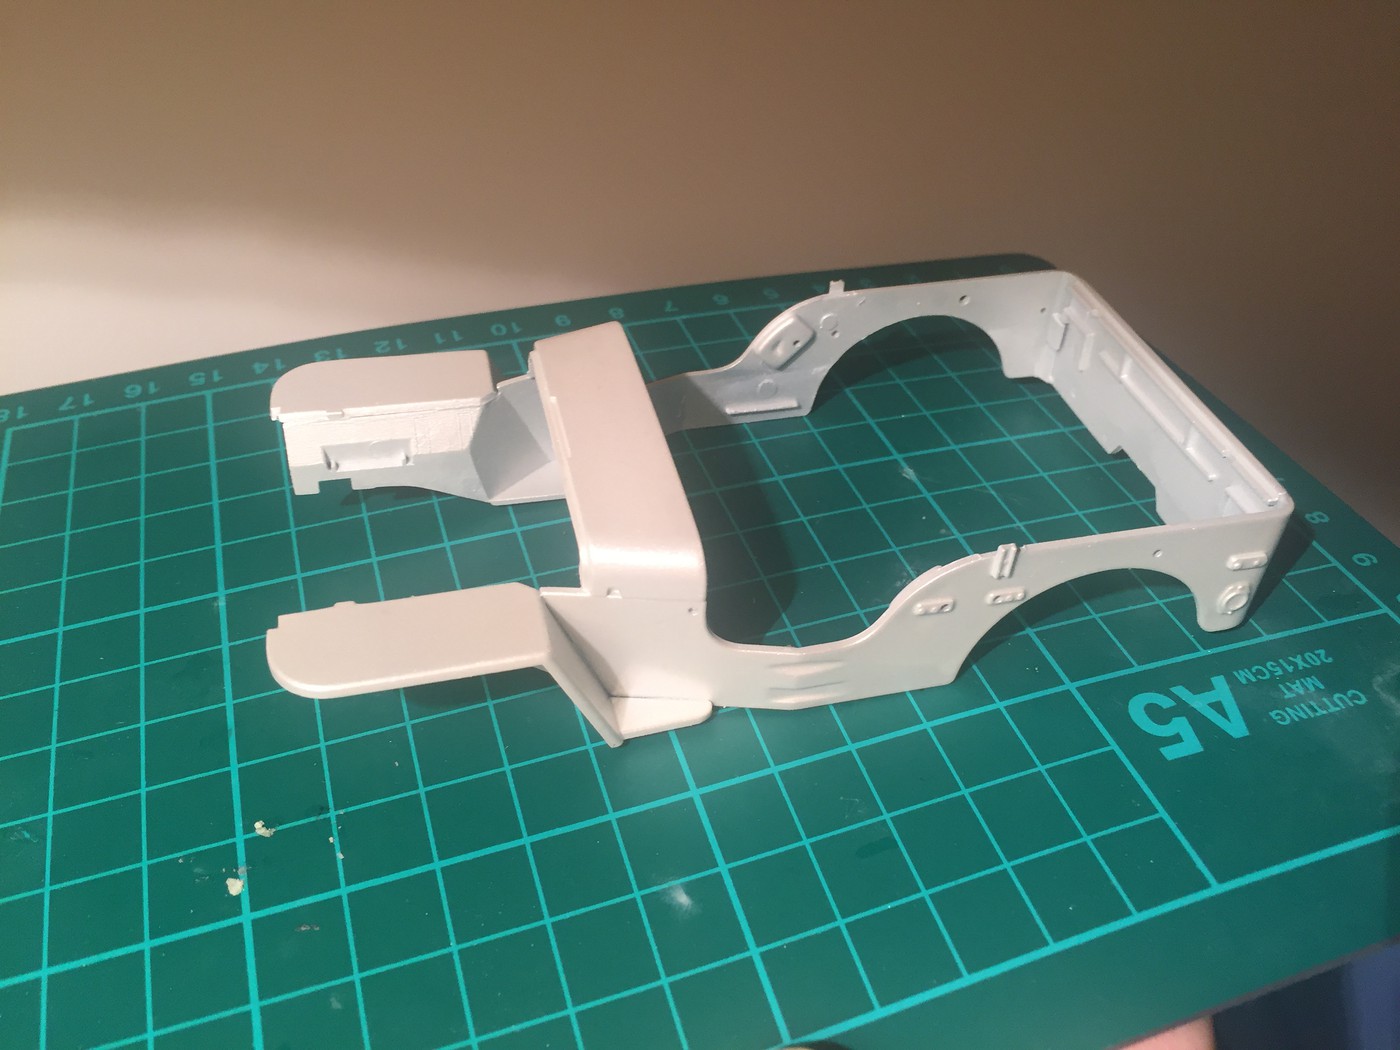 Now these I'm REALLY excited about! It took some time and effort to come together...but I found a photo of these decals on the Corner somewhere before Photobucketpocalypse and saved them cos I thought they were SO cool - I think they were from the ORIGINAL Name Game maybe? I'd be interested to know if anyone recognises them! When I was starting this build I thought of them again, and redrew them as best I could in Photoshop. My buddy who runs the local hobbyshop hooked me up with a contact who could print a couple for me on a decal machine...and a couple of weeks later I have my own custom decals! I only have 2 of the logo though, so I had to be careful applying them (especially as I'm not super experienced with decals). 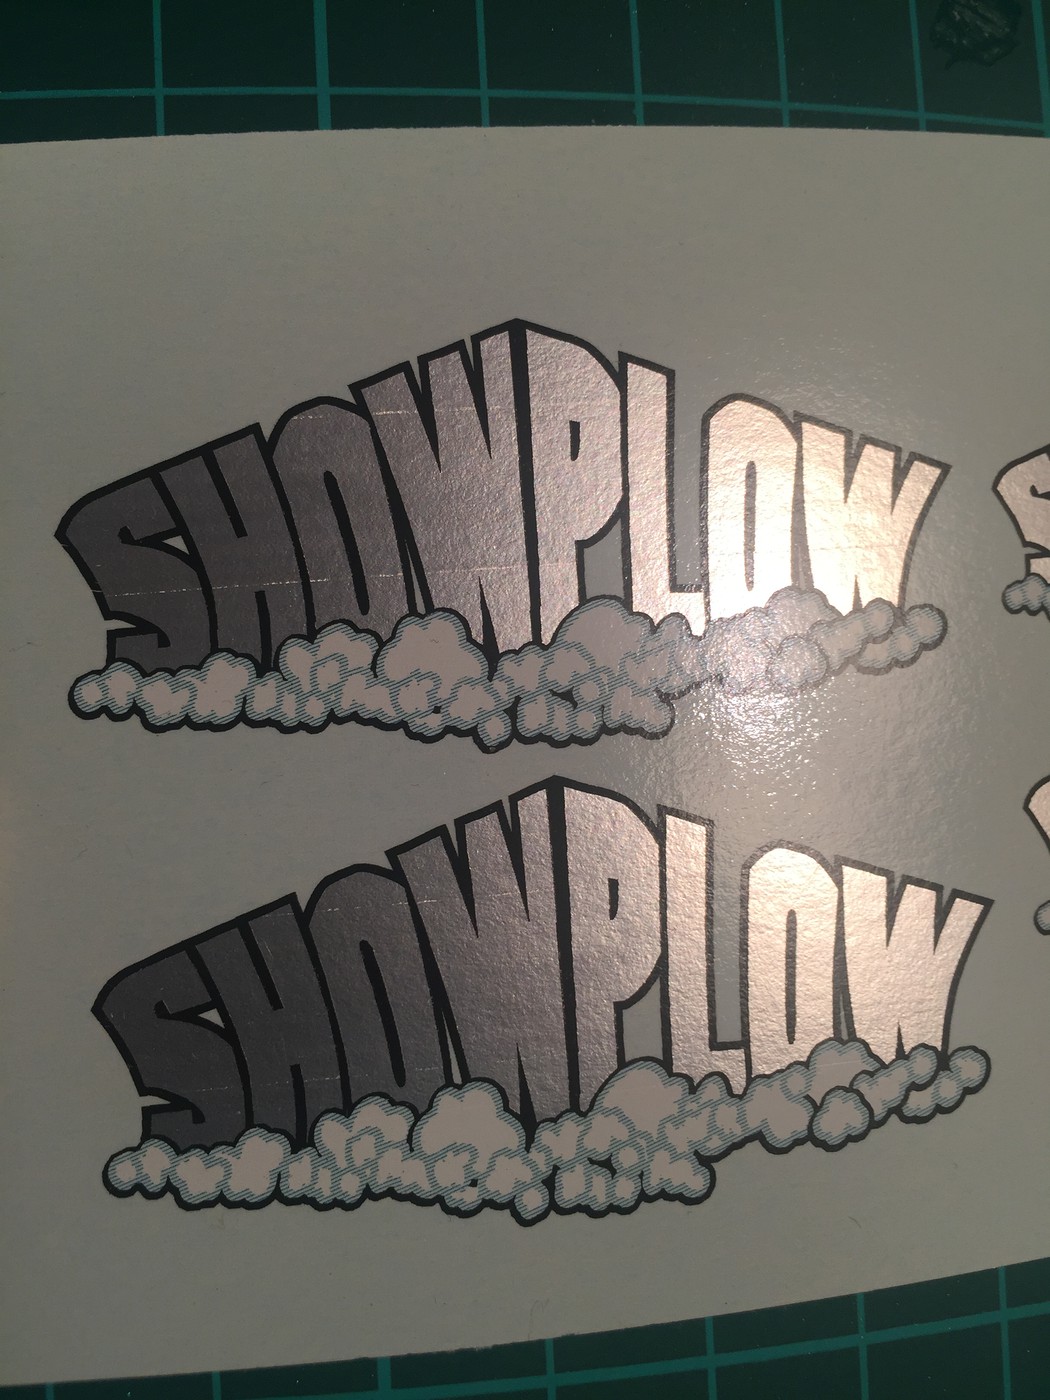 Here goes nothing! 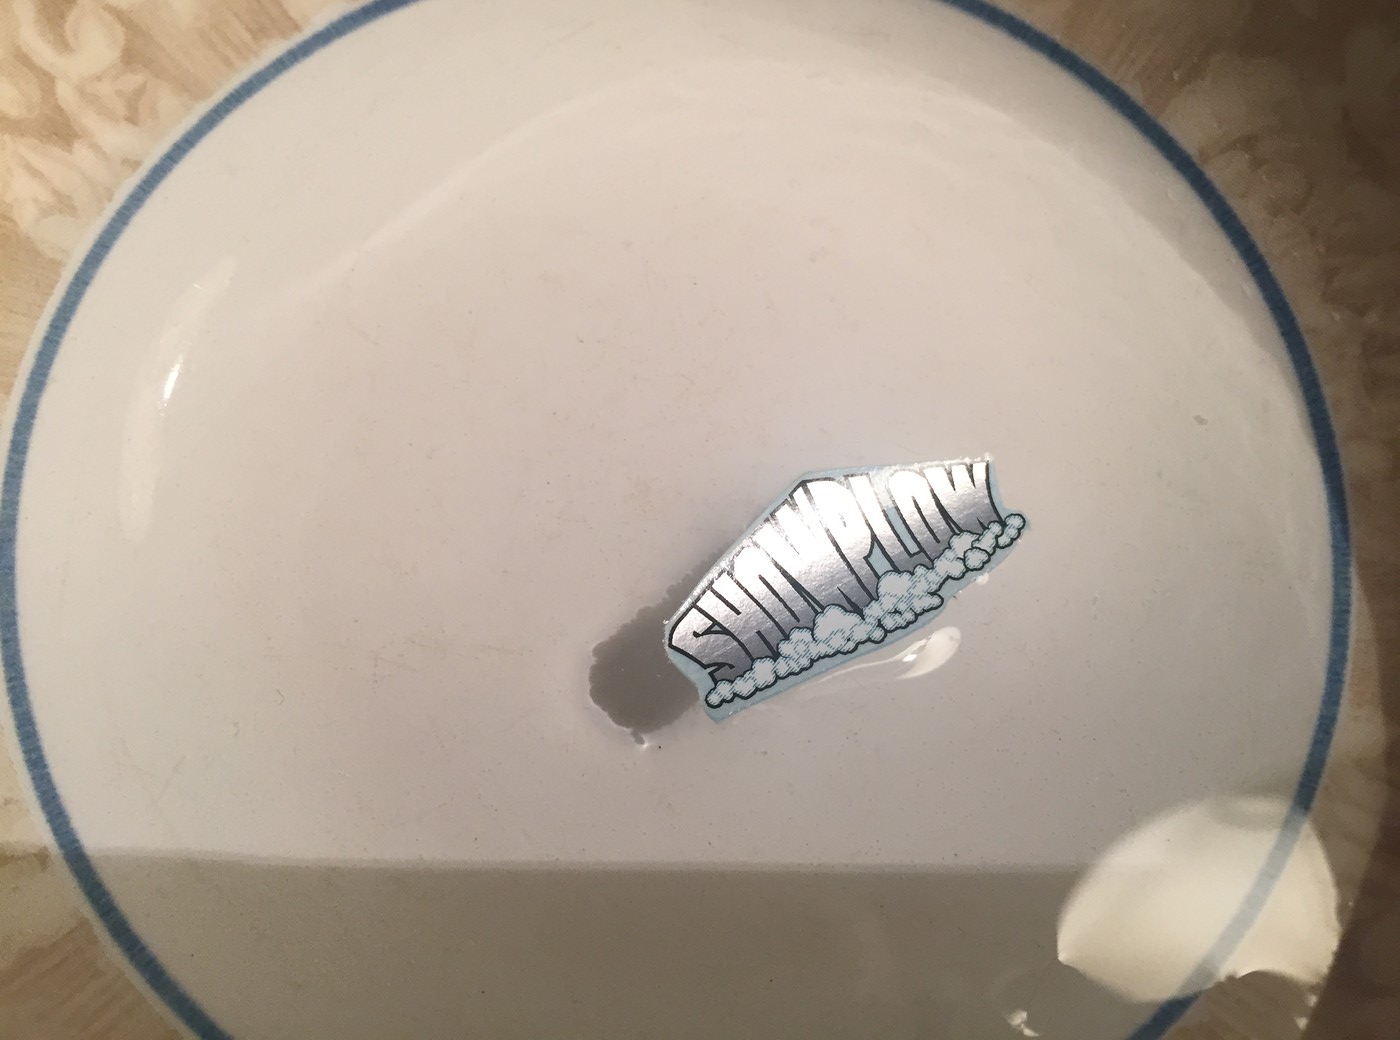 Success! 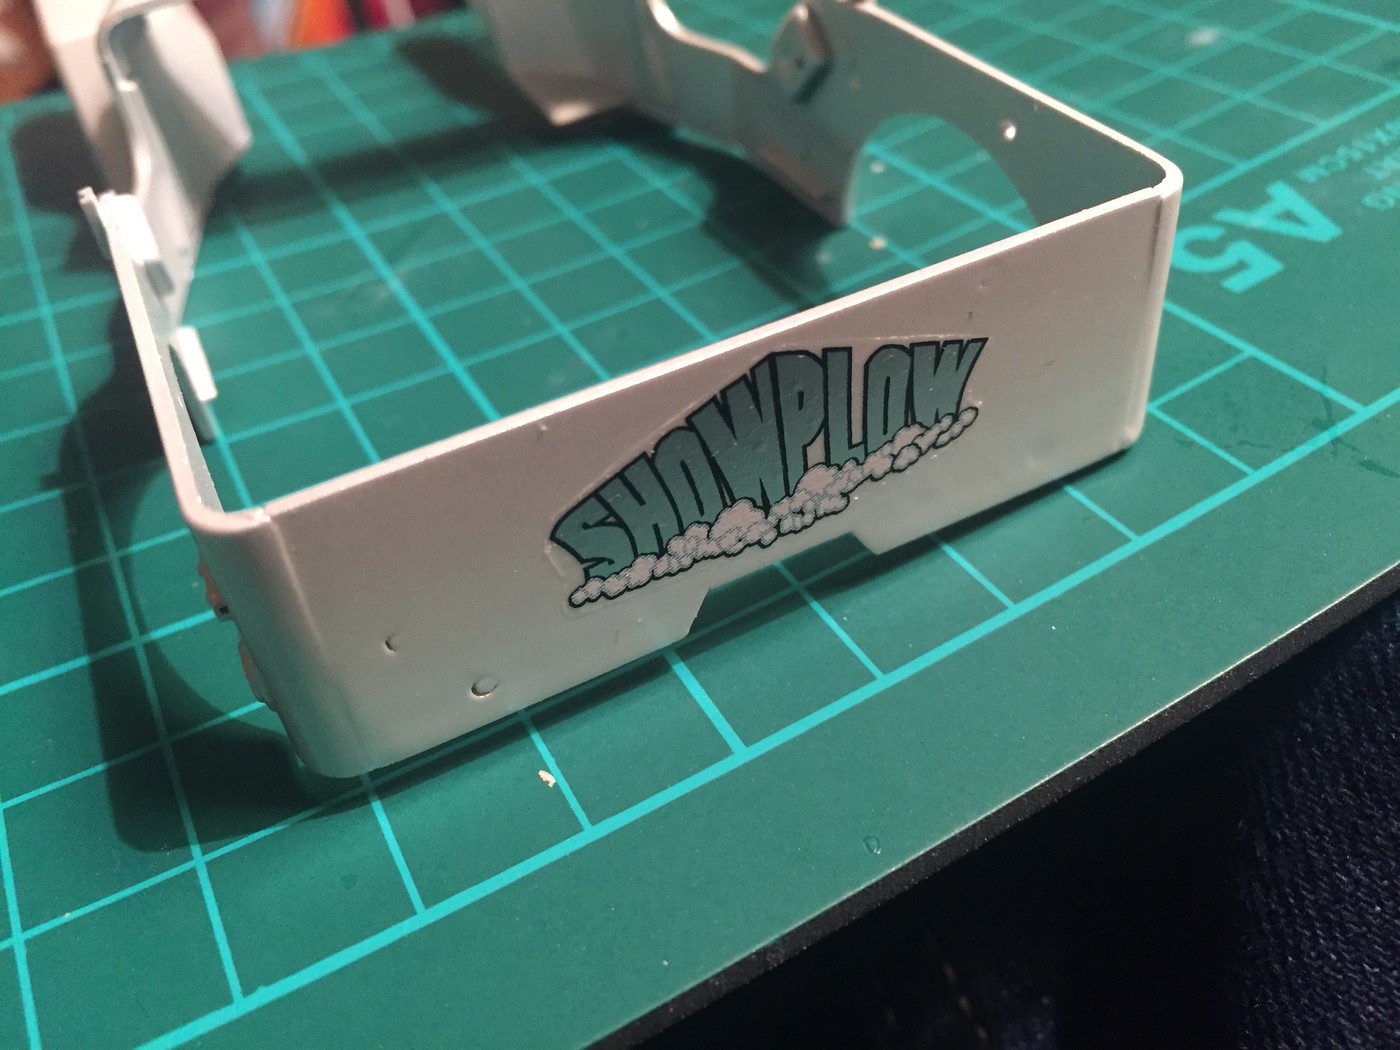 Don't mind those holes in the trunklid - lights will cover them when this is done. I tore this one, but managed to line it up ok I think... 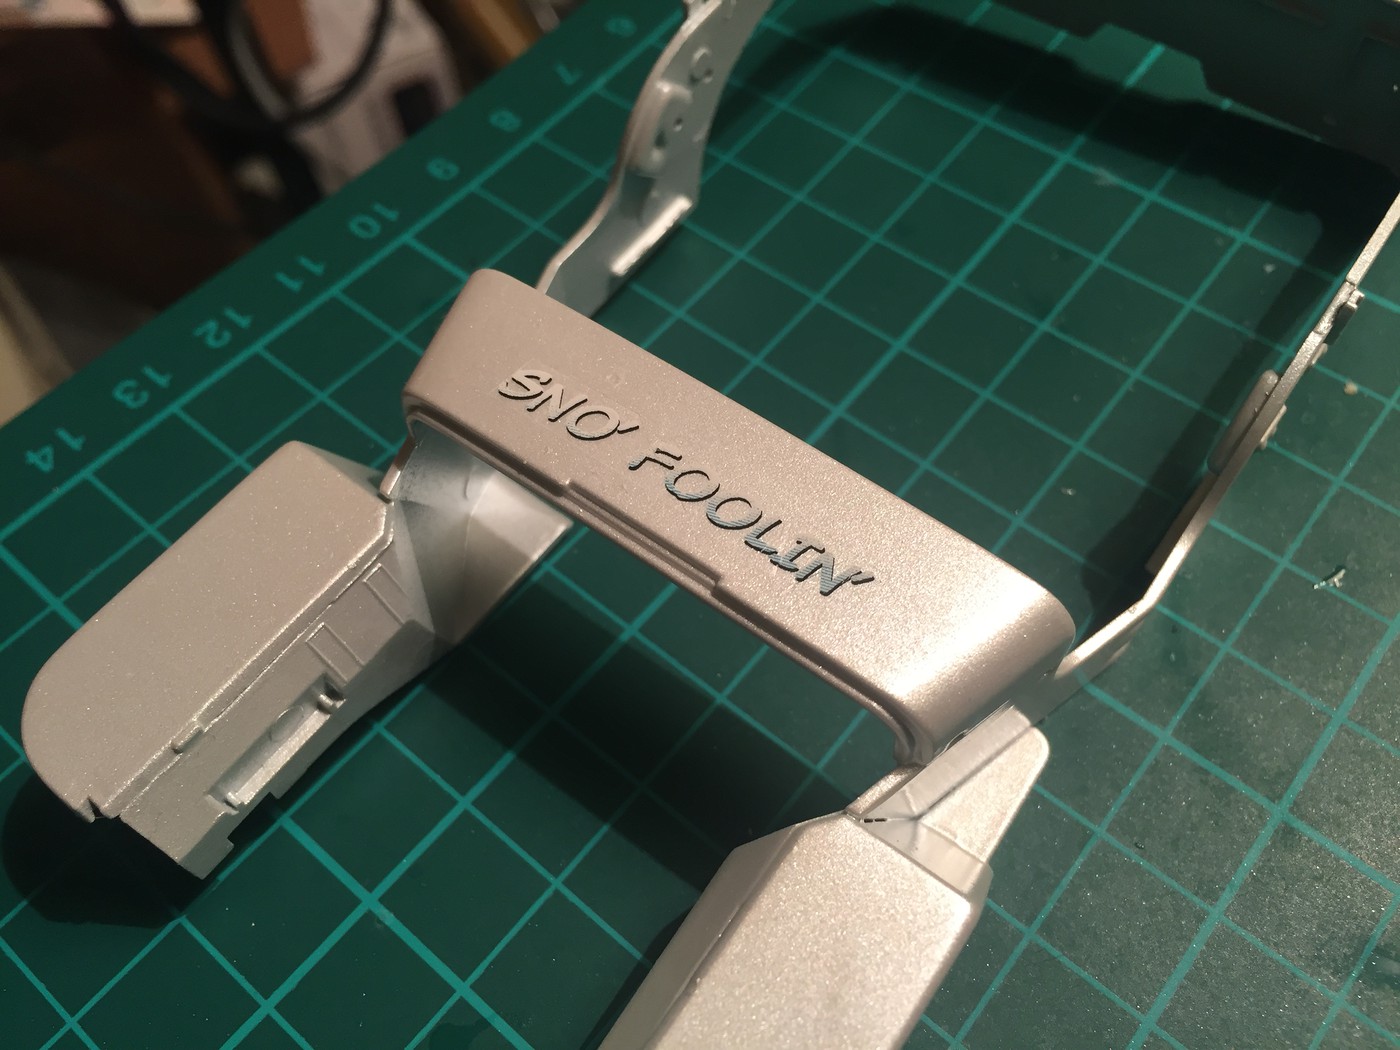 With some luck I'll have some time tomorrow to gently mist some clear on them, let it set up 24 hours or so and then lay down some gloss coats. More soon! |
|
|
|
Post by patw on Aug 14, 2017 0:44:18 GMT -6
Well the black seat is a plastic race seat from one of my kits, I used it as the buck so the white seats are all plaster cast. The coloured surfboard is a fridge magnet I bought when we were out in Australia, looking to retire there and used that as the buck for the white ones. Pebeo do colours that you mix with either the plaster or crystal when casting. I don't see the bomber seats on the R&M website. Interesting! And what did you do to make the mold? I'll have to check out their product line -thanks for the tip pat! I'll see if I still have the packaging or the part number for the bomber seats - but Ken Hamilton makes some GORGEOUS ones that I want to try, as does The Parts Box in Oz Here's the Gedeo Pebeo moulding medium. You get two plastic screw top packs, one white (setting) and one blue, which you can hand mix and press in the buck your using allowing two holes in the mould. When it hardens (5 Mins) you peel the mouls away from the buck. I put the two halves back together held that way by one or two elastic bands depending on the size of the mould. Pour in the plaster or resin, (the plaster taking a further 5 mins or so to set) and wait until the plaster appears out of the other hole to ensure there is no air in the mould. Time and peal away the rubber mould and the set part appears. The moulds can be used numerous times as my picture shows..... the mould looks like....  |
|
|
|
Post by kabdriver on Aug 14, 2017 5:50:40 GMT -6
Interesting! Thanks Pat! I'd never even heard of it before!
|
|
|
|
Post by 41chevy on Aug 14, 2017 22:47:27 GMT -6
|
|
|
|
Post by kabdriver on Aug 15, 2017 12:39:02 GMT -6
Ohh, that's cool, Paul! Looks MUCH better than the Tamiya clear that I used! Thanks for sharing!
|
|
|
|
Post by kabdriver on Aug 16, 2017 10:37:28 GMT -6
Got a load of little bits done on the Show Plow this week...nothing major but I think I collected enough up to make a post worthwhile... First up, mounted the master cylinder to the frame 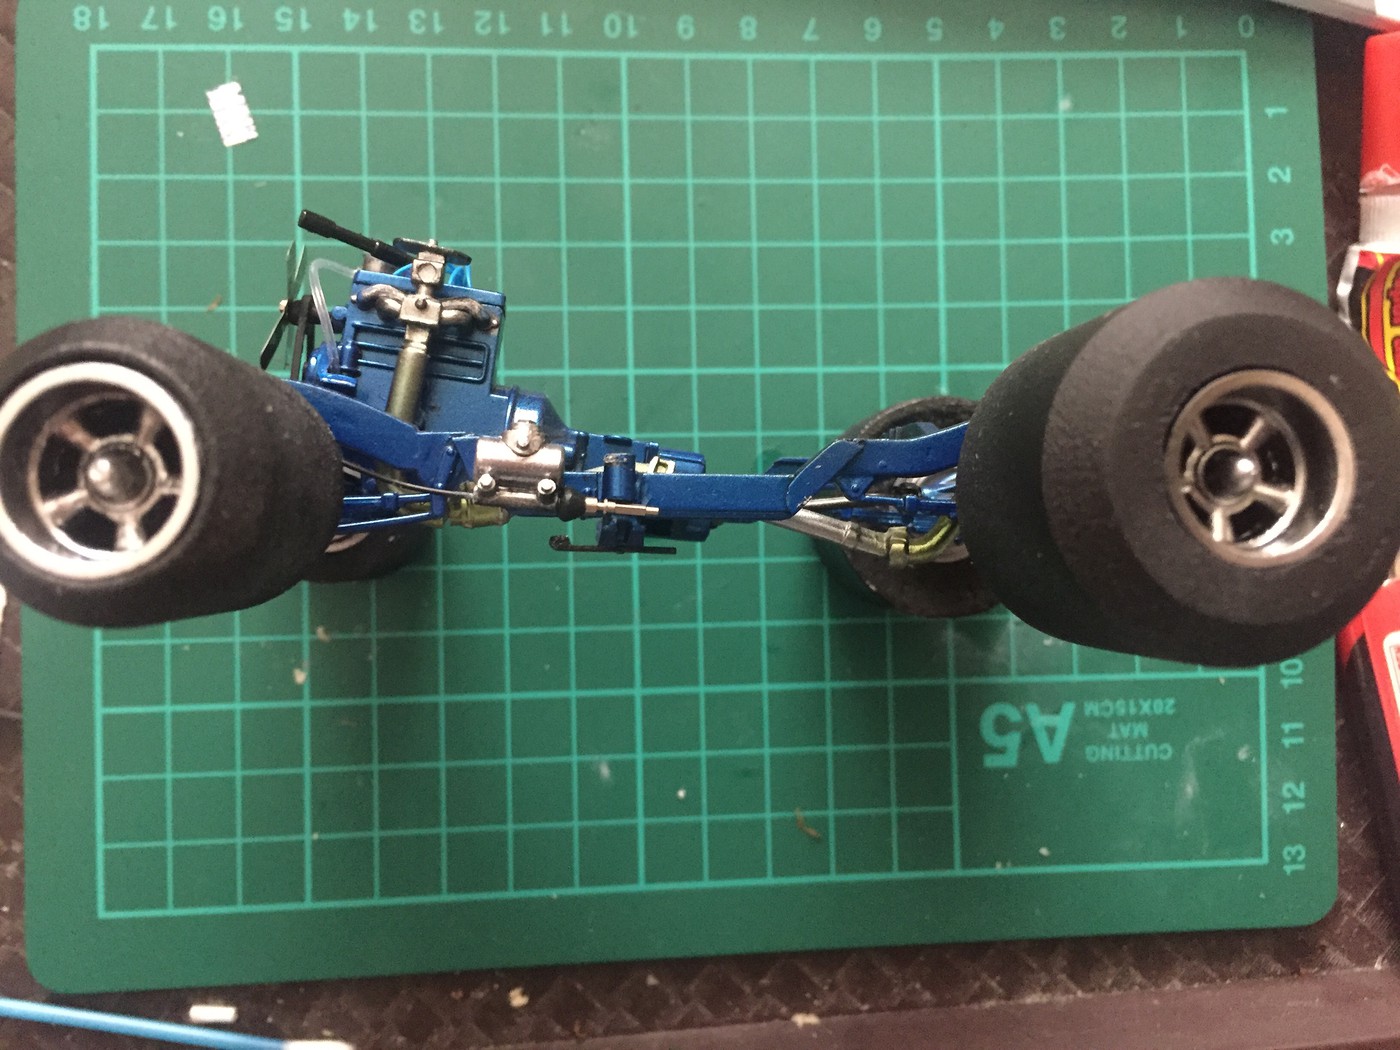 Painted and foiled the gas can and axe to go in the bed: 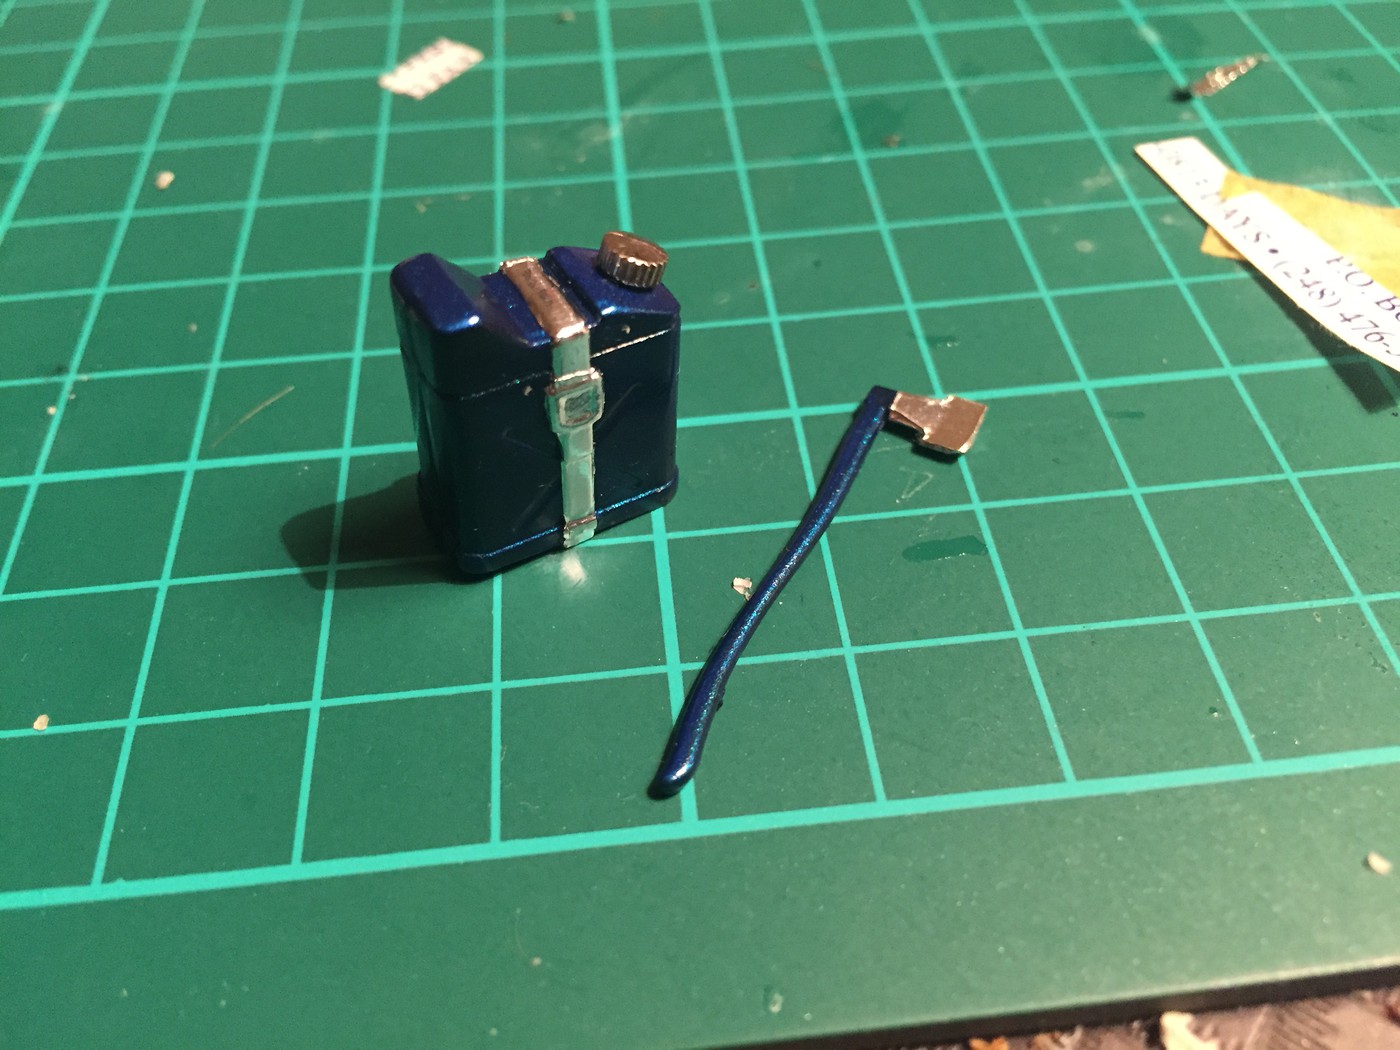 Painted and added mesh to the show shoes - I'm just painting the grips here with some Tamiya rubber black acrylic 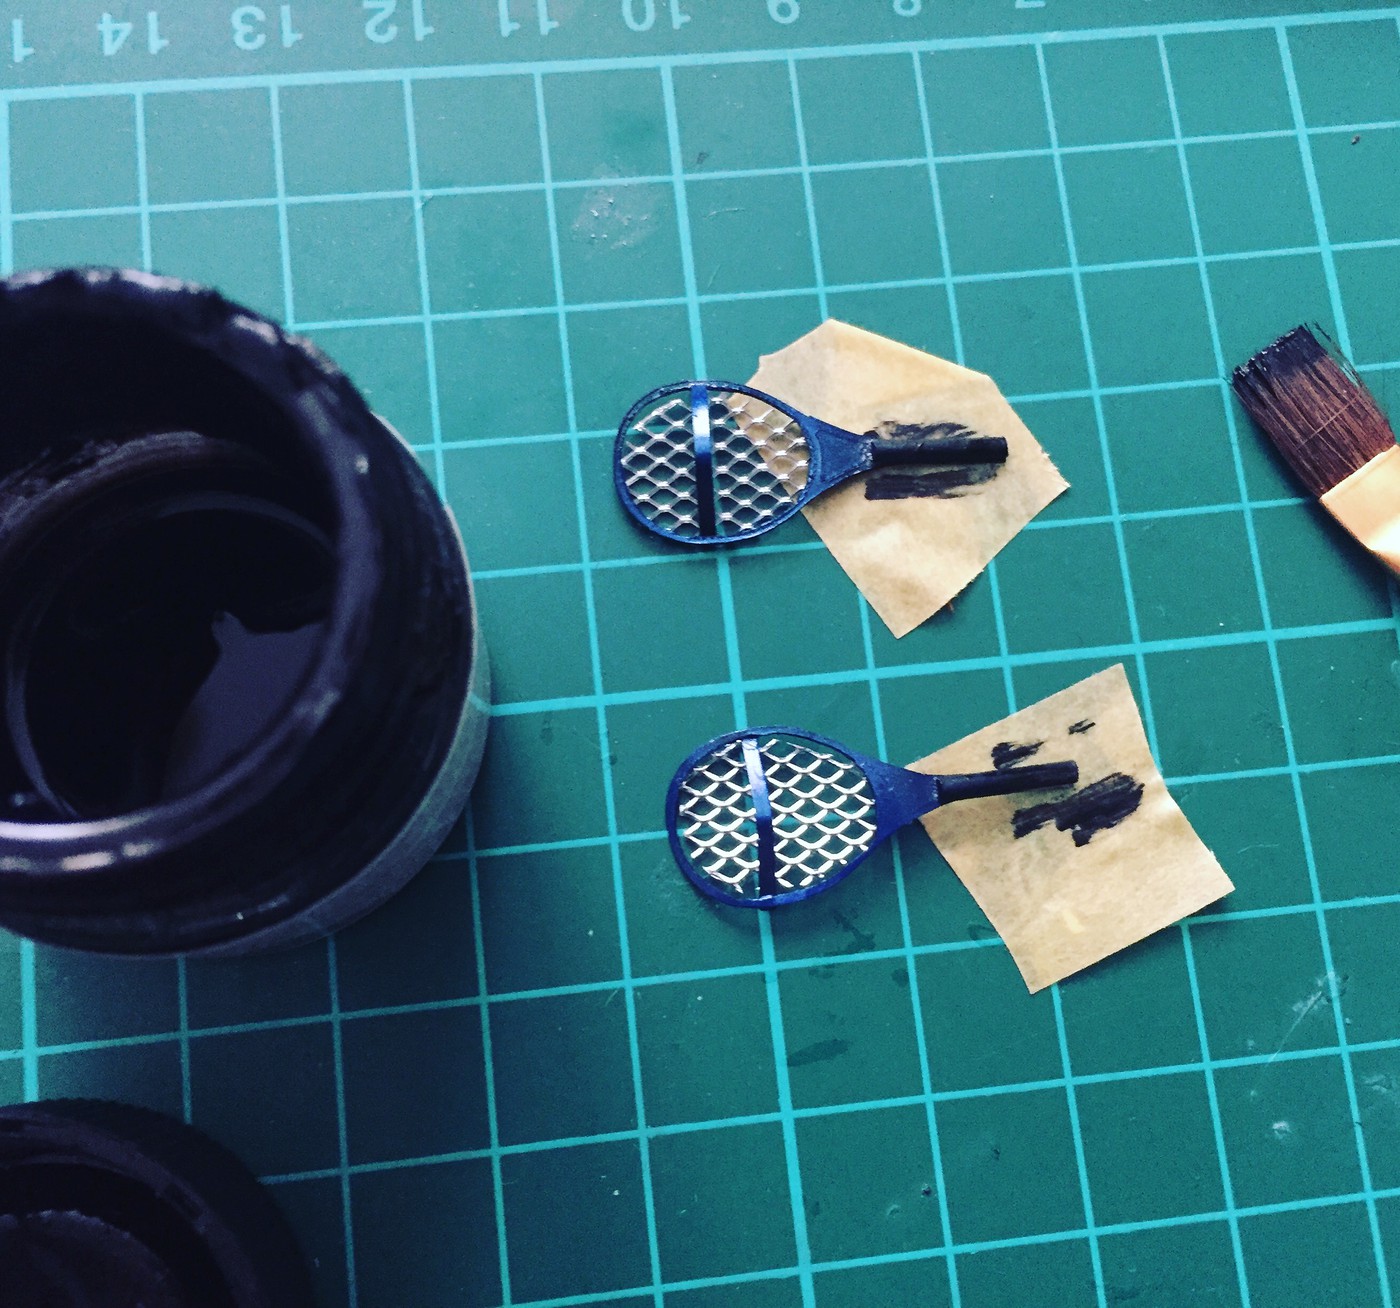 Got the steering arms mounted  Painted and cleared the dash 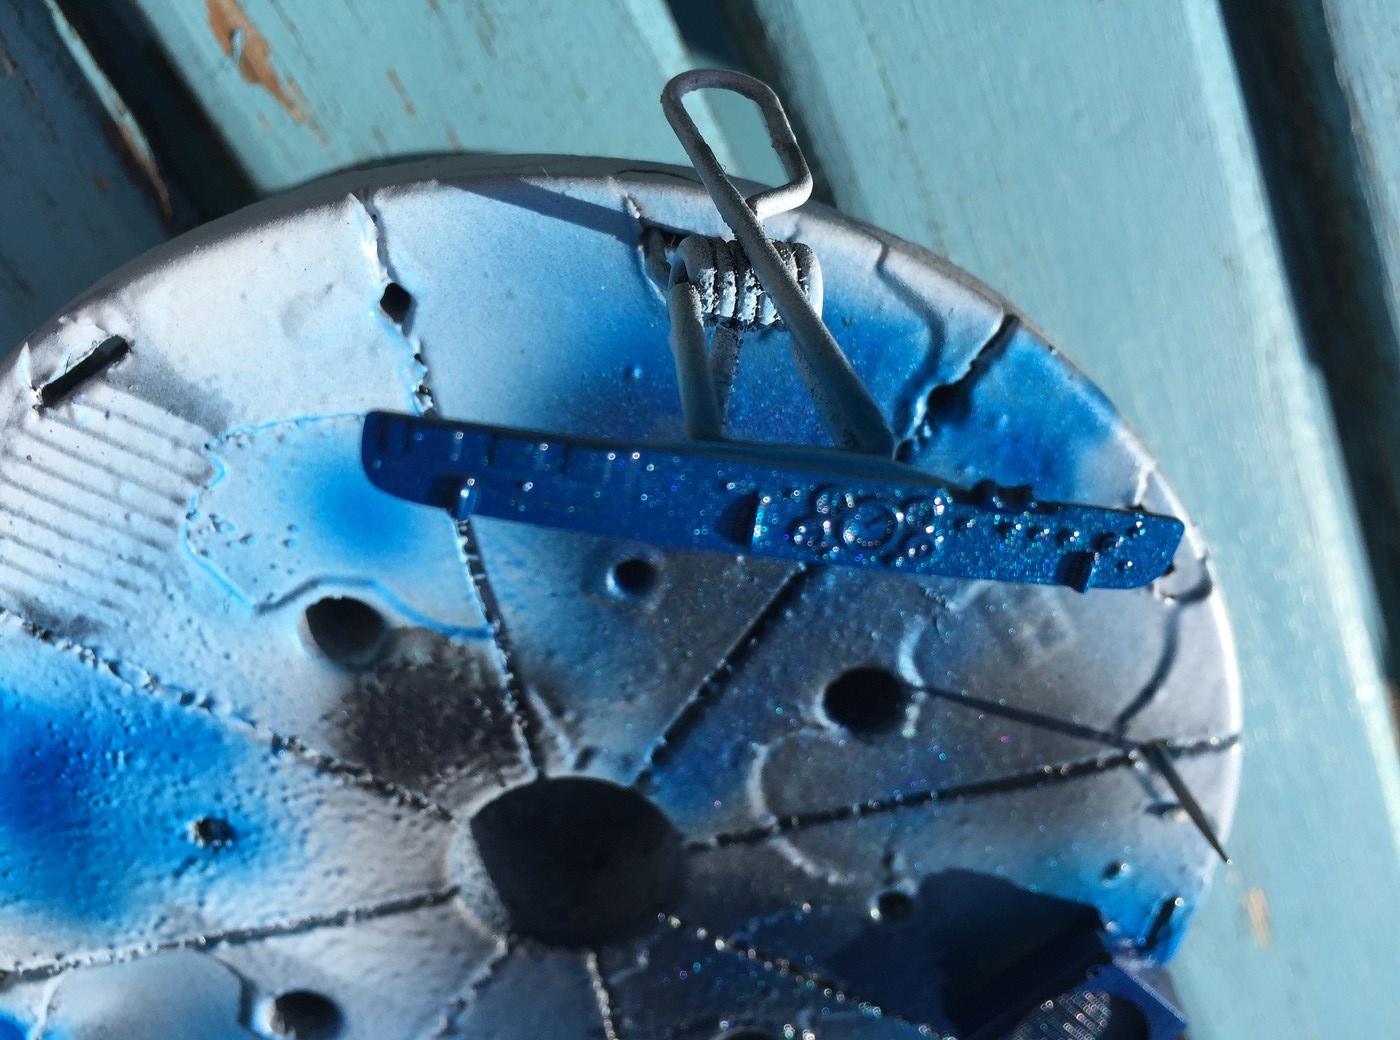 And painted, foiled and wired the battery. The connectors are held on with some tiny steel bolts  More progress as I make it - it's quite a nice day here today, so I might take the opportunity to spray the final wet coats on the body so I can get that polished. |
|
|
|
Post by patw on Aug 17, 2017 0:41:59 GMT -6
Super detailing, well done, keep up the good work. It's something I can't do as I don't know that much about how the 1:1 cars are put together.
|
|
|
|
Post by "ScratchFever" on Aug 17, 2017 7:00:17 GMT -6
Looks really good kab!!!
|
|
|
|
Post by kabdriver on Aug 17, 2017 7:11:32 GMT -6
Super detailing, well done, keep up the good work. It's something I can't do as I don't know that much about how the 1:1 cars are put together. I've got SOME mechanical knowledge Pat but not too much - I rebuilt a 1:1 a while back and learned some stuff from that - but mostly for this one I've been Google searching "Willys Jeep *whatever the part is*" and kinda going from there. It's fun! I wouldn't want to do it every build but its fun to add some detail here and there! |
|
|
|
Post by kabdriver on Aug 17, 2017 7:12:01 GMT -6
Thanks dude - that really means a lot coming from you! Your builds are SO inspiring!! |
|
|
|
Post by timj on Aug 31, 2017 17:39:02 GMT -6
Great detailing work.
|
|
|
|
Post by kabdriver on Aug 31, 2017 18:26:48 GMT -6
Thank you Tim! That's really kind of you to say!  I forgot to mention in this thread.... it's finished now!  |
|

