Post by kabdriver on Jun 21, 2018 20:55:36 GMT -6
So I visited Colorado last month and got to visit a Hobby Lobby for the first time - picked this up for $16!?!
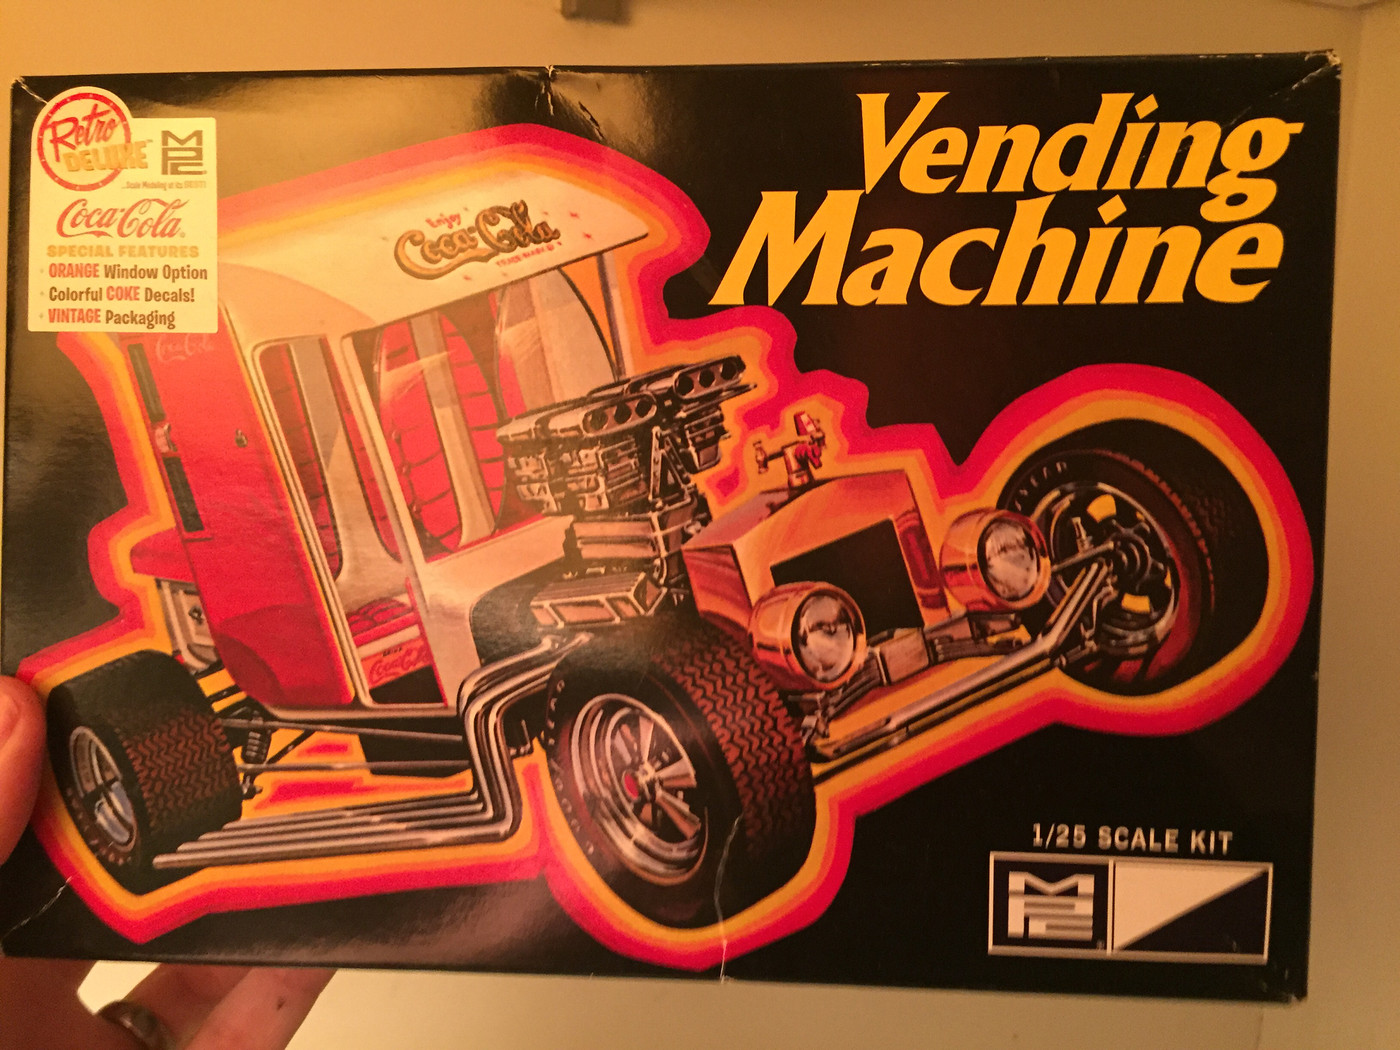
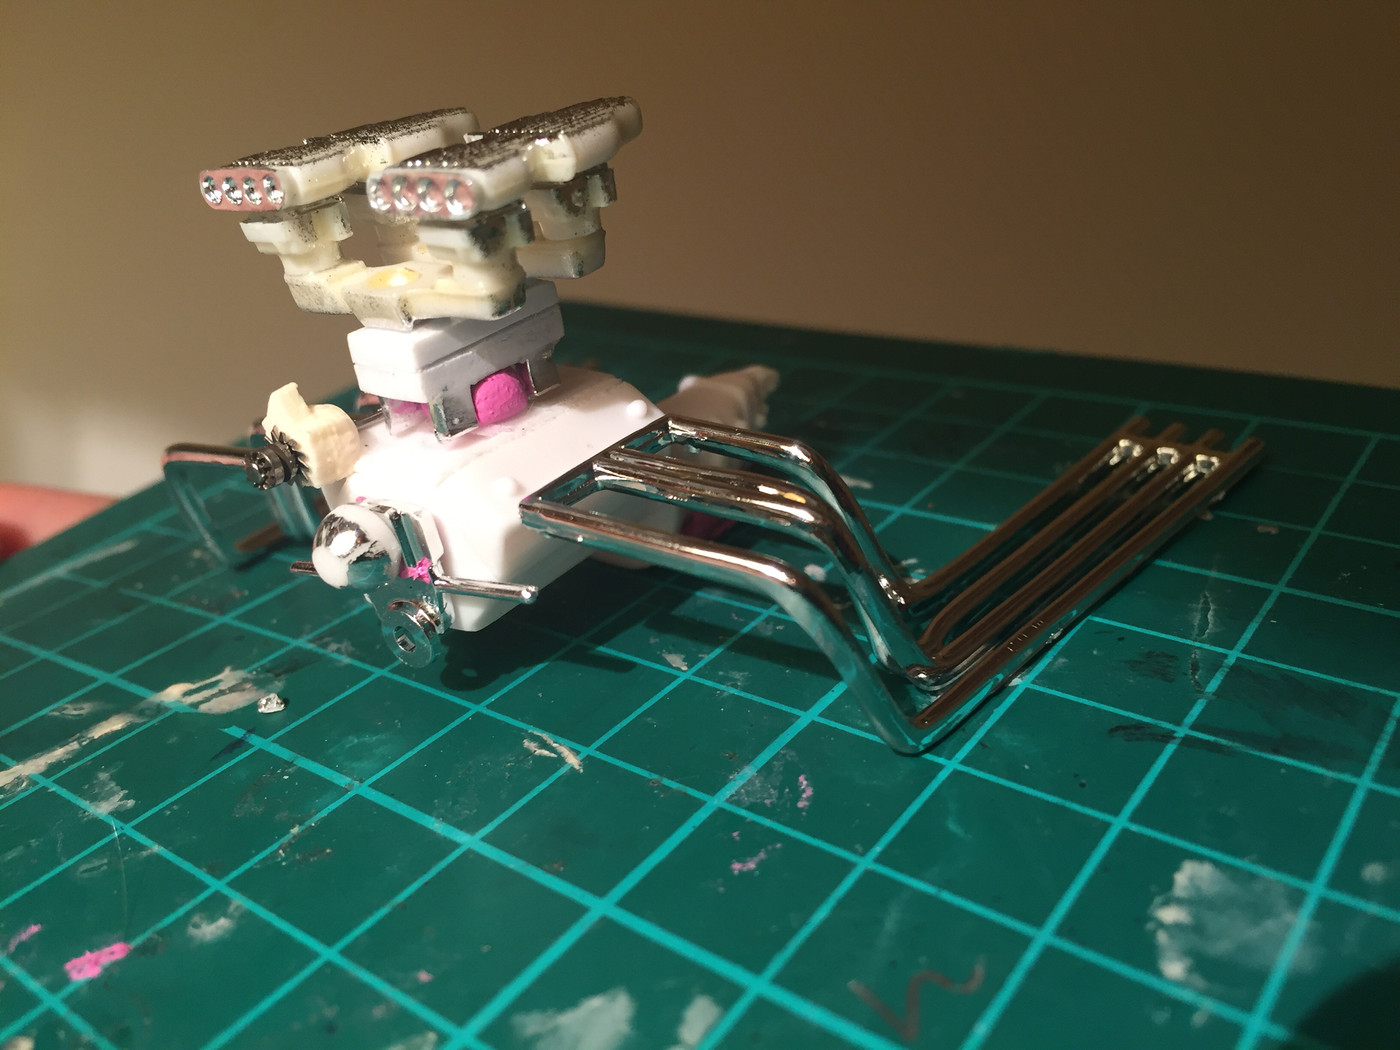
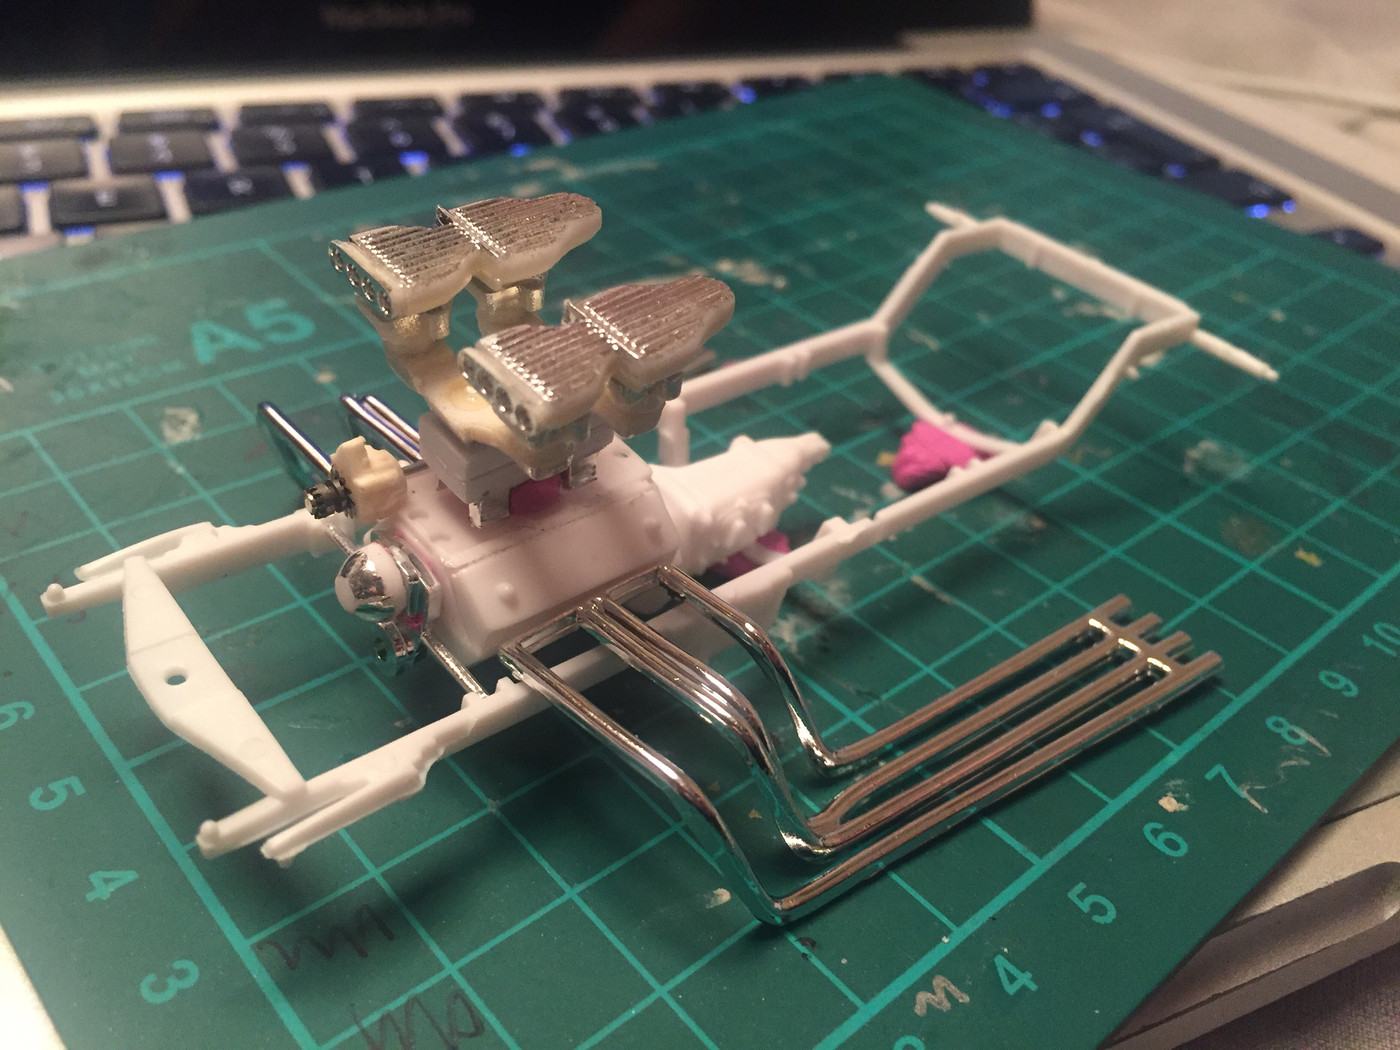

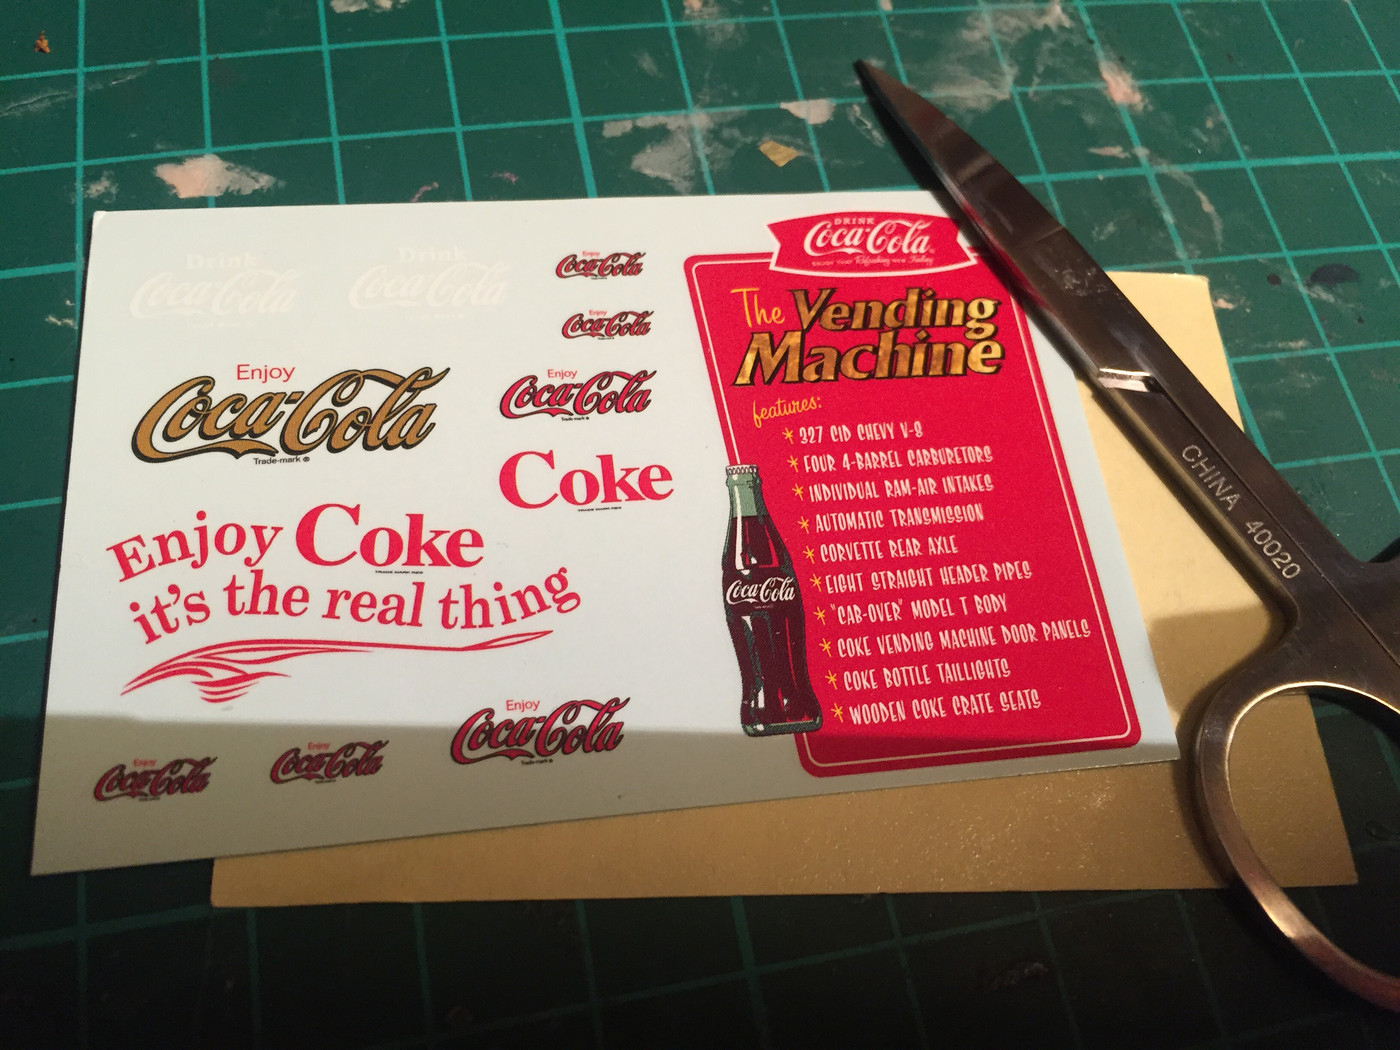
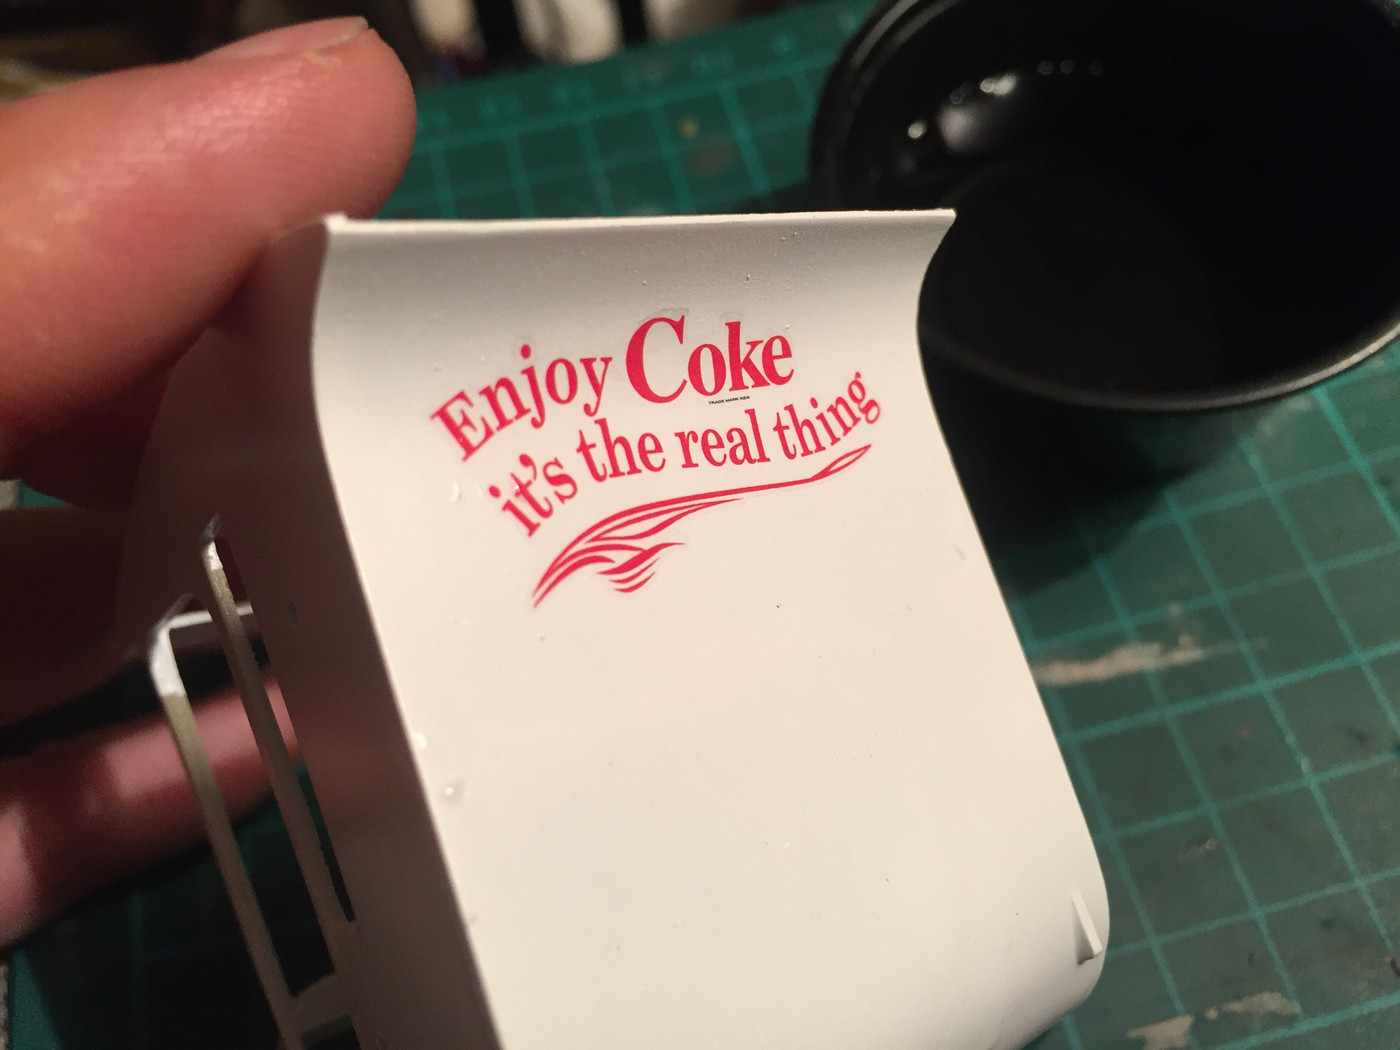
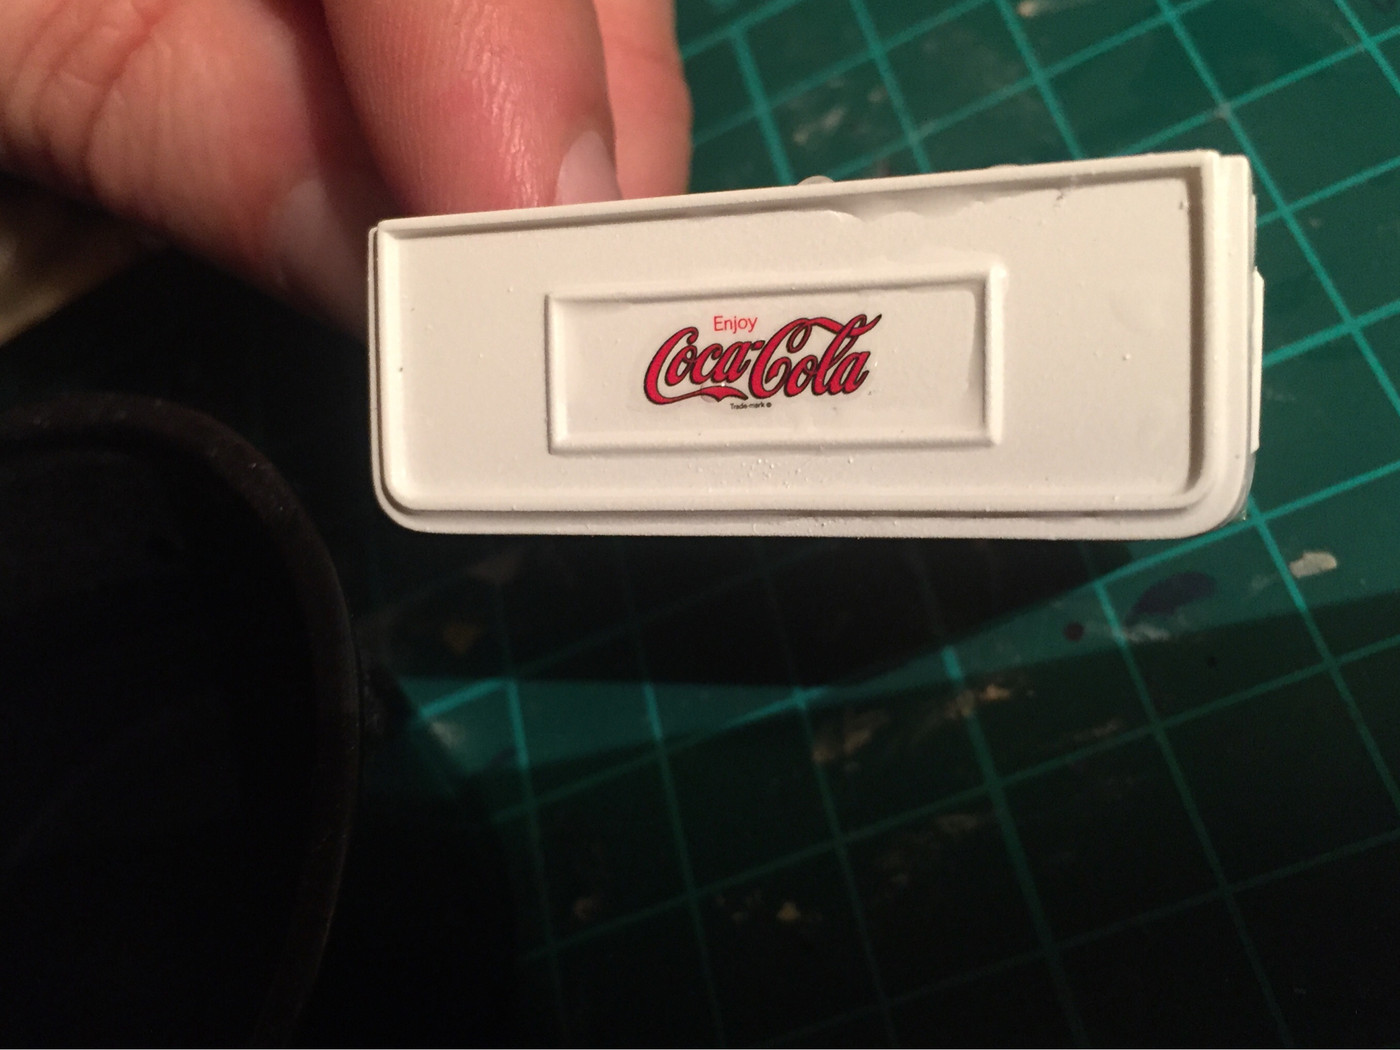
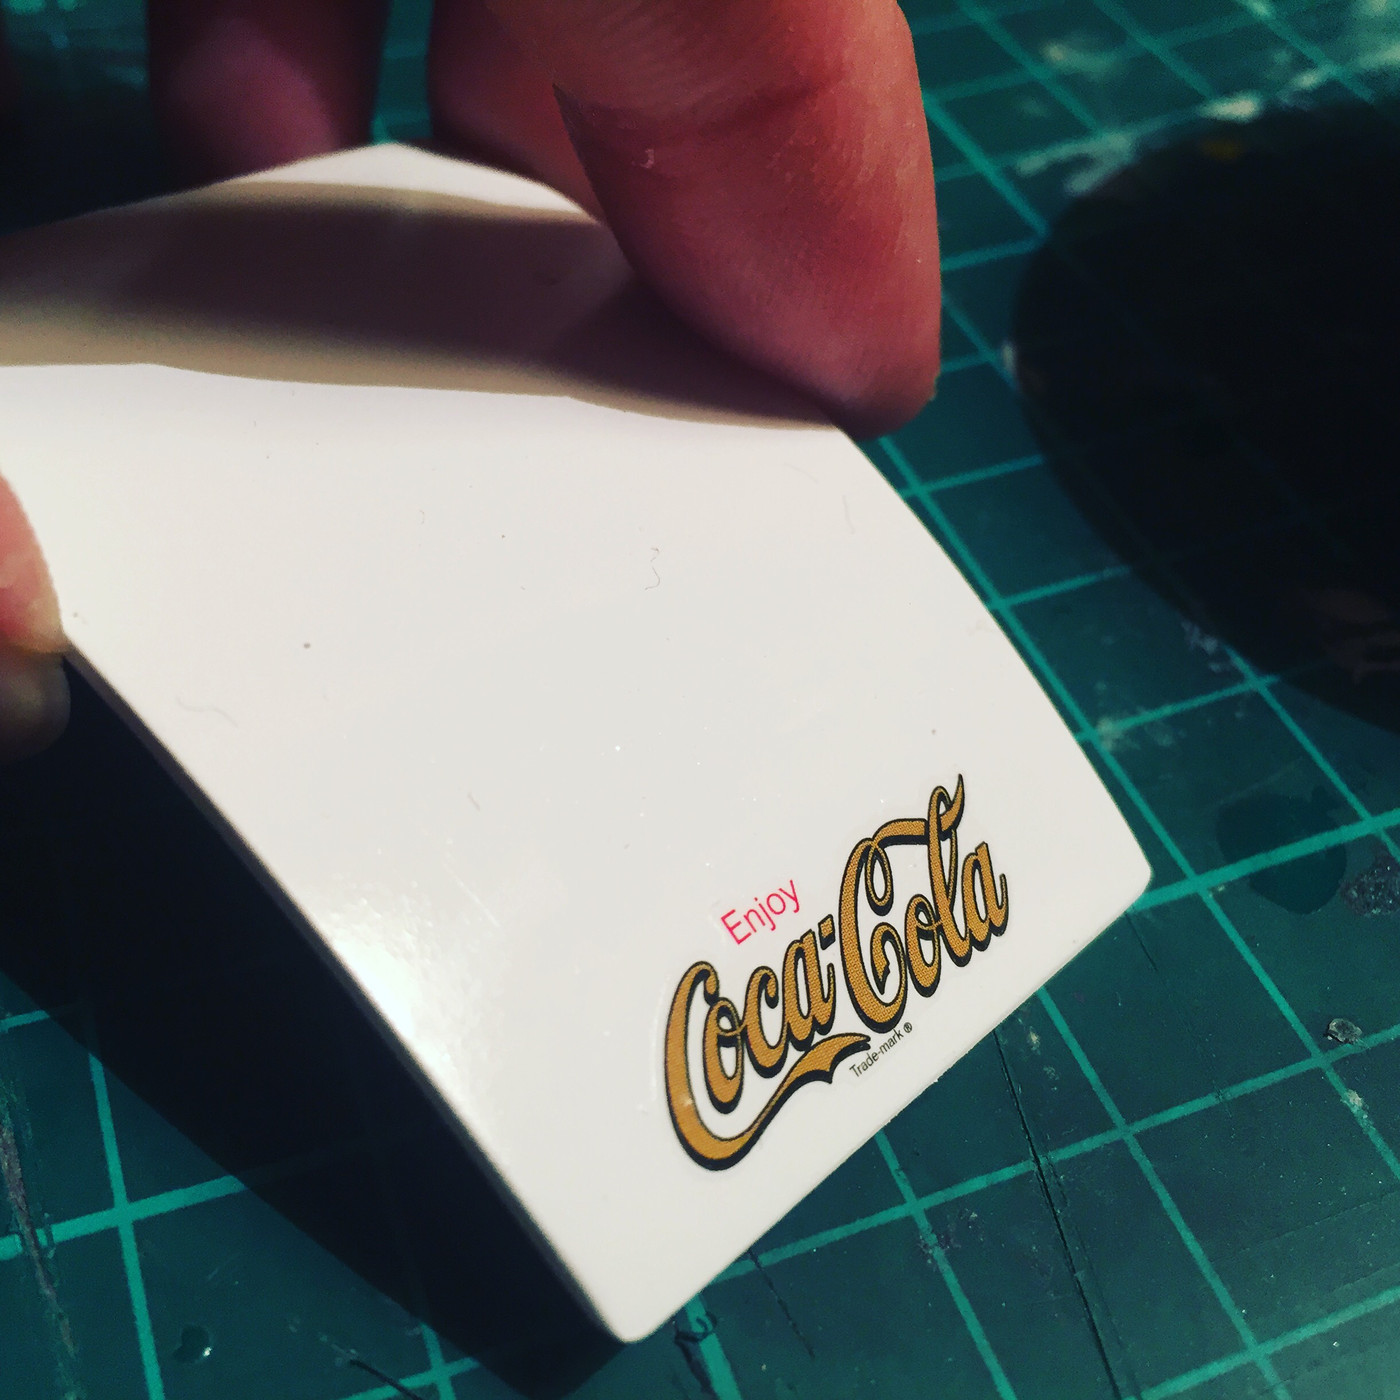
Had to really cram it in the case to bring it home, but it got back intact... I've got an older issue of this here but it hasn't got the Coke decals or the nice pad printed tires, so I figured this would be a good starting point for a replica of the 1:1. There's a few little issues I want to fix to make it closer to the real car, but nothing too major. I was going to wait until I was further along before posting any progress pics, but since the CC is pretty slow at this time of year, here goes...
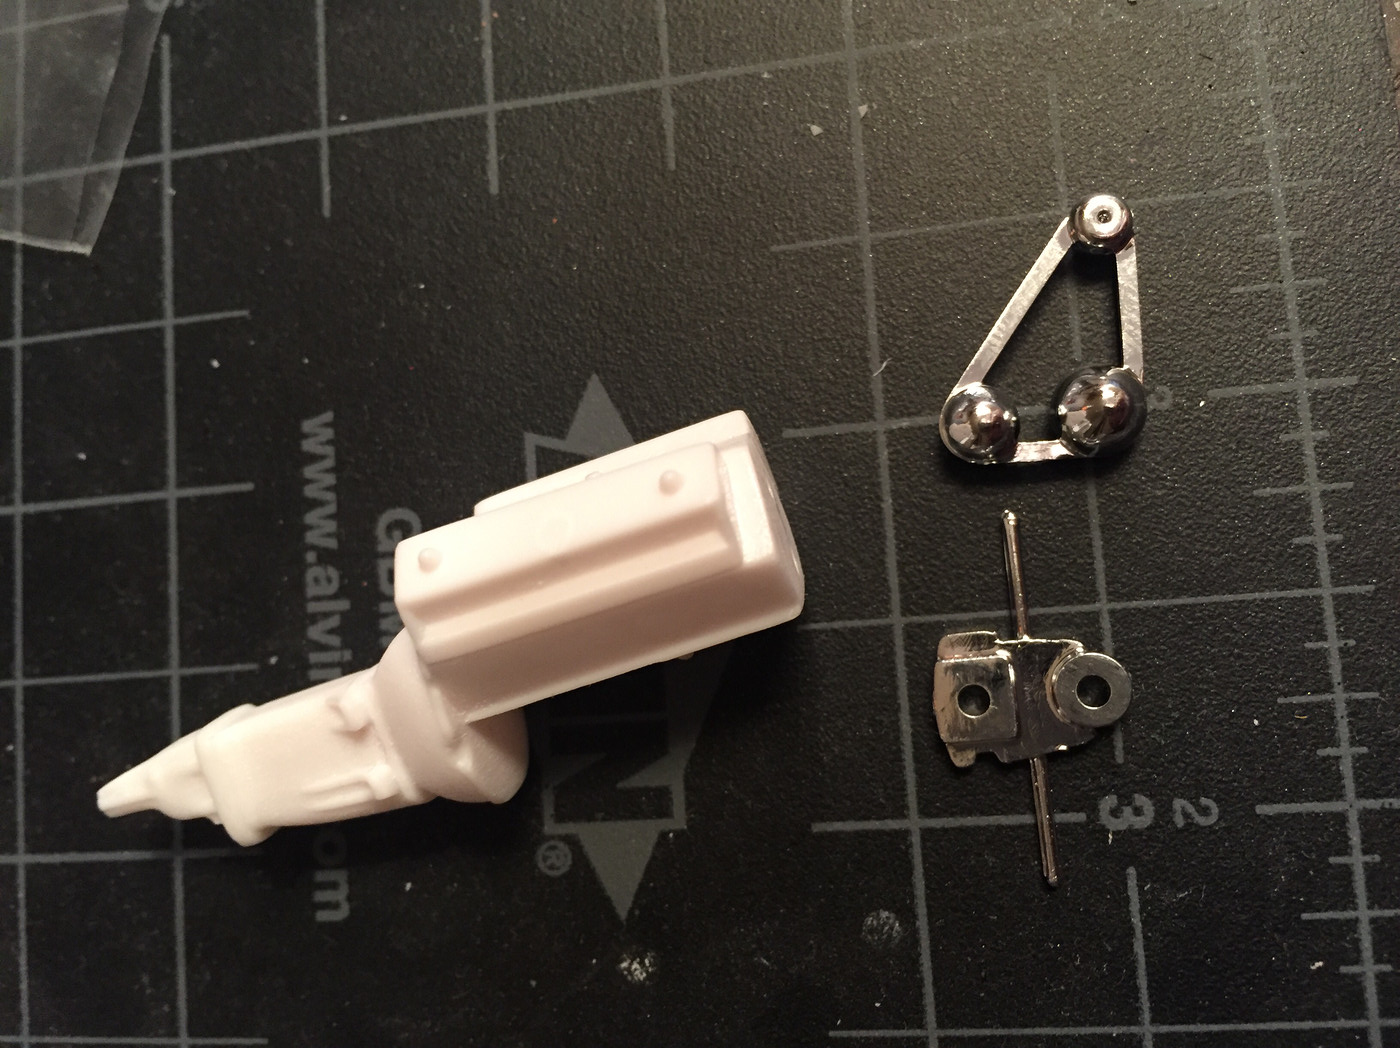
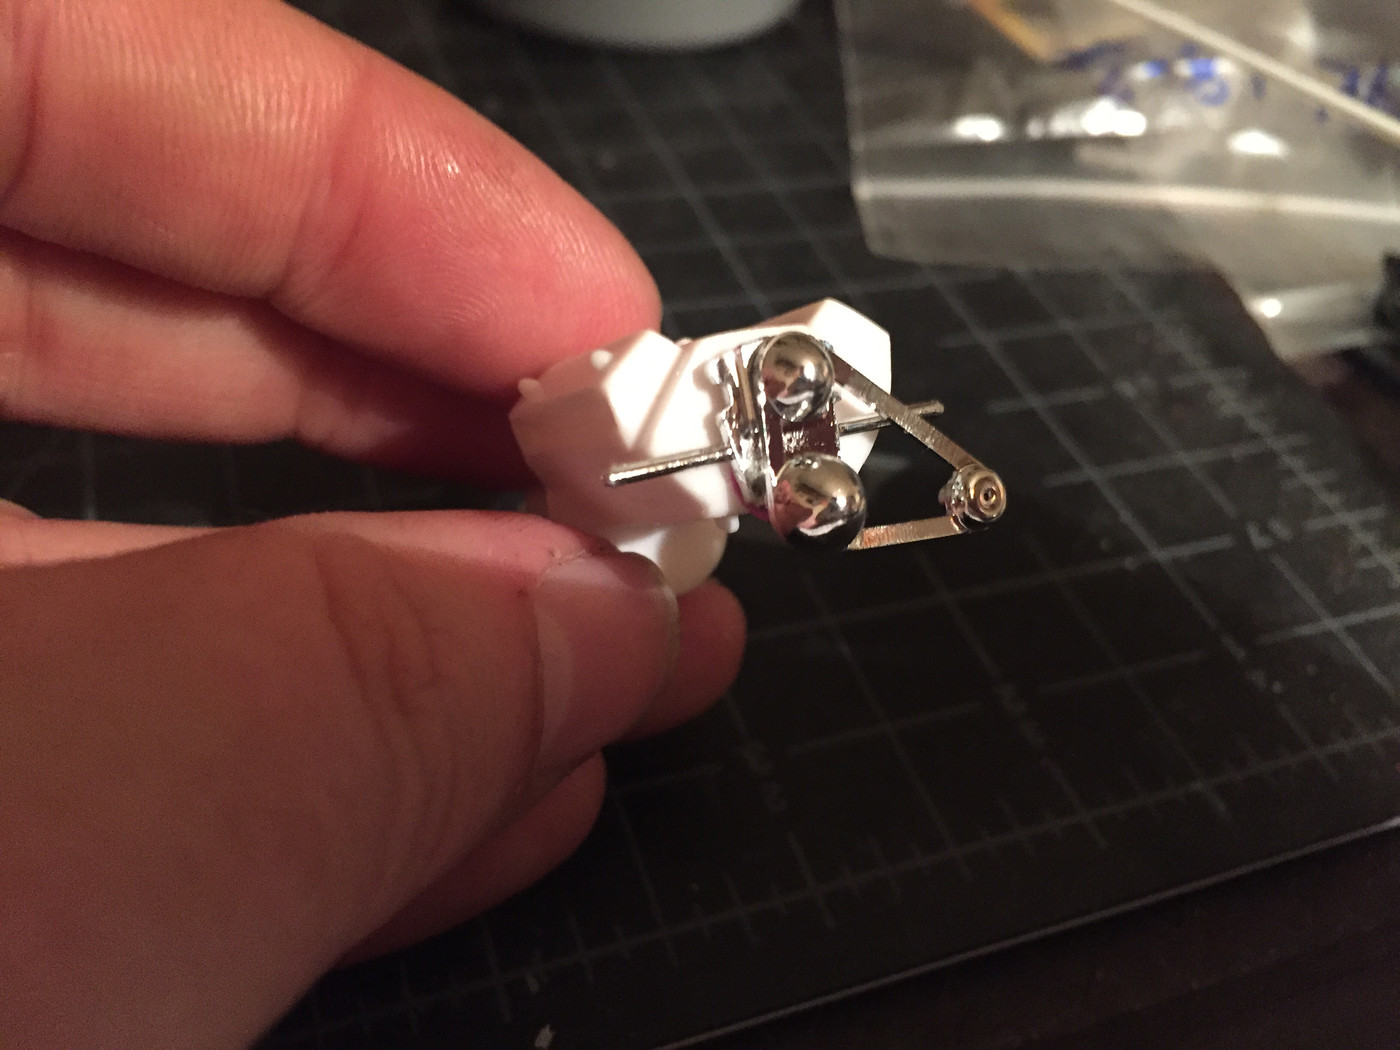
Started off by assembling the block and comparing the belts and pulleys to the real car. The actual VM has a generator/alternator (not sure which?) mounted on top of the block which the model doesn't, so that'll be the first fix

The kit belts:

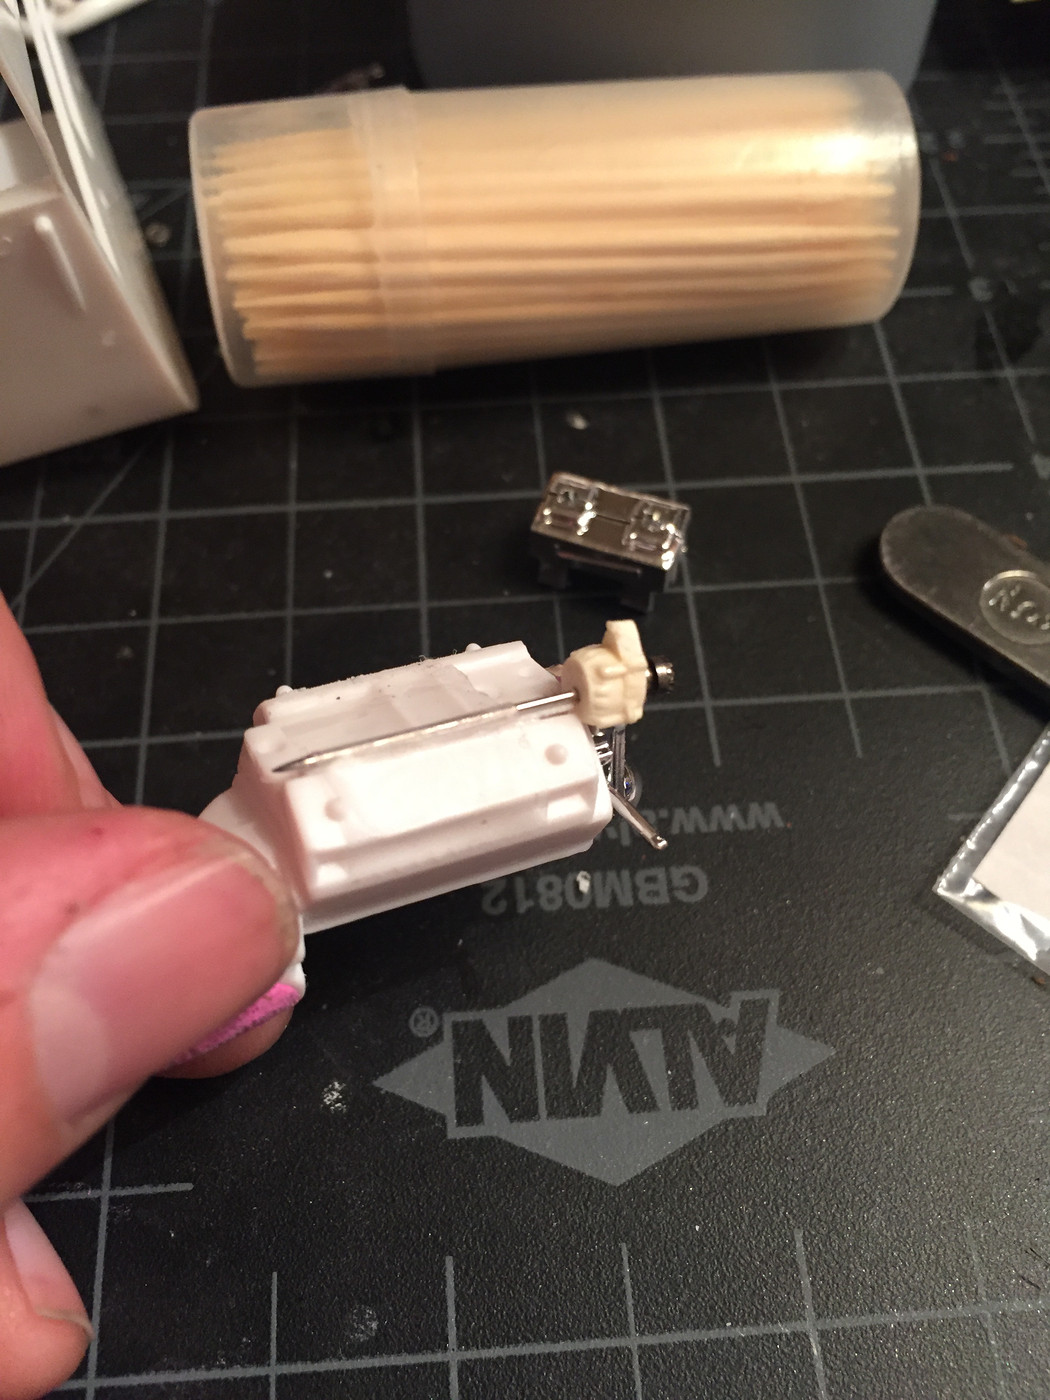
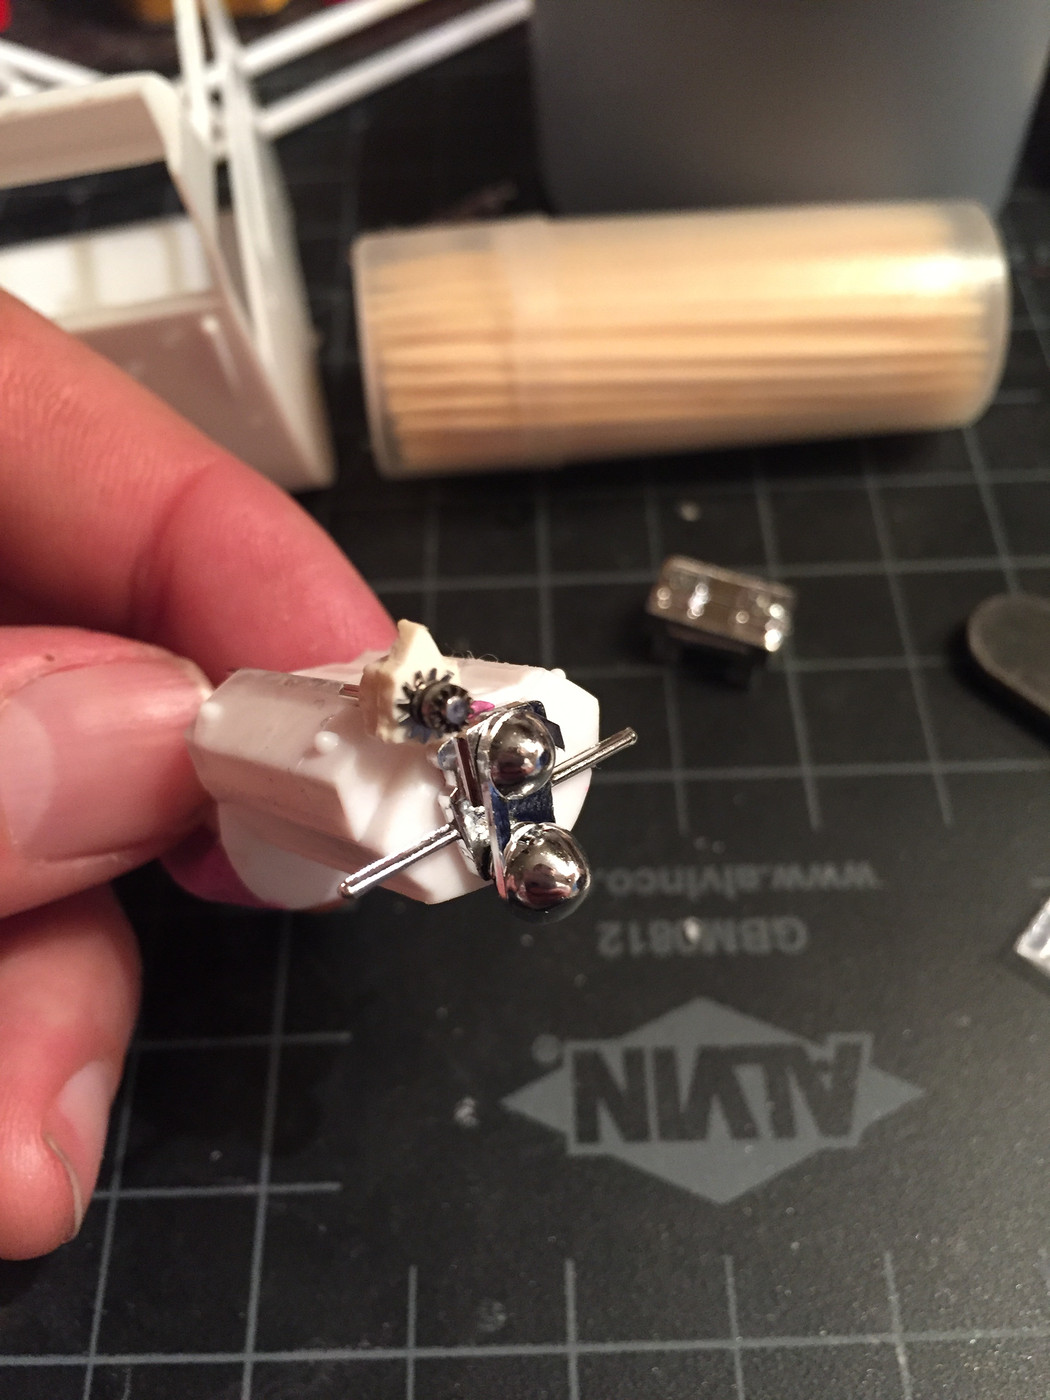
I found something suitable in my resin stash, and affixed it to the block as there wasn't going to be an easy place to mount it after it was painted without risking the finish. The pin is helping hold it in place for gluing

Added some photoetch and a little pulley to look more like the 1:1

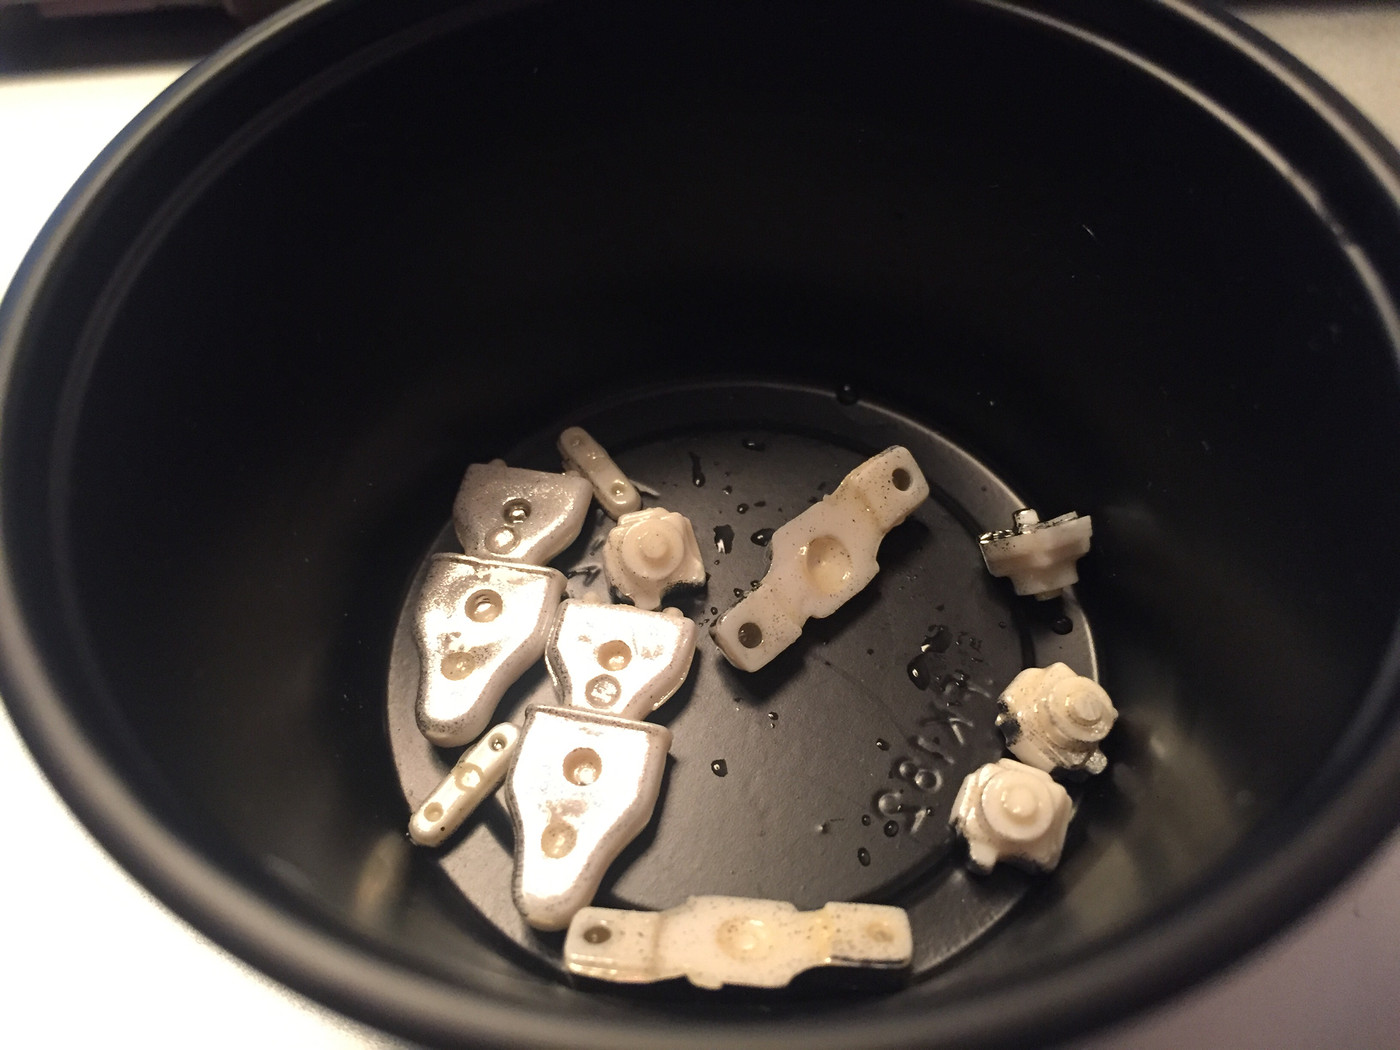
The intake setup was nicely molded, but the chrome was a little rough on mine, so I stripped it so I can Molotow it once it's assembled:

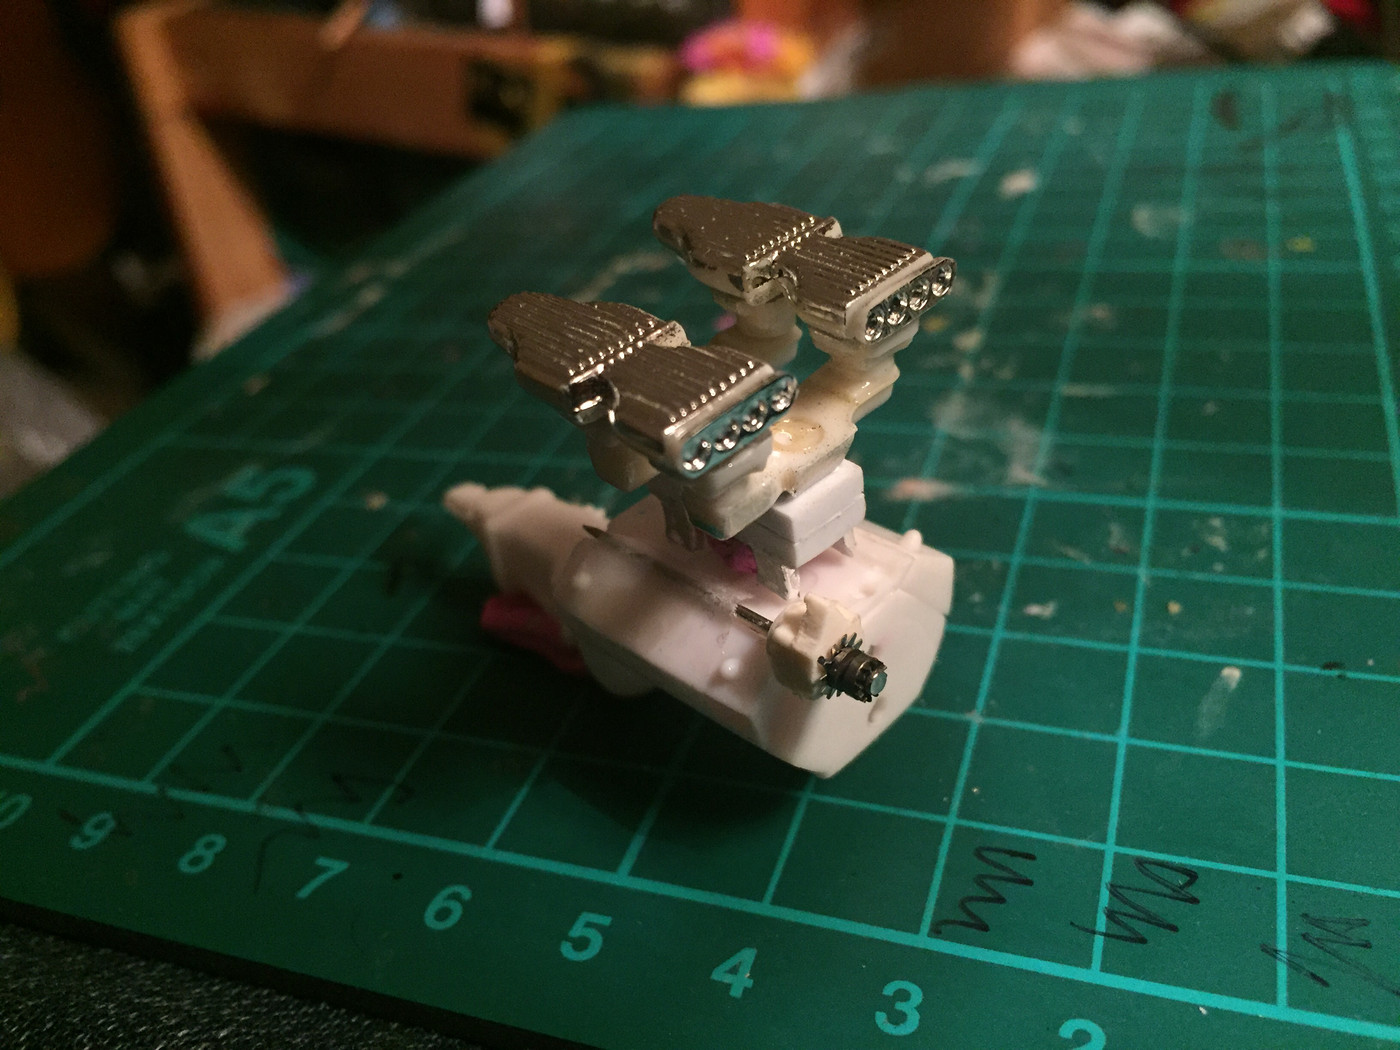
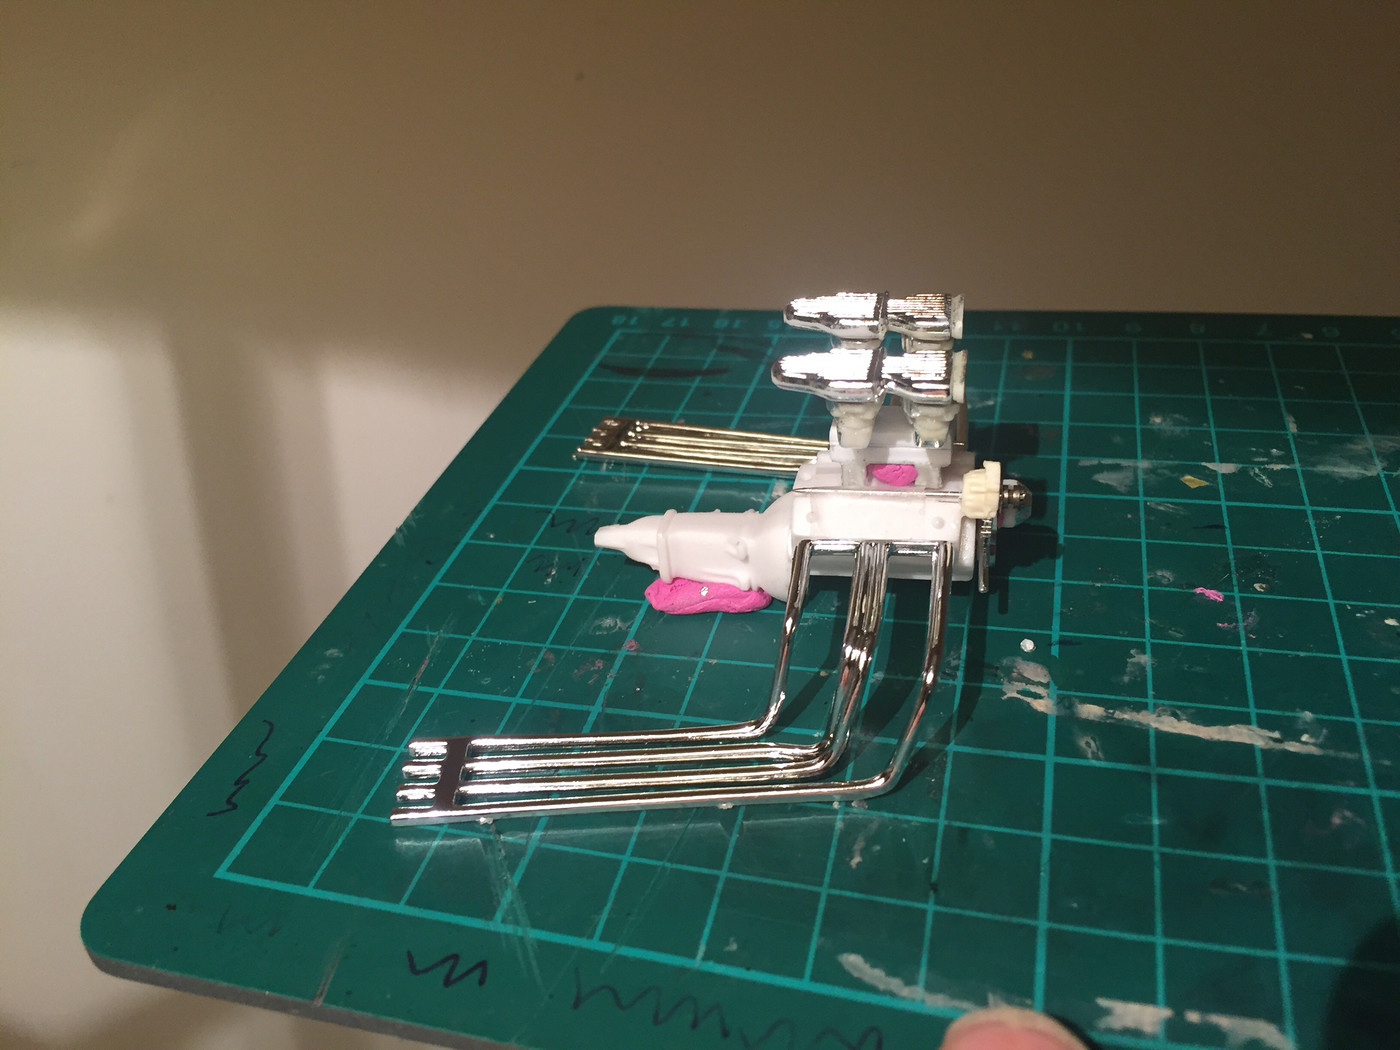
I remade the spacer to make it a better replica, and assembled the carbs and scoops and whatnot

This thing is gonna look wild when it's done!


I'm using Mr Color metalizer for the block - the reference photos I have look like the block is unpainted steel. I wont be able to handle the block much when it's painted without hurting the finish, so I'm going to get the chassis painted and mount the engine in there as early as I can, so I can handle the chassis more than the block for wiring and plumbing and so on

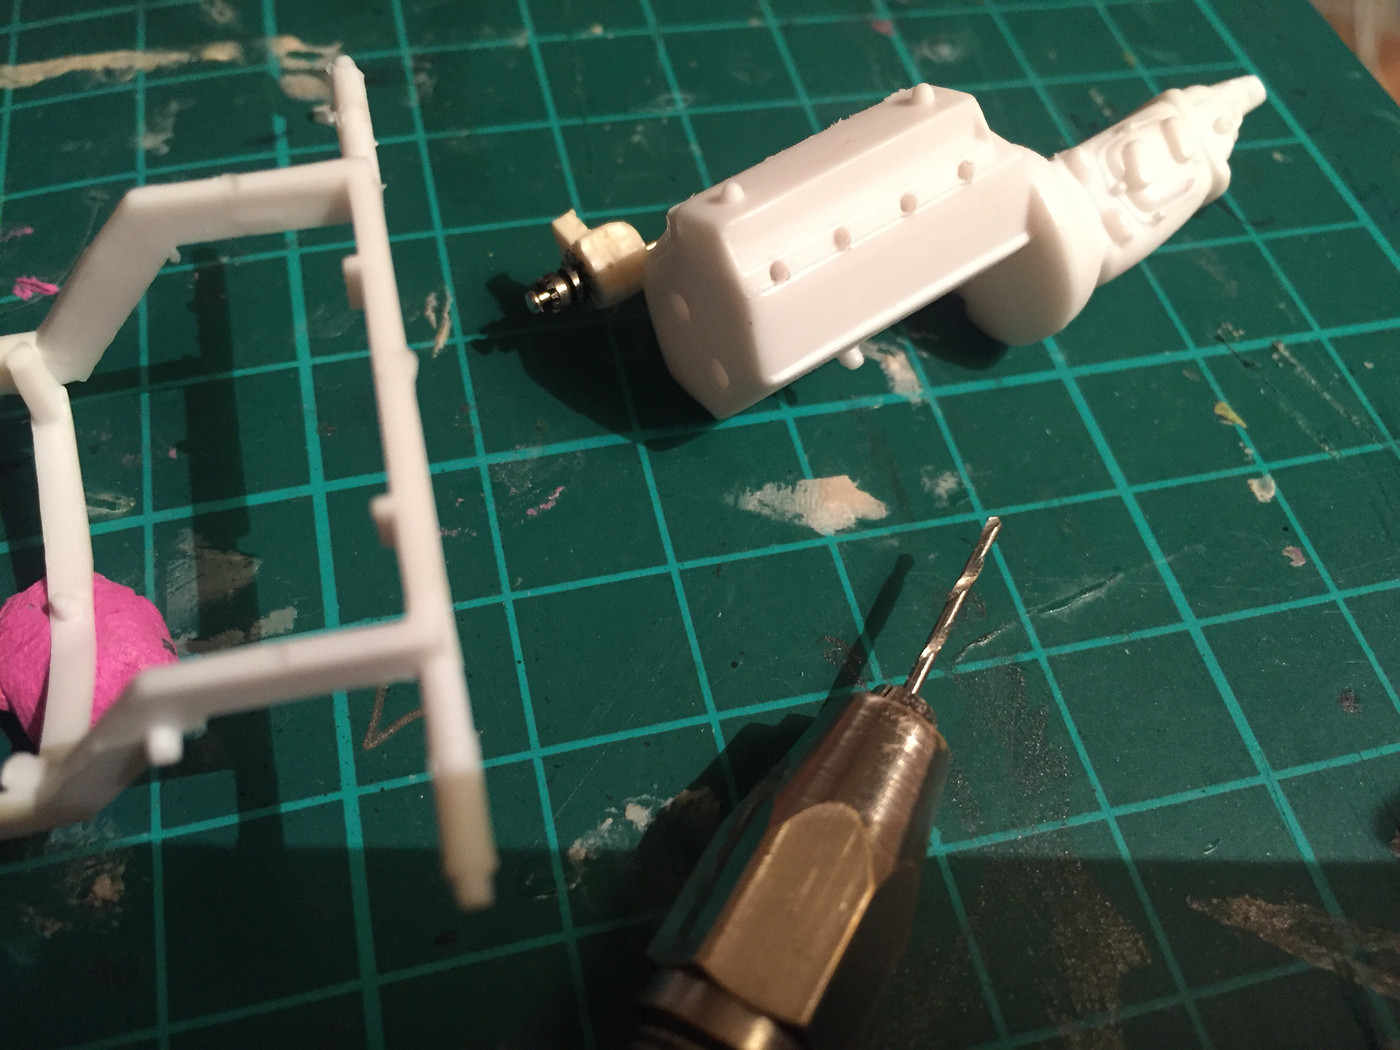
Before painting the block I drilled it out ready for wiring:

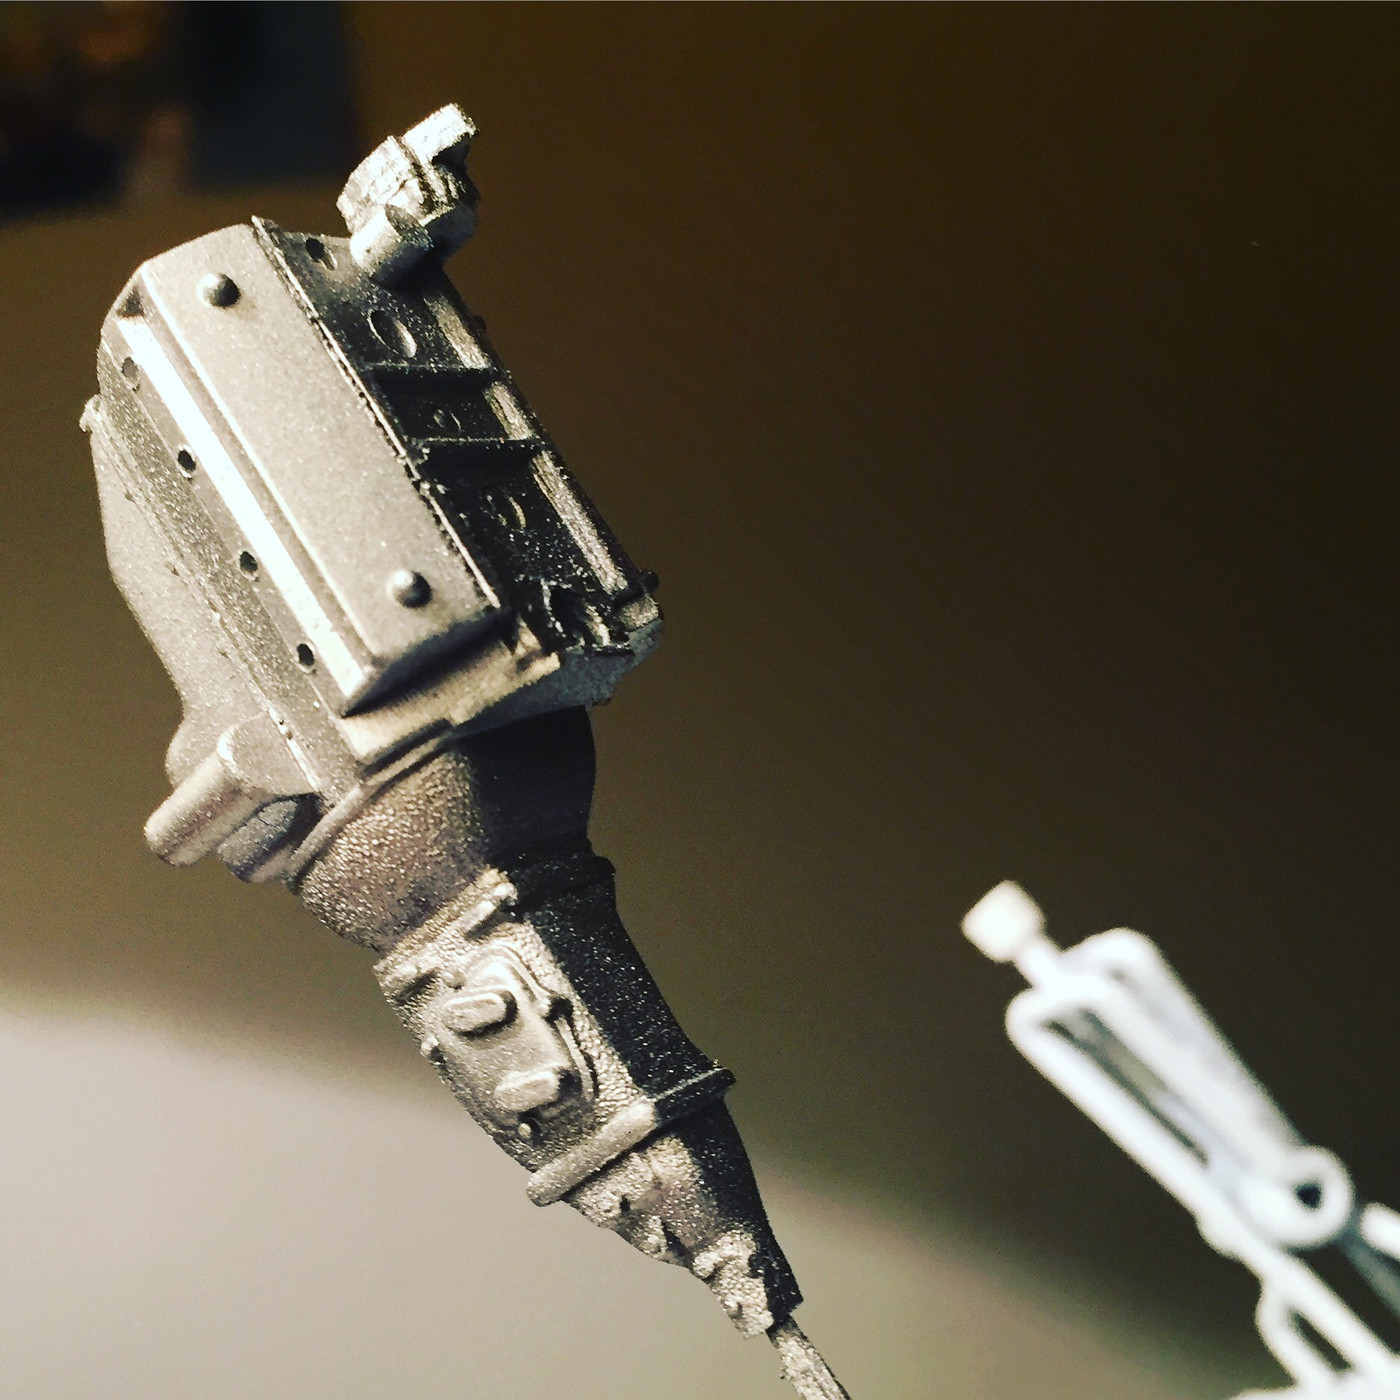
And then shot it with the Metalizer. This is meant to be a chrome finish, but it looked closer to the steel look I wanted so I went with it:

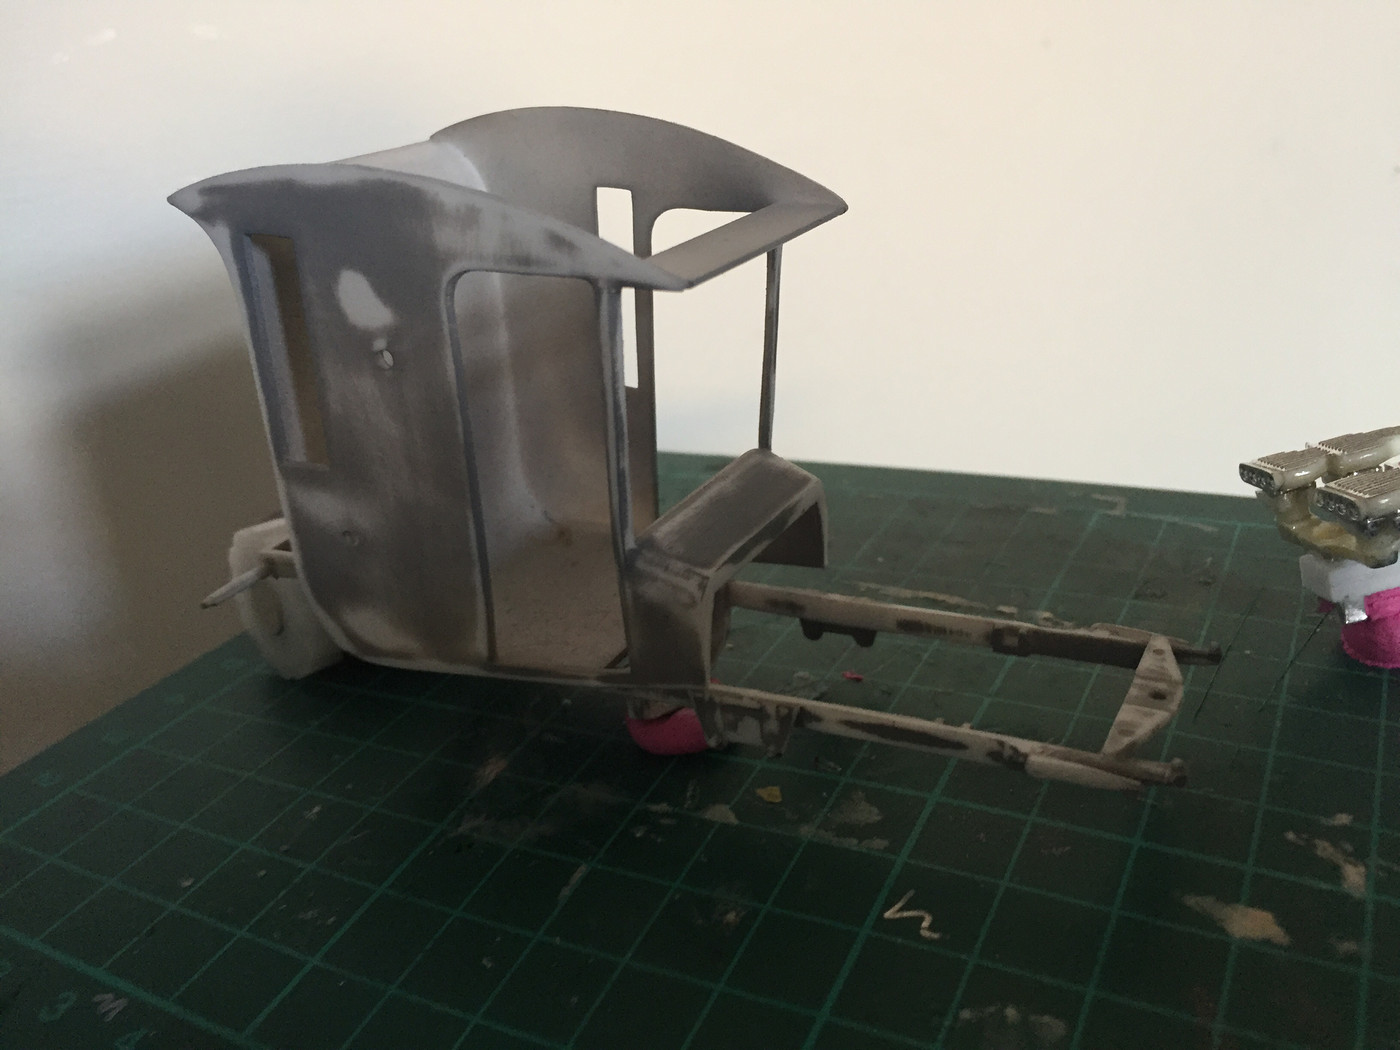
I shot the body and frame with grey primer to help see the imperfections better and sanded it smooth:

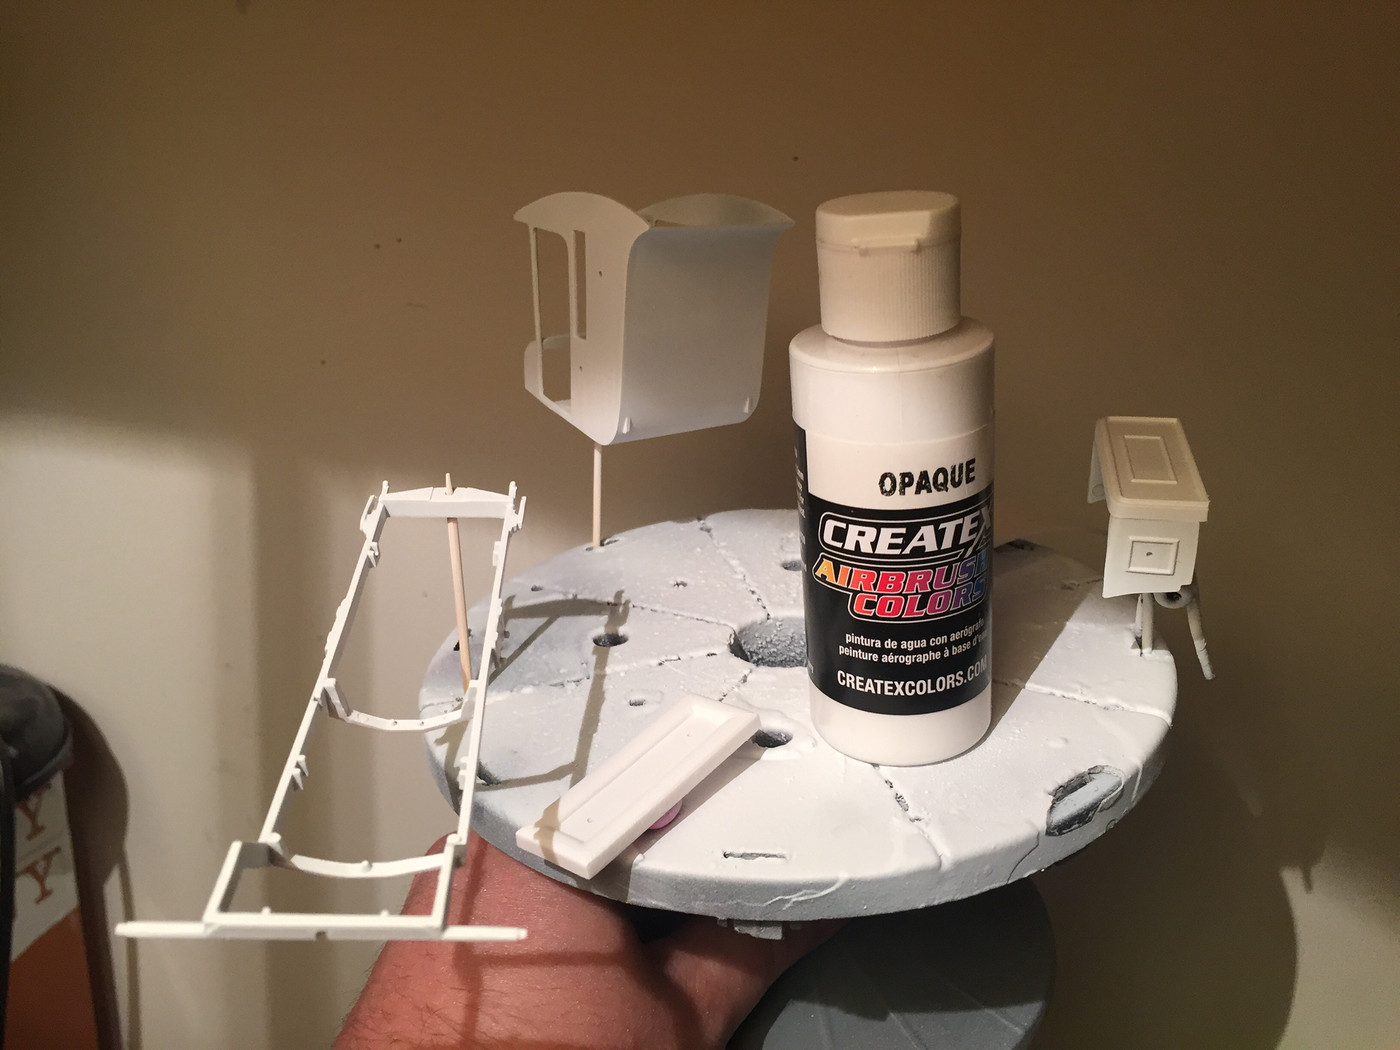
Then I re-primed with Tamiya white before shooting Createx Opaque White as the base color. This stuff covers NICE

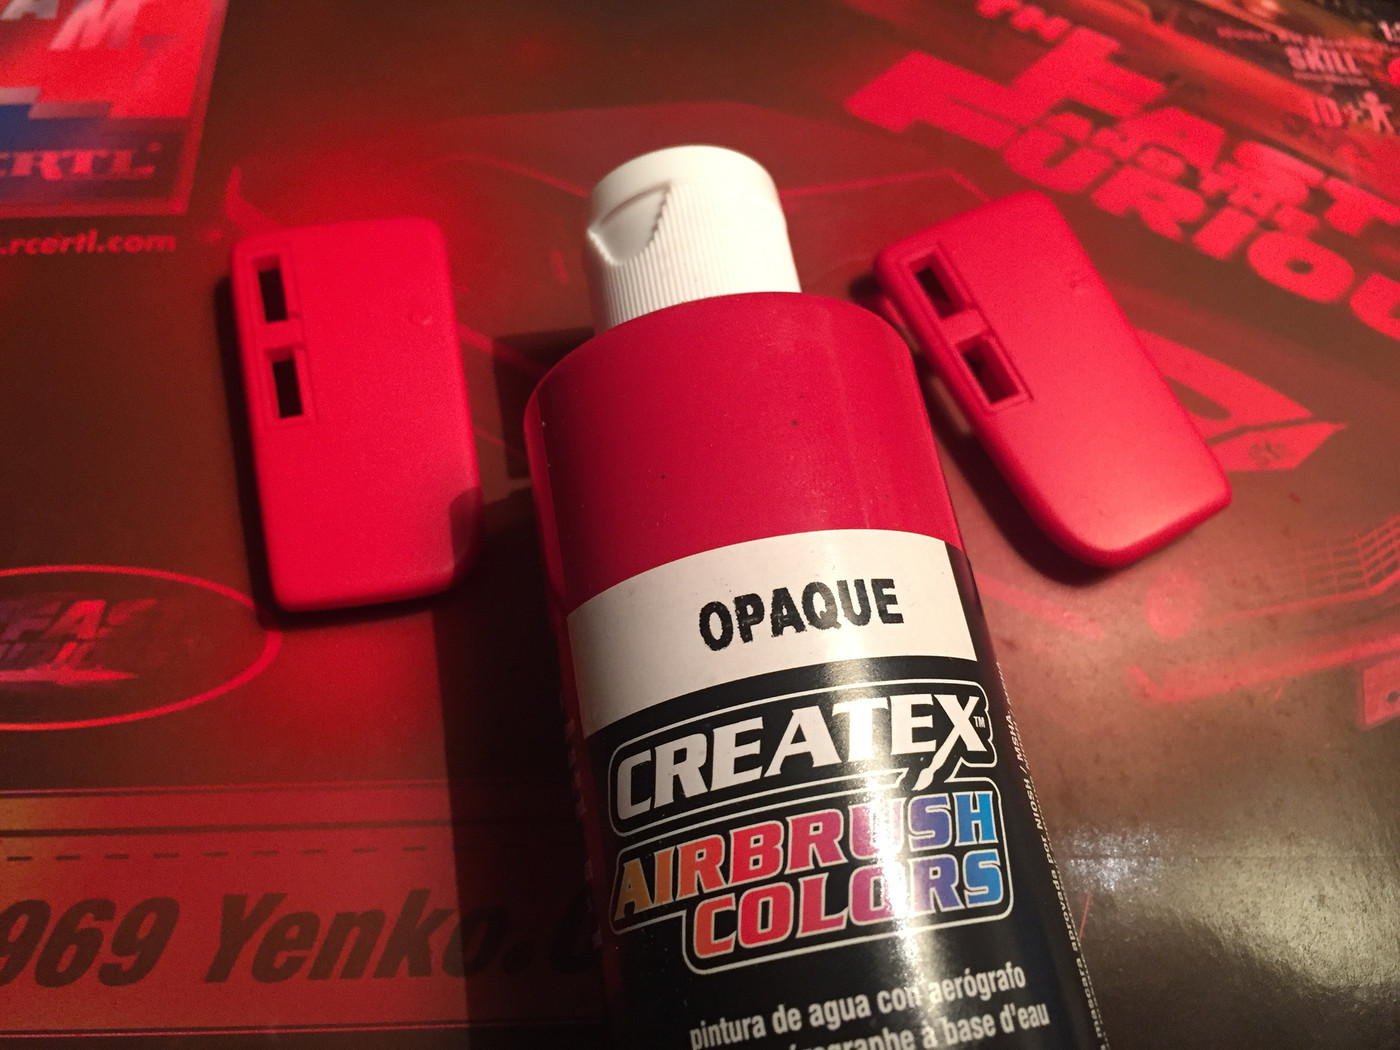
I used their red for the 'doors' too - it finishes matt so theyll need clearcoating before and after decals, but the color looks good to me!

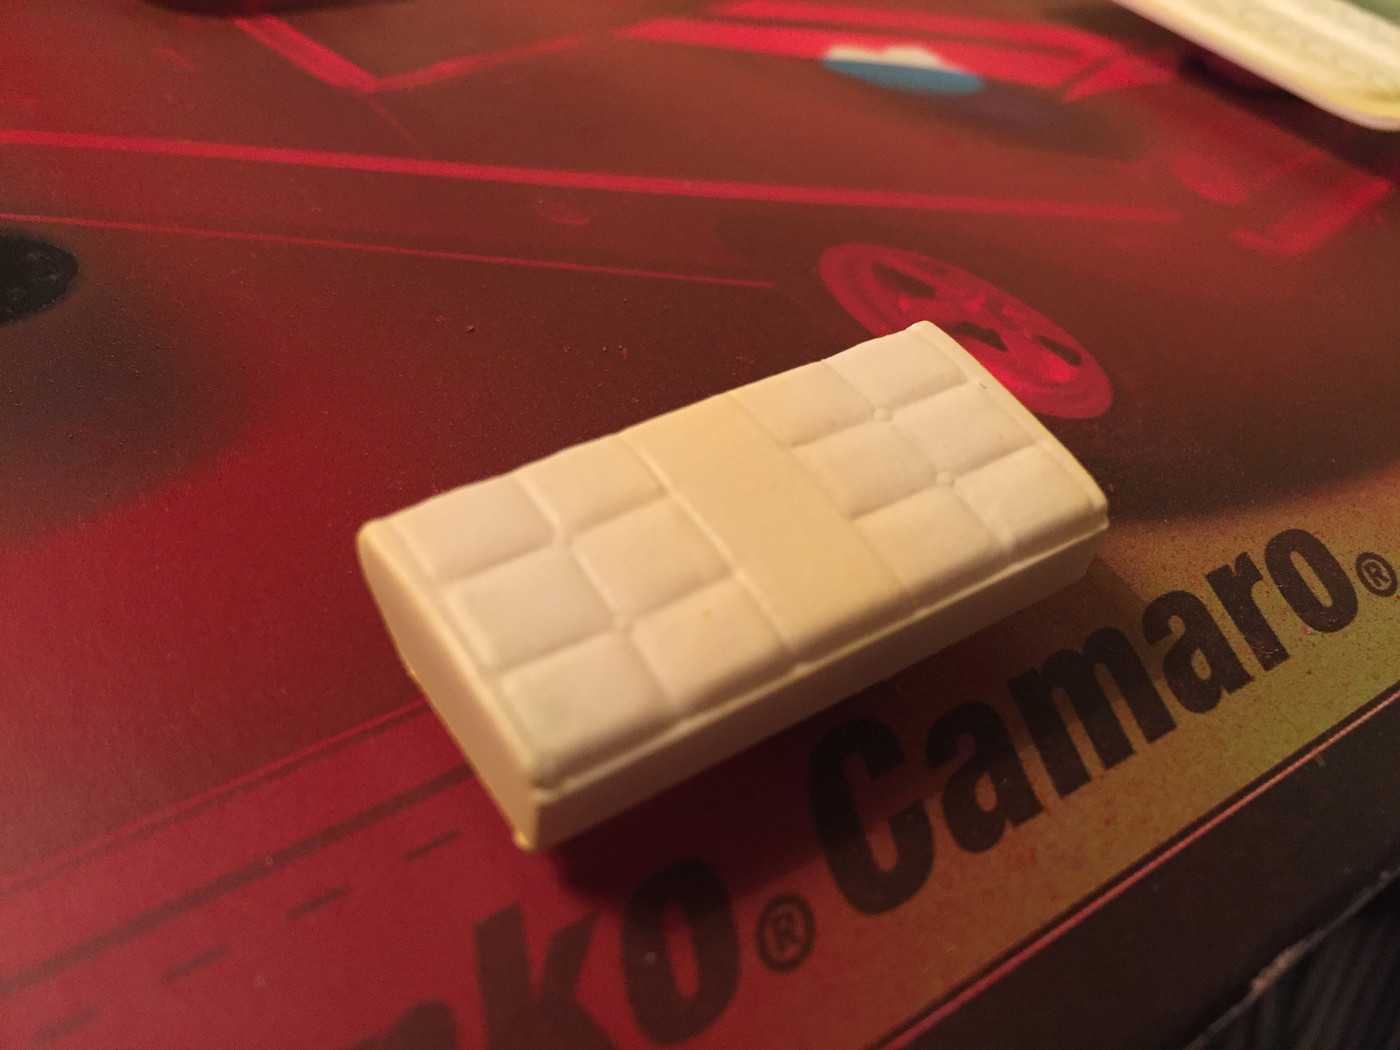
And whilst that was drying I shot some thinned down Tamiya yellow over the white-primed interior pieces to give the look of the cream interior on the real car. I fogged a little extra into the corners and places where shadow would fall normally to give the pieces a little more depth when assembled (hopefully!)
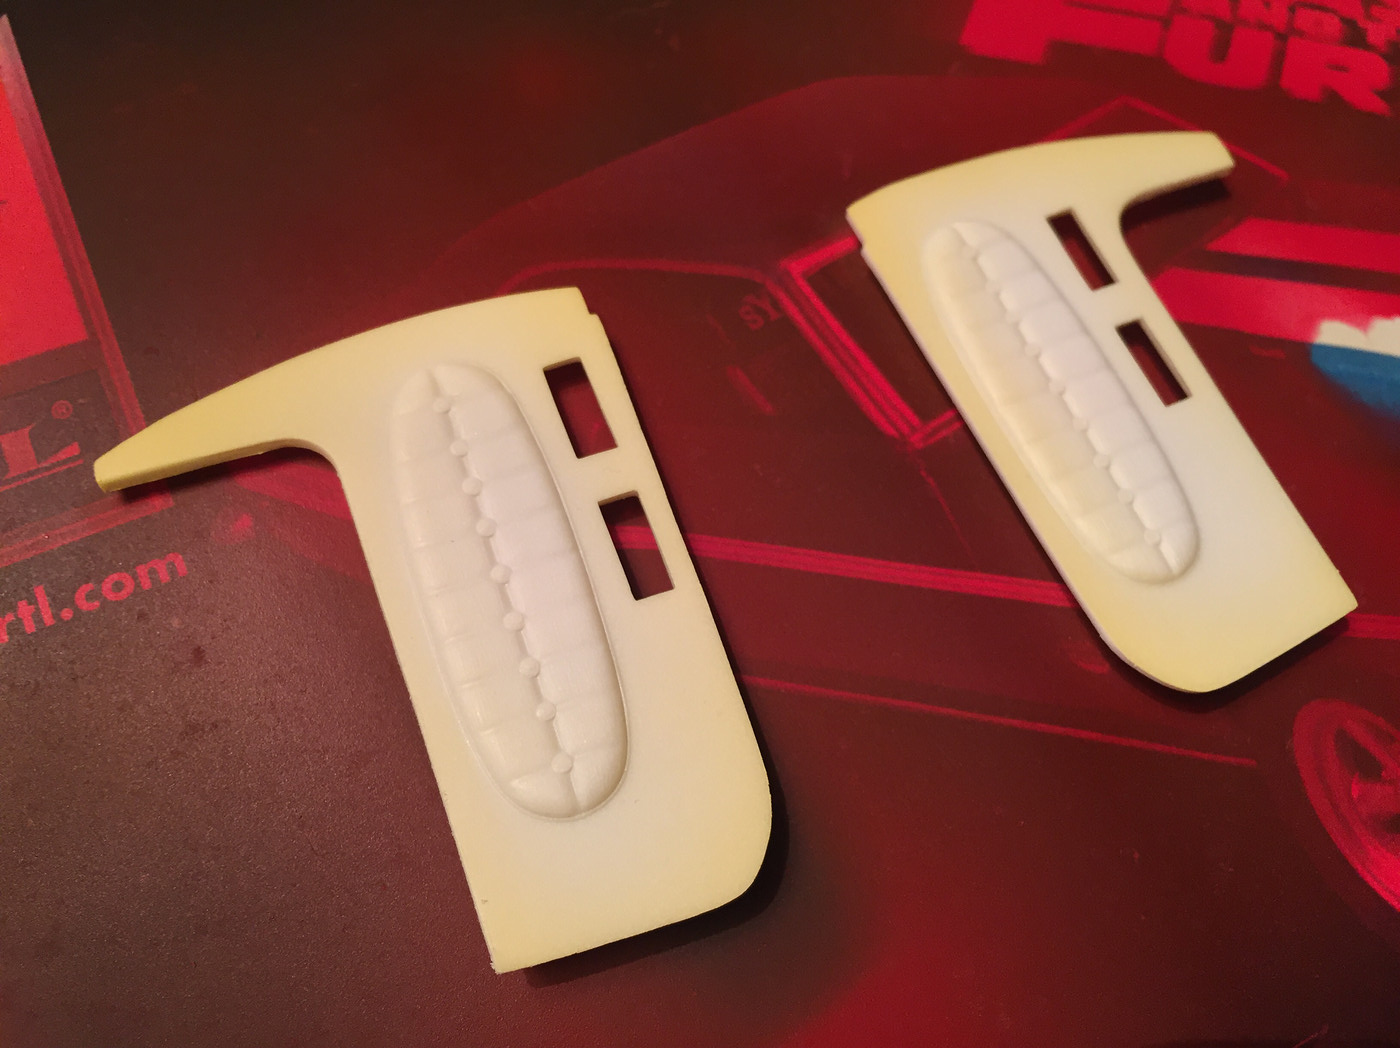


And that's about where I am right now - more soon!

