|
|
Post by kabdriver on Aug 14, 2018 8:06:53 GMT -6
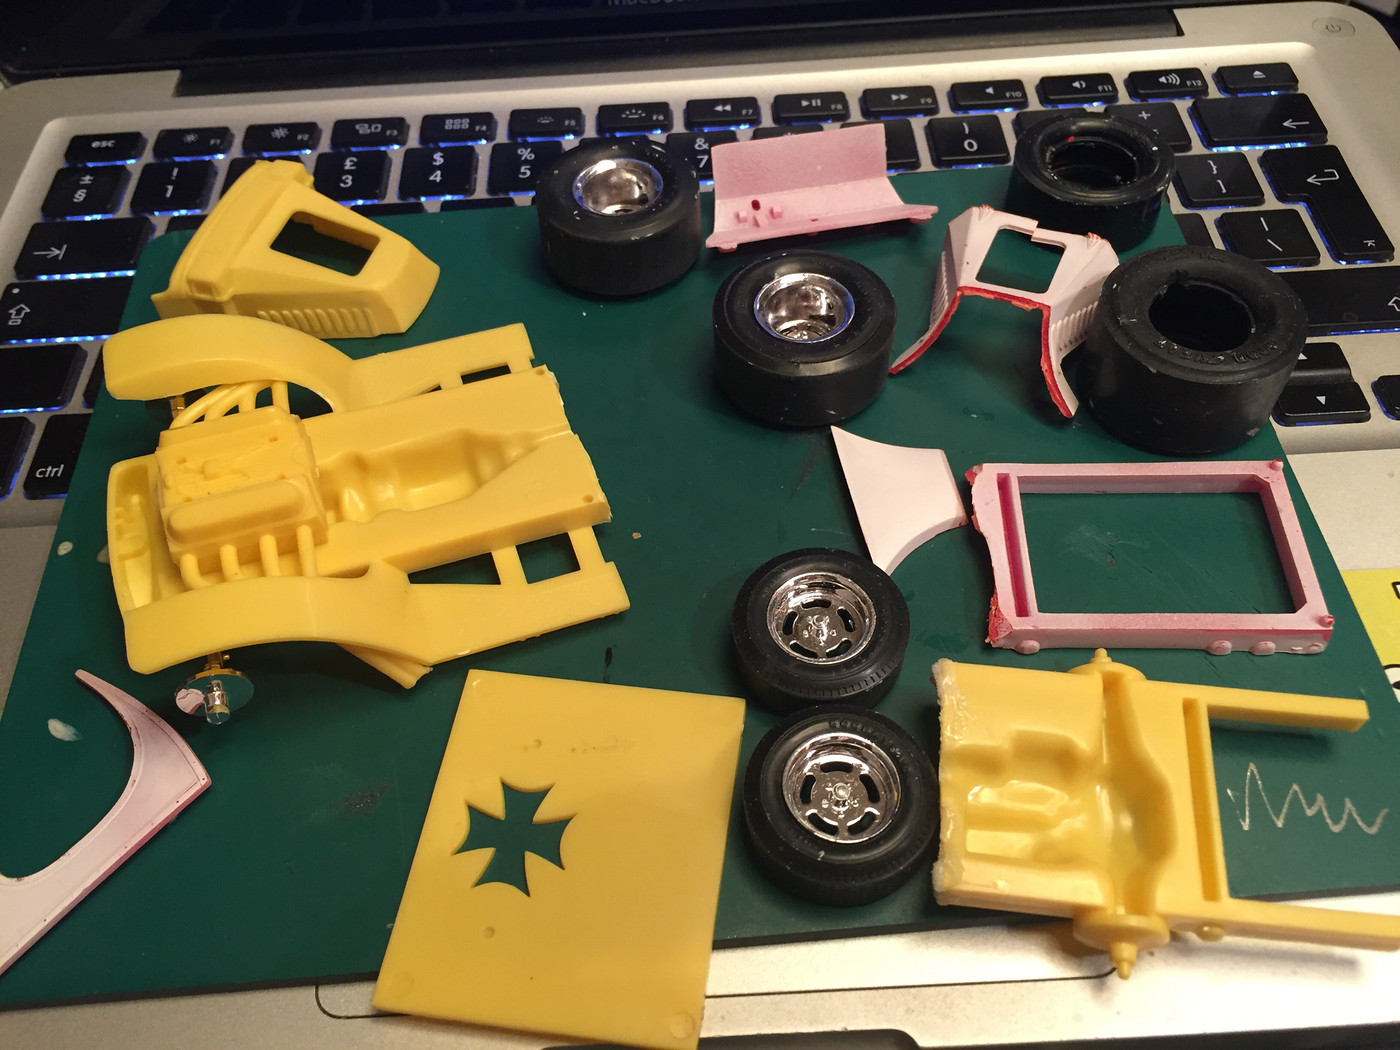
I picked up a parts of of Beer Wagon and RC Cola Wagon parts on eBay a while back for, like, $8 and I've been wanting to do a Beer Wagon build for a while...only problem is, the parts I got are MOSTLY all hacked up and ruined:
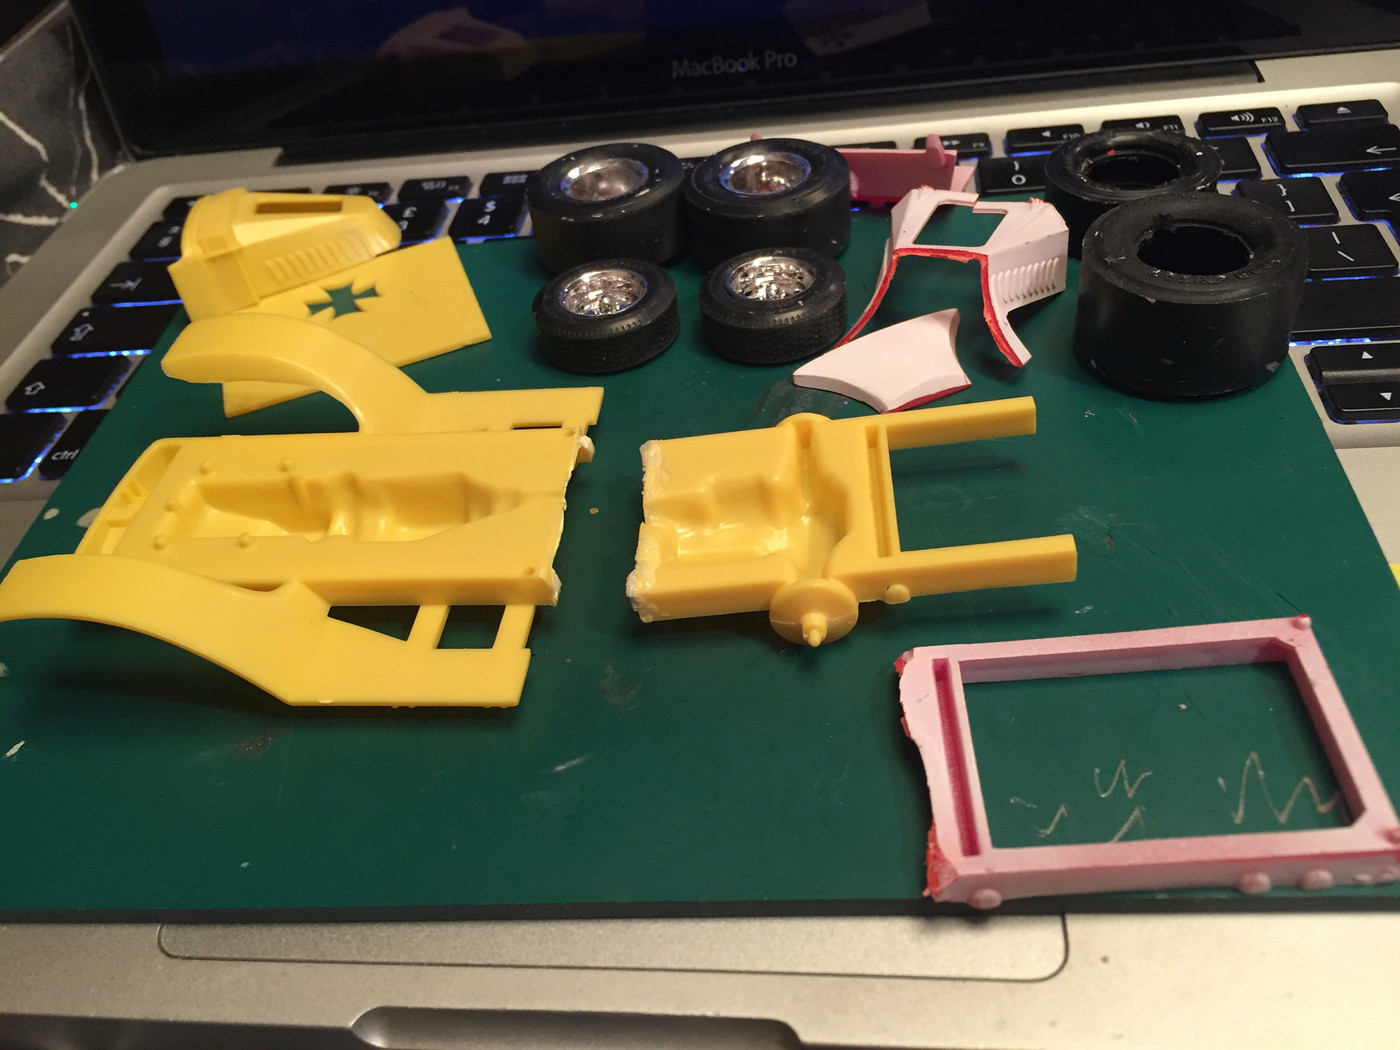
The frame has been hacked into at least 3 pieces, some sections are missing, I don't have the whole cab...it's not really a whole kit's worth of parts. So...I figured that would be a fun basis for a Beer Wagon build - see if I can make something good out of all this crap.
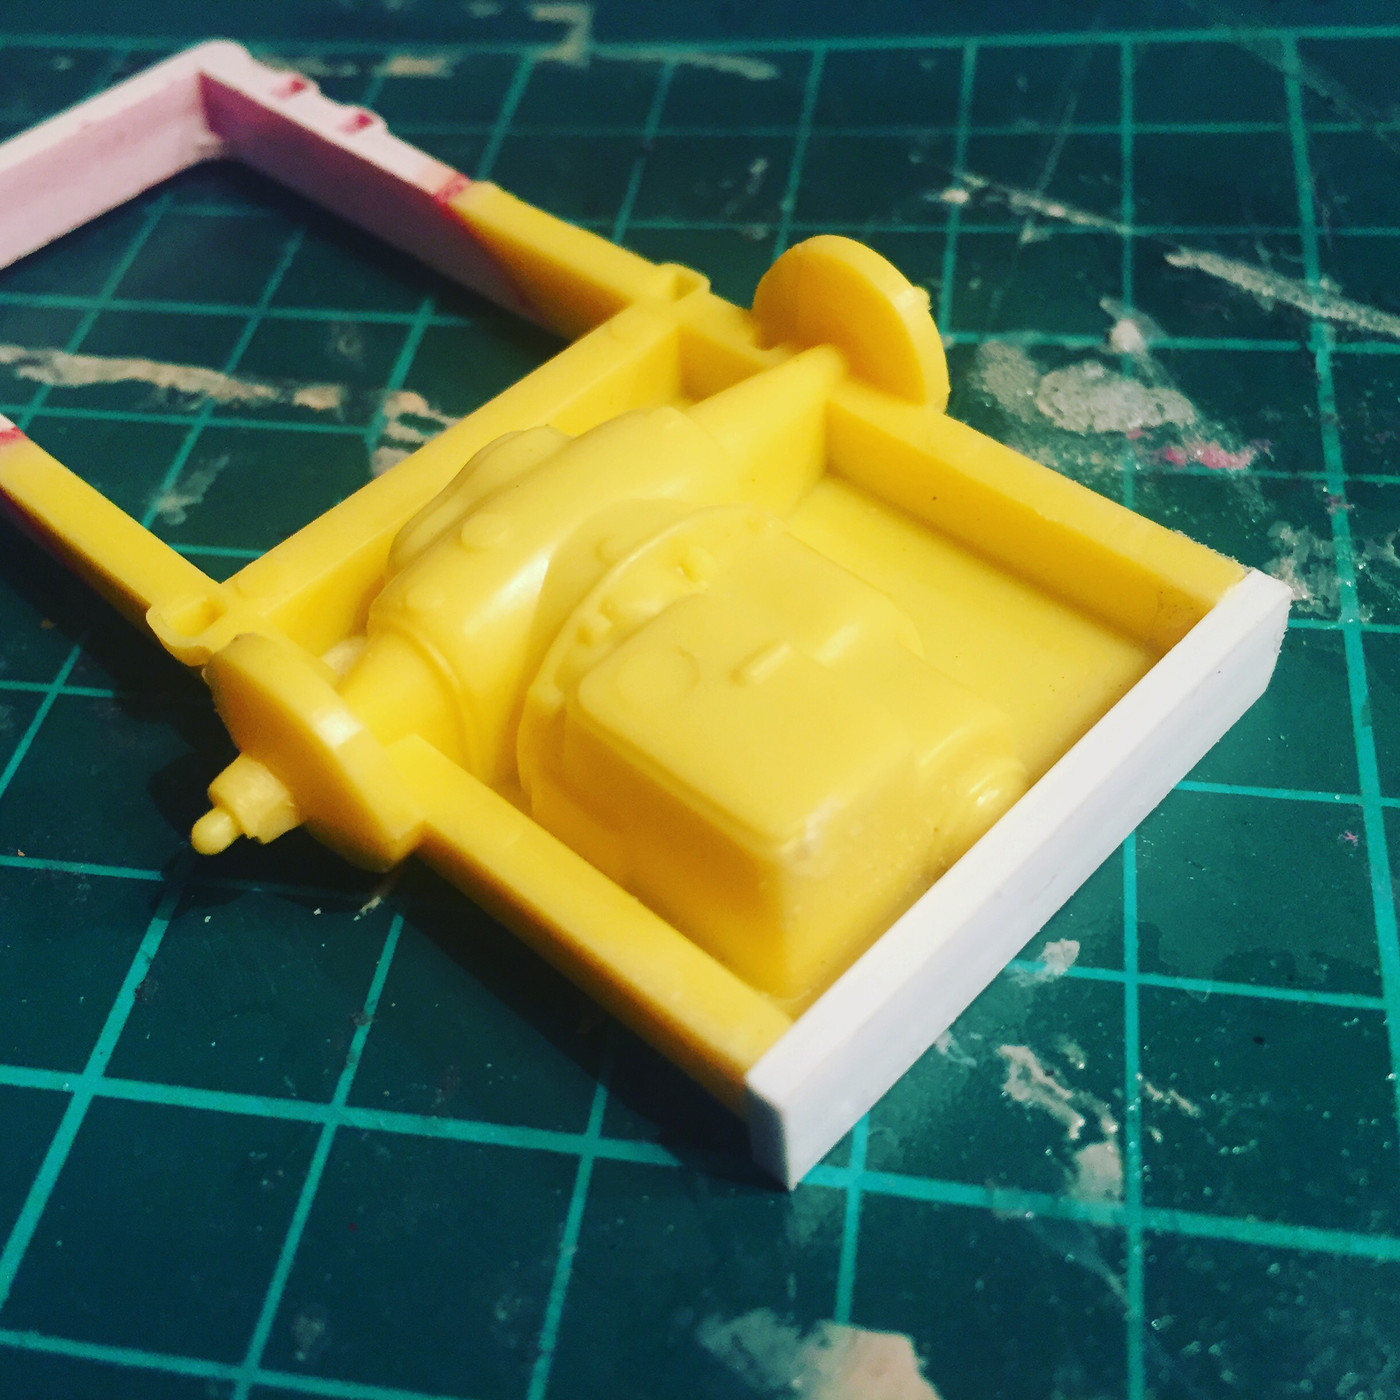
As you can see here, I've KINDA got a whole frame - the rear third is from the Cola Wagon I believe (the only time this kit was molded in red?), and the front two thirds are kinda mostly there but they've been seperated by what looks like a soldering iron.
So, first job is to connect these two pieces together to make the rear half of the frame:
Tada!
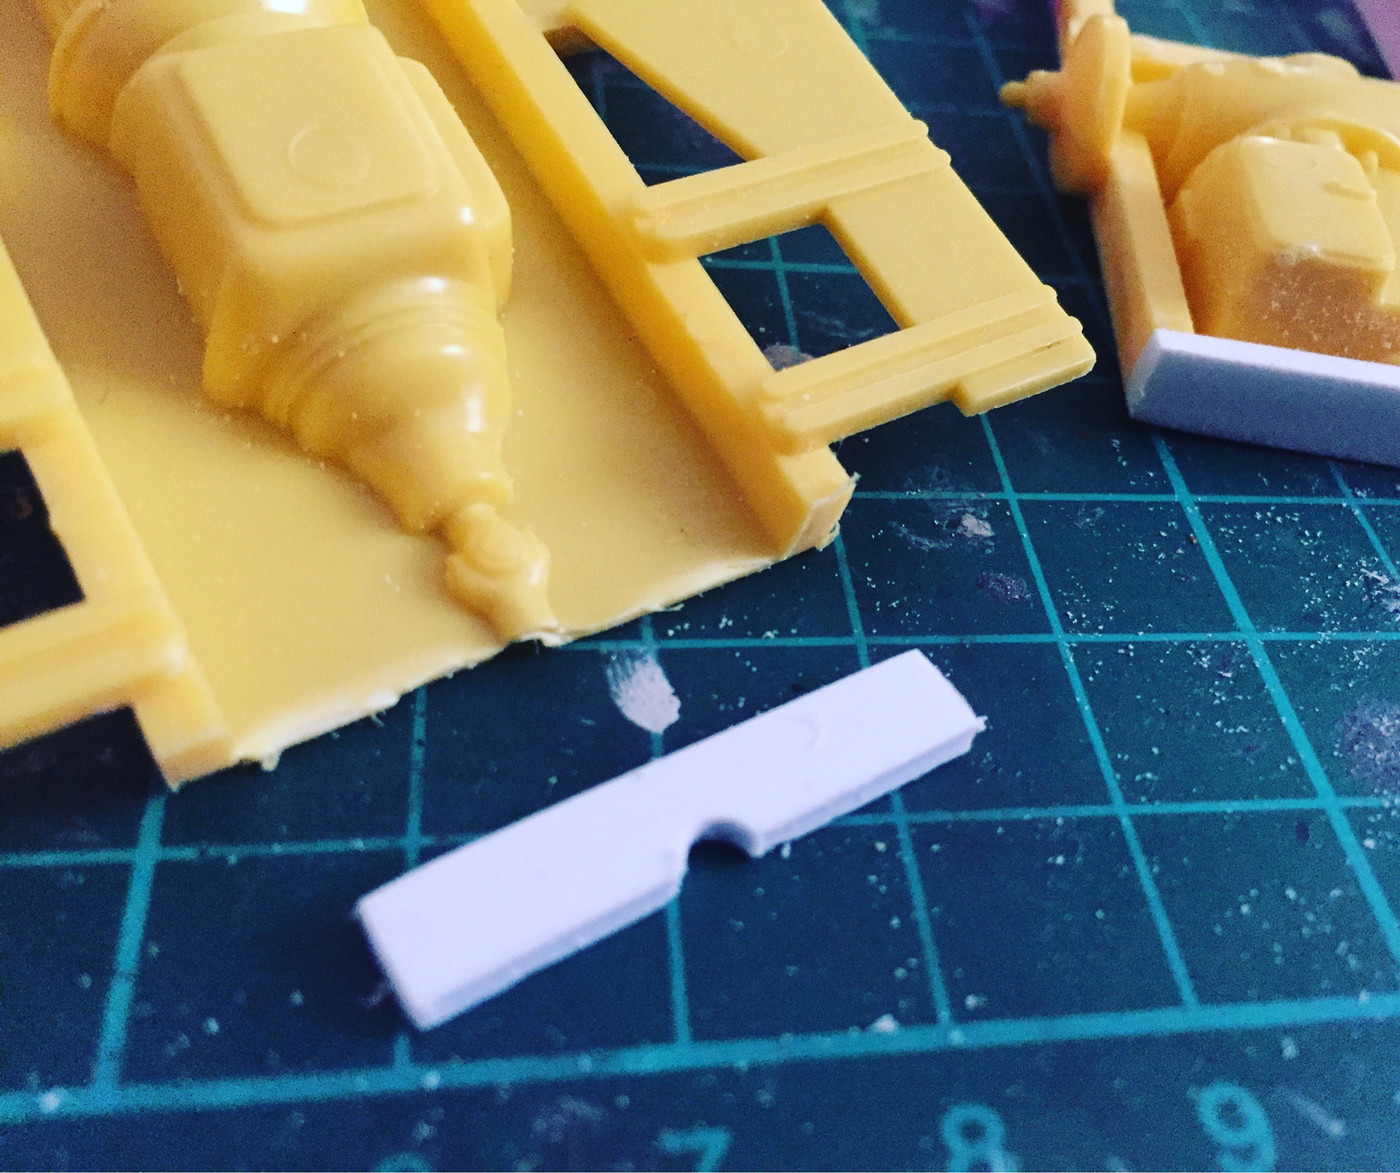
There wasn't QUITE enough material to make this part the right length, so I'm going to slice another section out and add some plastruct sheet to lengthen it once the front is on too. Once that was done, I made a crossmember that was missing and attached it to this rear part:
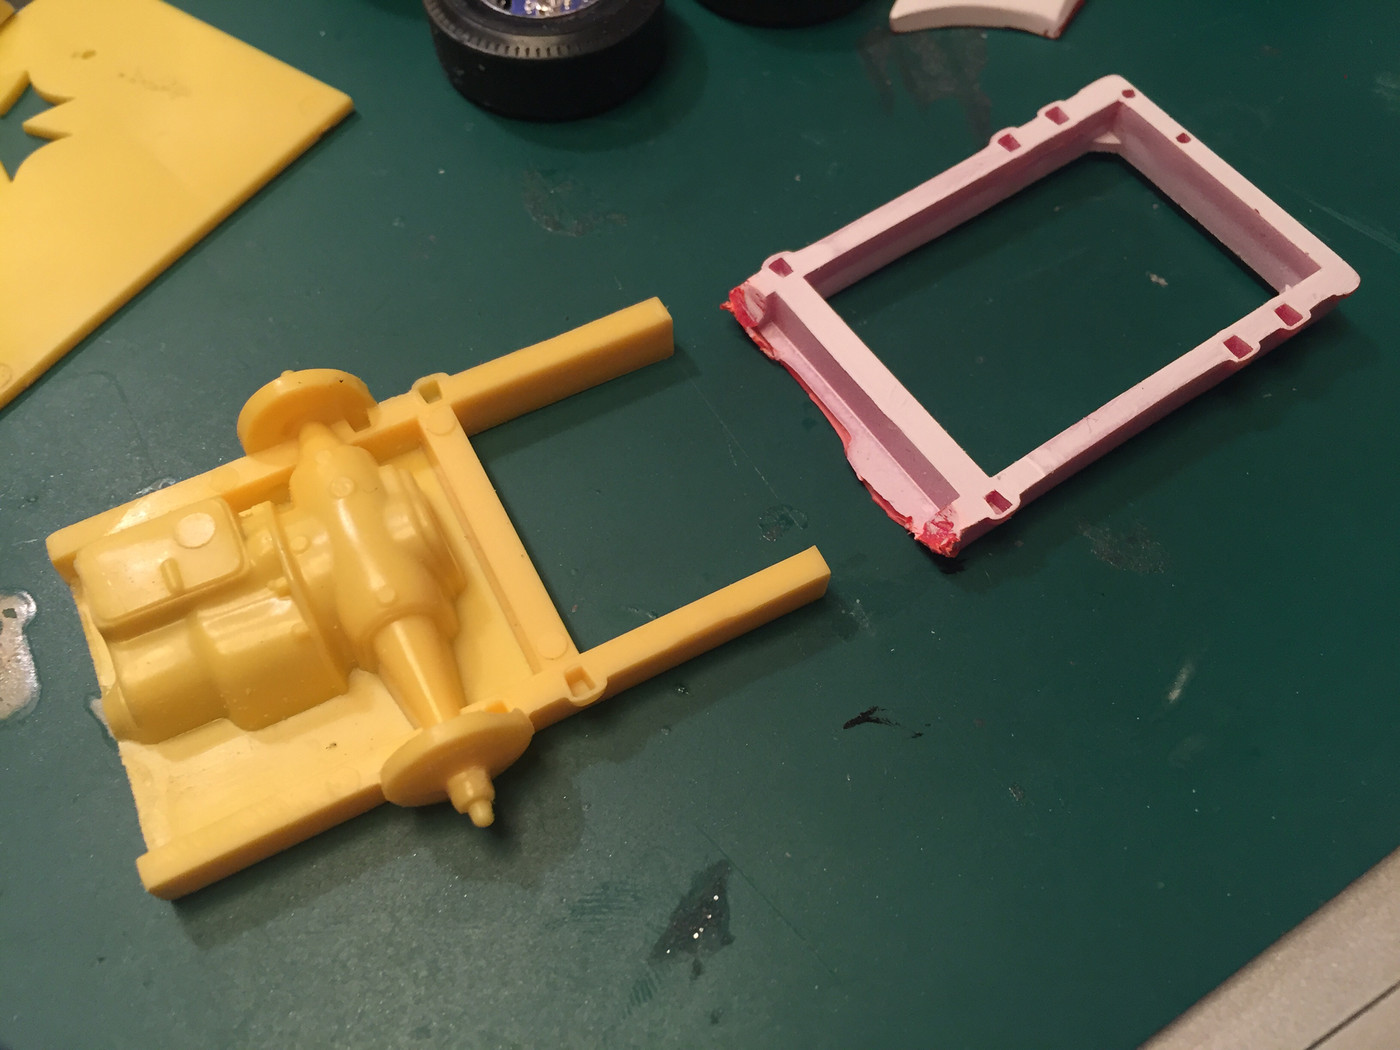
And another one to fit on the front part of the frame, which will give a good gluing surface, and cover up that nasty hacky cut:
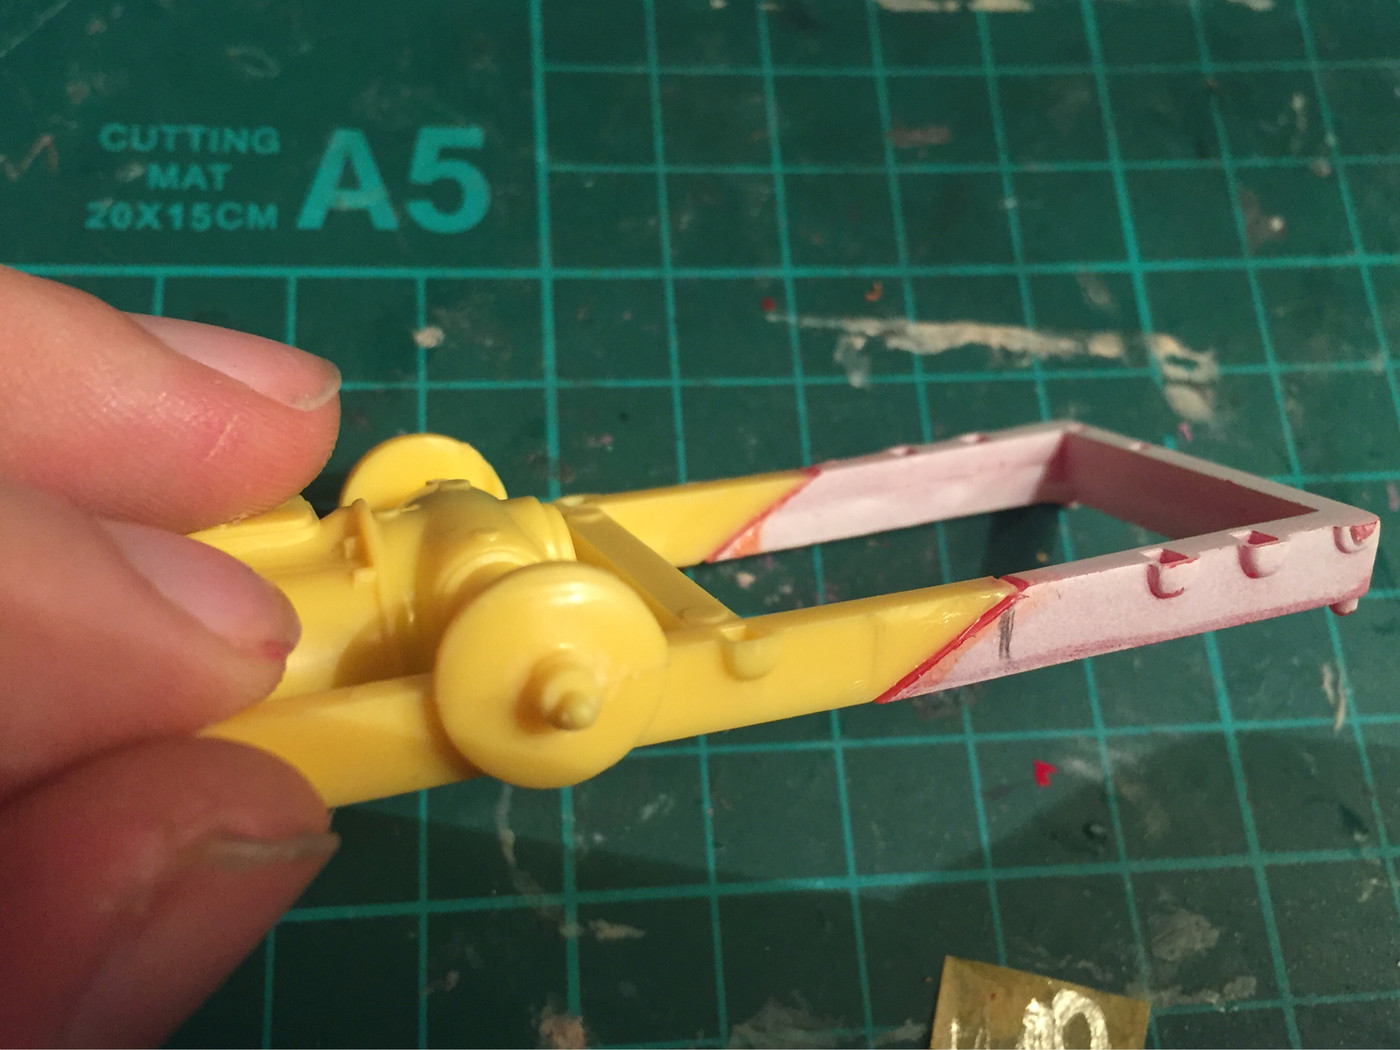
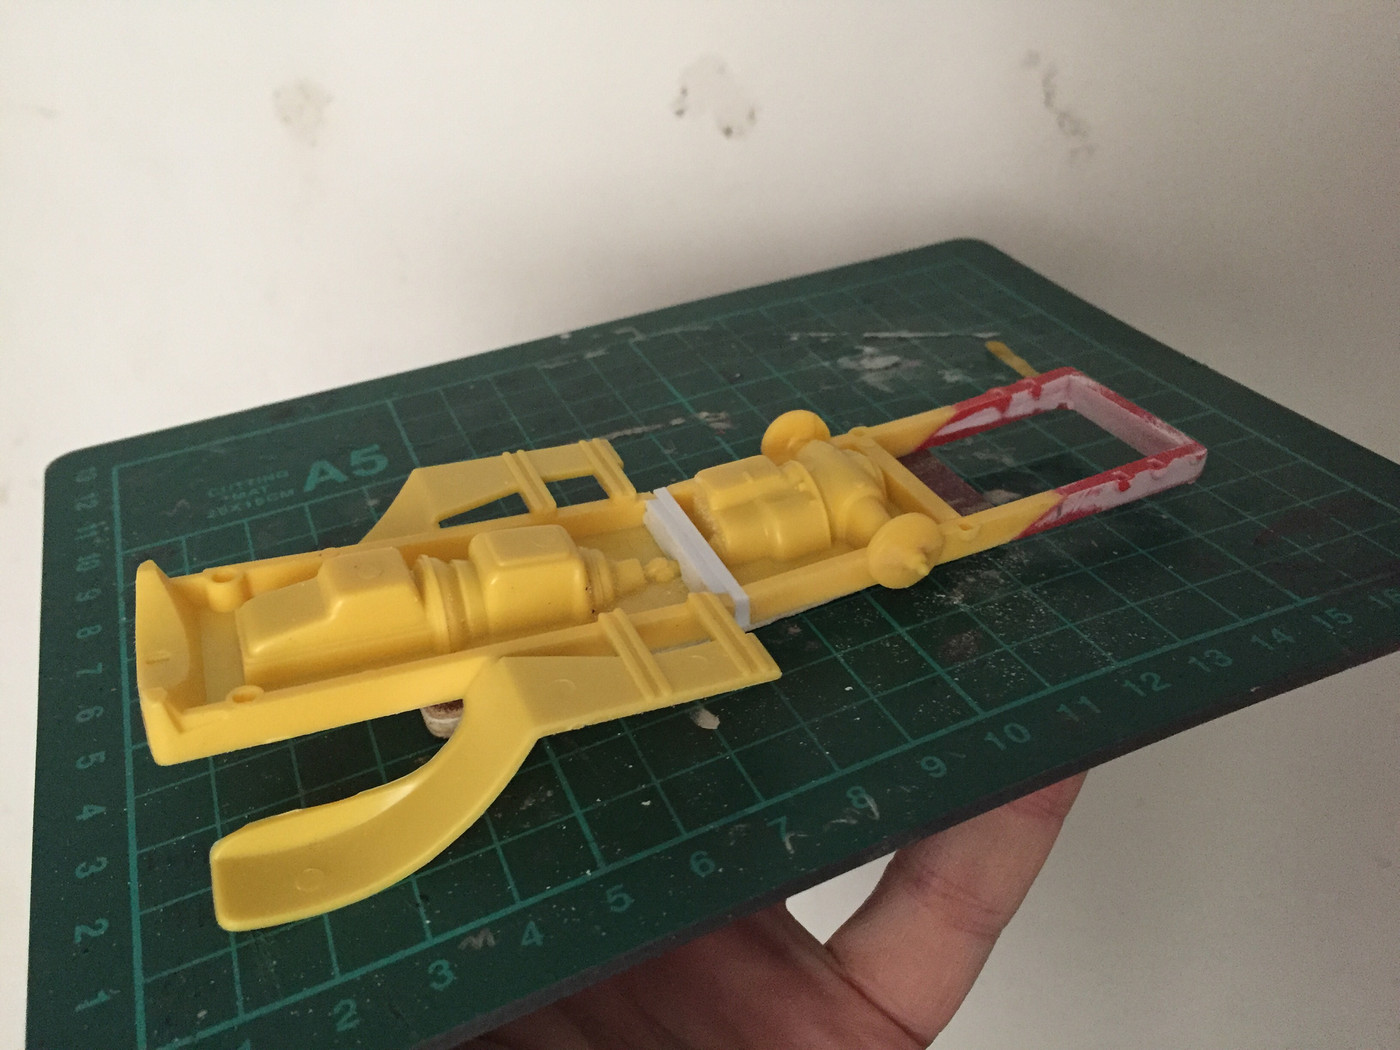
The front and rear pieces, ready for gluing:
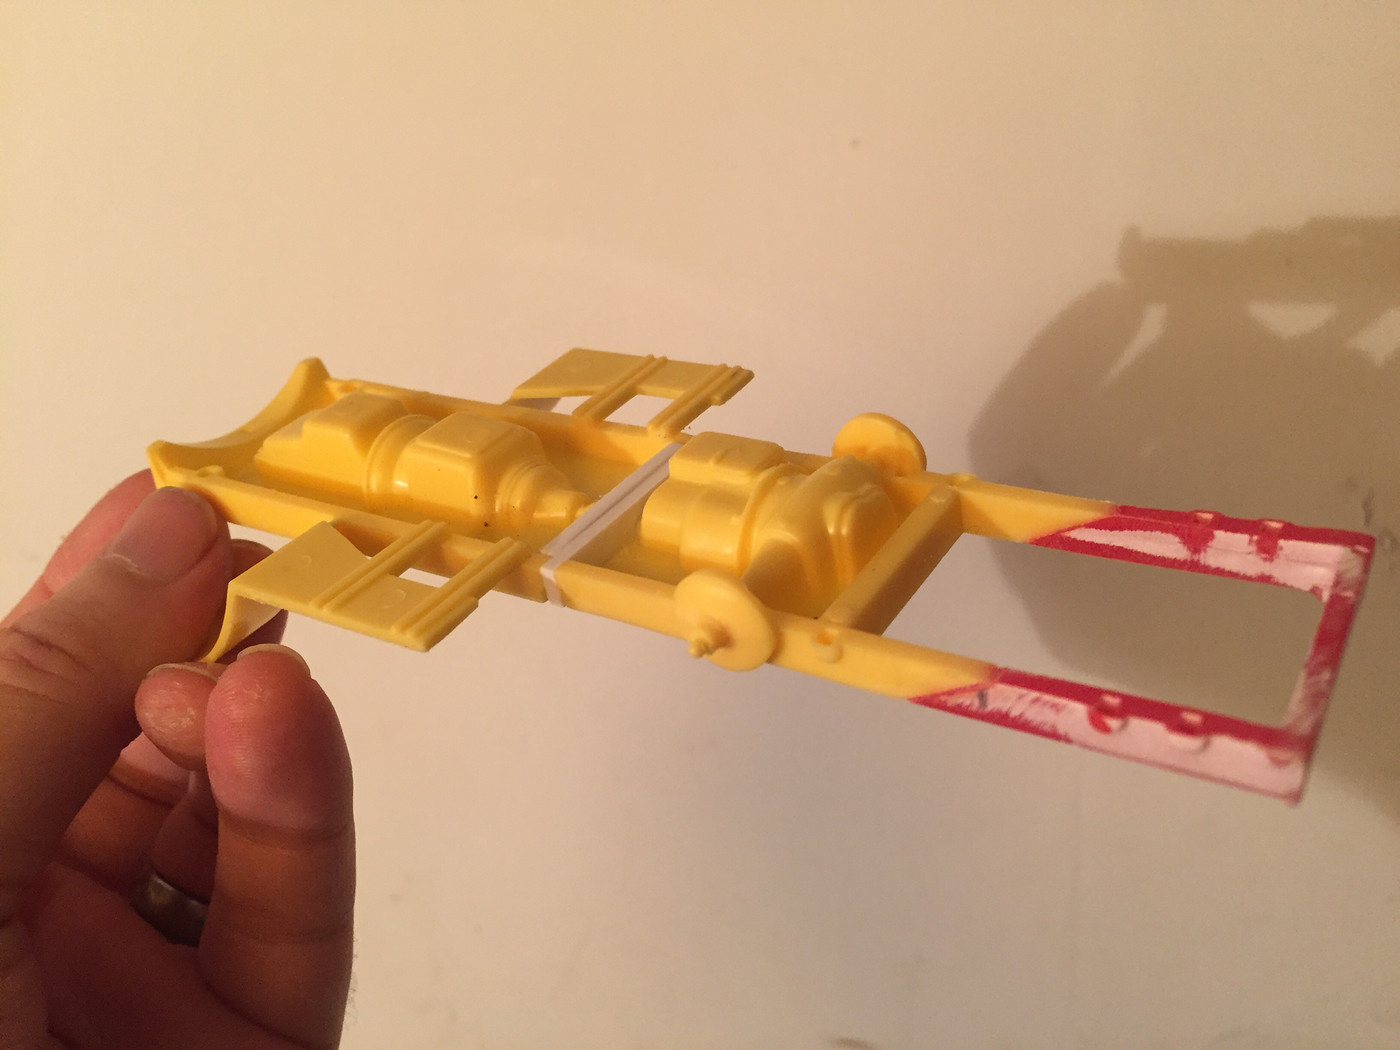
And the bones of a useable frame:
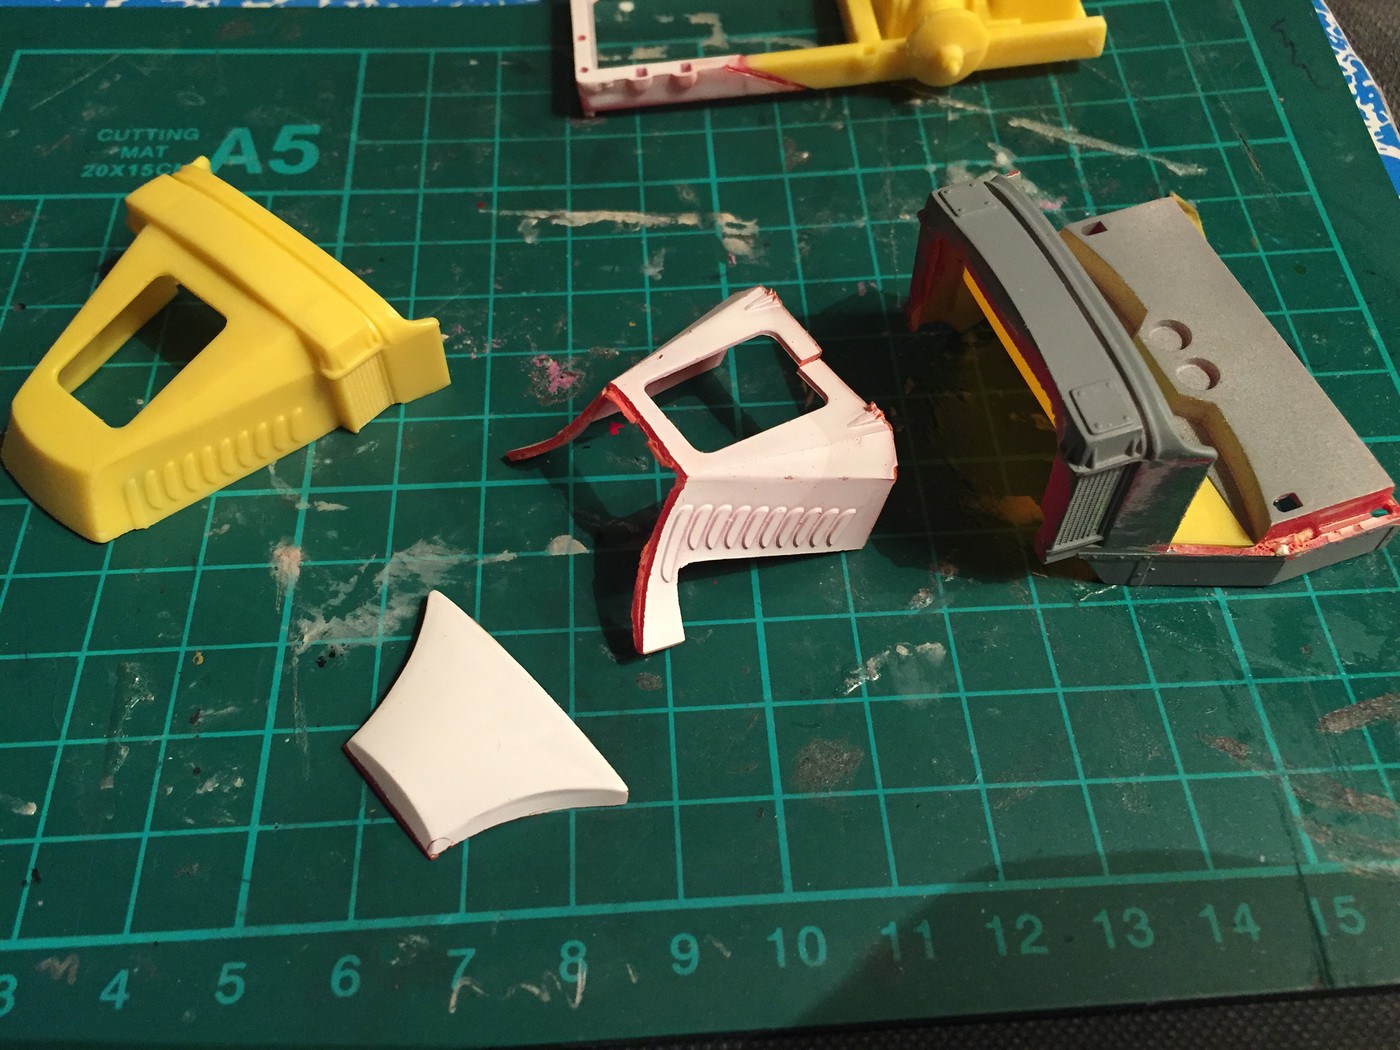
Meanwhile, this is about all I have to use for the bodywork (except for the rear of the cab, not pictured):
The yellow nose piece LOOKS the best, but it's missing the front legs, and the white primered piece has been cut from the floor/cowl piece so I decided to go with that instead.
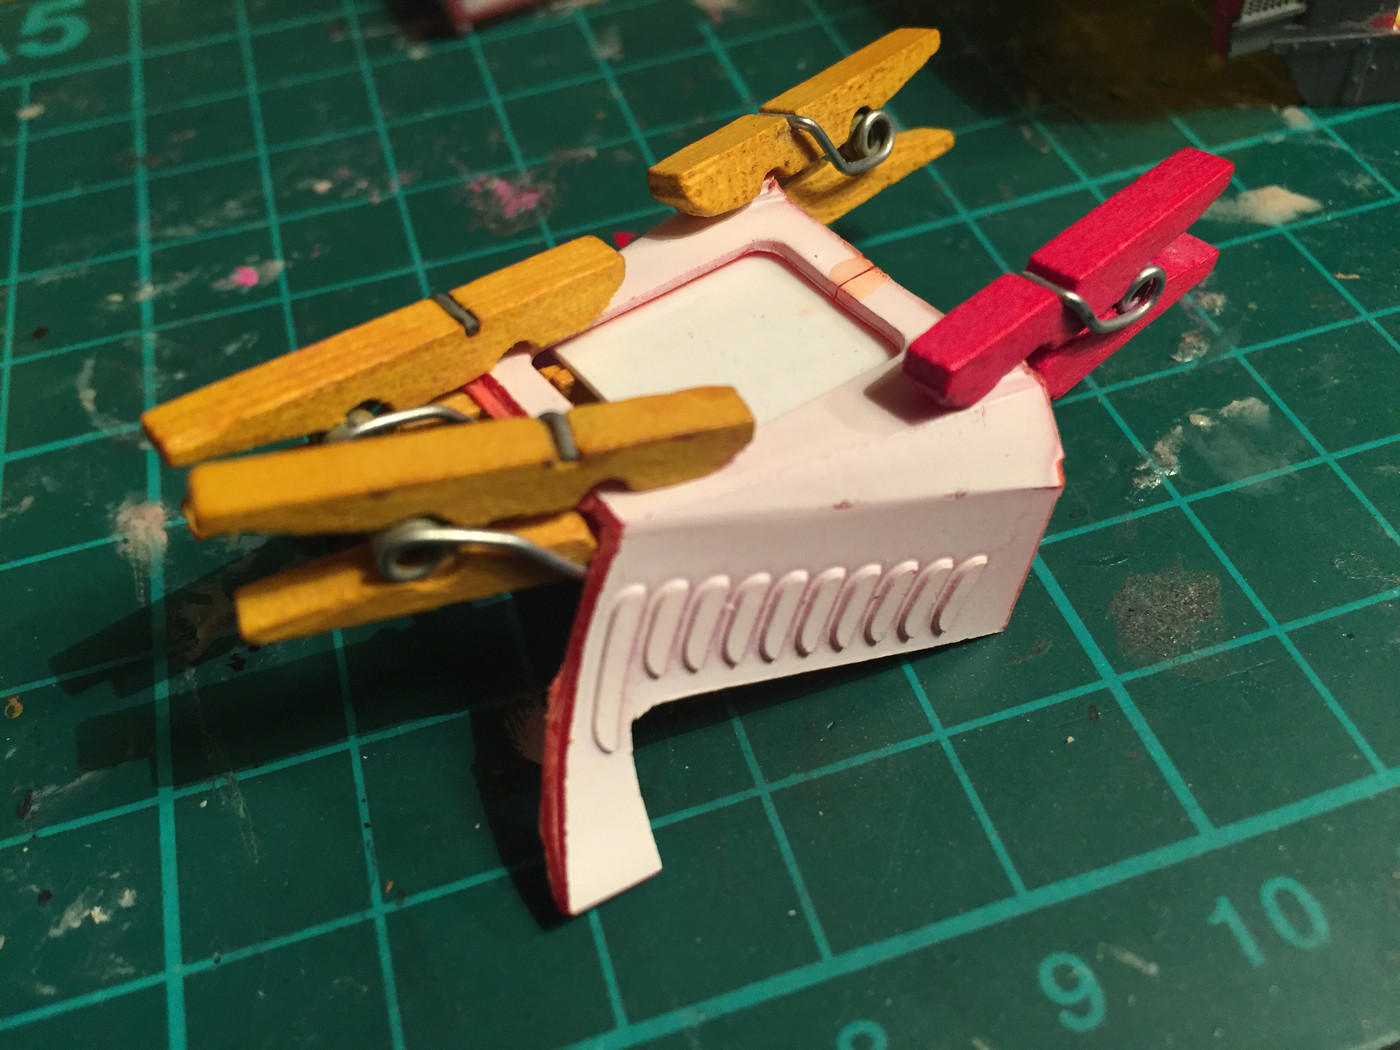
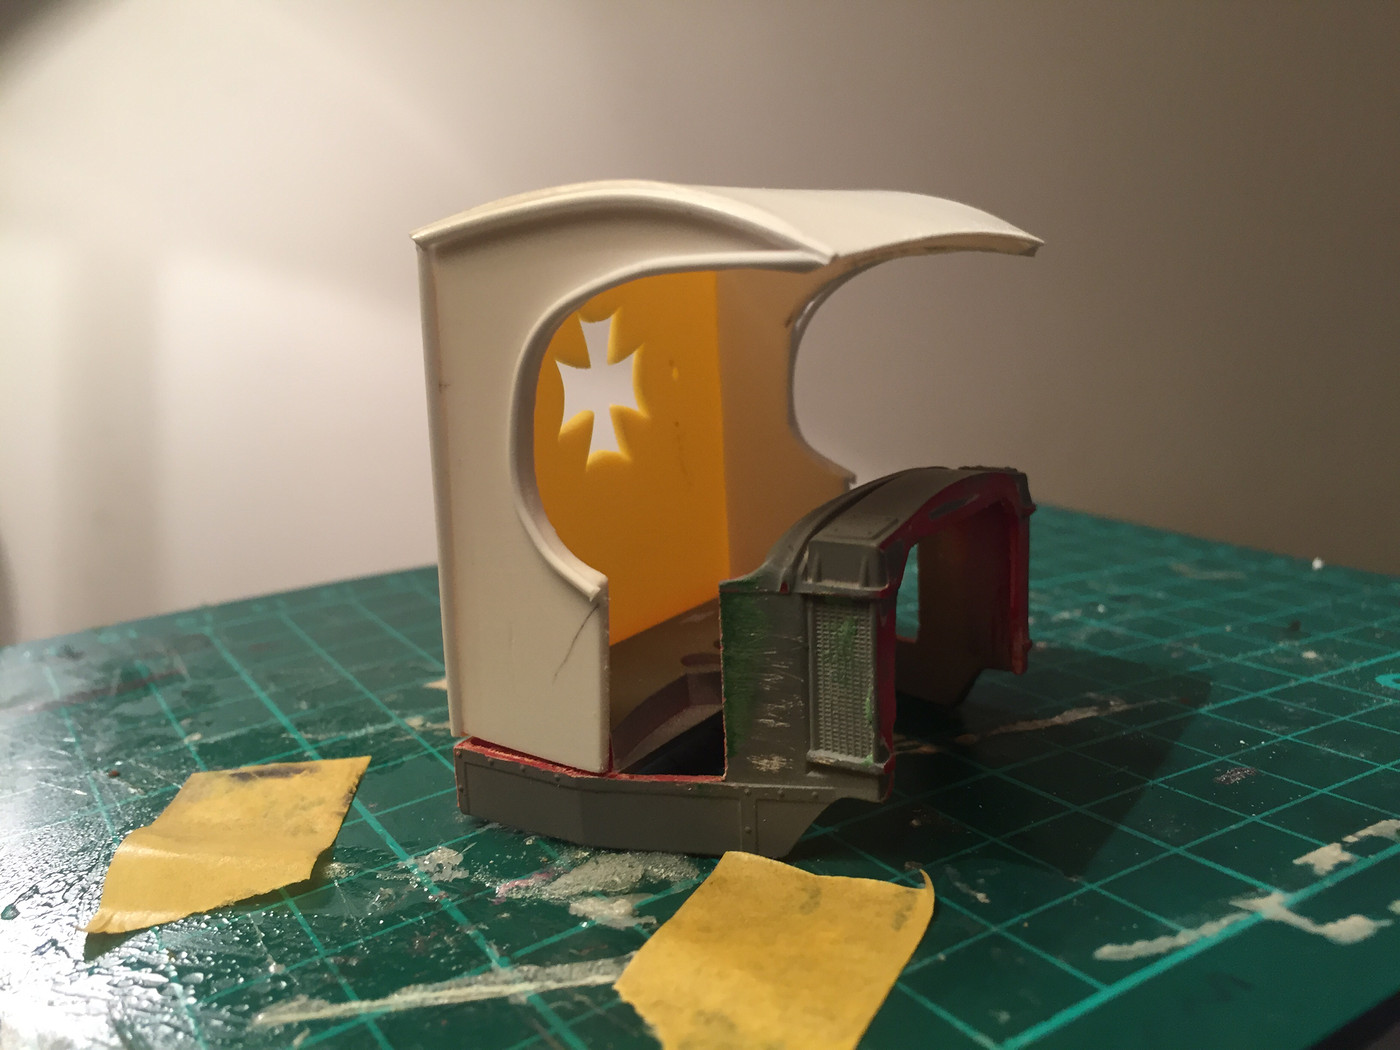
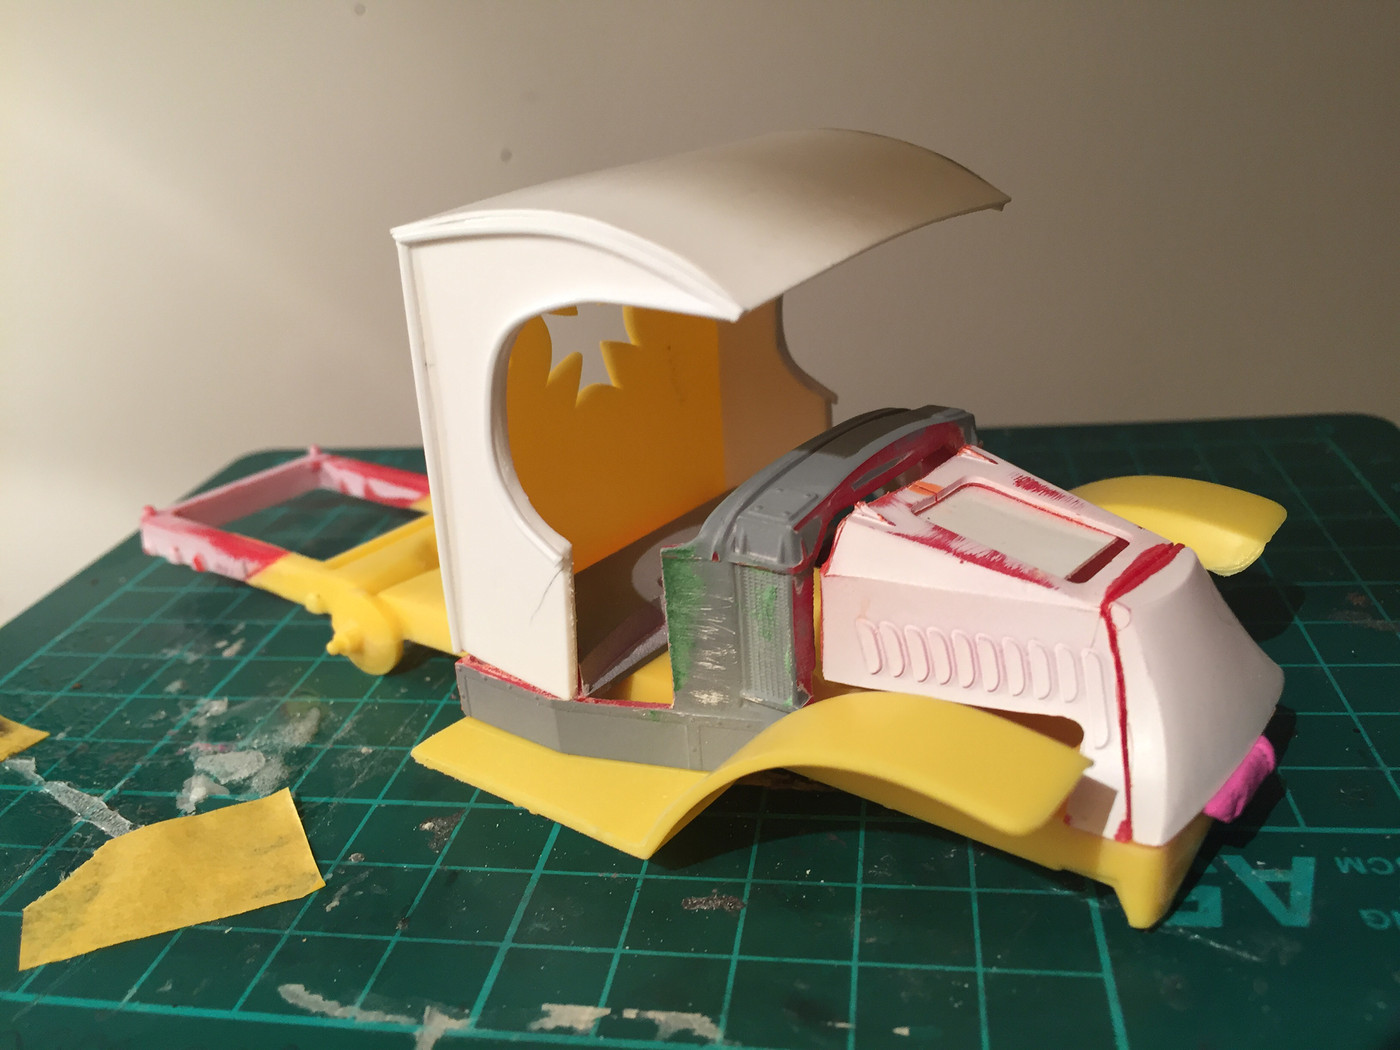
First up, I added some styrene sheet to help fix the crack on the top there:
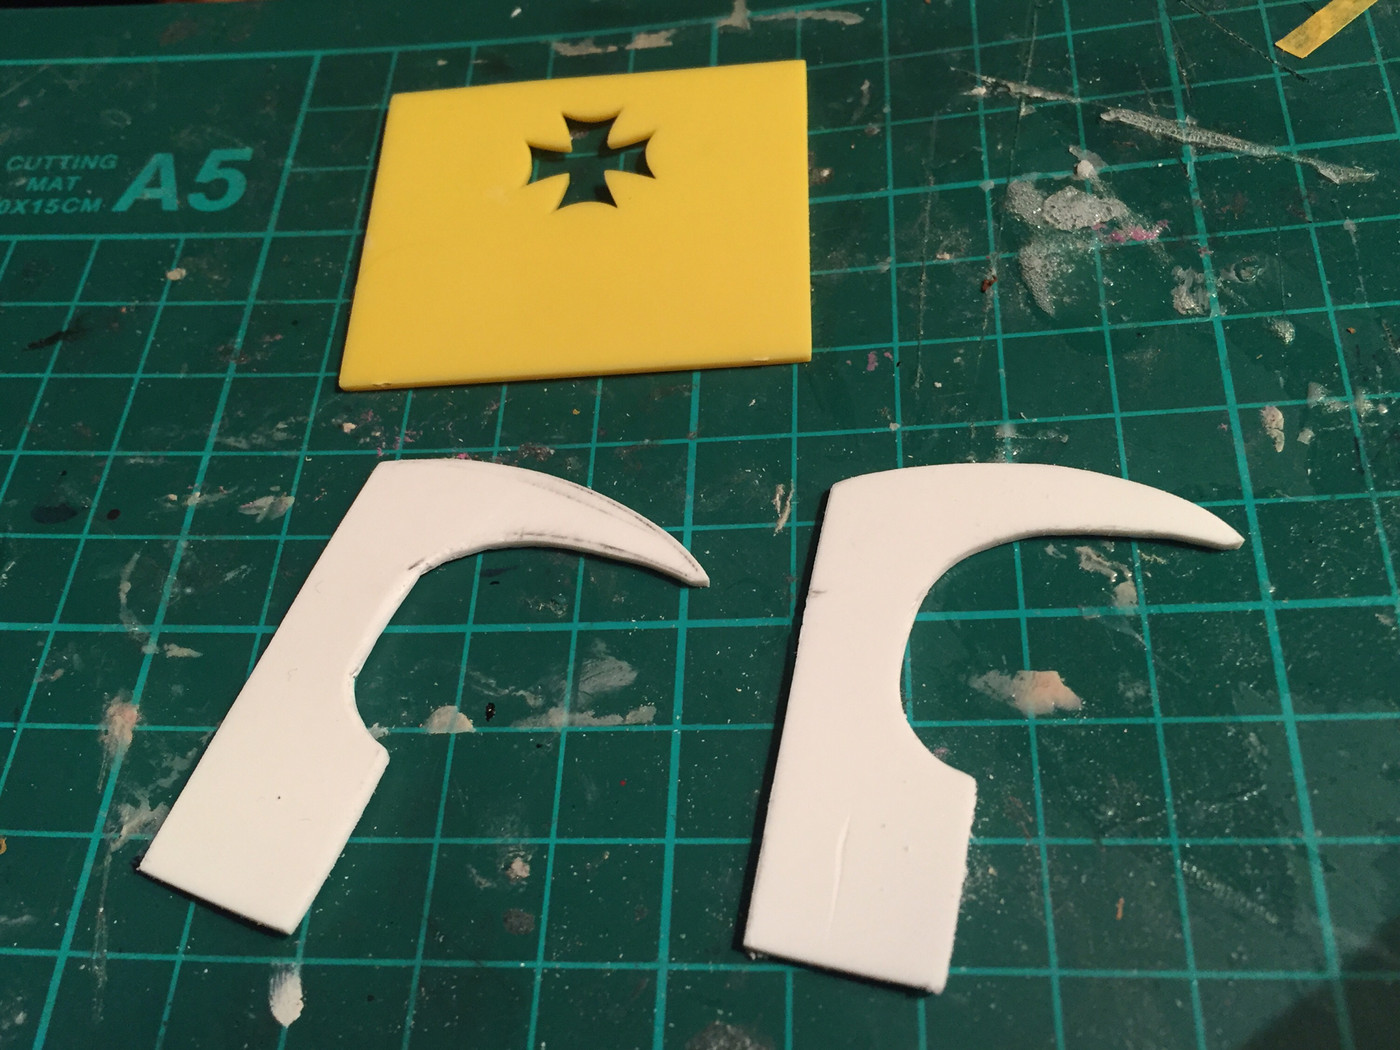
Then I'll need to remove the excess and reattach the front part. Whilst the glue was setting up on that, I cut some cab sides out of some thicker styrene sheet:
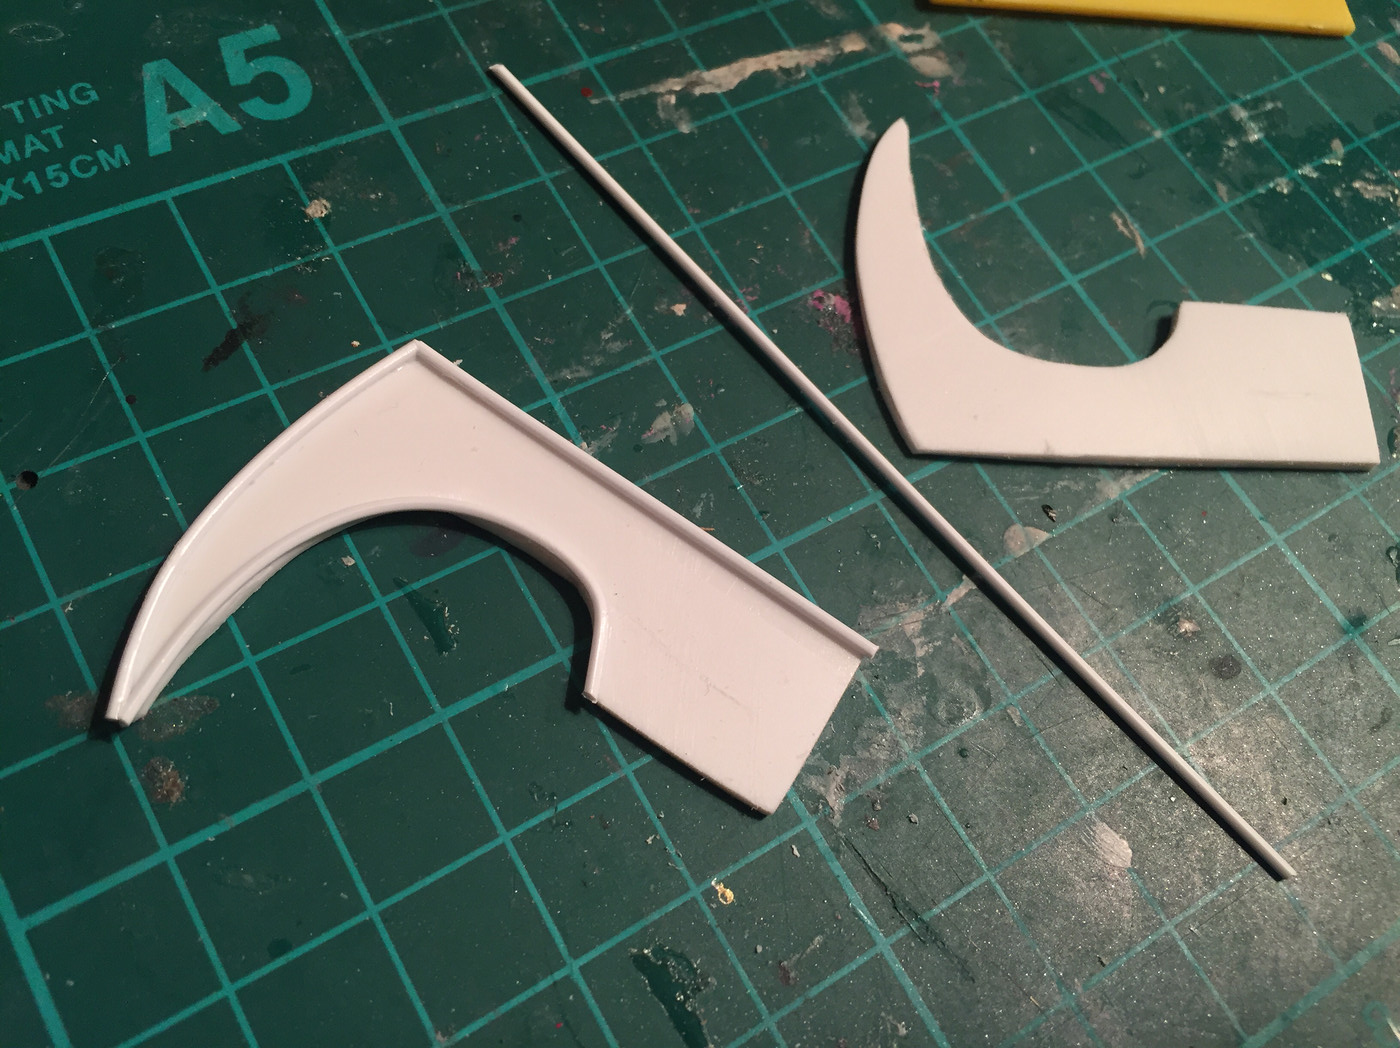
Used some thin diameter half-round bar to put rolled edges on:
Then glued the sides to the back and fabricated a roof:
It's kinda starting to look like a thing!
Not a GOOD thing, but a thing anyway...
More soon!
|
|
|
|
Post by chromecop on Aug 14, 2018 11:17:43 GMT -6
Very nice work !
|
|
|
|
Post by rocketeer on Aug 14, 2018 12:11:08 GMT -6
I agree, nice work; but with new kits listing on eBay for $15, it seems like you're going to a lot of avoidable trouble.
|
|
|
|
Post by kabdriver on Aug 14, 2018 15:57:35 GMT -6
Yeah, I could pick up a new one ($40 at my LHS?!? And $25 at cheapest on eBay right now), but then I'd still have all these parts  |
|
|
|
Post by Dennis M on Aug 18, 2018 21:49:30 GMT -6
Looking good.
|
|
|
|
Post by kabdriver on Aug 23, 2018 14:49:45 GMT -6
Thanks, fellas!
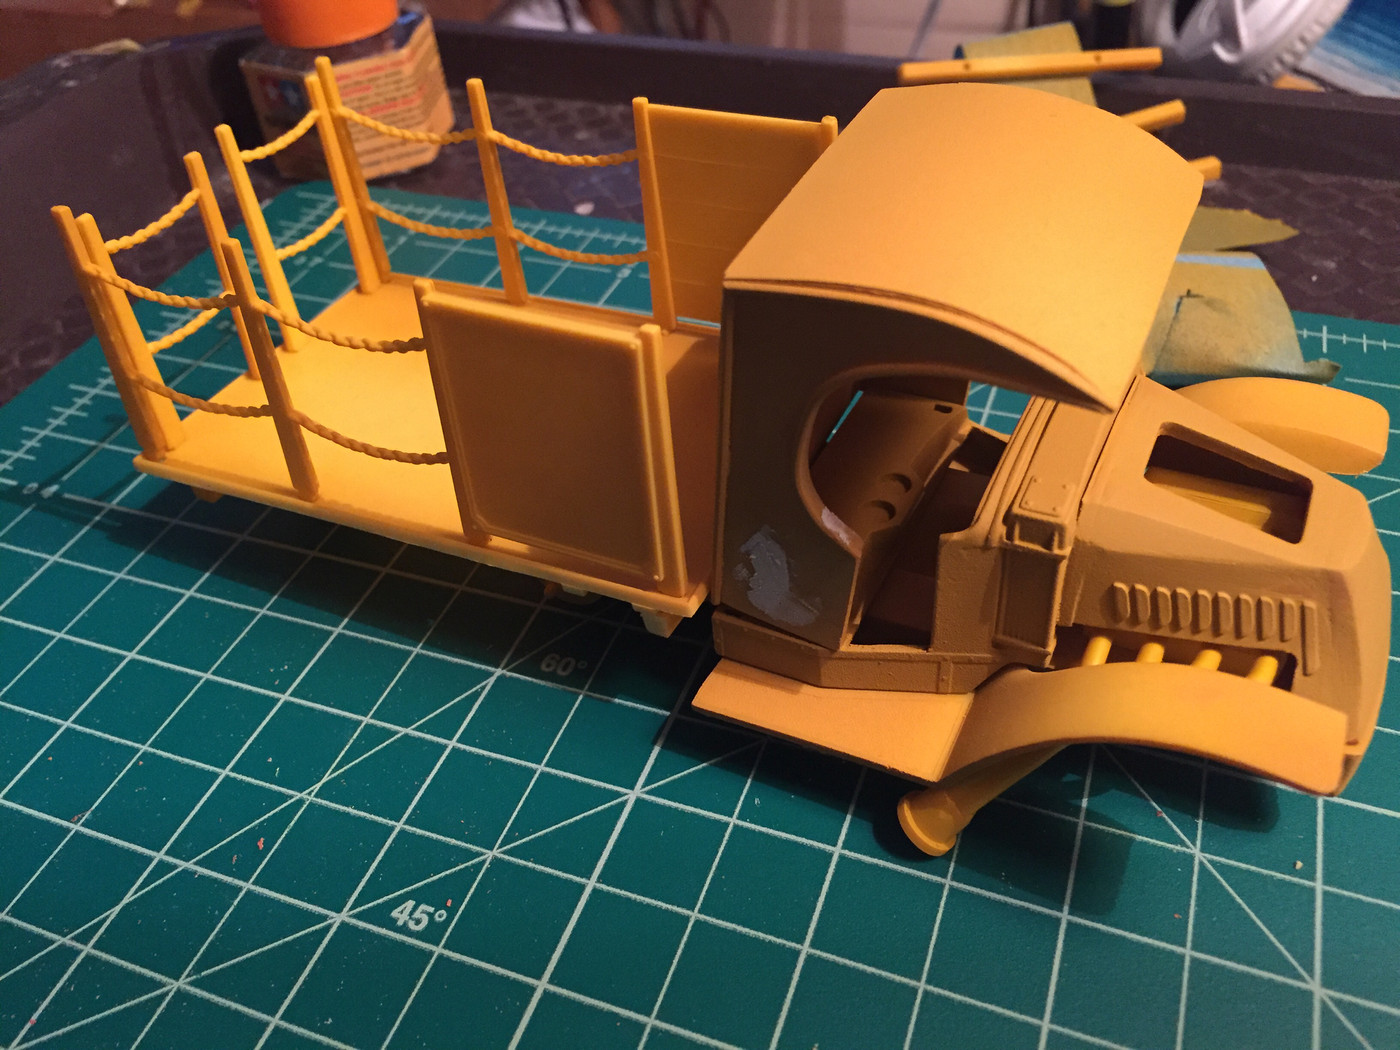
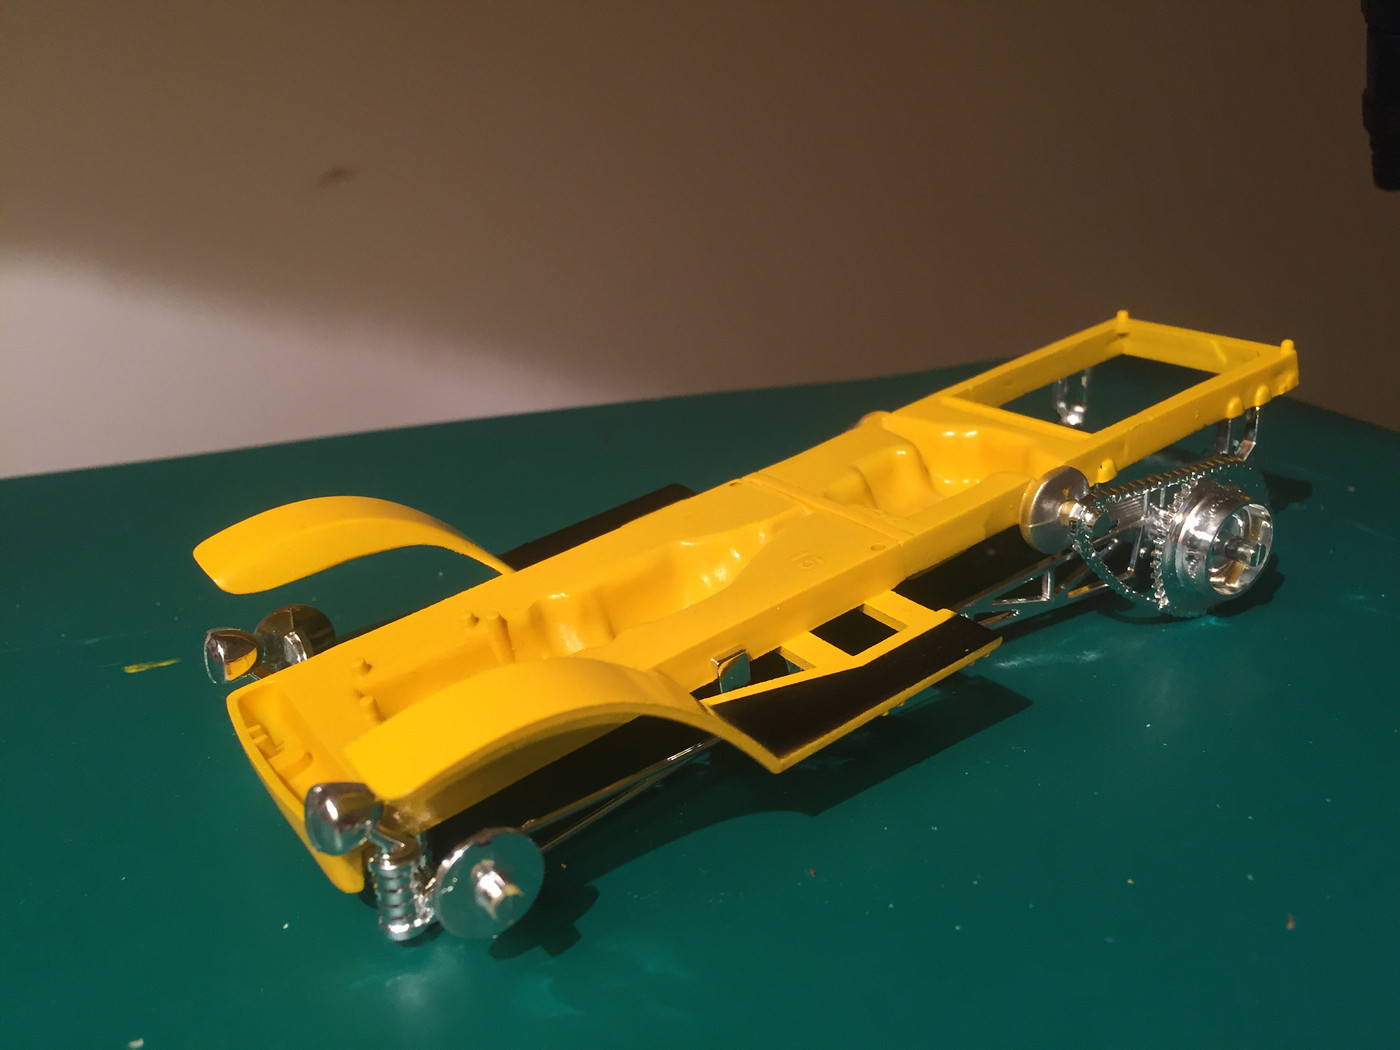
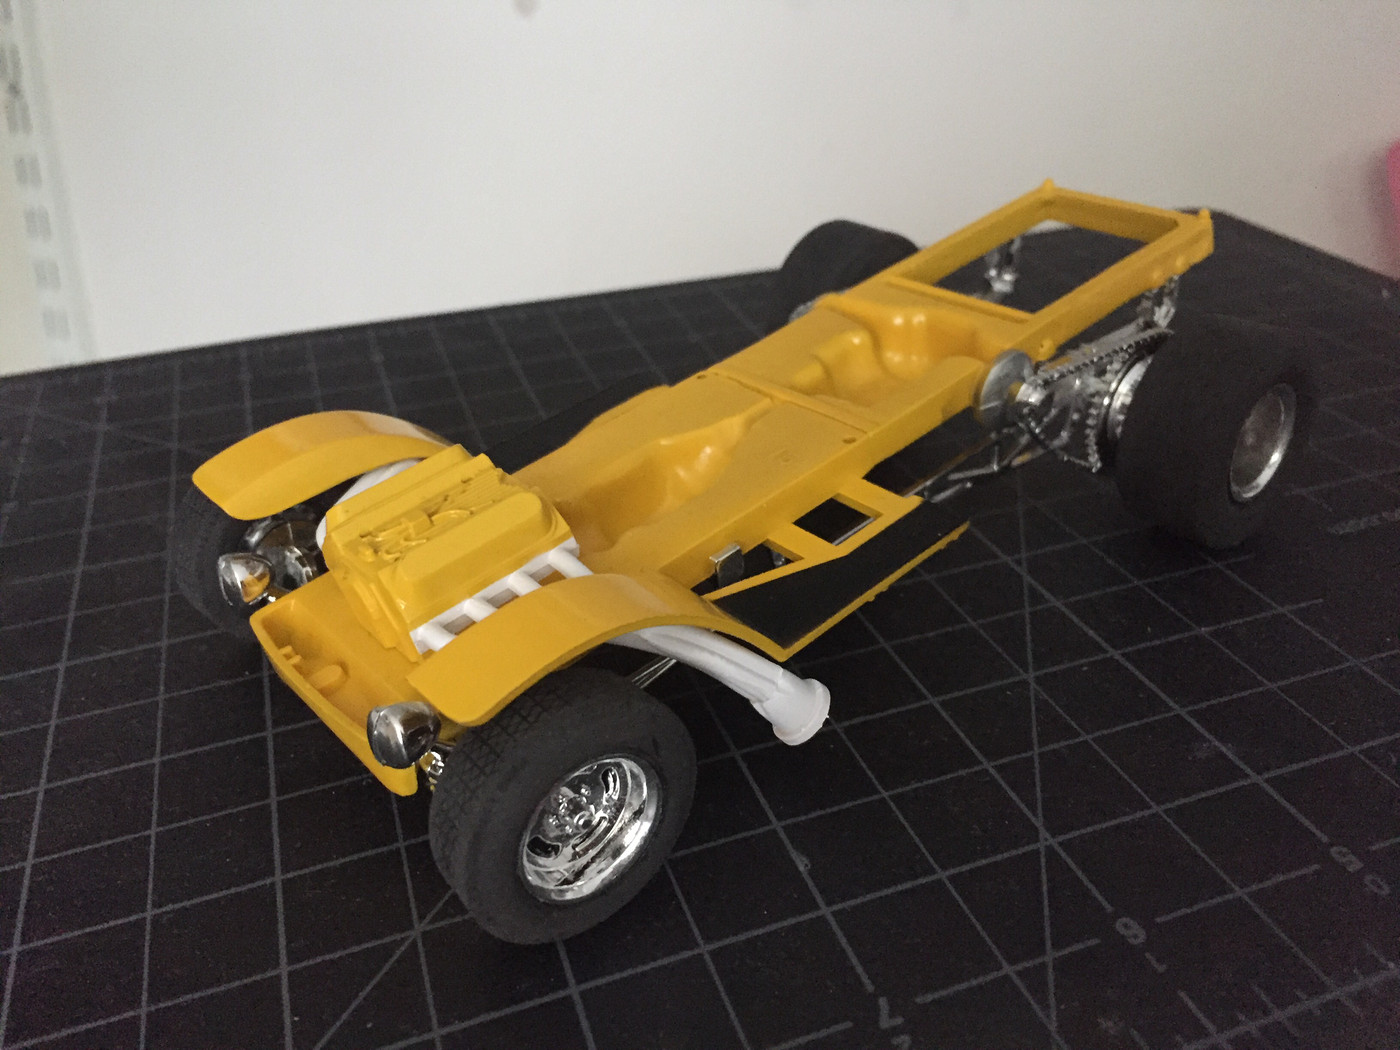
Got this thing ready to paint and assemble - I THINK I've got everything else it needs, hopefully...
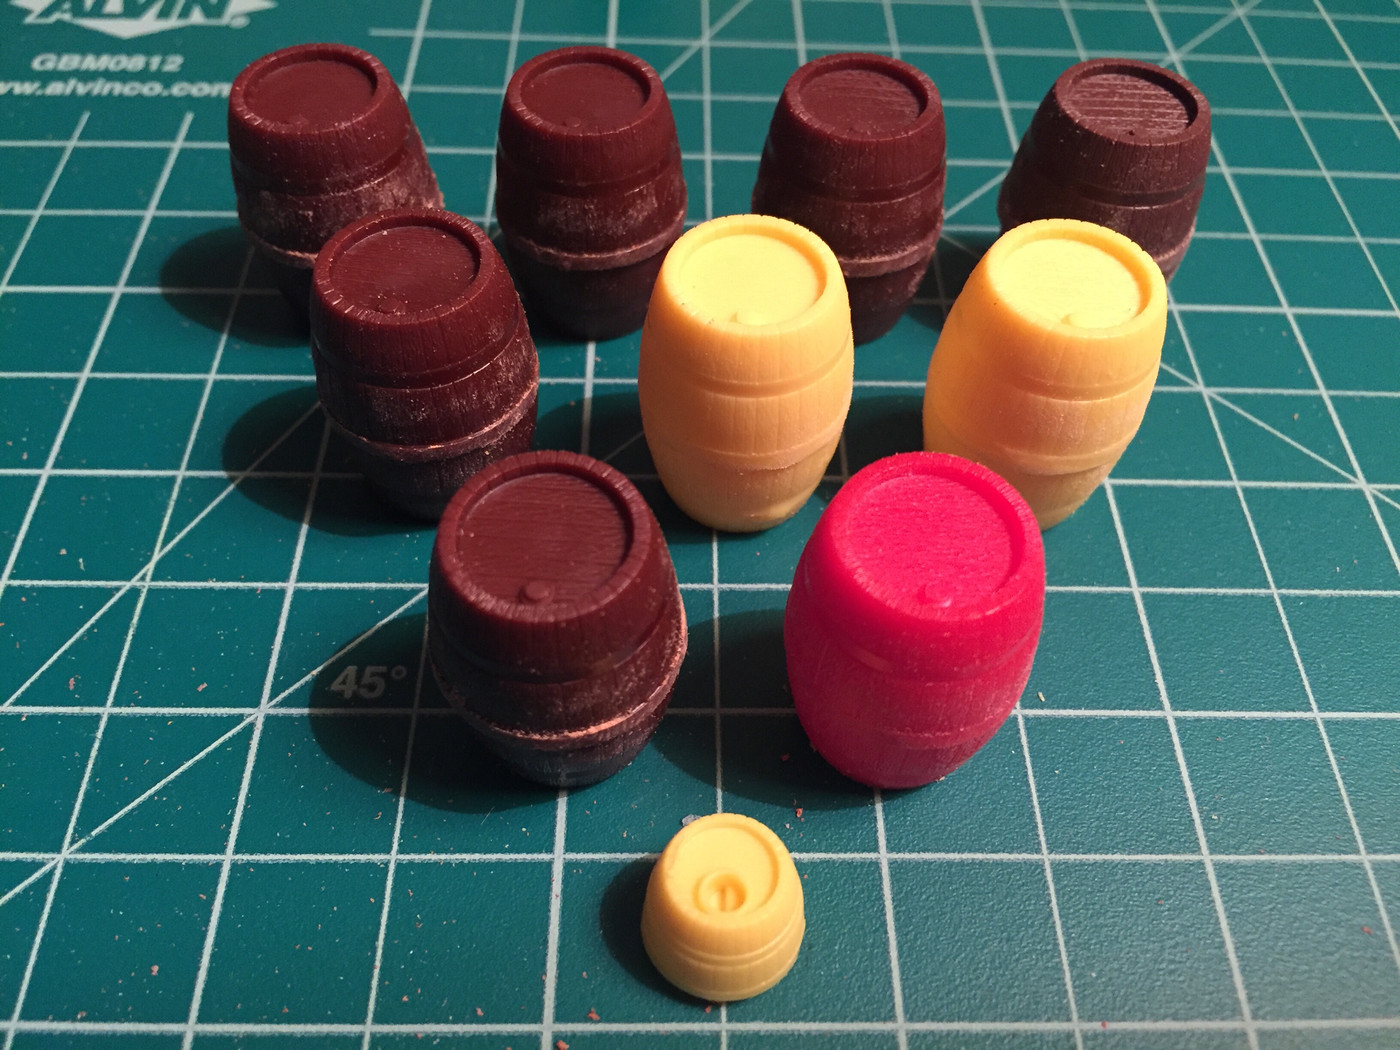
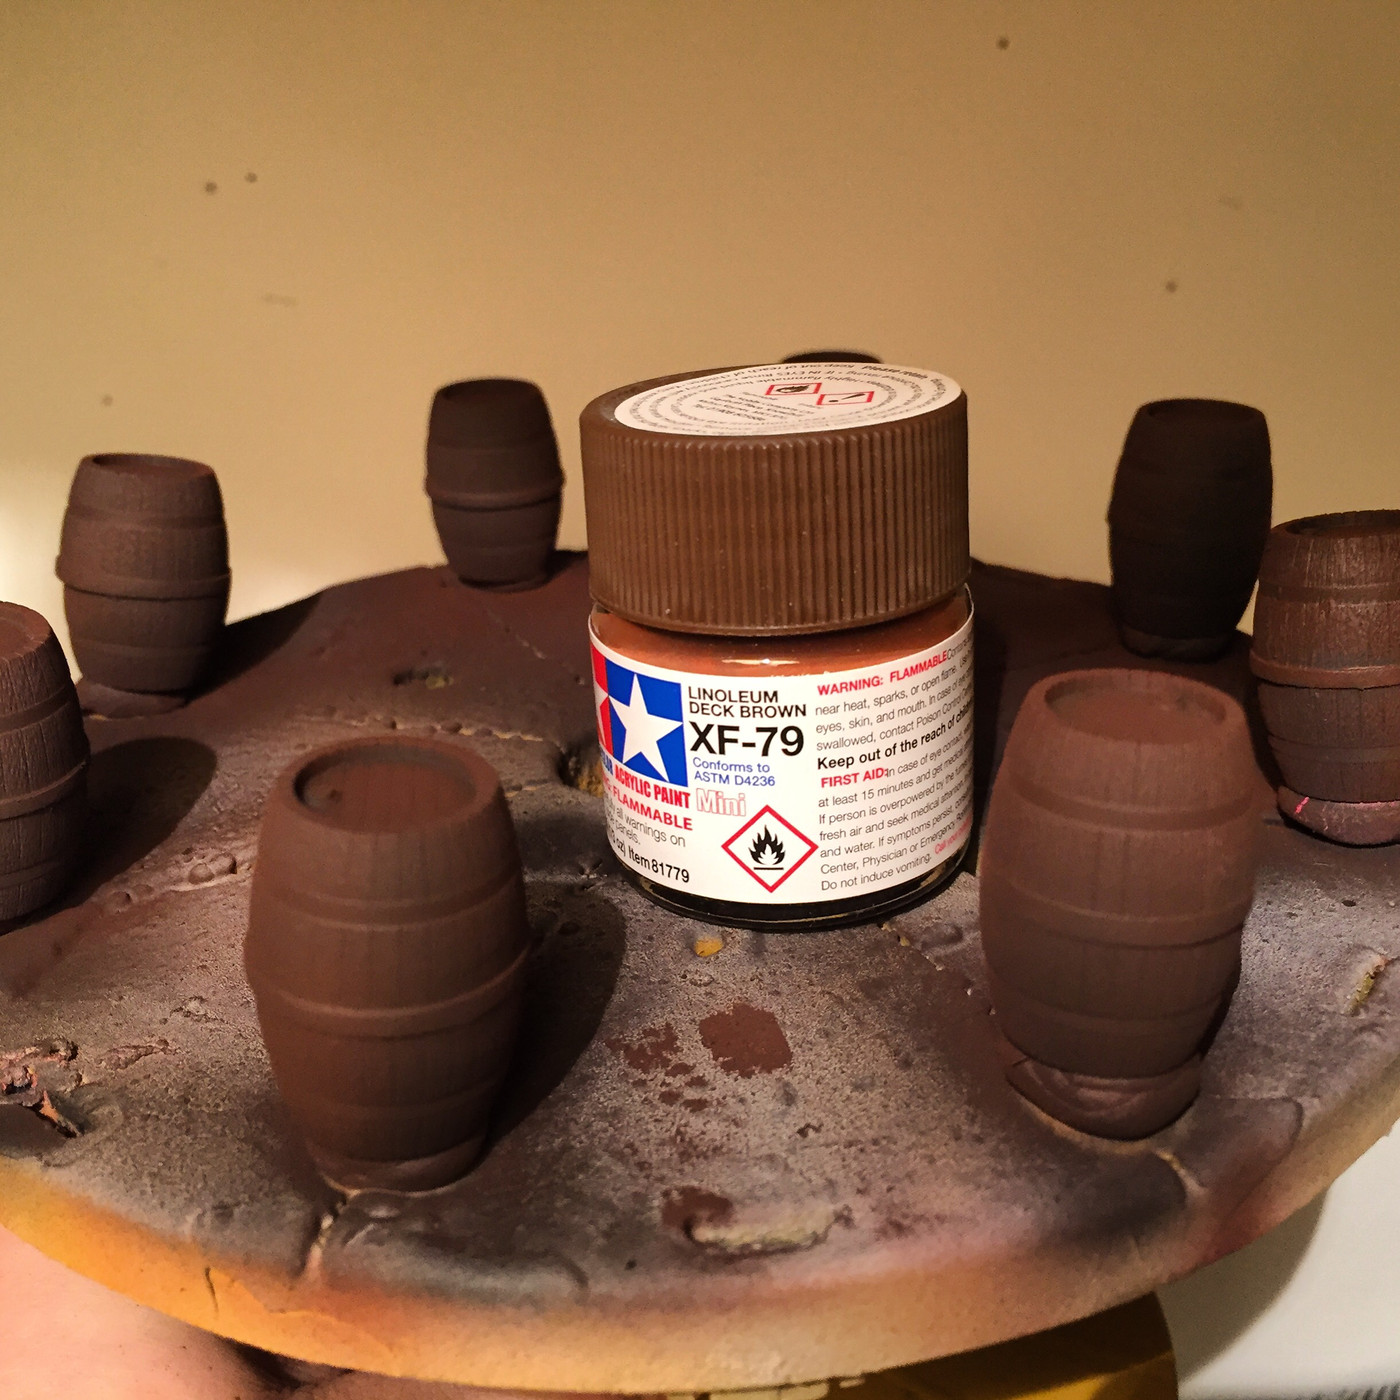
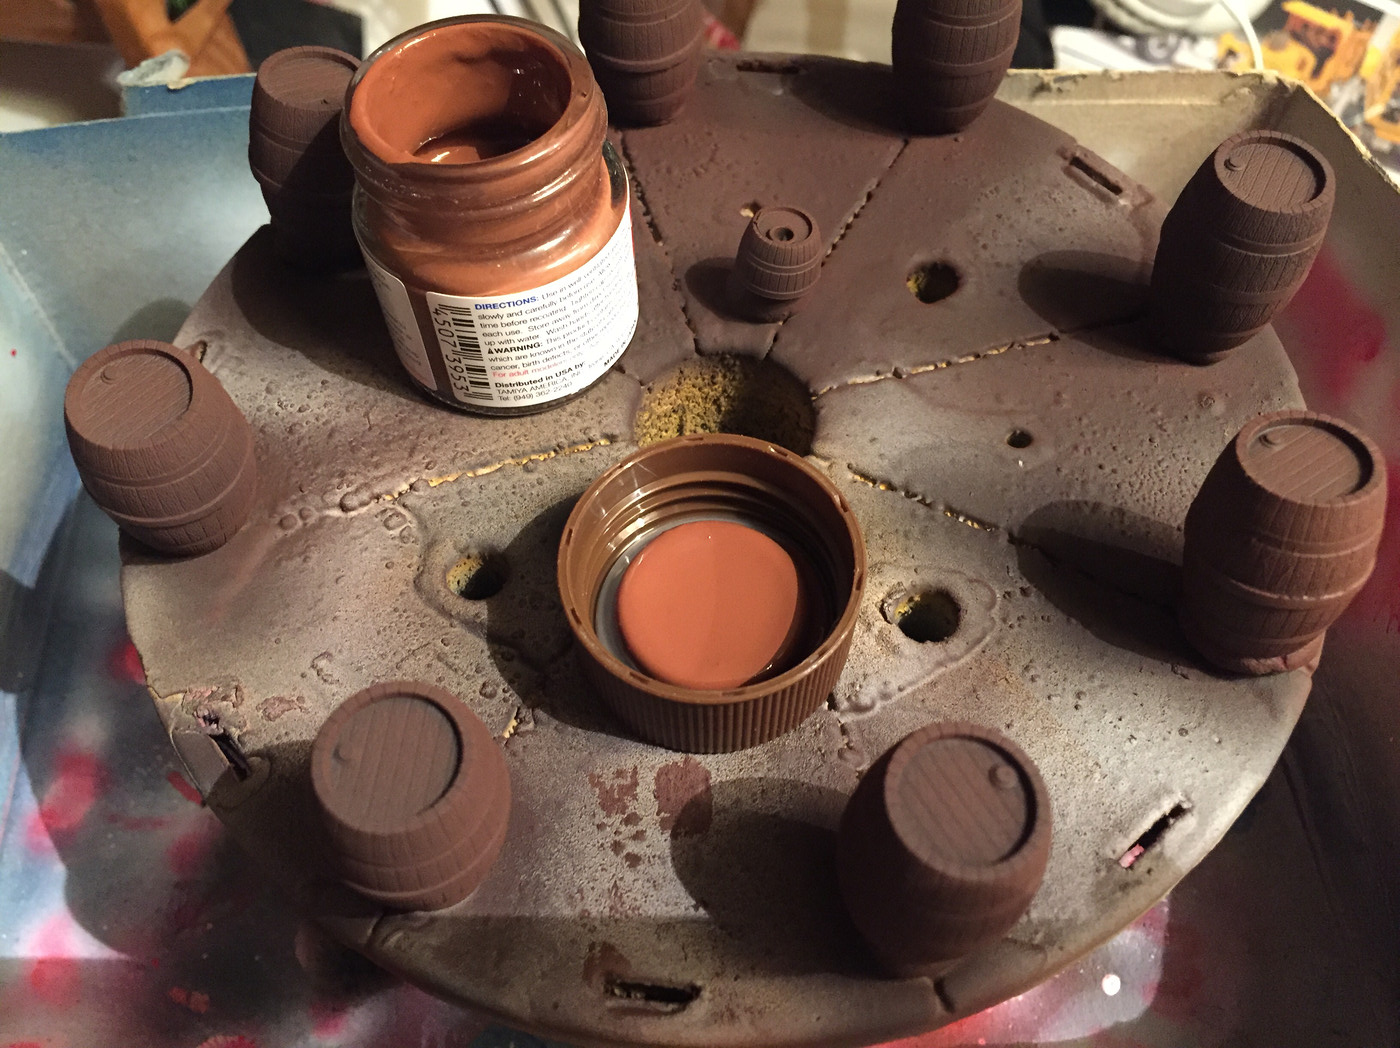
Made a TONNE of barrels...it's gonna be fun drybrushing all of these...
I airbrushed them flat black first, then misted on some dark brown in places and when they're dry I'll drybrush in a lighter brown to bring the grain out a little:
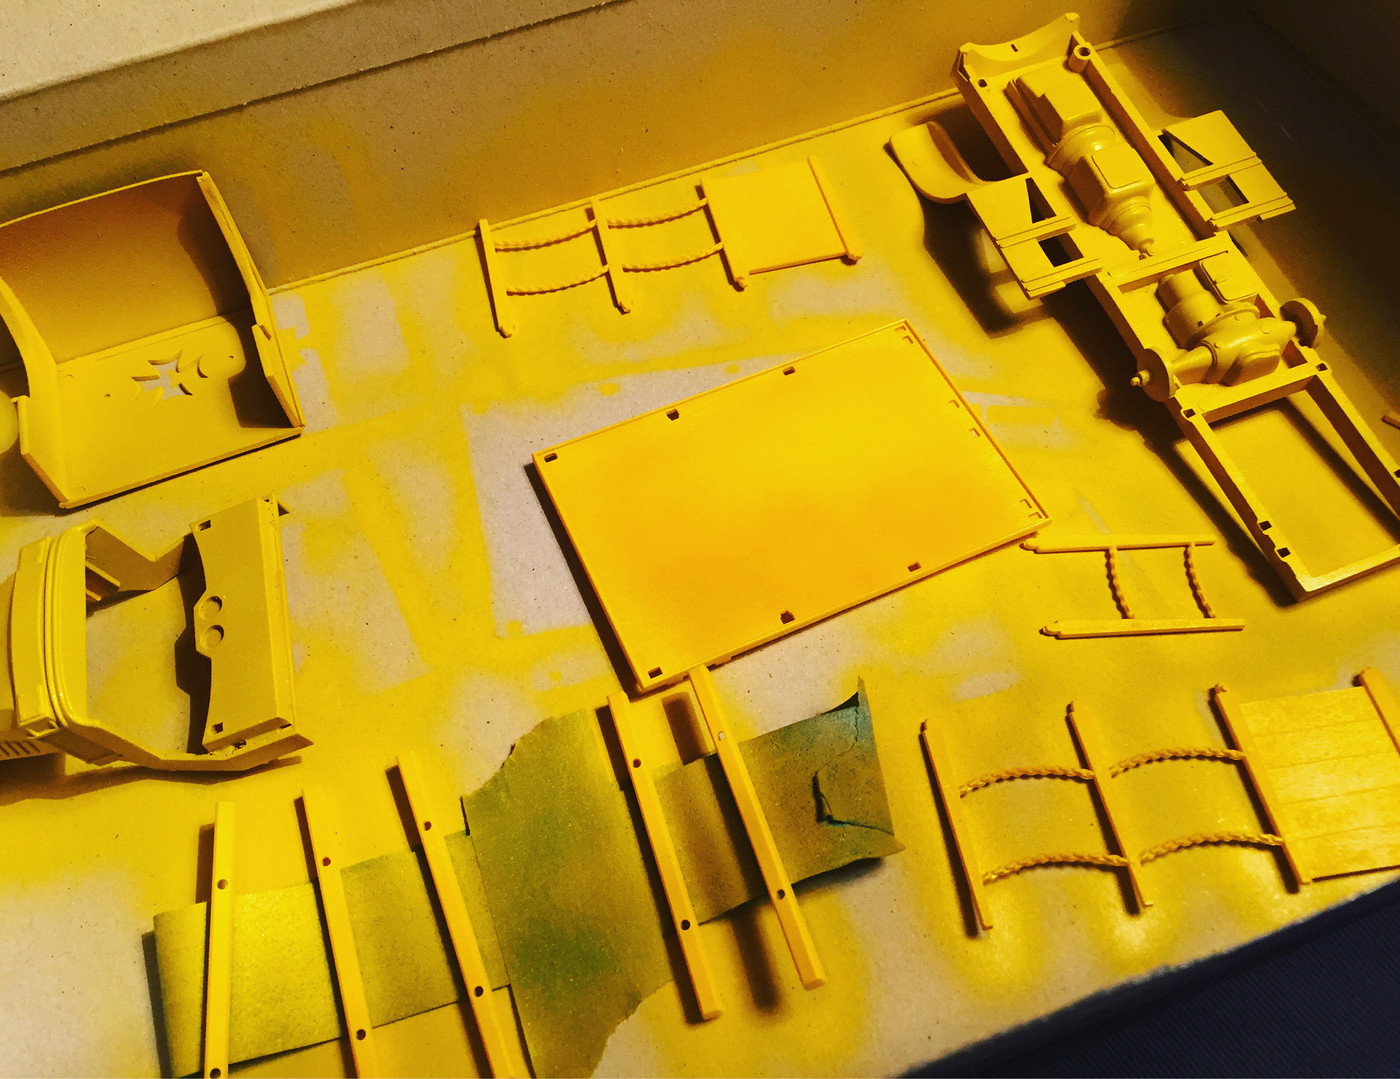
And I picked up some Tamiya Lemon Yellow for the yellow bits and started laying that down:
More soon!
|
|
|
|
Post by atenzapower on Aug 24, 2018 13:21:51 GMT -6
Nice work
|
|
|
|
Post by Bert on Aug 24, 2018 17:15:12 GMT -6
You have about got that one knocked out. Good job.
|
|
|
|
Post by kabdriver on Aug 24, 2018 17:37:34 GMT -6
Thanks Bert!
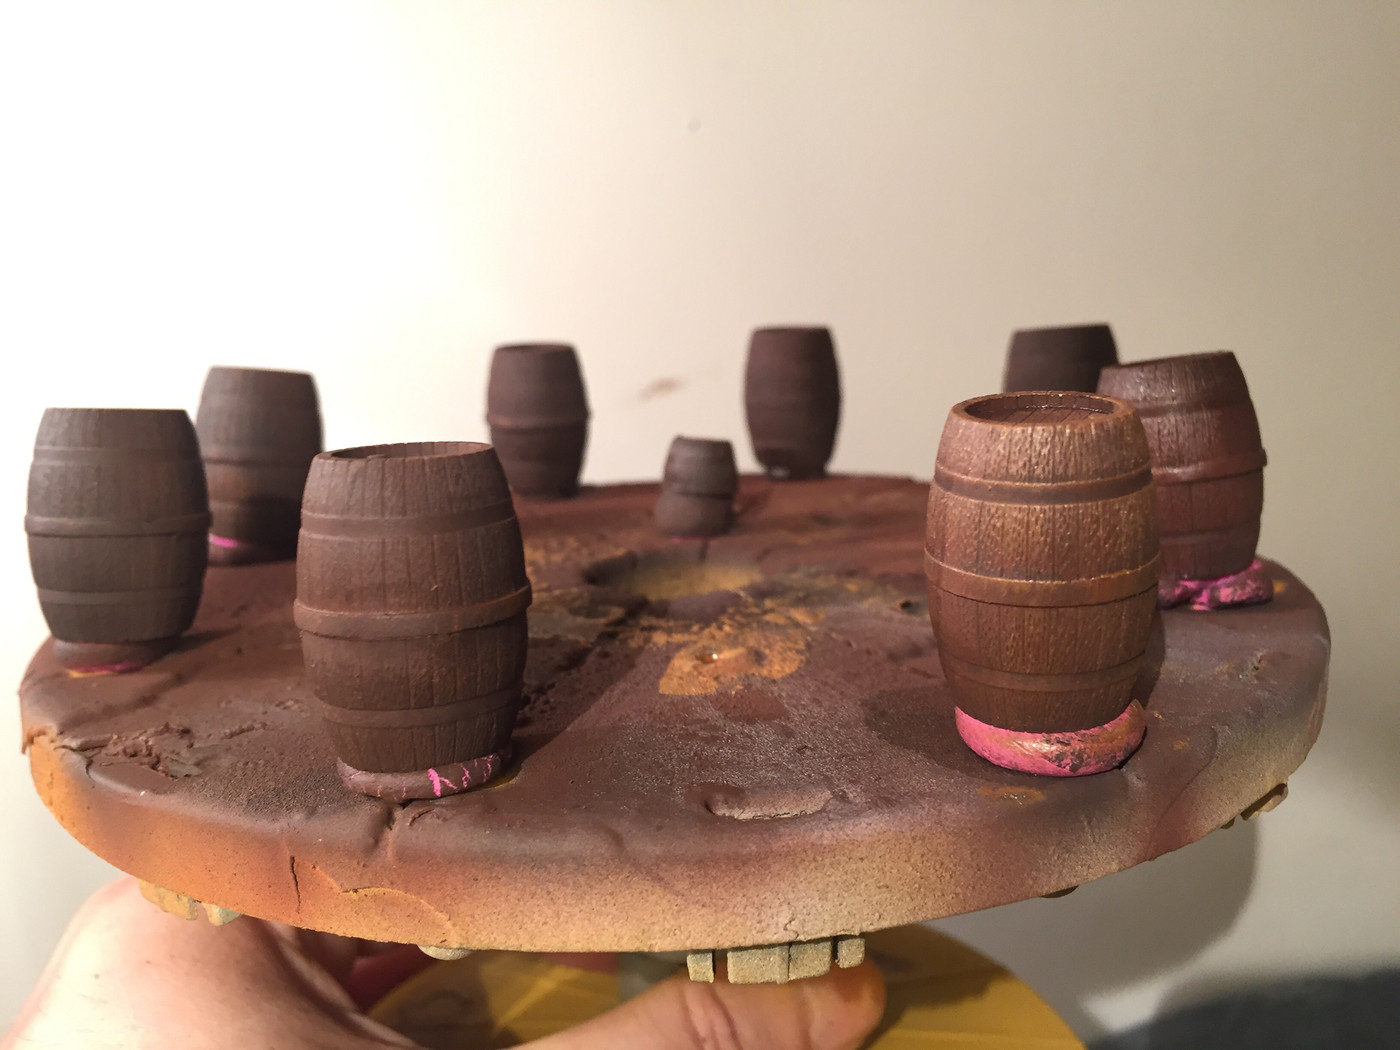
Did some work on the barrels today - first I drybrushed some lighter brown over the grain to bring that out a little:
Makes a big difference! The barrel on the right has been drybrushed, and the others haven't:
Just gotta do the rest and shoot them with some Future to give then a varnished look before BMFing the metal rings around them. More soon!
|
|
|
|
Post by donculley on Aug 25, 2018 13:00:35 GMT -6
All I can say is - WOW ! I'll bet No Beer Wagon in that shape was ever shown so much attention in getting restored - great job !
|
|
|
|
Post by kabdriver on Aug 25, 2018 15:17:10 GMT -6
Thanks Don! I'm just getting the base coats done on the bodywork and frame so I can get them cleared ready for graphics and so on - I don't have any decals here so I'm gonna be airbrushing the signage on the side somehow I think
|
|
|
|
Post by donculley on Aug 25, 2018 20:18:42 GMT -6
Thanks Don! I'm just getting the base coats done on the bodywork and frame so I can get them cleared ready for graphics and so on - I don't have any decals here so I'm gonna be airbrushing the signage on the side somehow I think I have a set of Beer Wagon decals from one of the reissues ; let me know if you could use them and I'll send them out to you |
|
|
|
Post by TooOld on Aug 25, 2018 23:47:26 GMT -6
More excellent fab work going on here , nice work Jim ! and the barrels look pretty cool too !  |
|
|
|
Post by kabdriver on Aug 26, 2018 8:41:59 GMT -6
I have a set of Beer Wagon decals from one of the reissues ; let me know if you could use them and I'll send them out to you Thank you SO much Don - I think atenzapower has me hooked up but that's really cool of you!
|
|
|
|
Post by kabdriver on Sept 10, 2018 16:10:13 GMT -6
Got some more done on this in the past week or two.
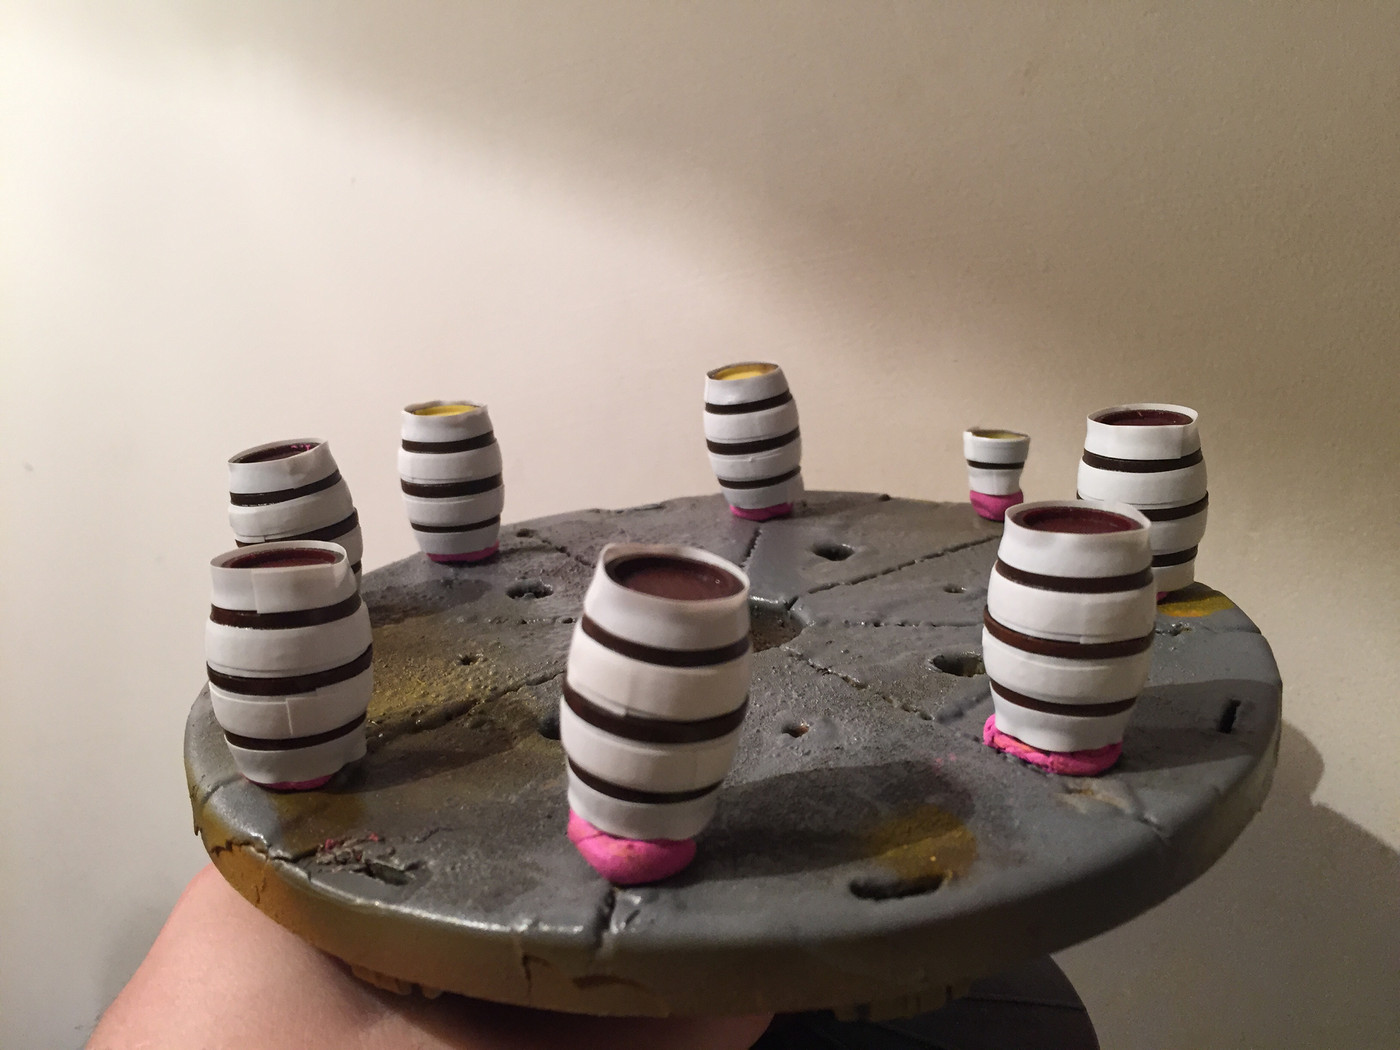
First I masked all those barrels ready to paint the metal hoops - they look like mummies 
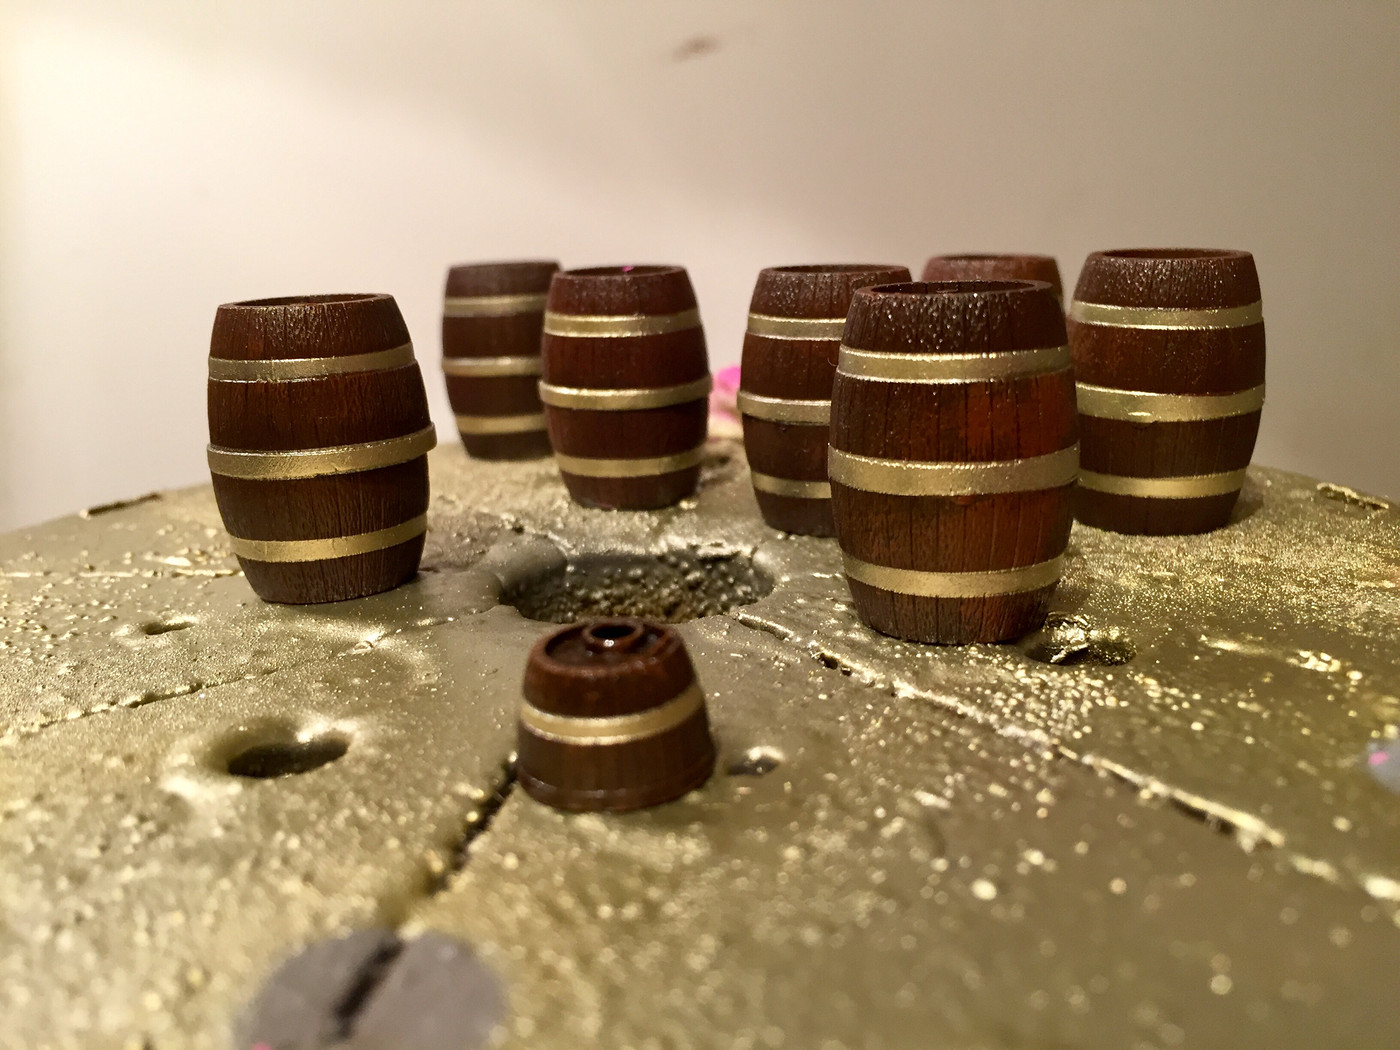
And then I shot them with Tamiya Gold Leaf:
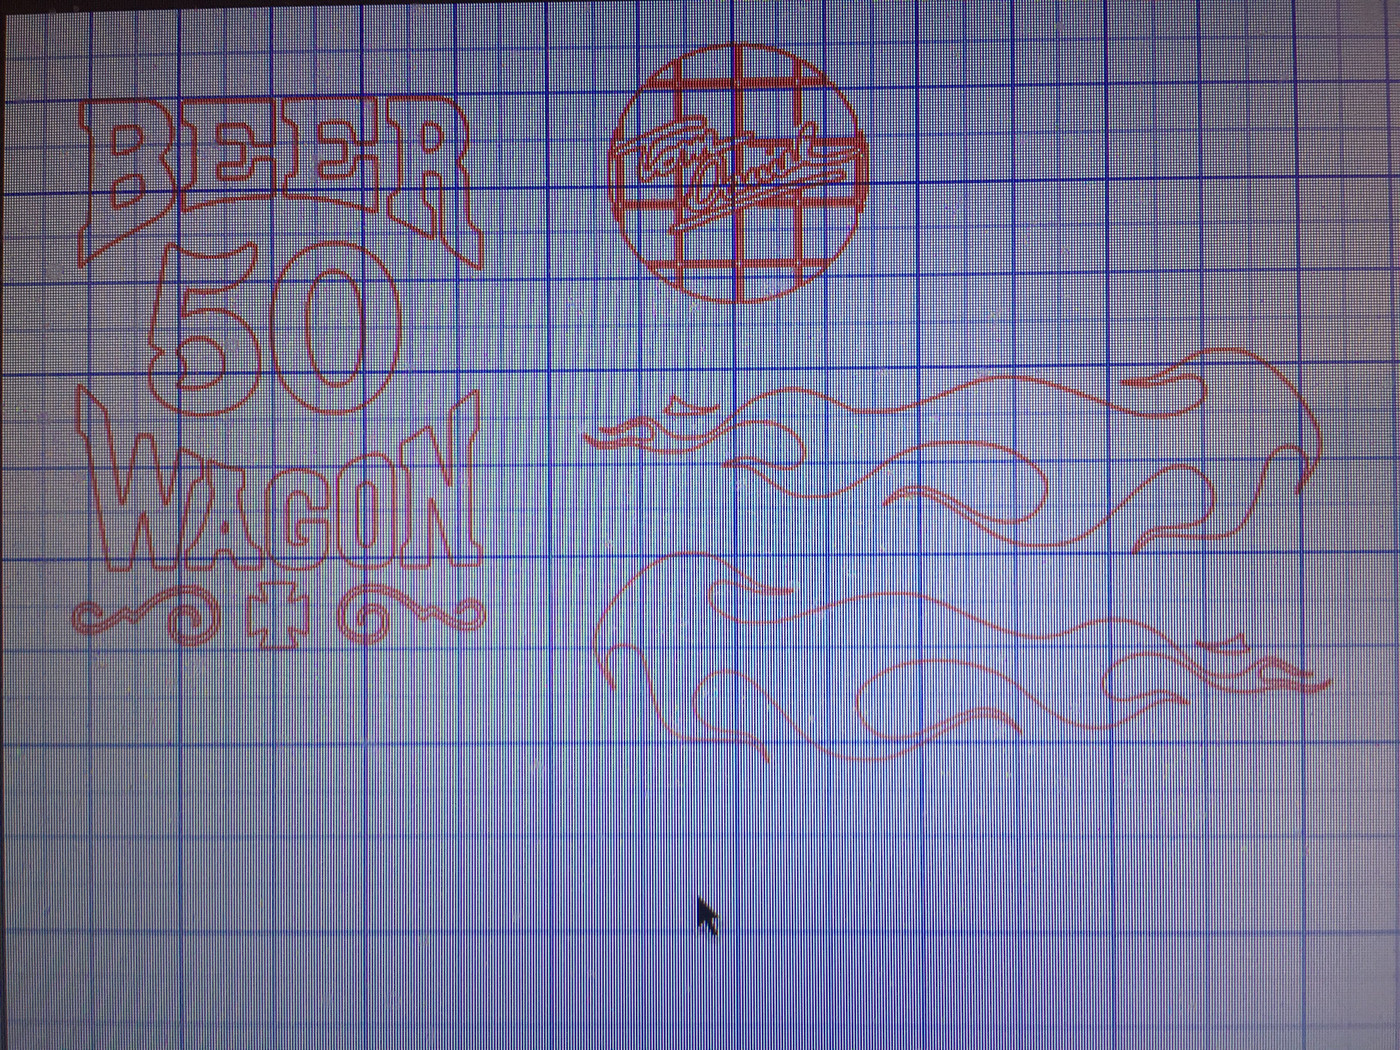
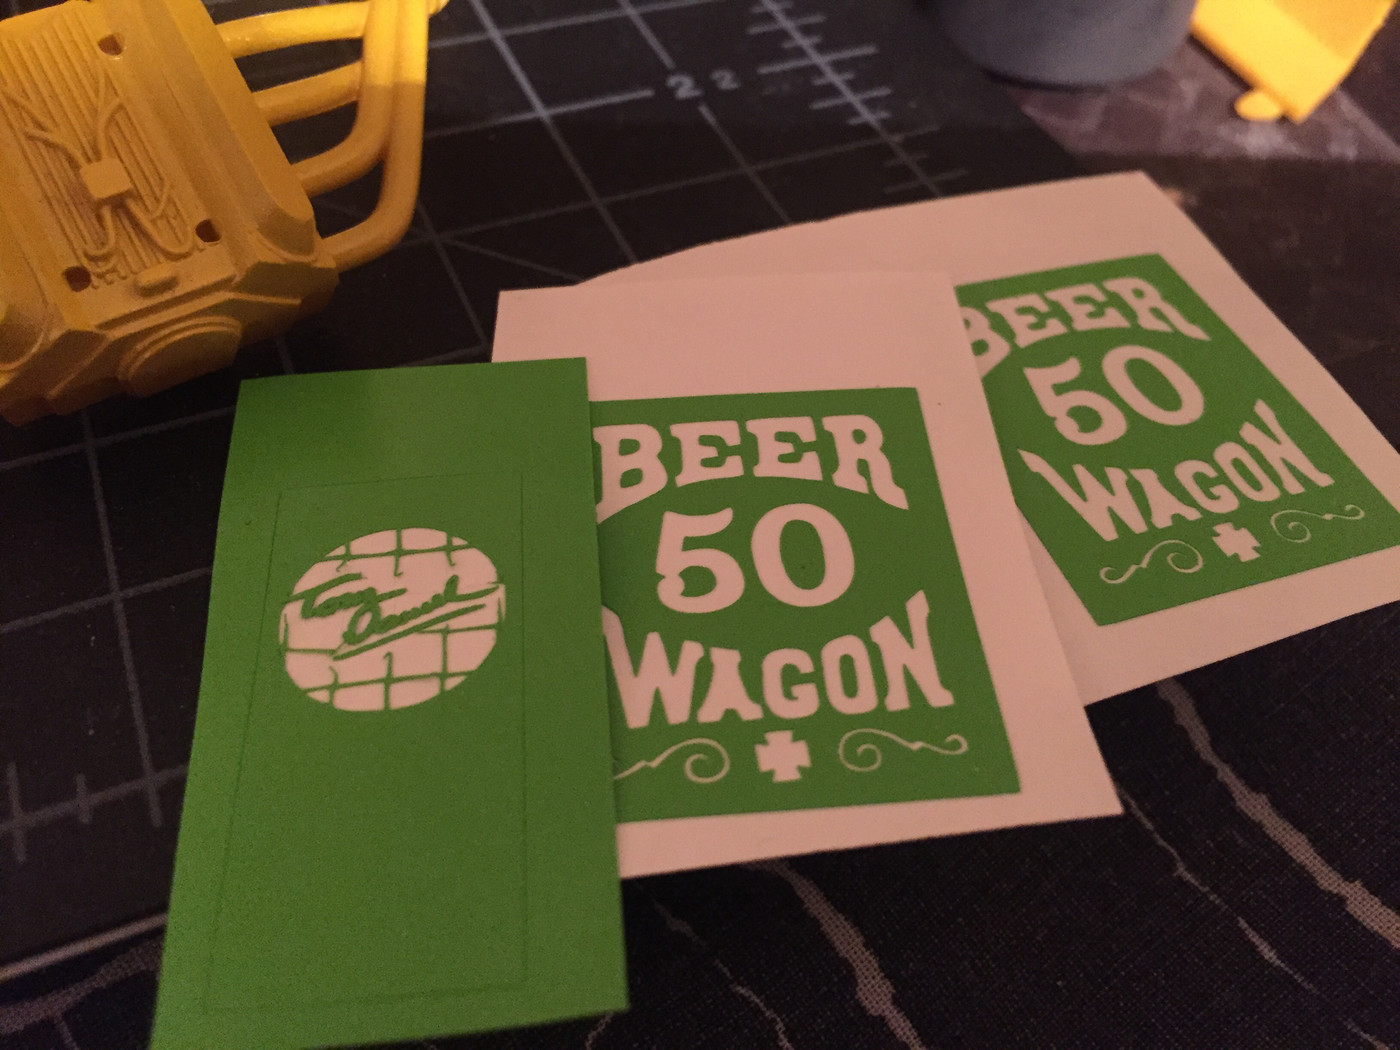
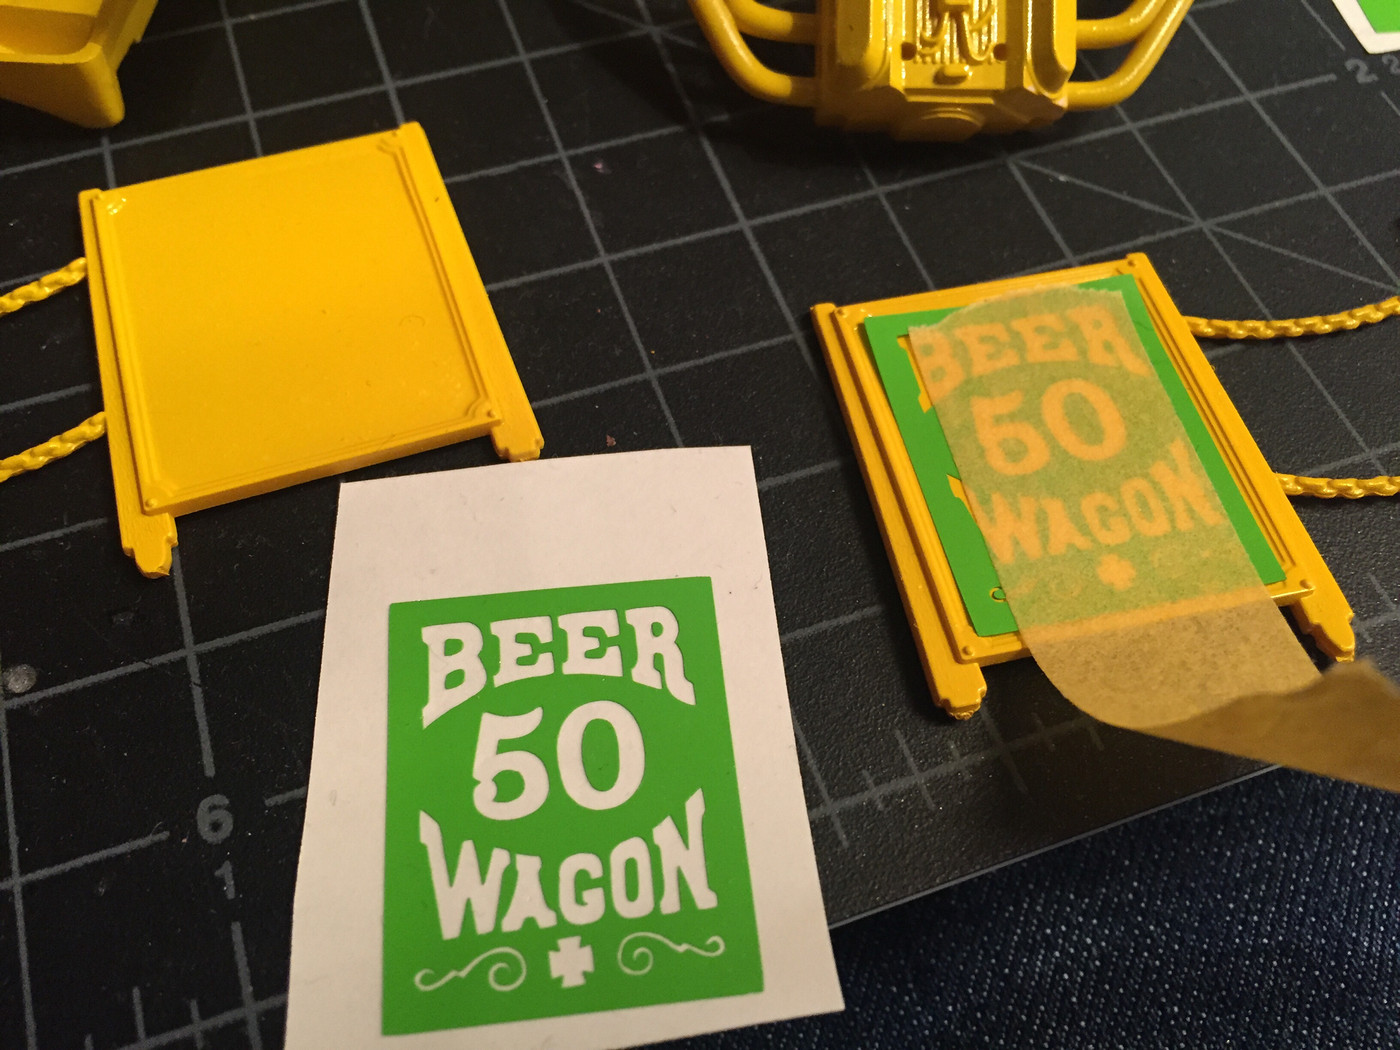
Then, thanks to atenzapower sending me a scan of the kit decals I was able to redesign the signwriting a little and cut masks:
Tada!
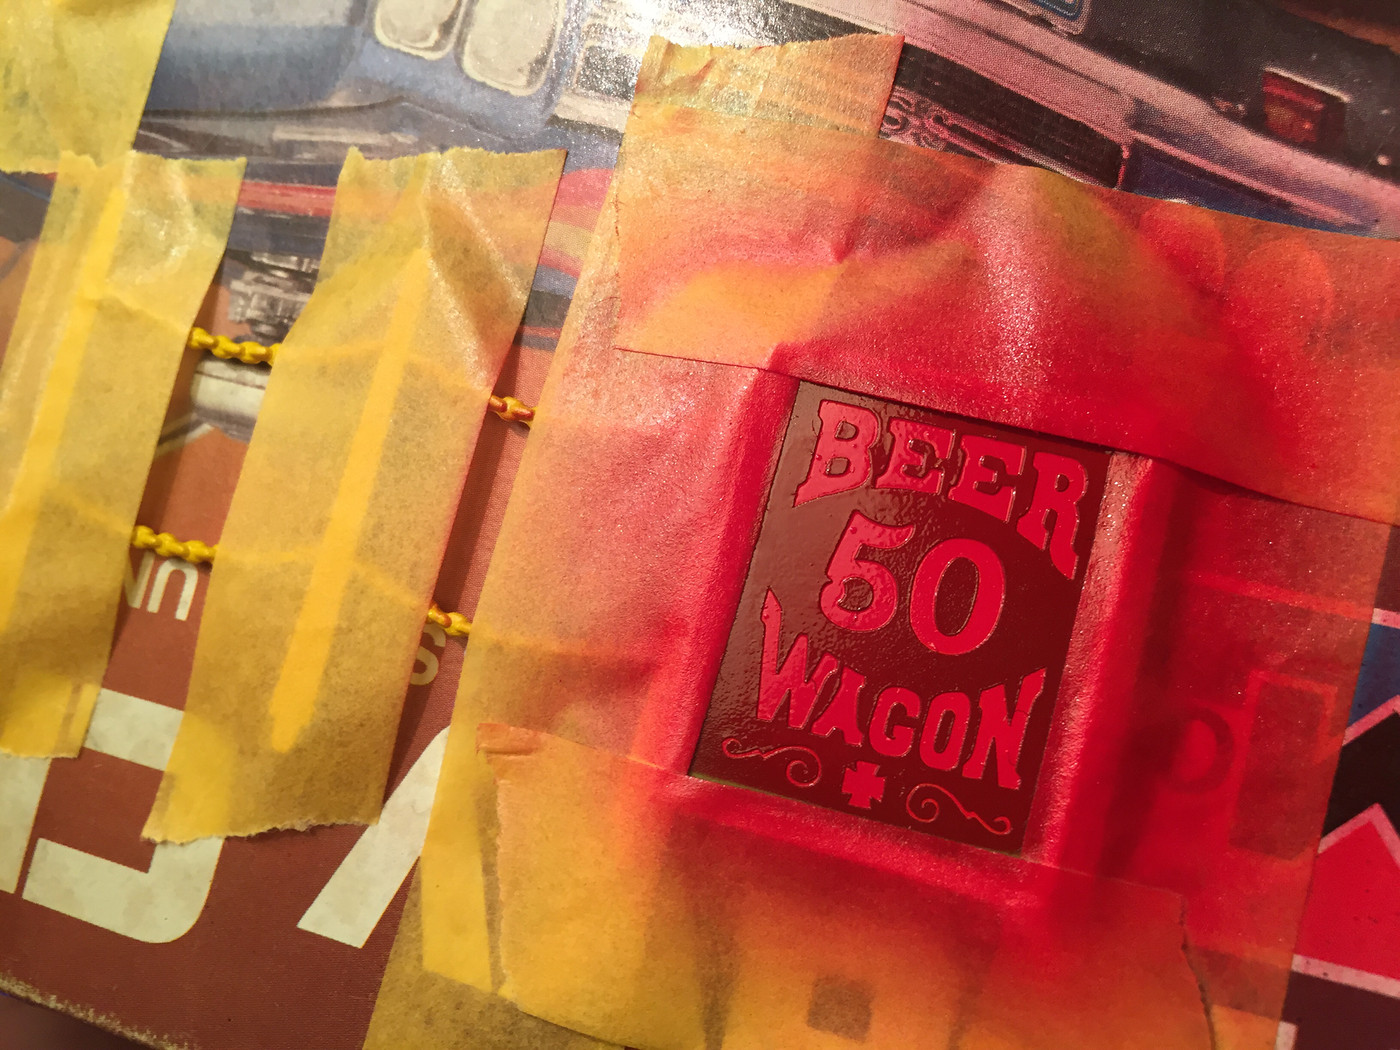
After I'd painted and cleared the side panels I masked them up for paint:
Then shot lots of light coats of red to make sure the paint didn't build up too much - I was worried about the paint peeling, especially on those ultra-fine pinstriped lines on the bottom:
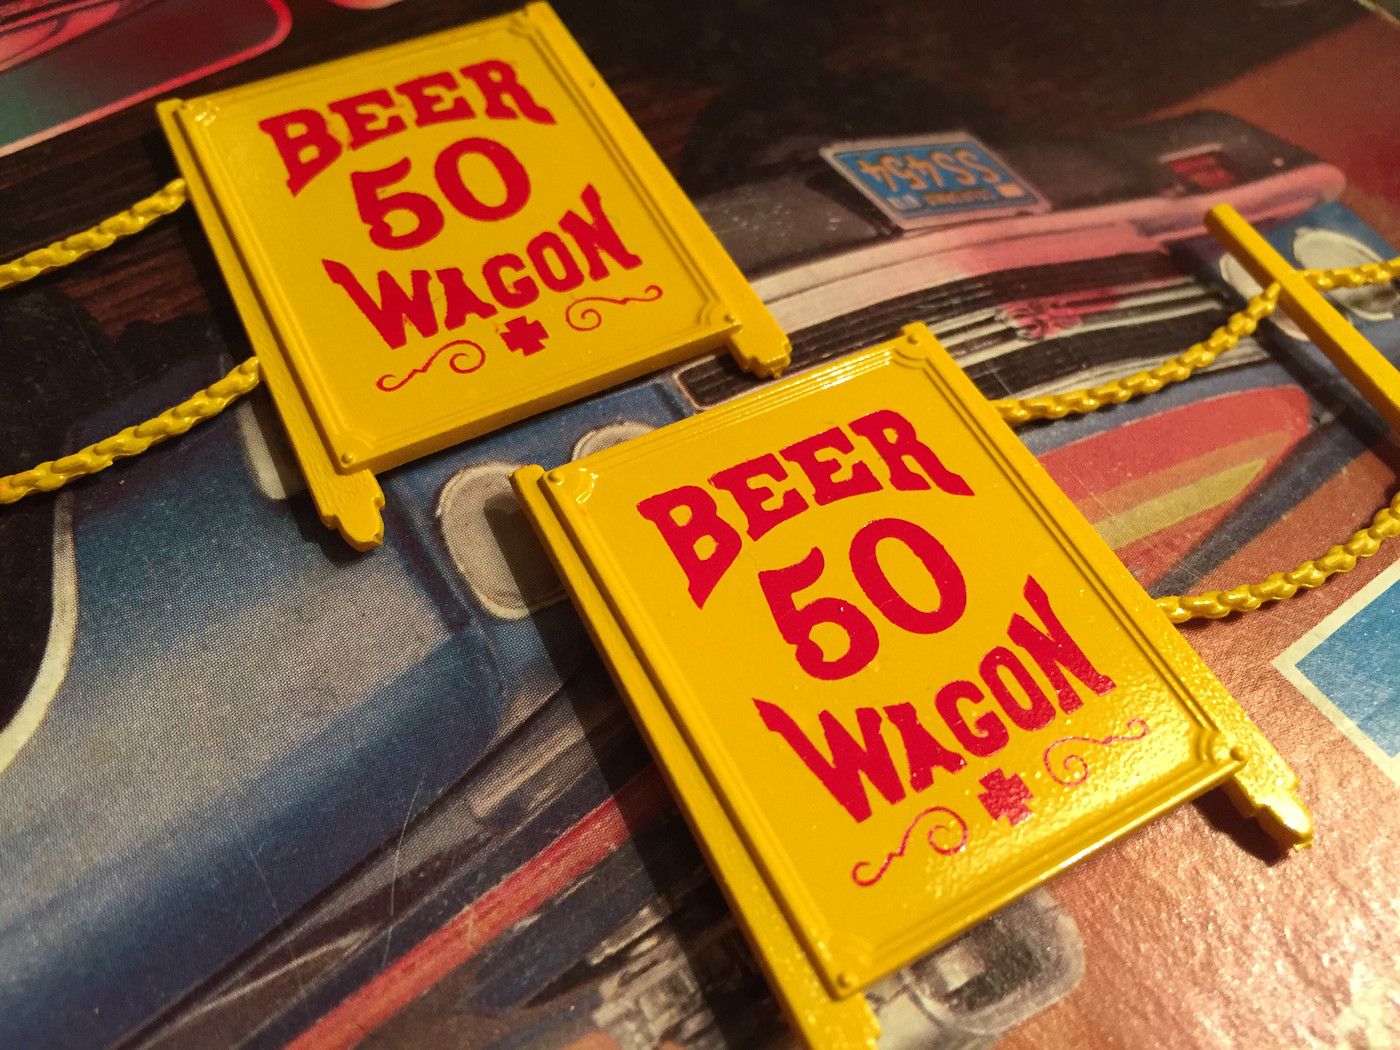
Tada!
The downside of this method is that the black outlines around the letters can't be replicated very easily at all, but it's close enough for what I'm trying to achieve here... I ordered a super fine red Sharpie today so I can outline around the edge of the boards with a thin pinstripe too.
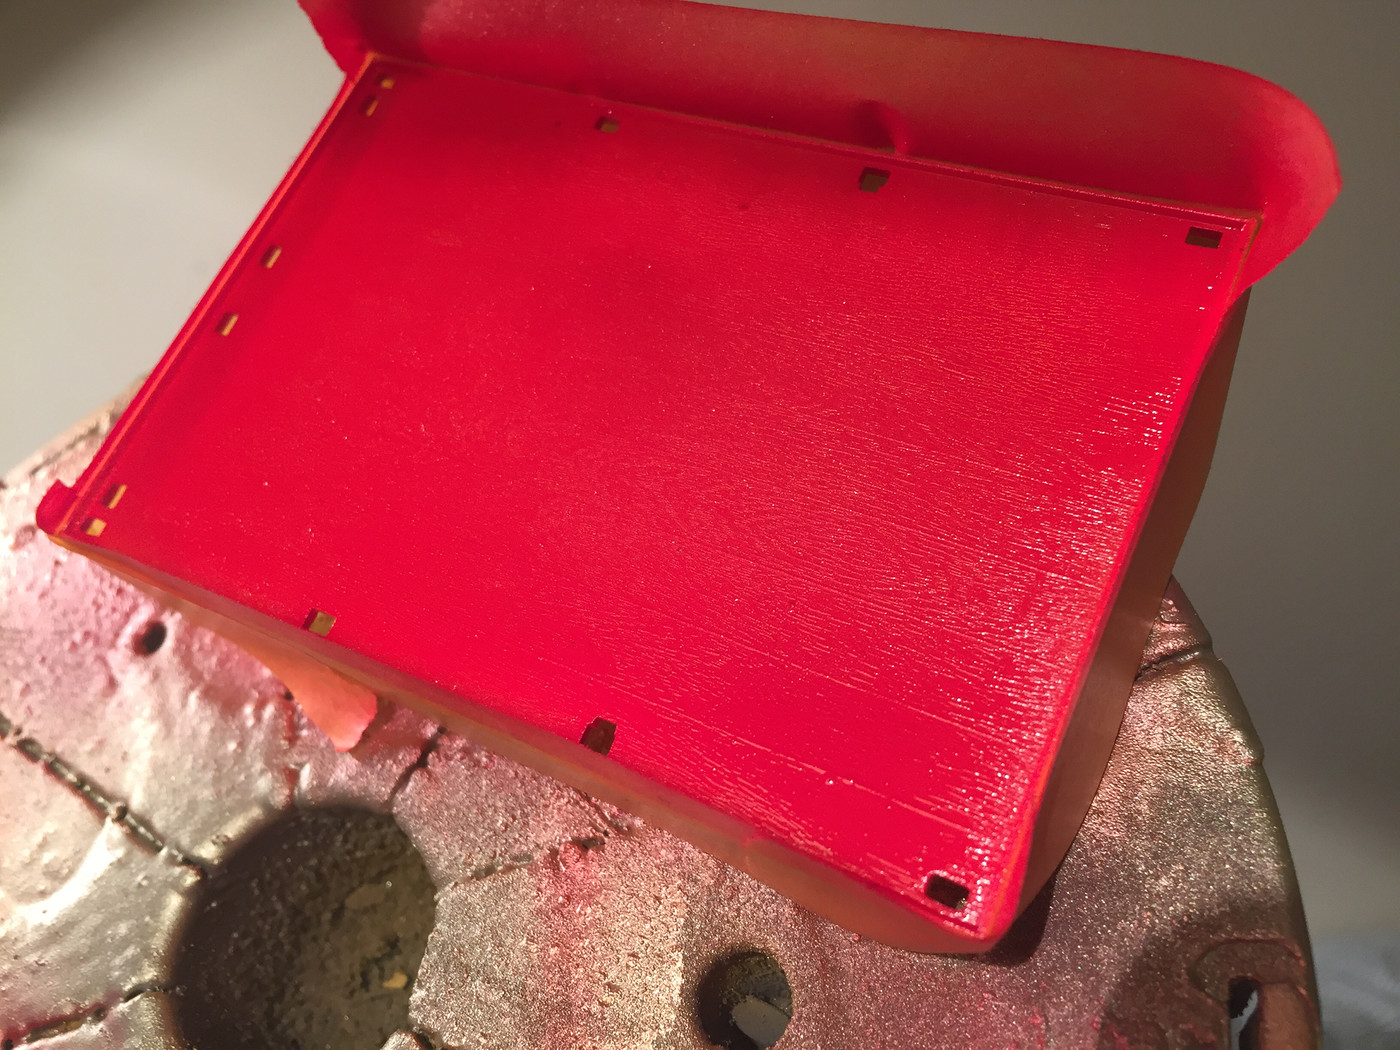
Whilst I was shooting the red I shot the top of the bed in a matching color:
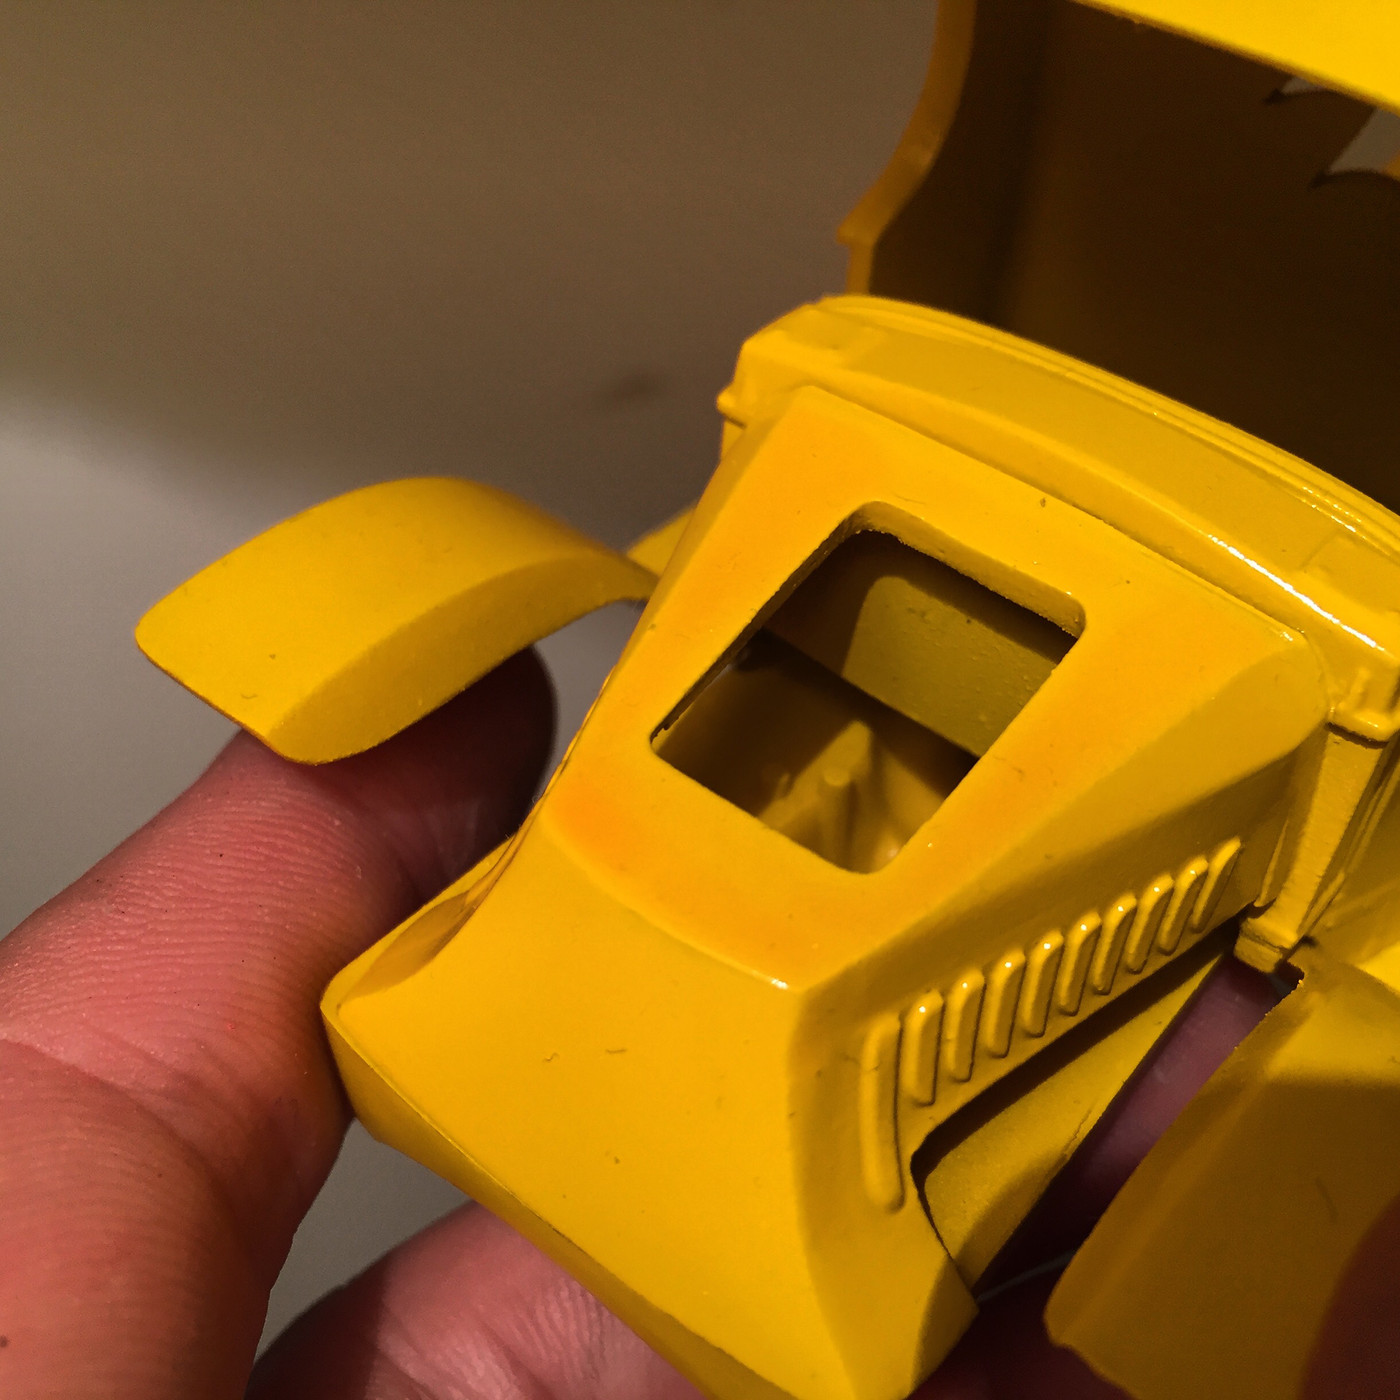
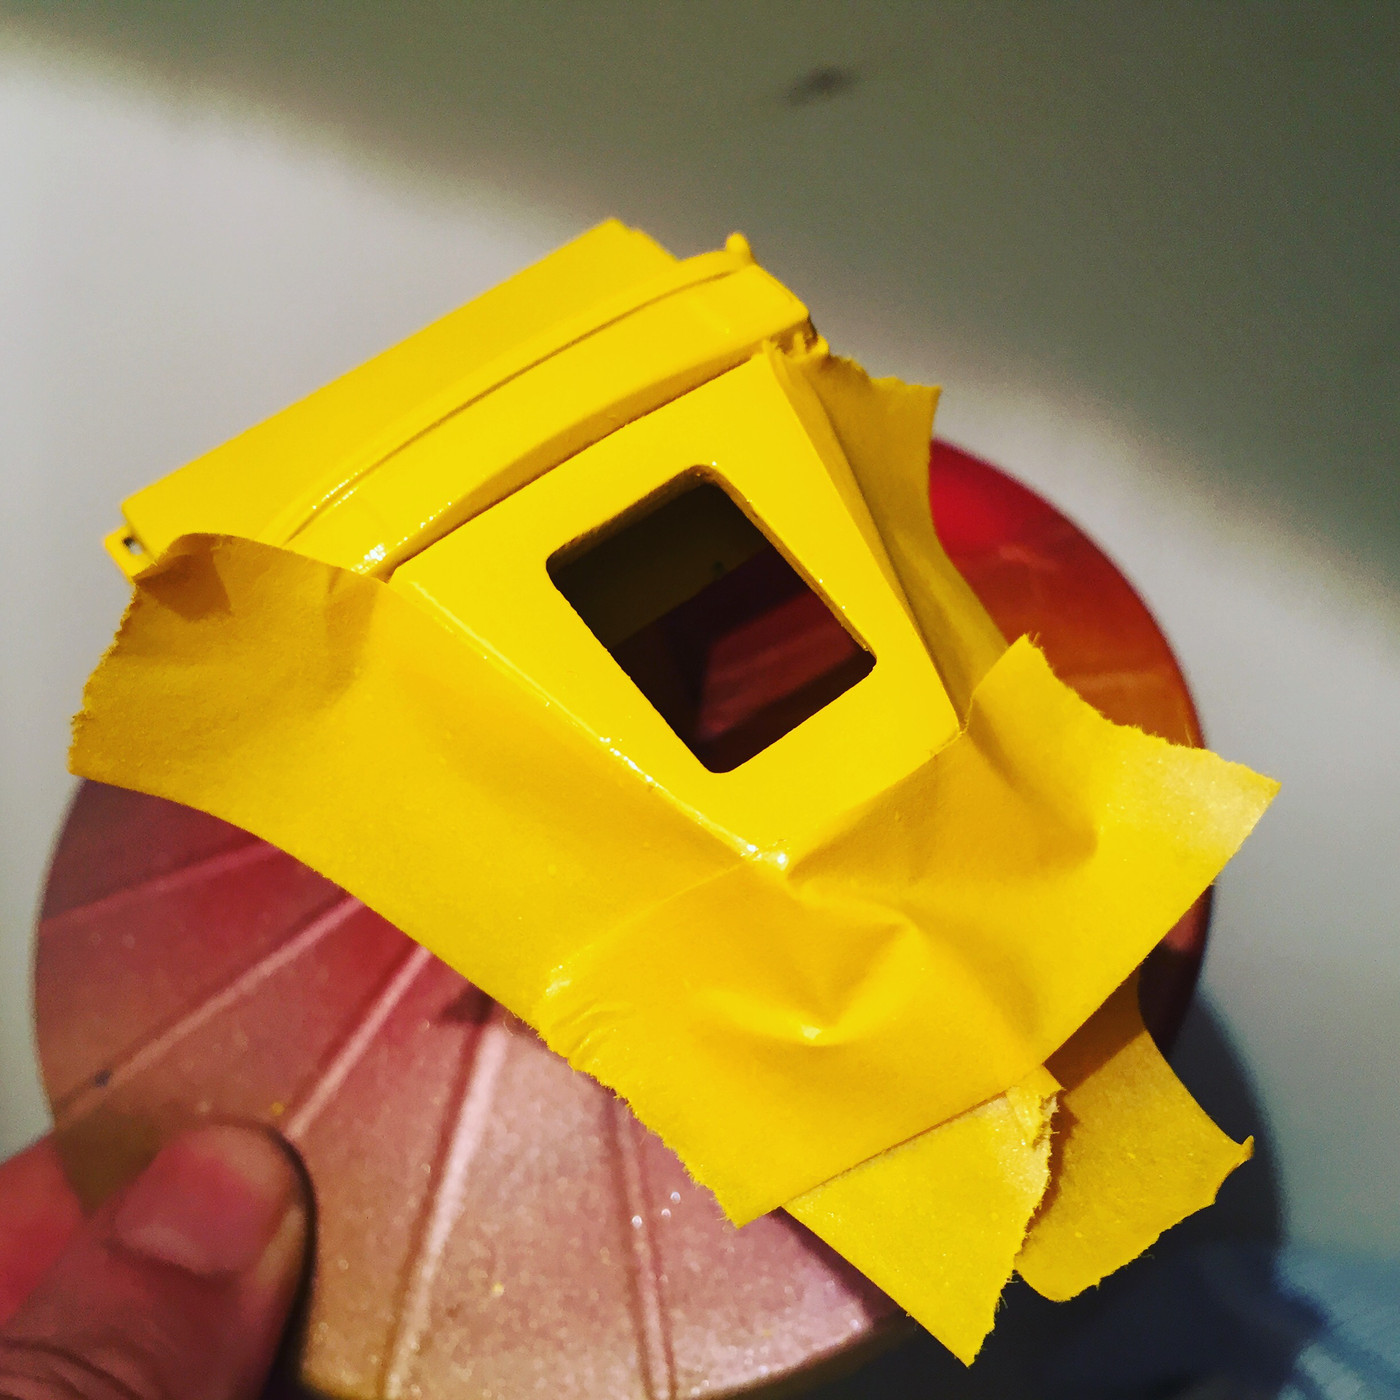
Meanwhile, I'd shot clear over the yellow bodywork and they all worked out great except for the hood, which was originally a red plastic piece rather than yellow. I shot it with two layers of primer, then two coats of sealer and two coats of yellow, followed by clear...but even with all that the red pigment bled through into the paint:
So, that got another couple of coats of yellow and it seems to be ok now:
Getting ready for final sanding and clearcoats and then I can start actually assembling this thing!  More soon! |
|
|
|
Post by DVS on Sept 10, 2018 16:29:23 GMT -6
Great job, Can't wait to see it finished. Meanwhile, I'd shot clear over the yellow bodywork and they all worked out great except for the hood, which was originally a red plastic piece rather than yellow. I shot it with two layers of primer, then two coats of sealer and two coats of yellow, followed by clear...but even with all that the red pigment bled through into the paint: I hate when that happens. |
|
|
|
Post by kabdriver on Sept 10, 2018 16:55:22 GMT -6
Great job, Can't wait to see it finished. Meanwhile, I'd shot clear over the yellow bodywork and they all worked out great except for the hood, which was originally a red plastic piece rather than yellow. I shot it with two layers of primer, then two coats of sealer and two coats of yellow, followed by clear...but even with all that the red pigment bled through into the paint: I hate when that happens. I think that where I used a lacquer clear that caused the issue, it was all going ok until then - I figured with the sealer it would be ok, but it wasn't...but I've been wanting to try Createx's acrylic clear so this is a good chance to do that. It's meant to dry super hard so you can polish it and give a pretty nice finish right out of the bottle, so this would be a good project to test that out on I guess! |
|
|
|
Post by rocketeer on Sept 11, 2018 22:40:16 GMT -6
Wow, this is progressing nicely!
|
|
|
|
Post by atenzapower on Sept 12, 2018 7:35:08 GMT -6
just amwzing work, Glad that i can help you
|
|
|
|
Post by kabdriver on Oct 5, 2018 8:08:10 GMT -6
Progress has been a bit slow on this one - I fell over and cracked a couple of ribs and the painkillers are making me sleepy all the time...got a little done though!
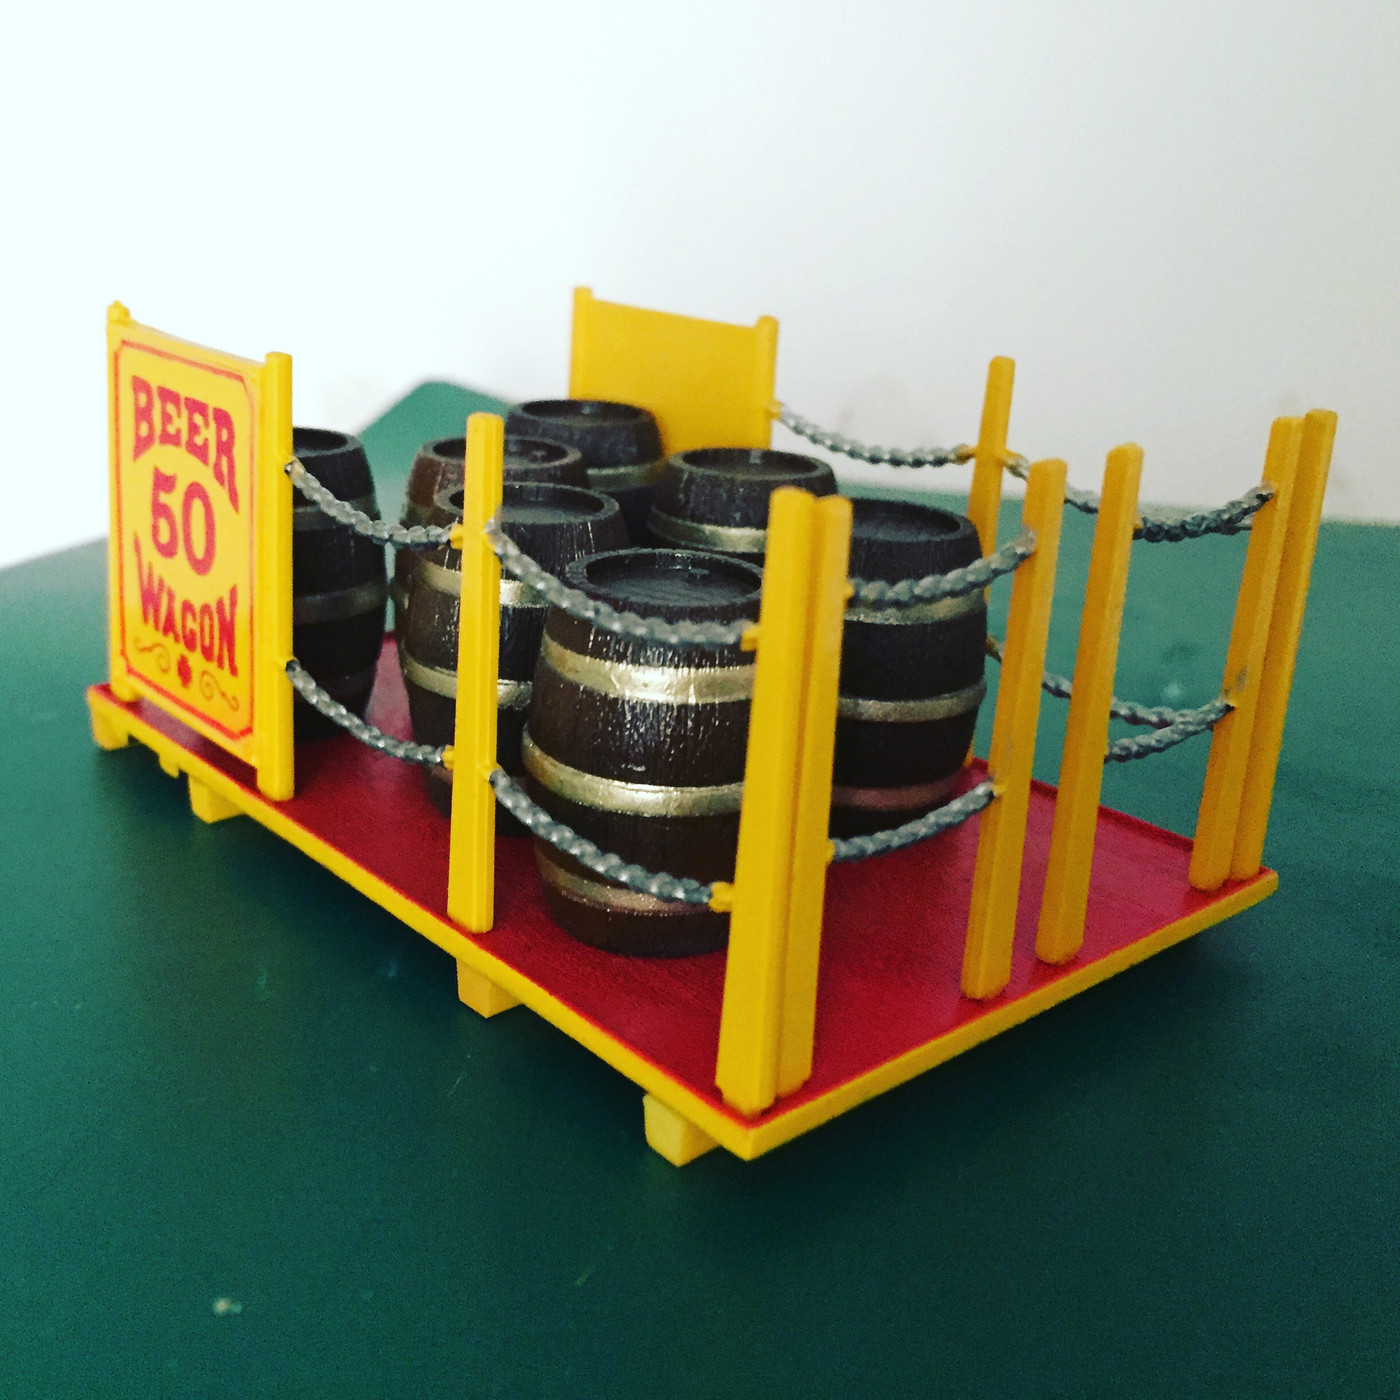
Nothing too interesting, you'll all seen a Beer Wagon before but I didn't have one for my shelf yet 
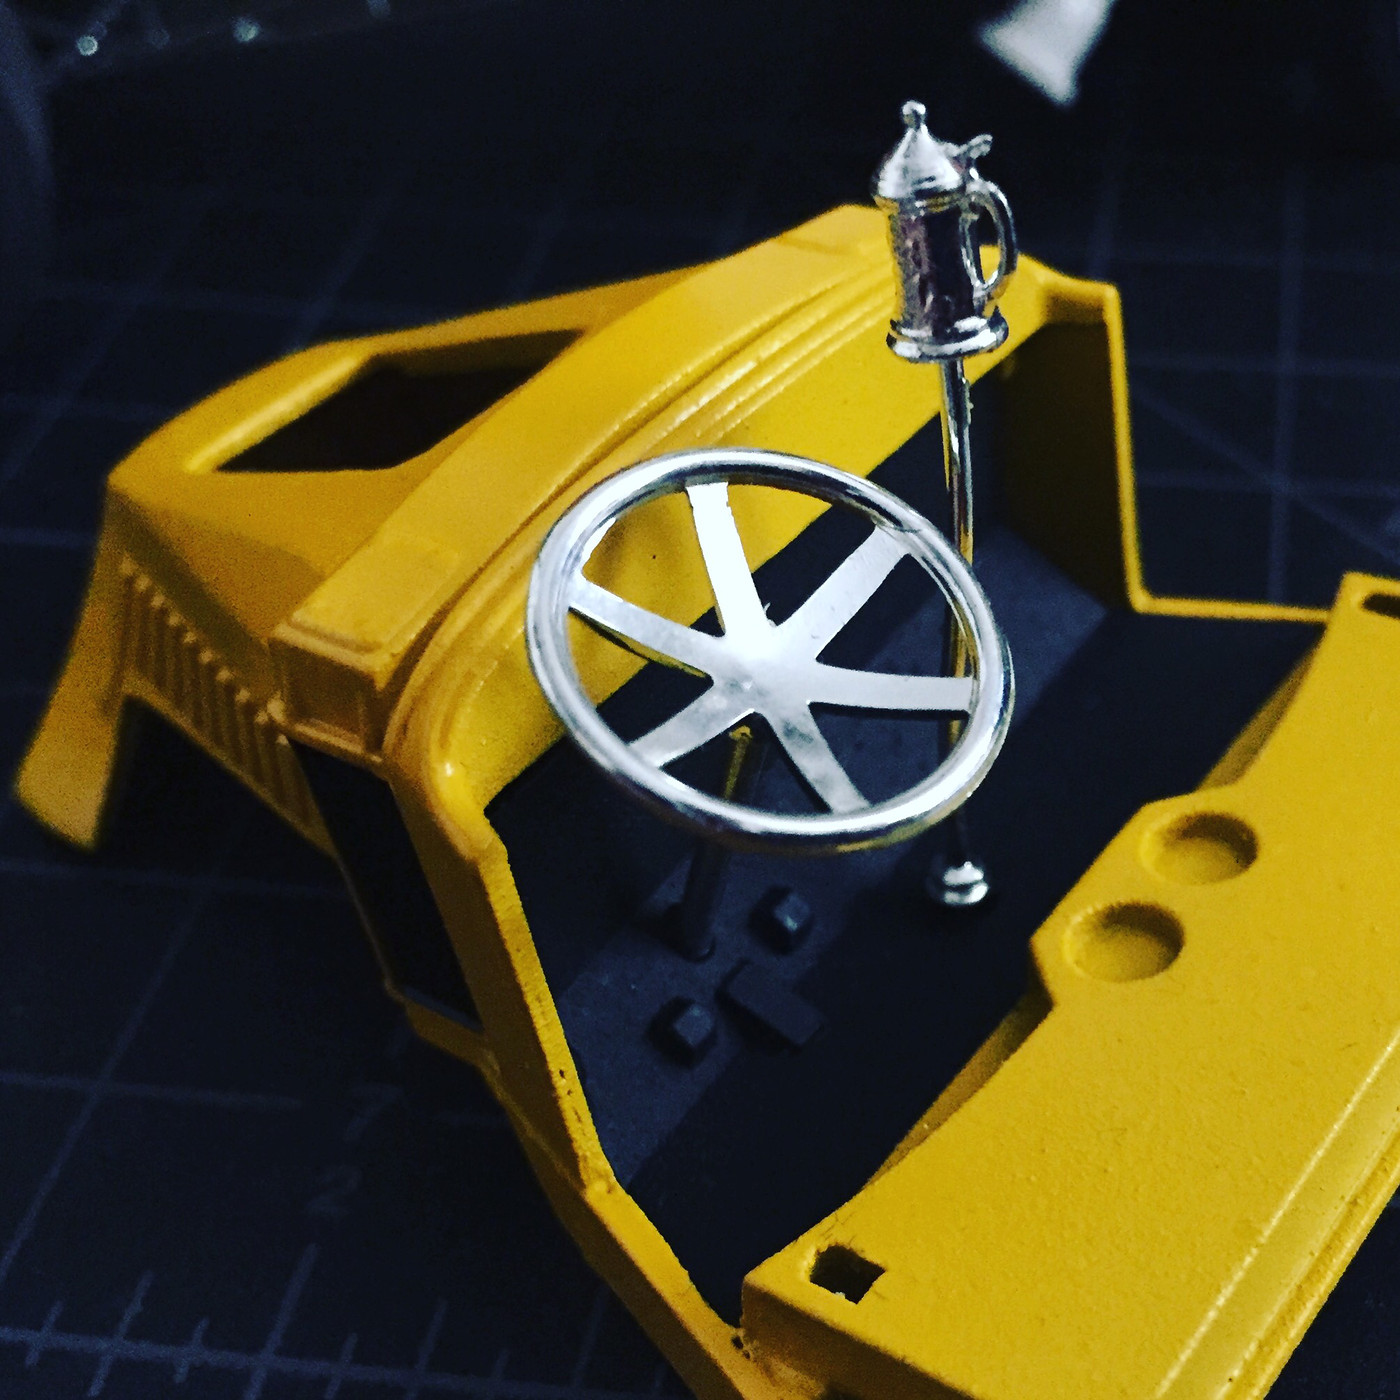
I've been thinking of what I'd do to make a kinda SUPER Beer Wagon - really detail it up. Seperate the engine from the frame and build it like a conventional model engine, swap the bed chains in the back for real ones, do something about those lights on the front, add some wiring and stuff, maybe a flip front...hmmmmmm.
Bert 's idea for a gasser version really got me thinking too - wanna race Bert? 
|
|
|
|
Post by kabdriver on Oct 5, 2018 10:07:41 GMT -6
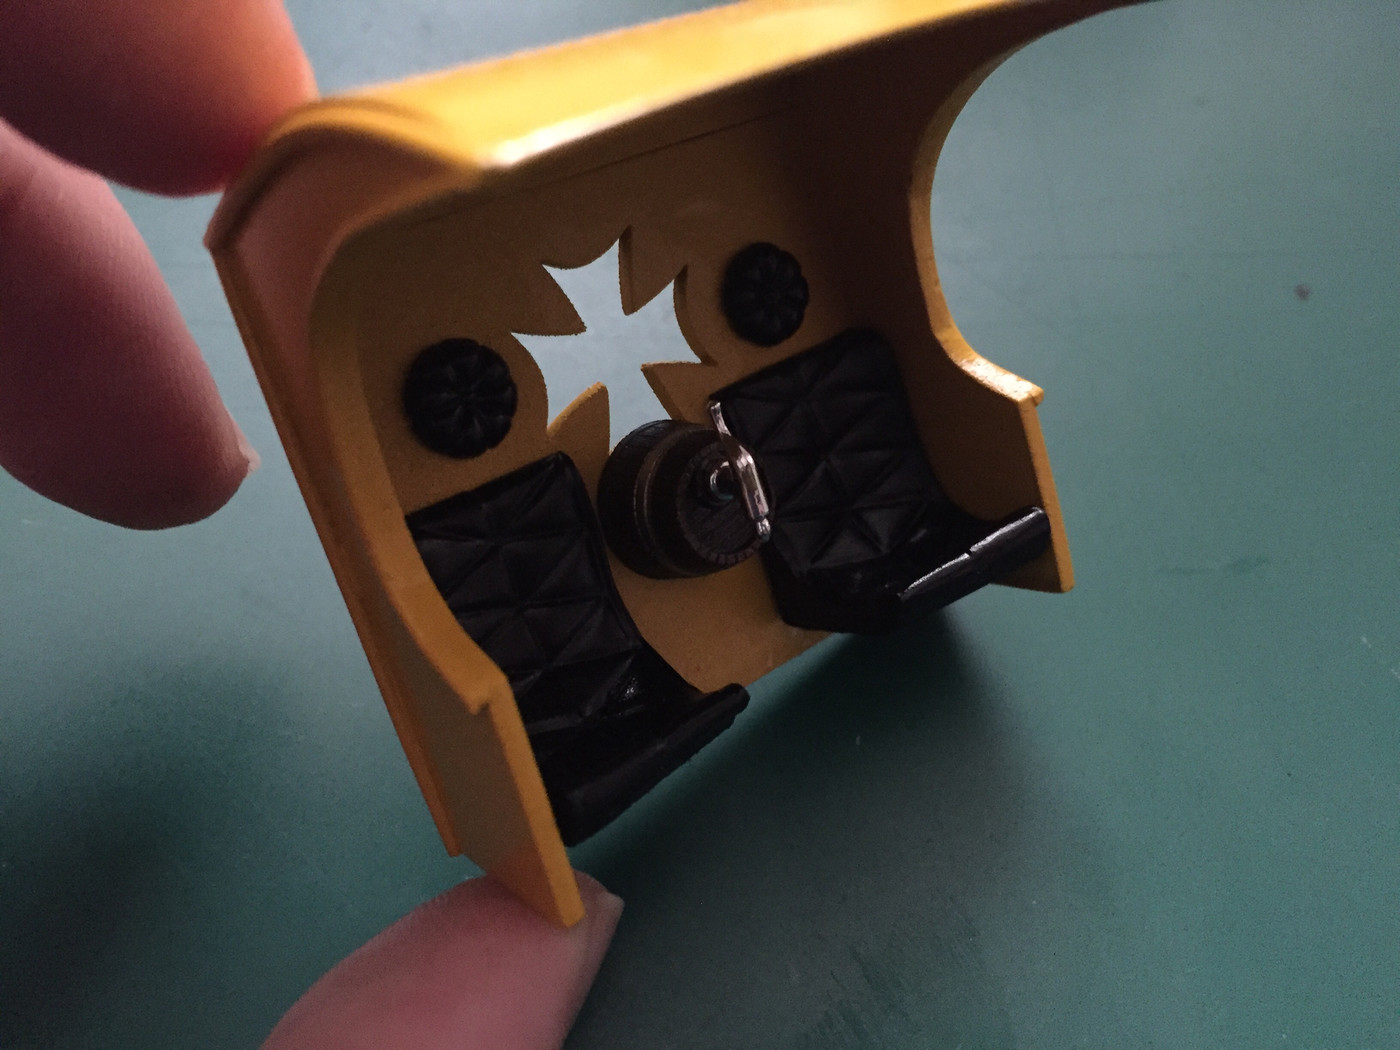
Last couple of bits of assembly before I can assemble all the assemblies 
And, actually, it's done now! Posting pics in the finished section soon as they upload
|
|
|
|
Post by DVS on Oct 5, 2018 16:31:31 GMT -6
I've been thinking of what I'd do to make a kinda SUPER Beer Wagon - really detail it up. Seperate the engine from the frame and build it like a conventional model engine, swap the bed chains in the back for real ones, do something about those lights on the front, add some wiring and stuff, maybe a flip front...hmmmmmm.
Sorry to hear about your ribs, Hope you have a speedy recovery. You could make the bed out of wood.  |
|
