Post by kabdriver on Apr 6, 2019 12:30:50 GMT -6
Here's a fun little resin piece that I picked up - I figured it would be fun to show the steps I'm doing to paint this...despite it only being one piece there's gonna be a decent amount of work in getting this painted really nicely I think!
There's also going to be a lot of waiting for paint to dry so this won't be the most action packed thread, but I did the first couple of steps at least so here goes...
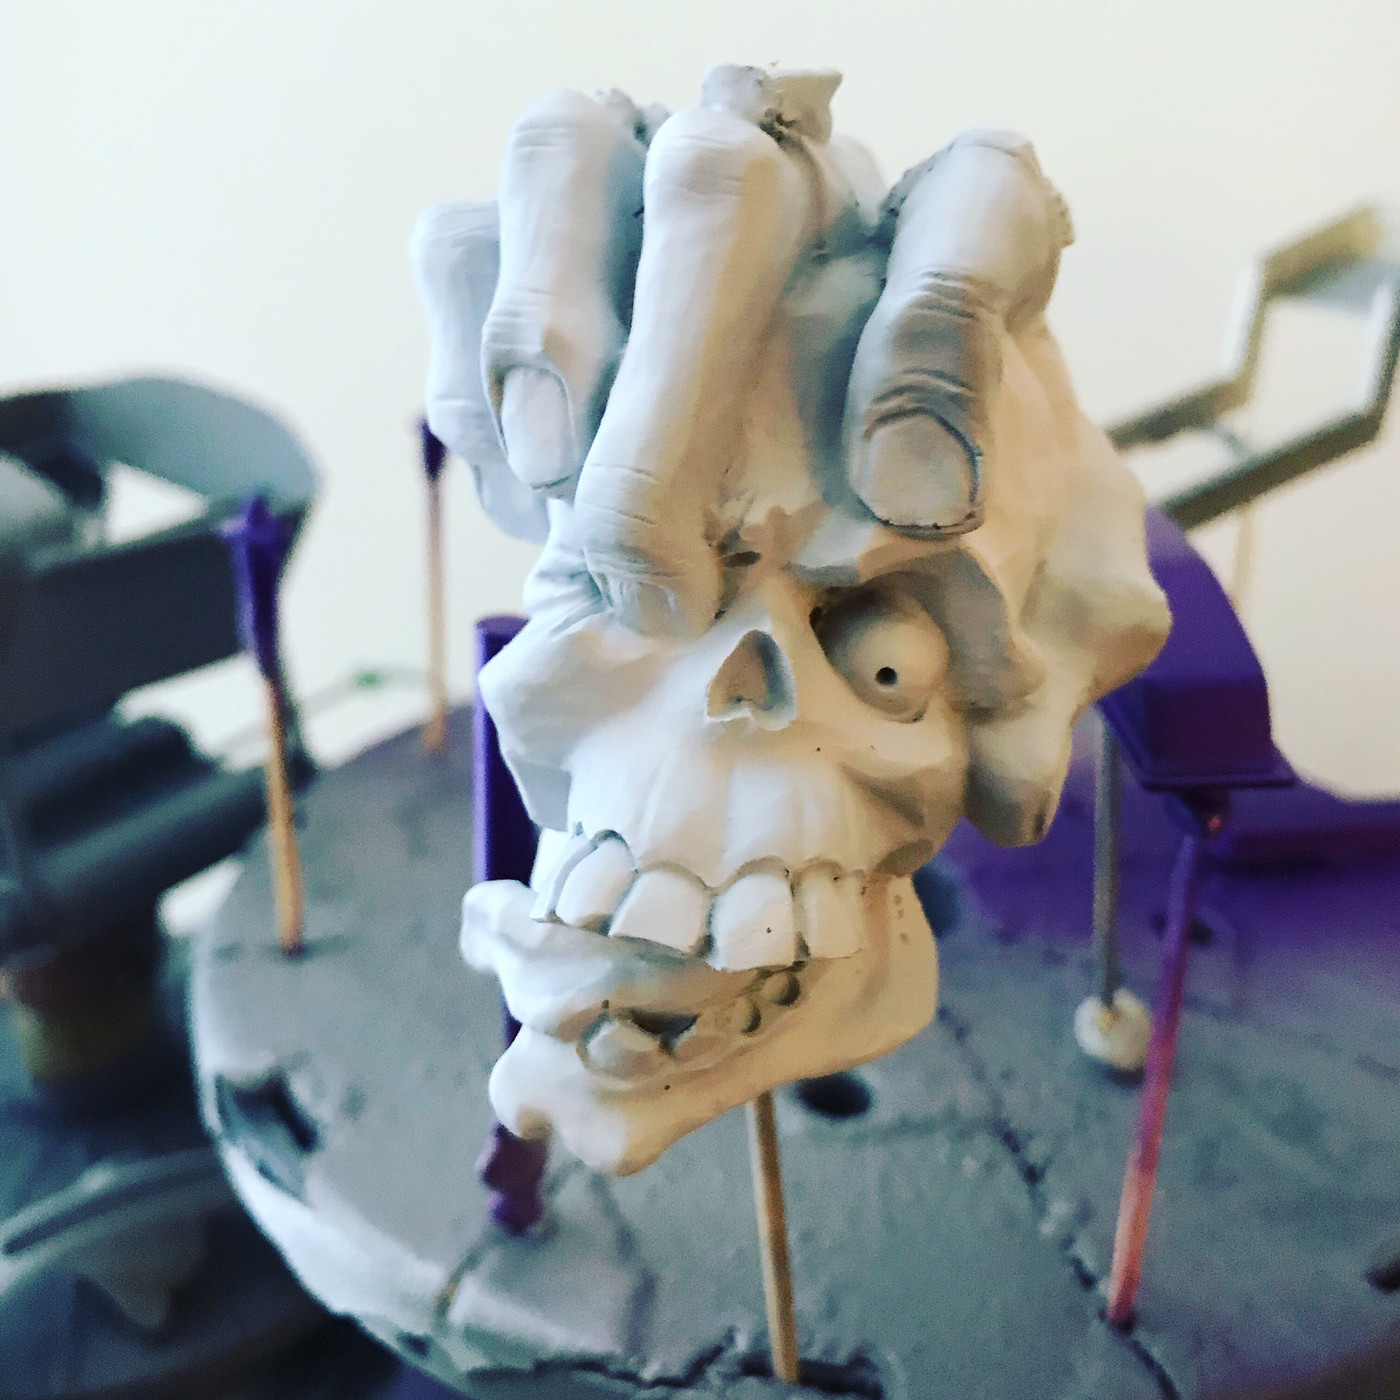
First up, I gave this thing a GOOD wash with some Dawn dishsoap. There's a lot of little nooks and crannies for mold release to get stuck in and I didn't want any surprises when it came to painting and masking this thing. Then, I shot with some Walmart grey primer, checked and cleaned a couple of little mold separation lines and so on and then shot with Createx white sealer as a base color:
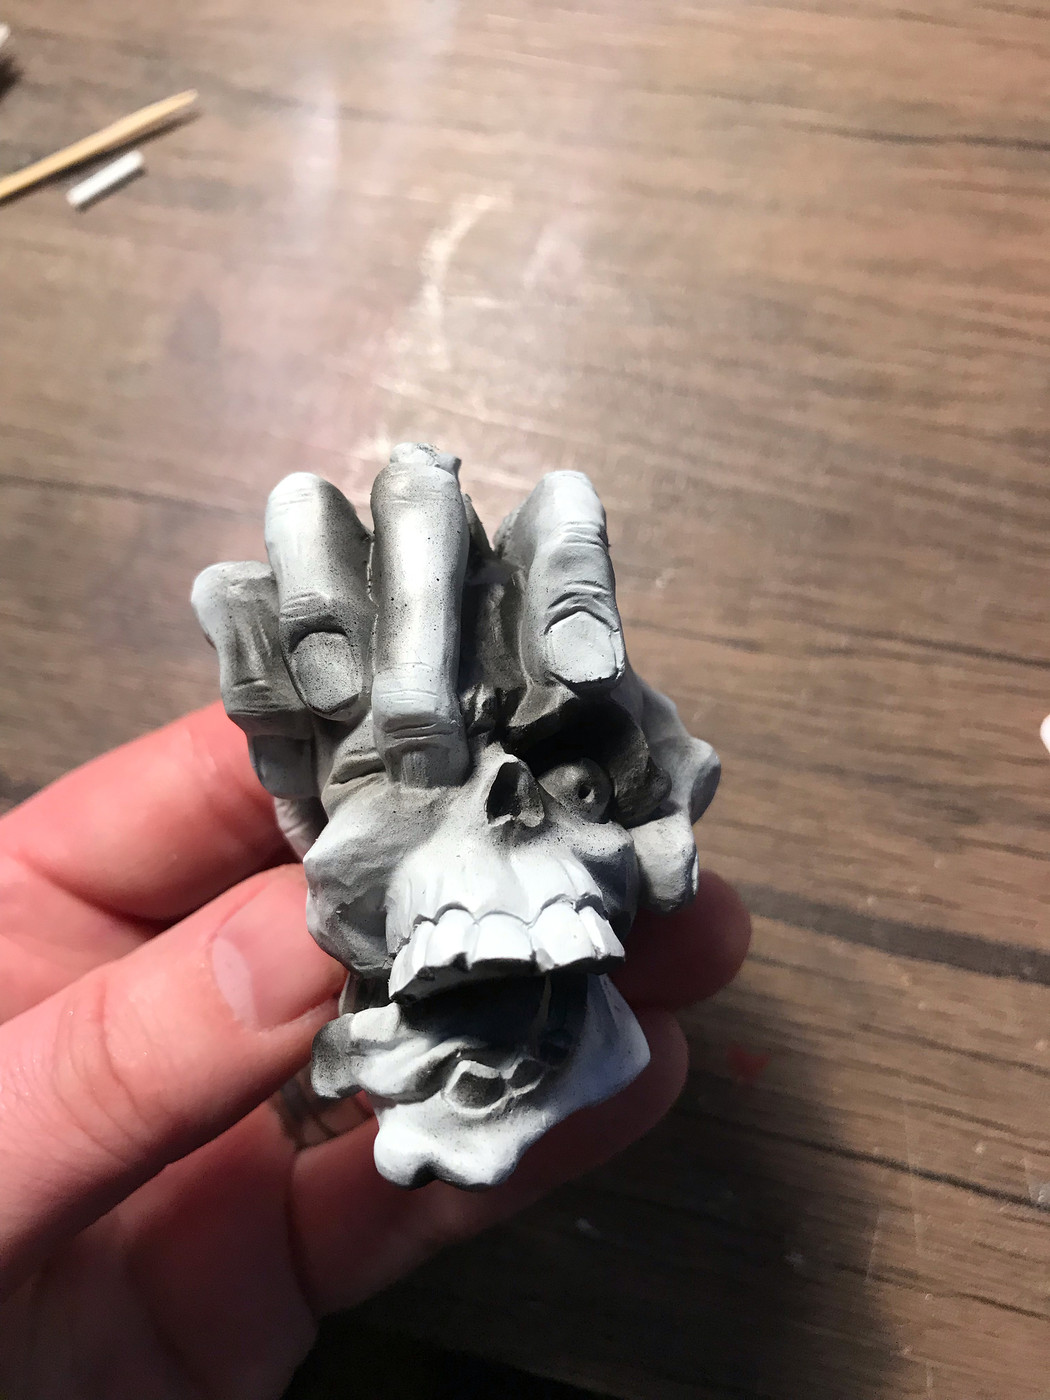
Next, I thinned down some Createx opaque black (that stuff seems to take forever to dry if you don't), and added some shadow detail in the places where shadow would naturally fall:
And on the back too!
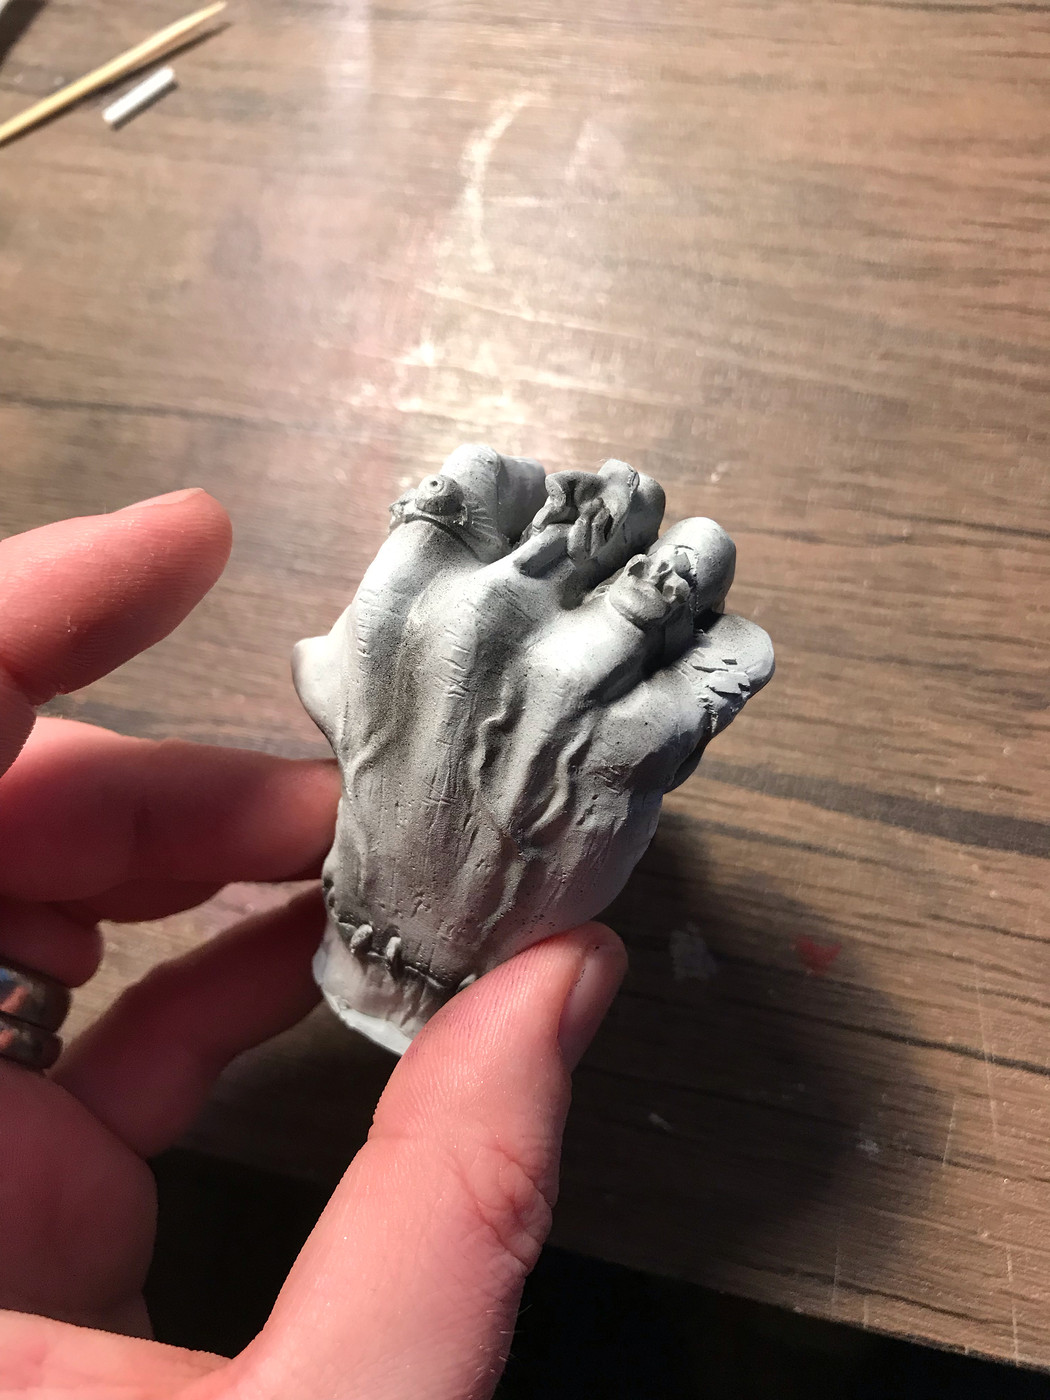
As you can see, there's a tonne of little details that you can give some attention to on this - the skull guy's tongue hanging out, the hand's nails, the various rings, the stitches on the hand...lots of detail to mess with! It's a really nicely done piece!
Once the black had dried, I thinned out some clear yellow and built up at bone-color tint to the skull. The clear yellow will allow the black shading to show through still, but I also like to build up the yellow some more in the darker areas and leave it a little lighter in the high spots:
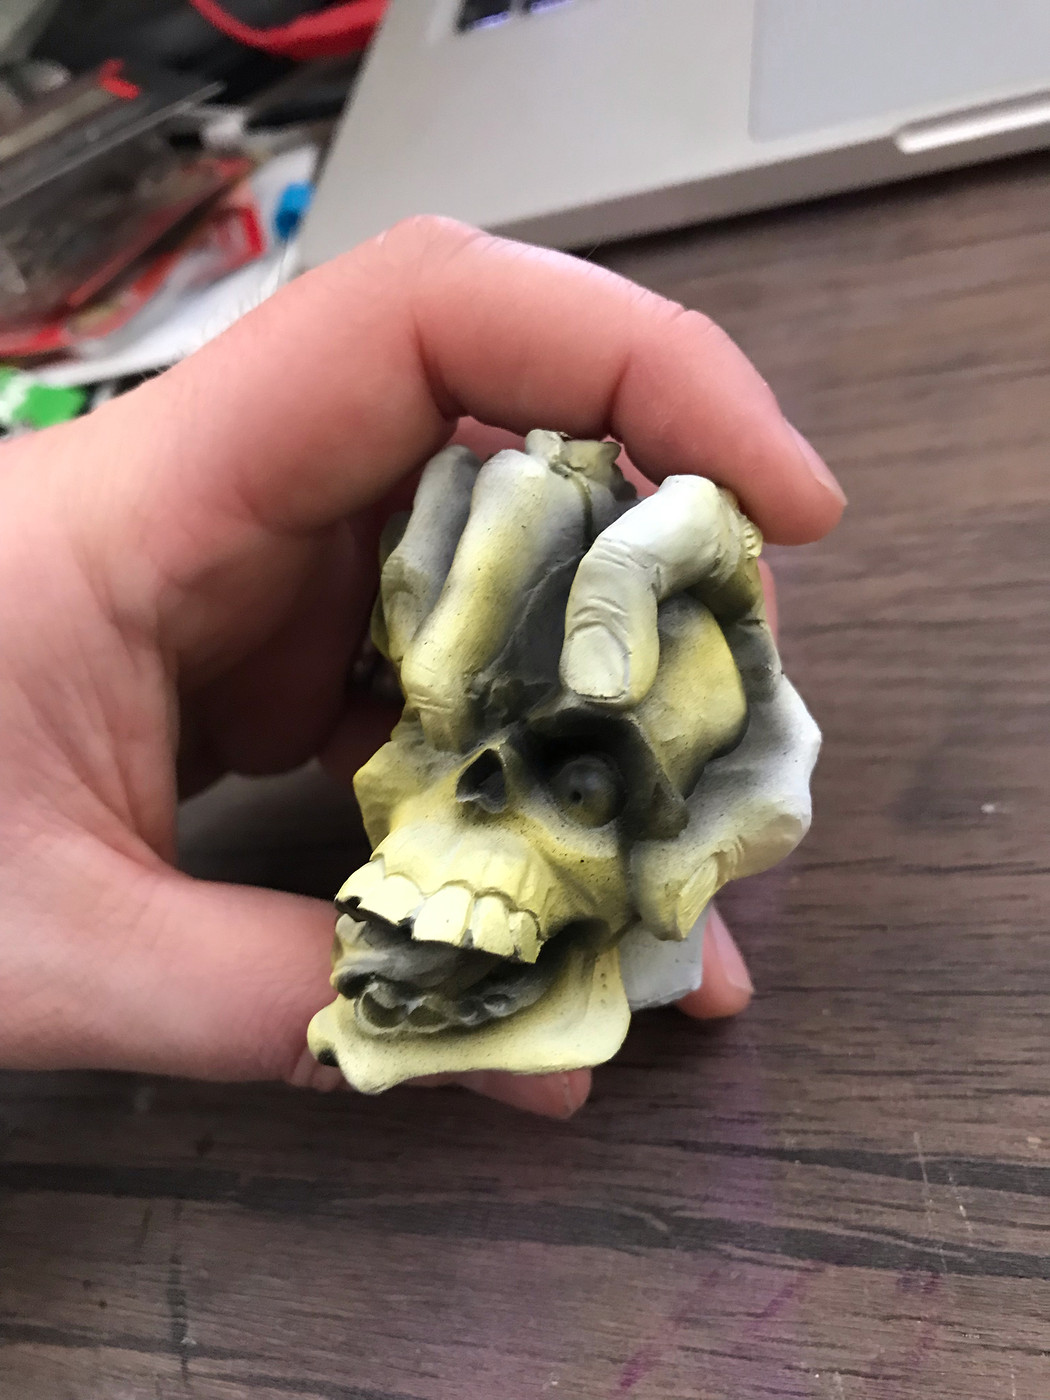
I'm not worried about getting some yellow on the hand at this point - the entire skull part will be masked off when I'm done with it so I can paint the hand separately...I think the hand is going to be a creepy Frankenstein green of some shade perhaps?
Anyway... more soon, hope this wasn't boring so far!


