|
|
Post by kabdriver on Jun 24, 2019 13:00:29 GMT -6
I've had this thing on my shelf for probably 10 years now...
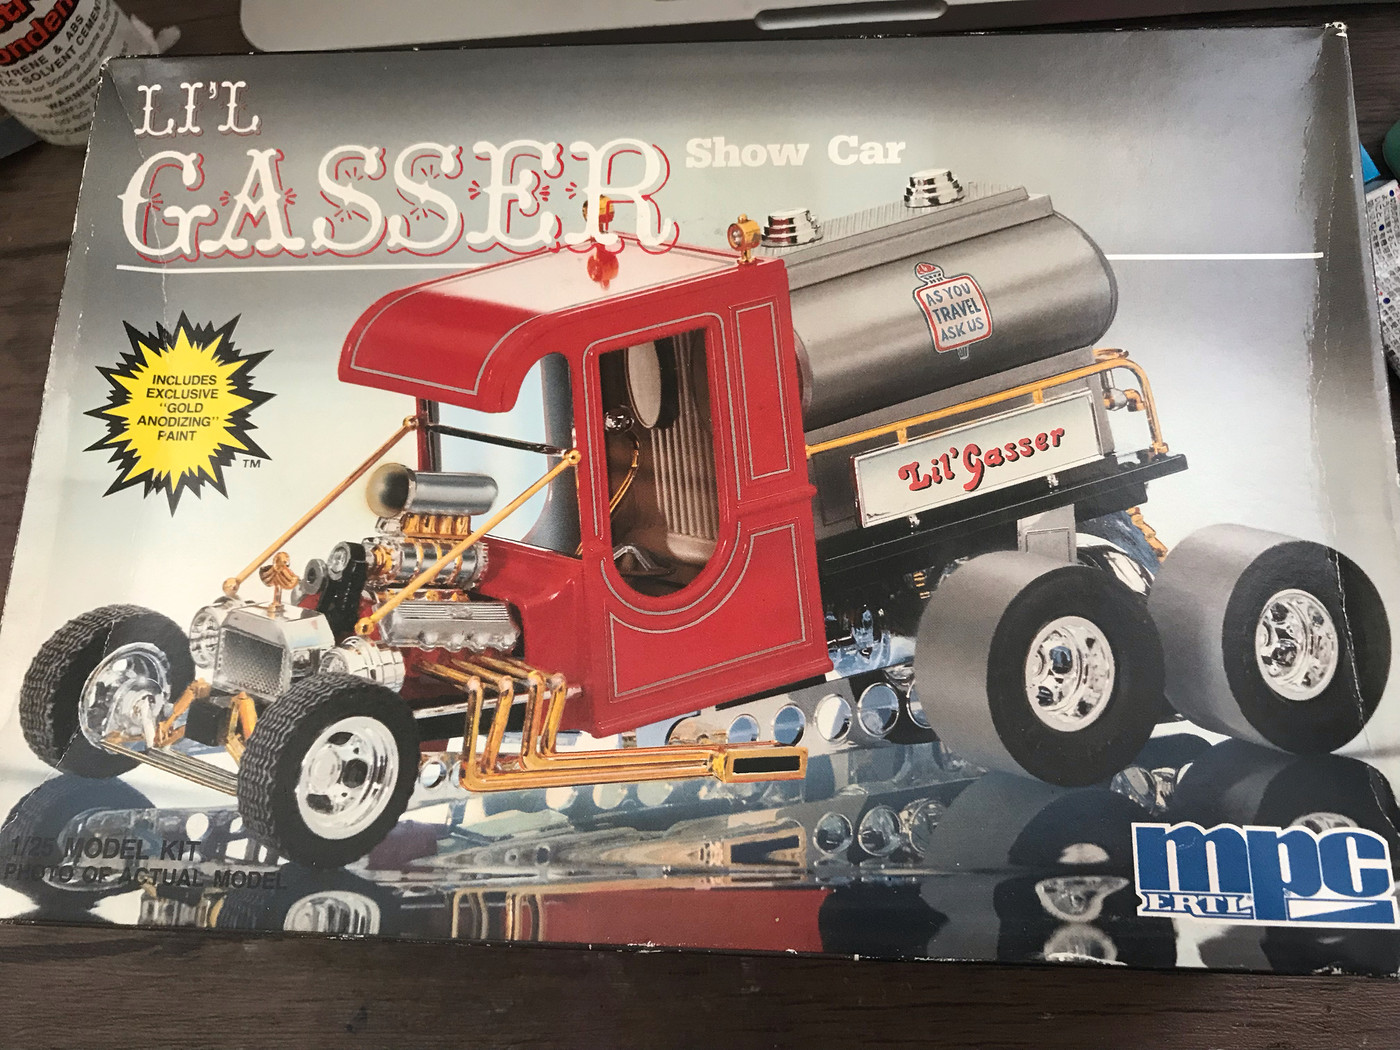
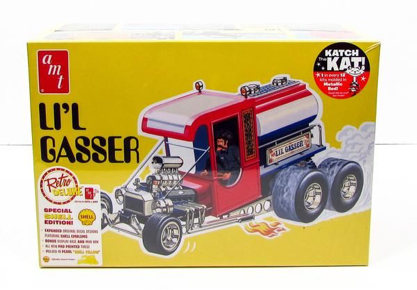
...and while I've never much liked the box art for this issue, but I did enjoy the Li'l Hot Dogger that I just build so I pulled it off the shelf and started to think what I'd do differently to make it a little cooler. I definitely don't dig the gold chrome pieces, or those cheesy MPC front tires but the earlier issues of this kit had a cooler box art that inspired me to get going on it:
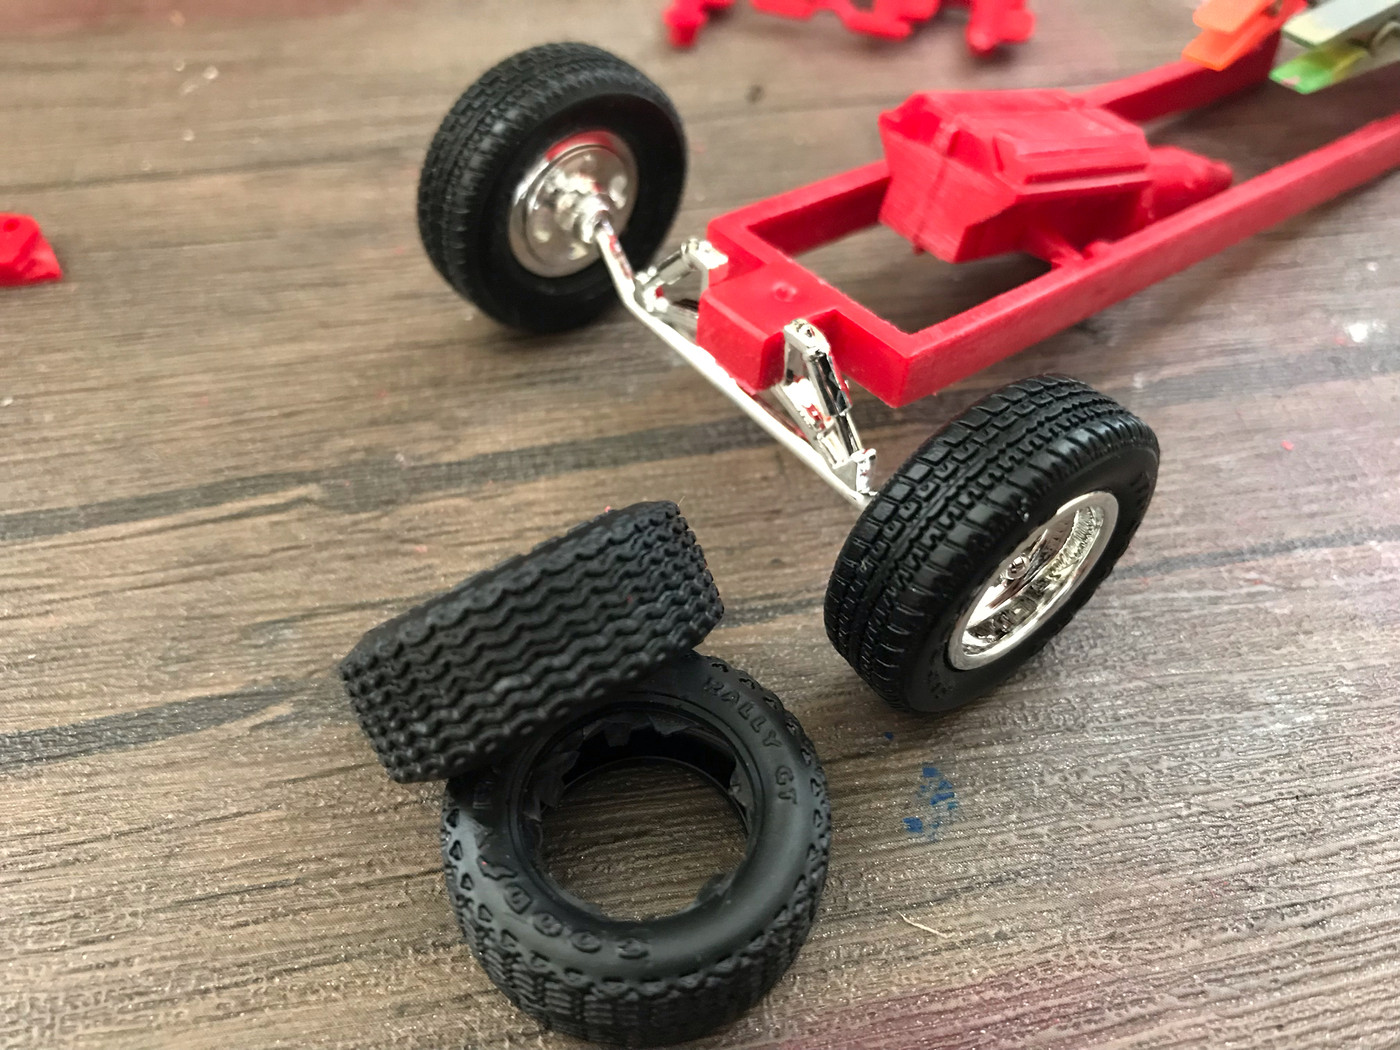
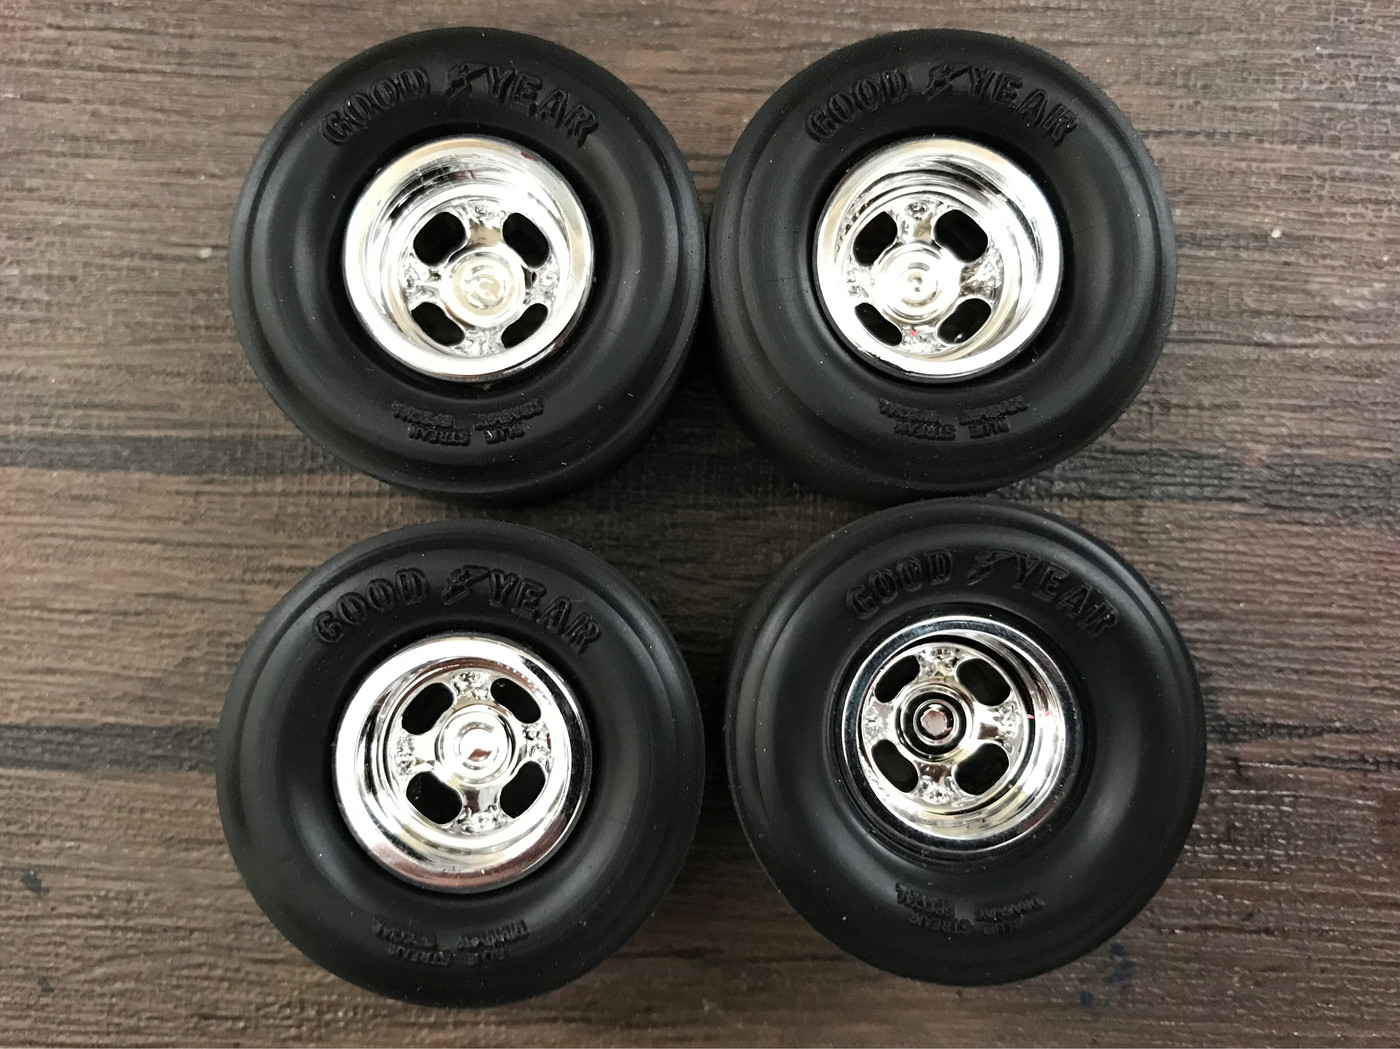
First up, I did some digging thru my parts boxes and found some better front tires:
Not sure what these are from, but they beat those kit tires anyway! They're about a scale inch bigger than the originals, but I have a plan for that anyway...
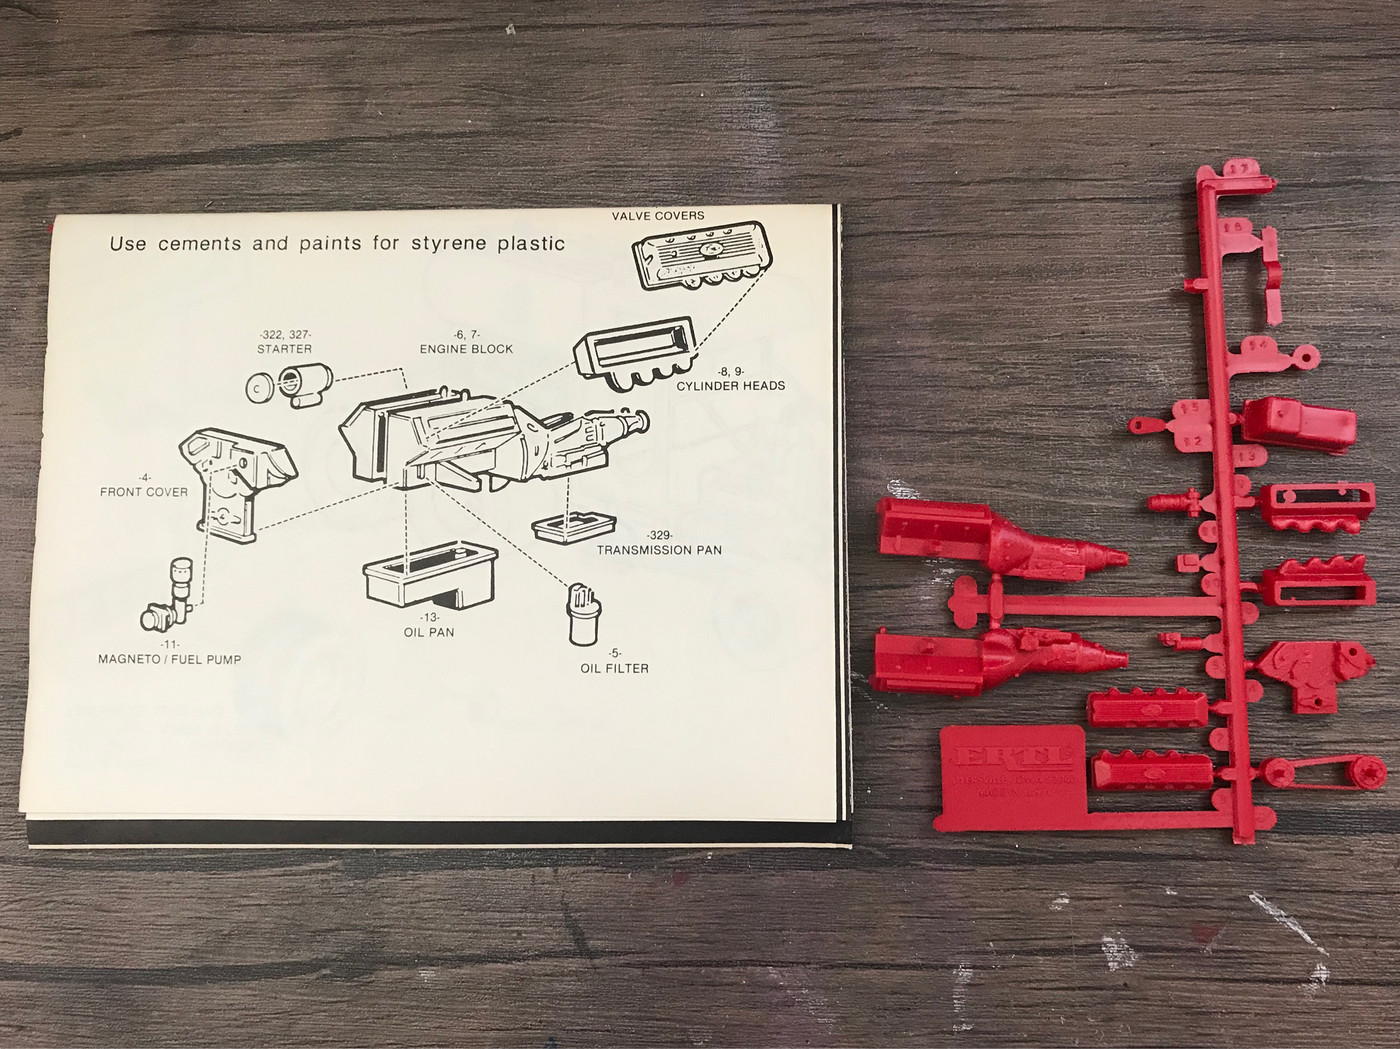
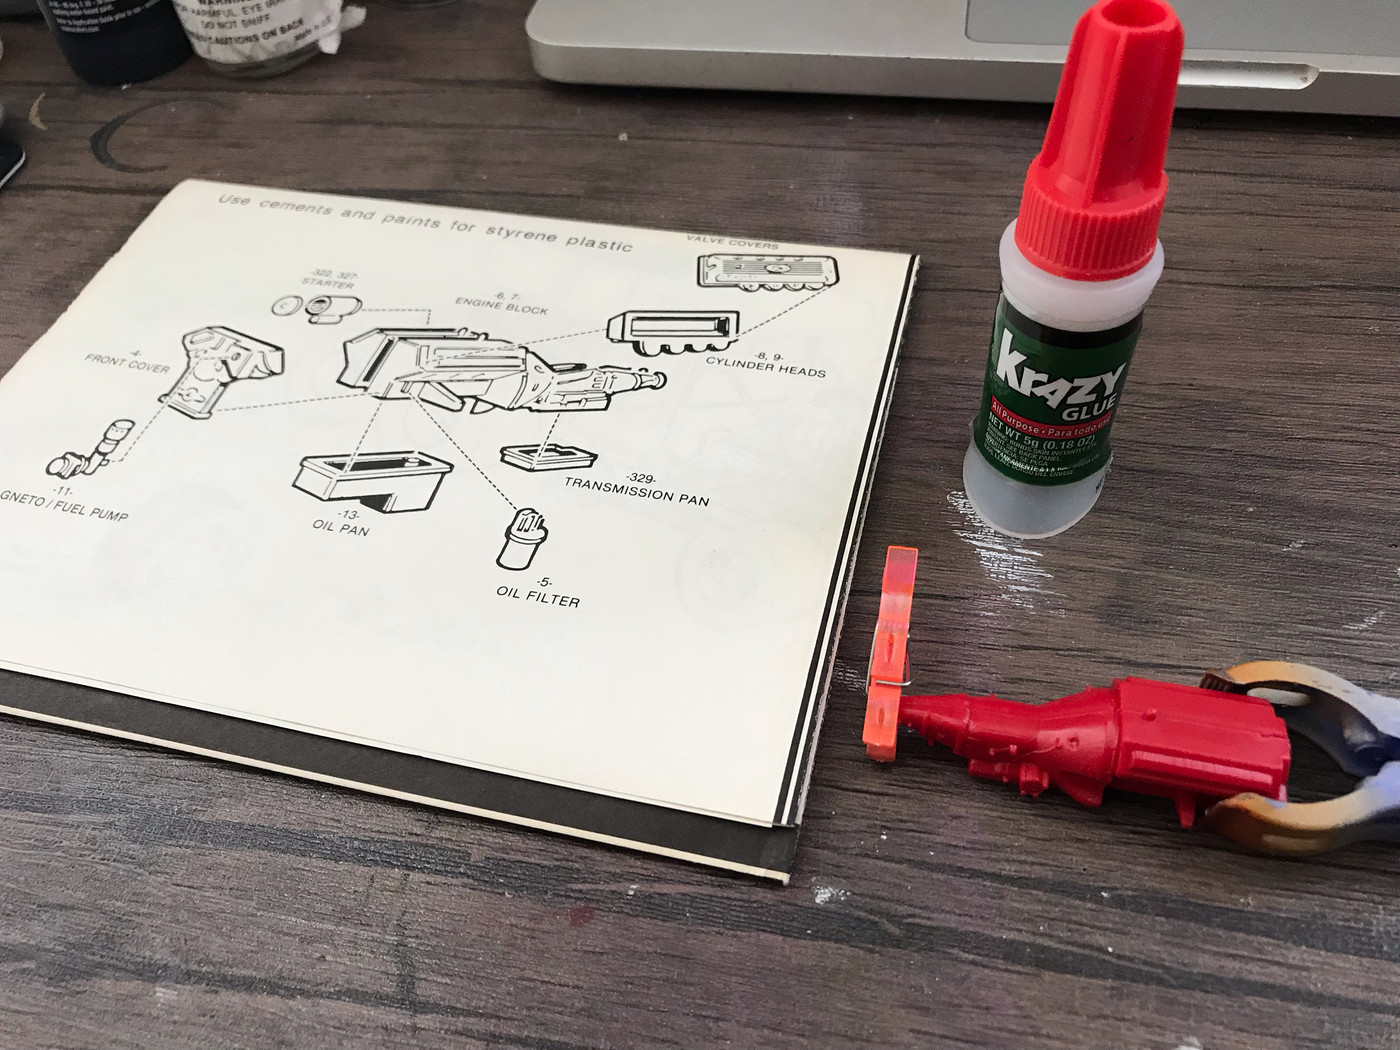
Before starting on anything else I did the traditional first step of any build, gluing the engine halves together:
This kit comes with a Ford SOHC, which I'm looking forward to putting together - more on that later when I've actually done some work on it. I needed to get the block together so I could mock it up in the frame for the next step, so I got it as far along as I needed anyway...
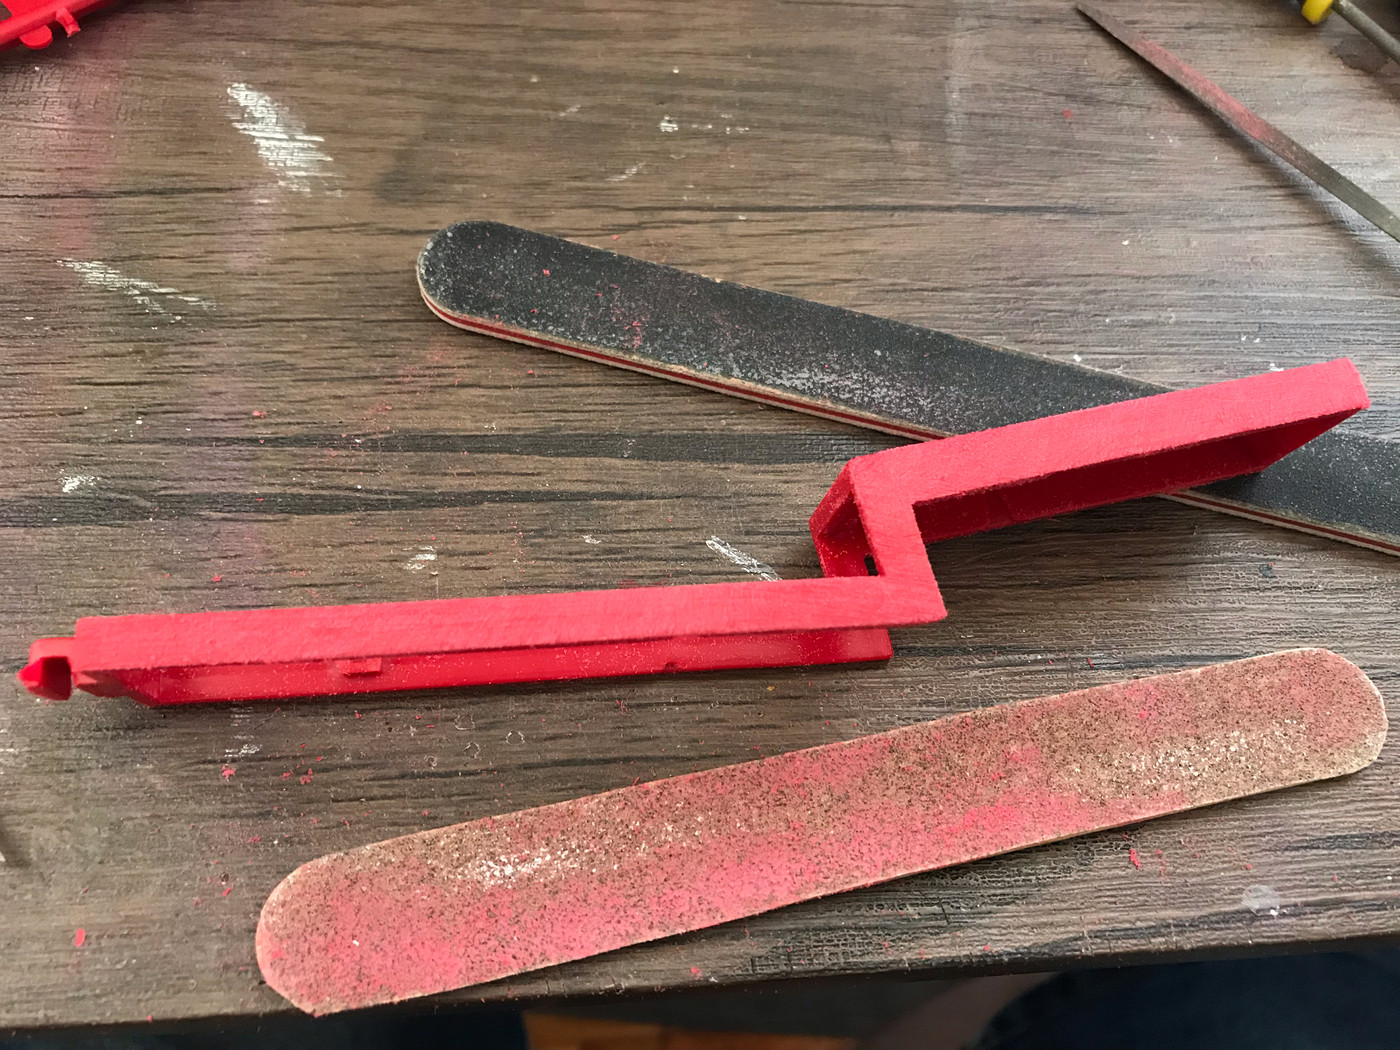
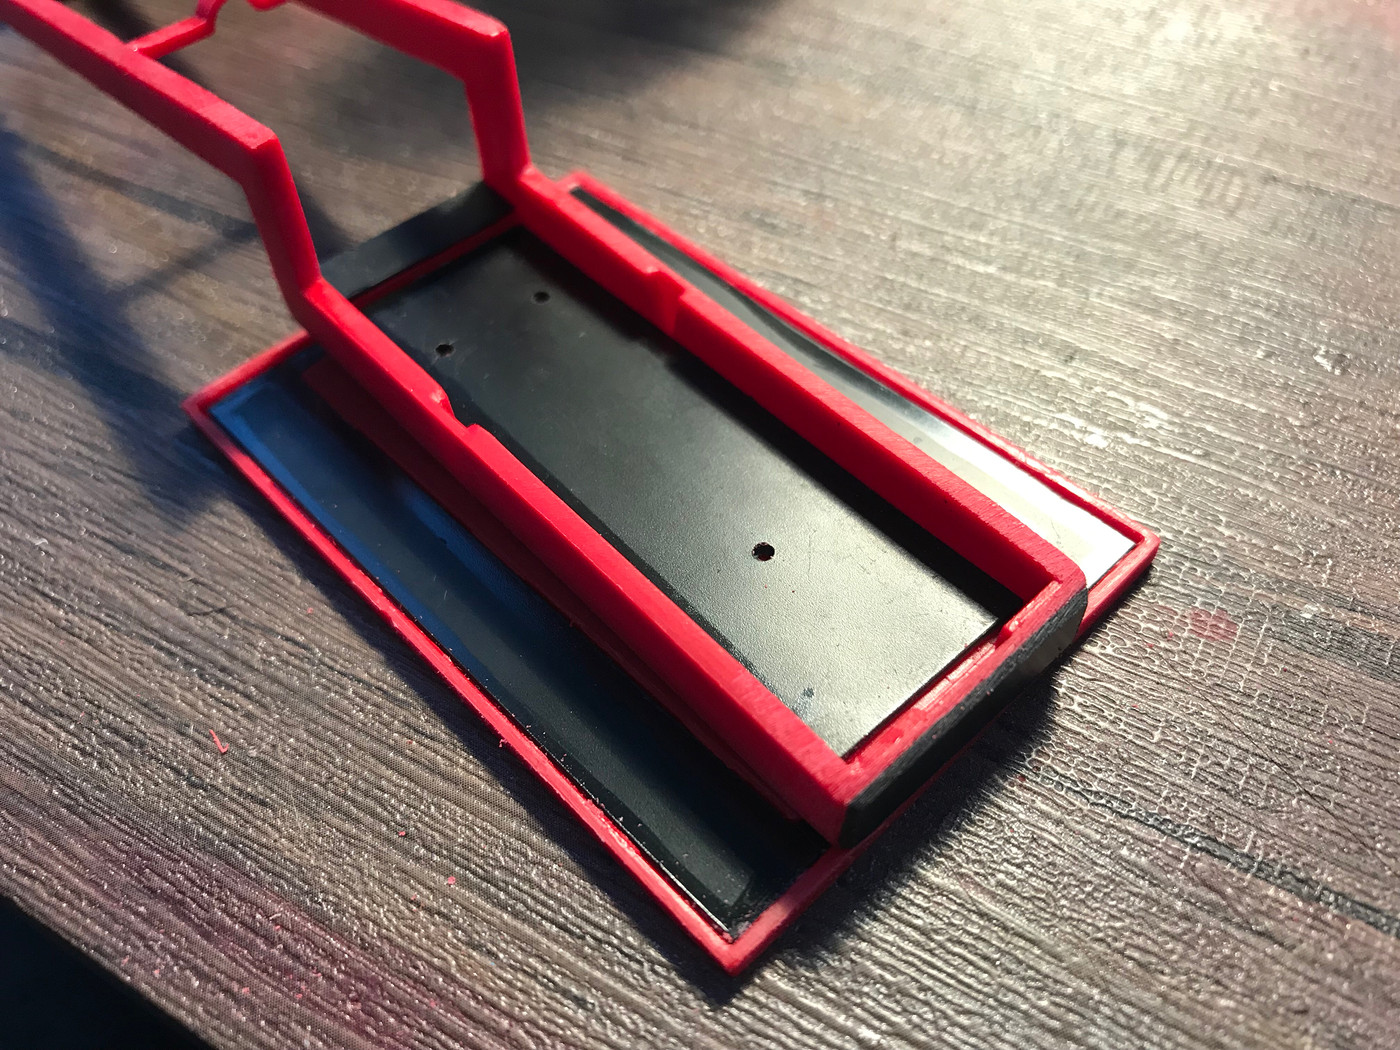
Like all these big long kit frames there were some nasty sink marks along the outer edges, so I got them flat with my homemade popsicle-stick frame-side-sander:
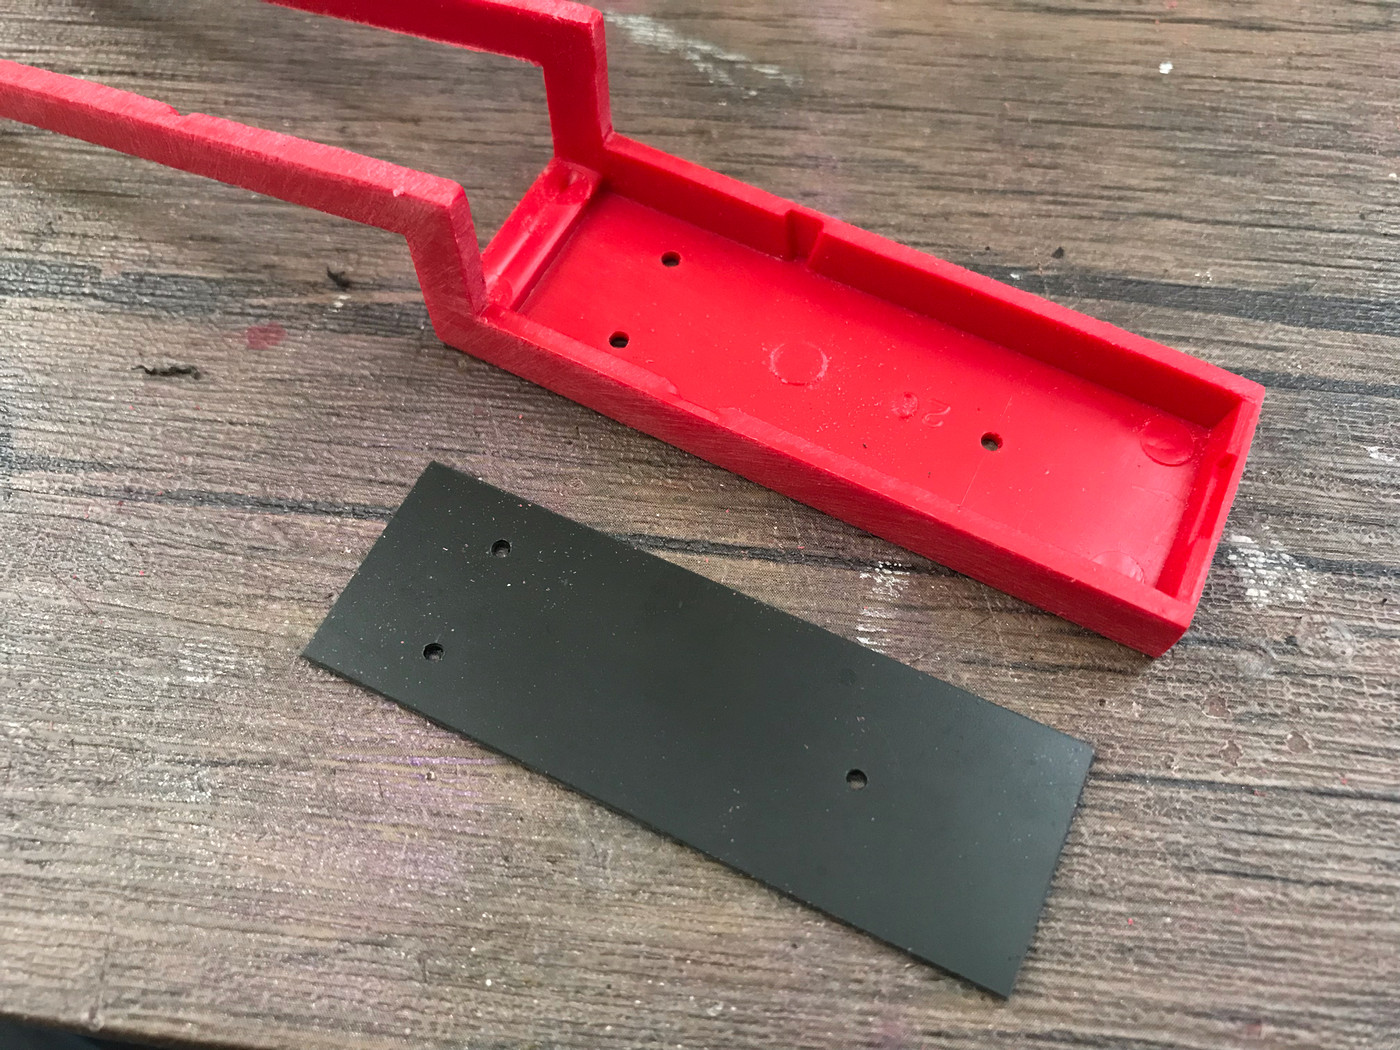
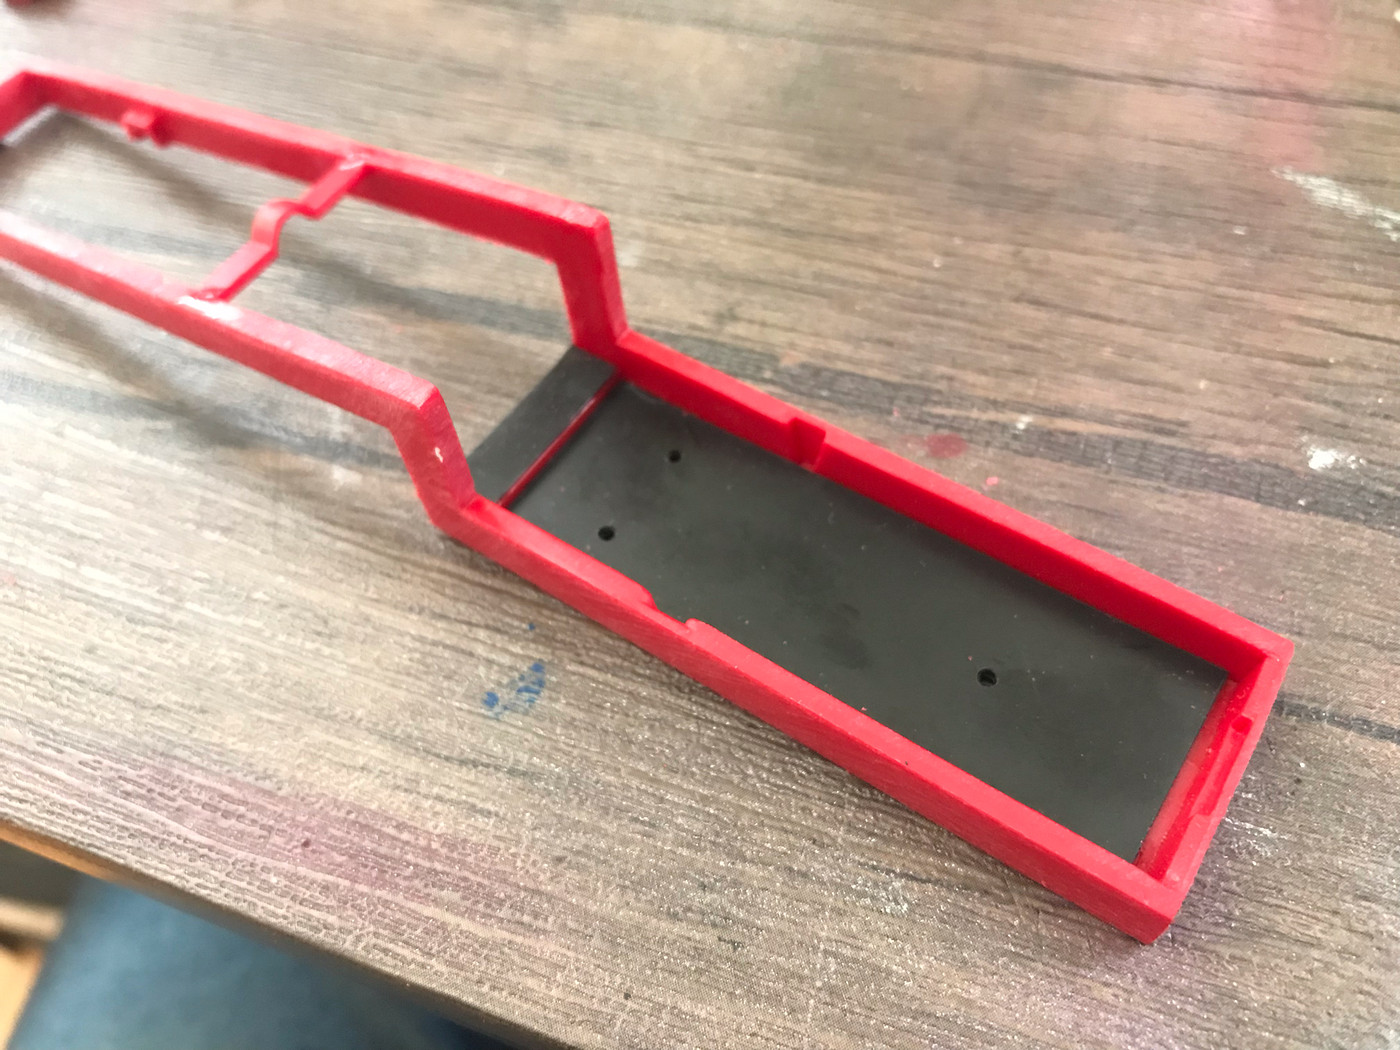
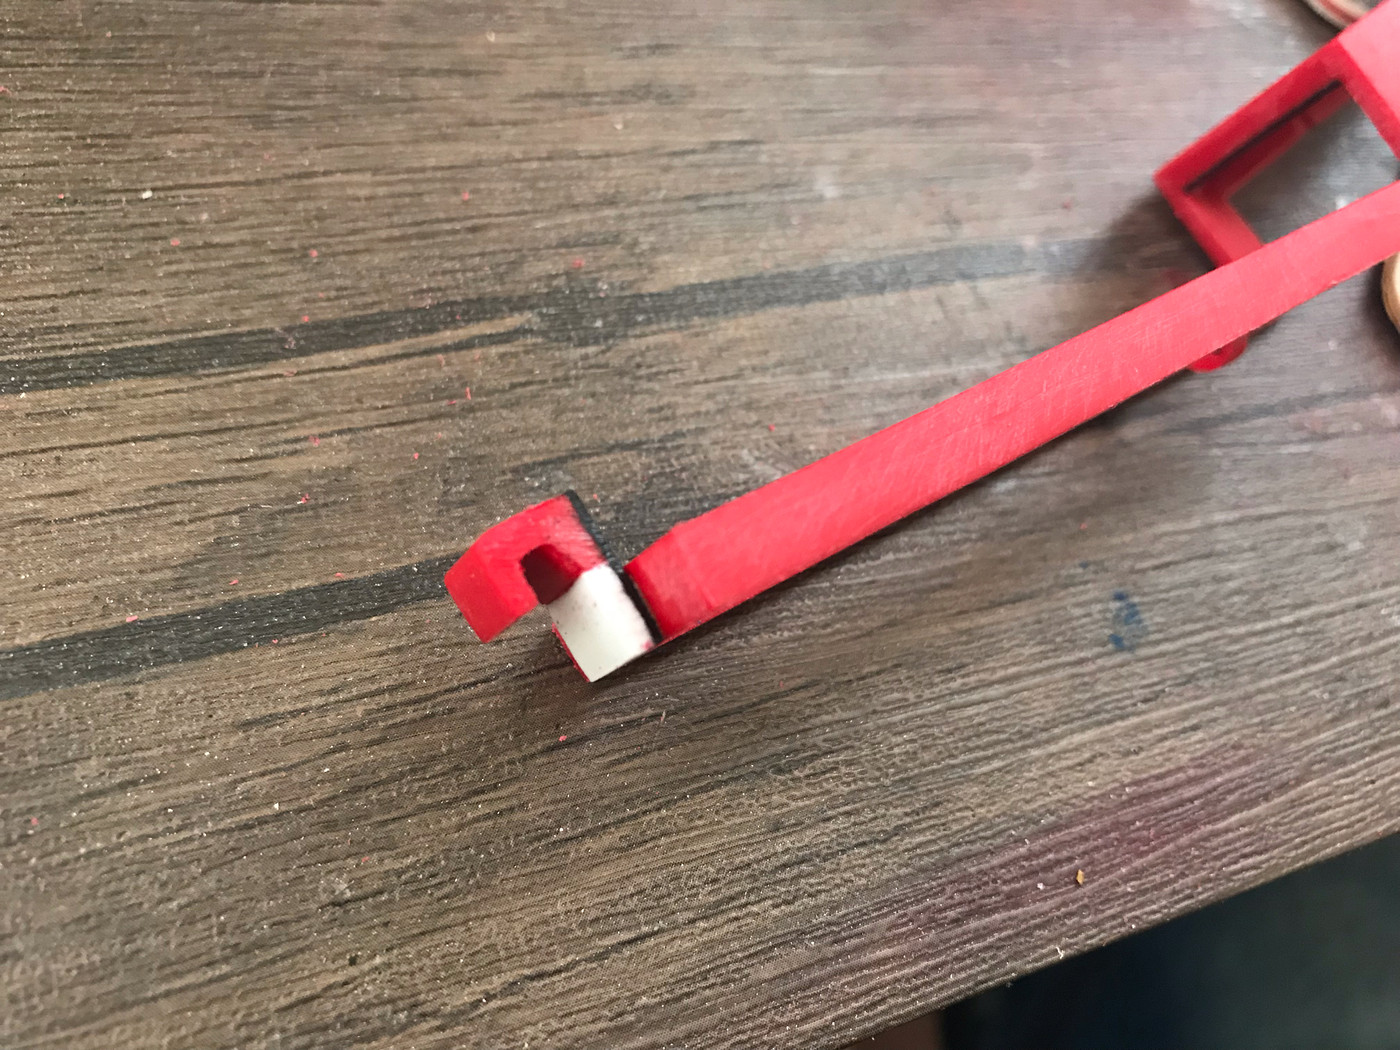
There were some prominent ejector pin marks in a couple of spots too, so I just cut a replacement piece to cover them up to save trying to sand in that awkward opening:
Much better!
The bed needed the same attention, so I did the same to that too:
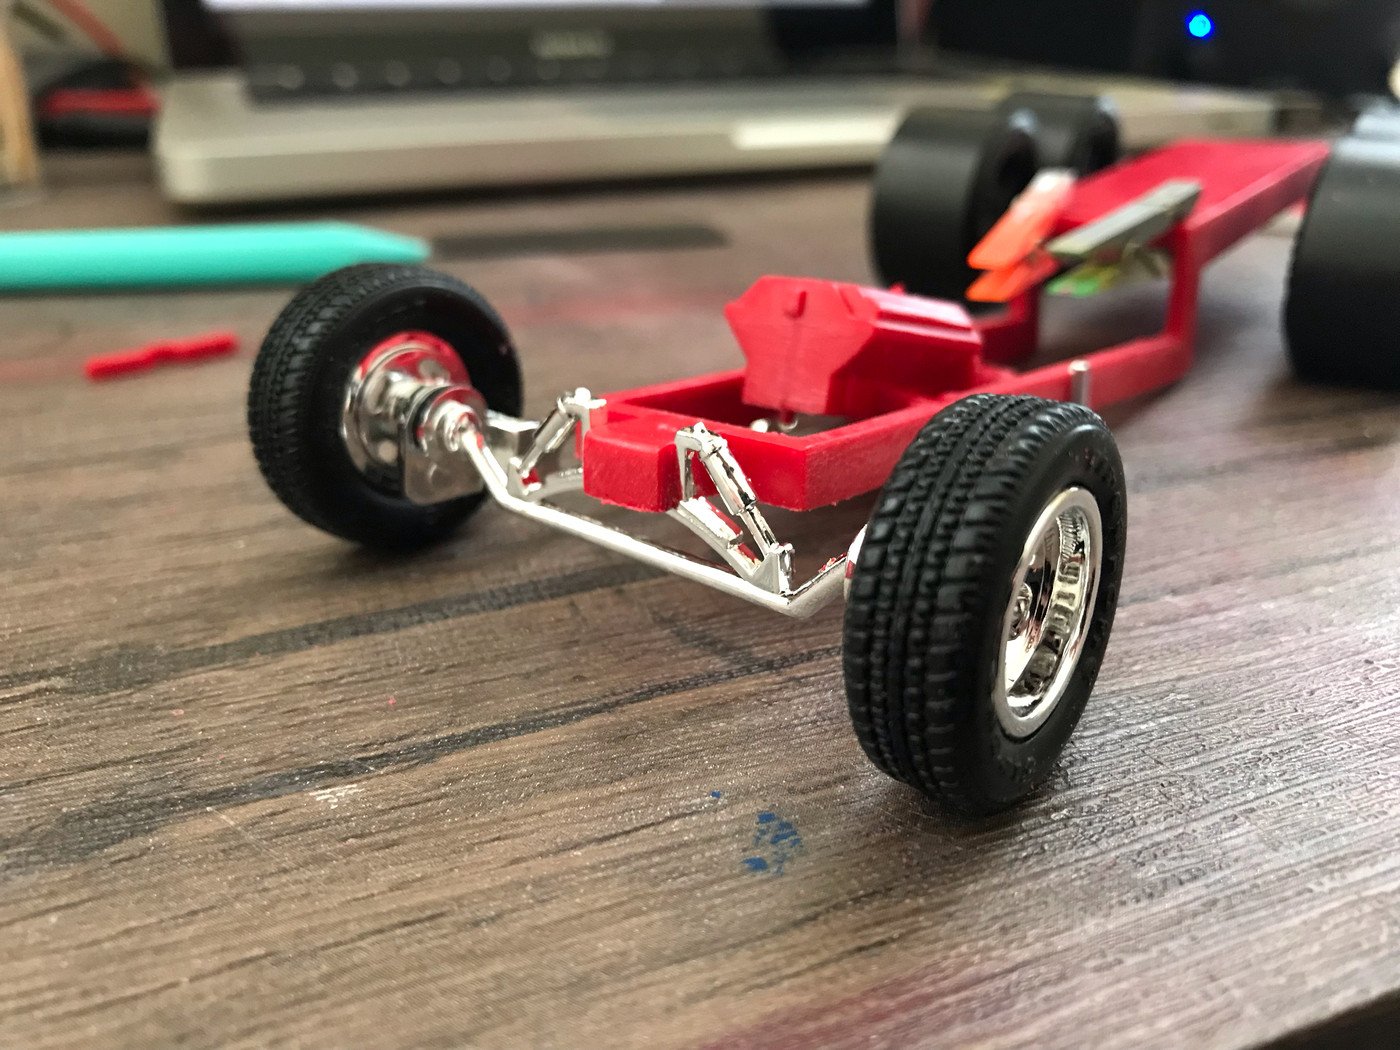
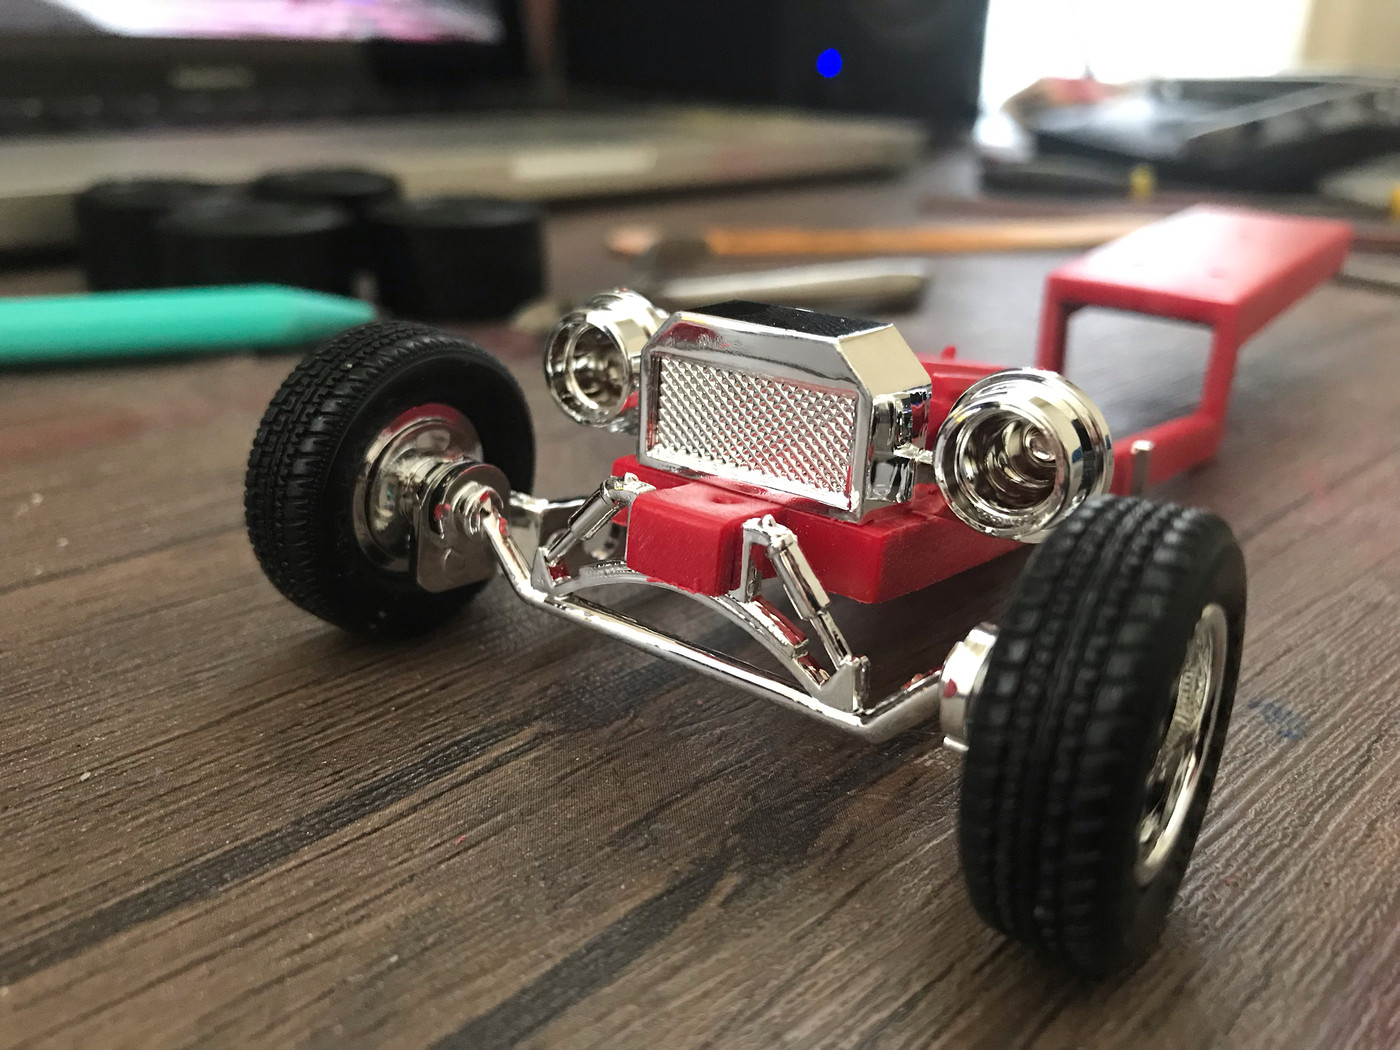
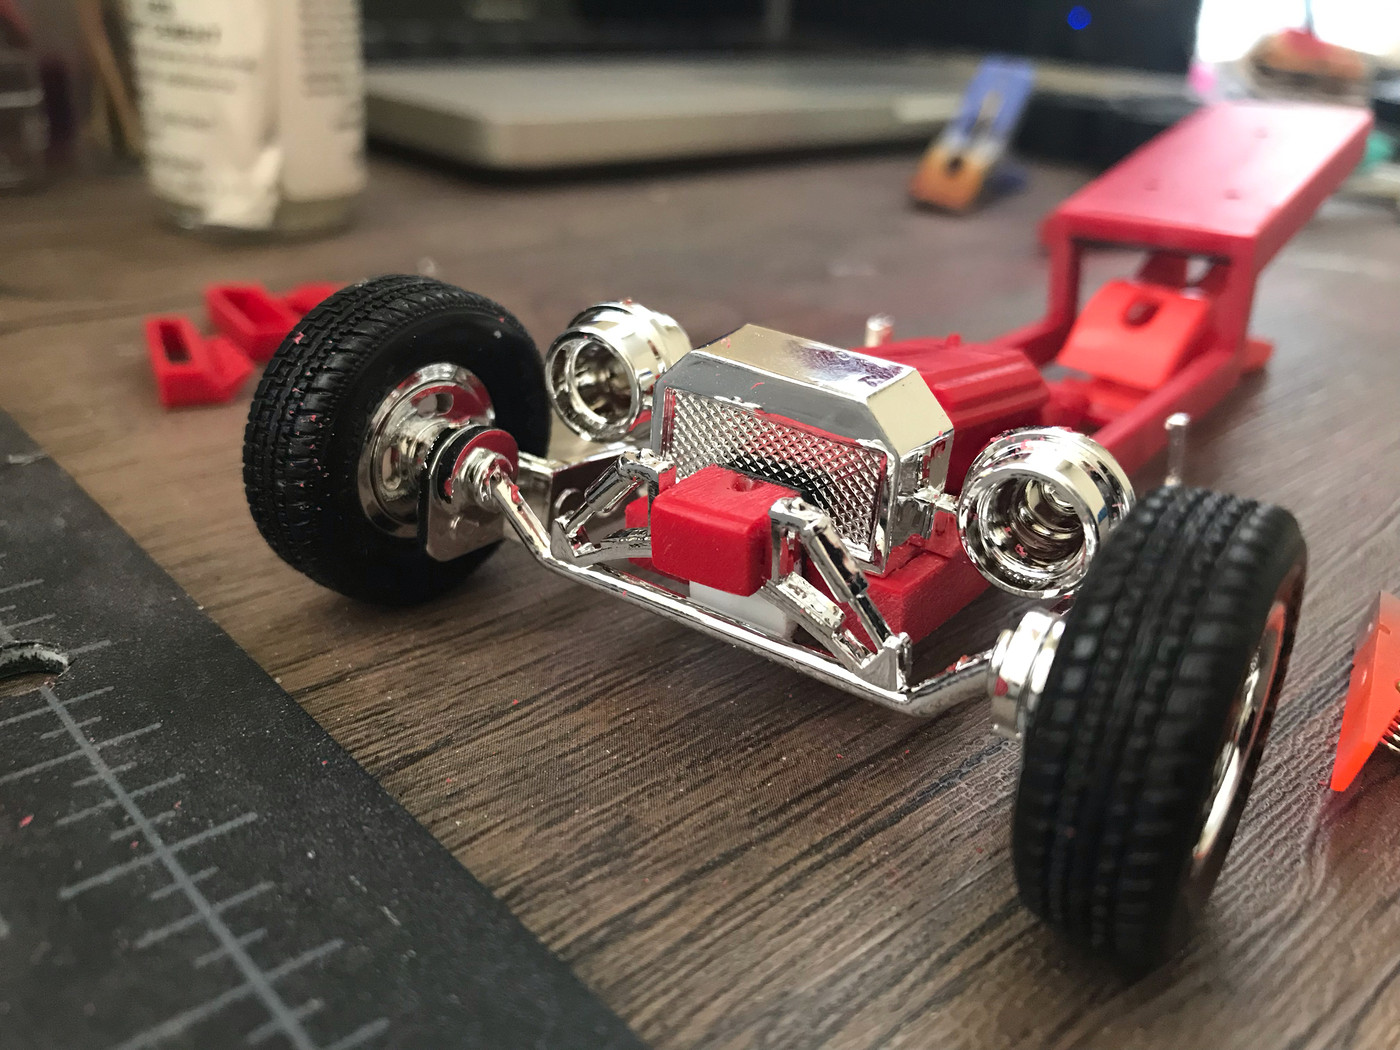
I wanted to drop the front of this thing in the weeds to give it a more aggressive look that how it comes out of the box:
So I sliced off the spring perch and moved it up about 8 scale inches:
Now we're talking! Before...
And after:
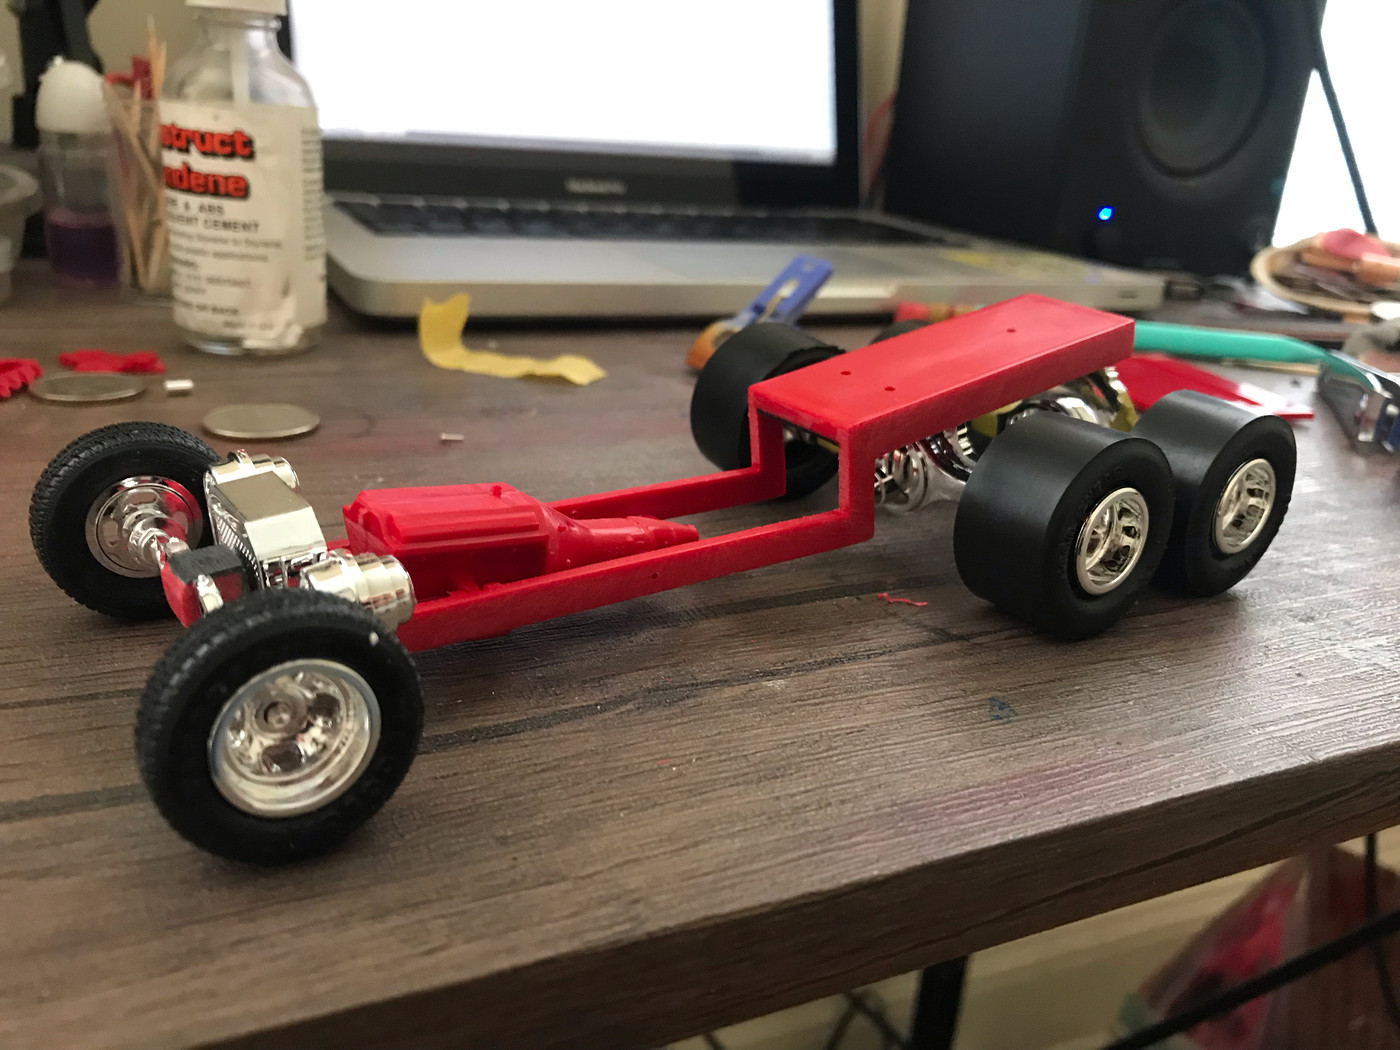
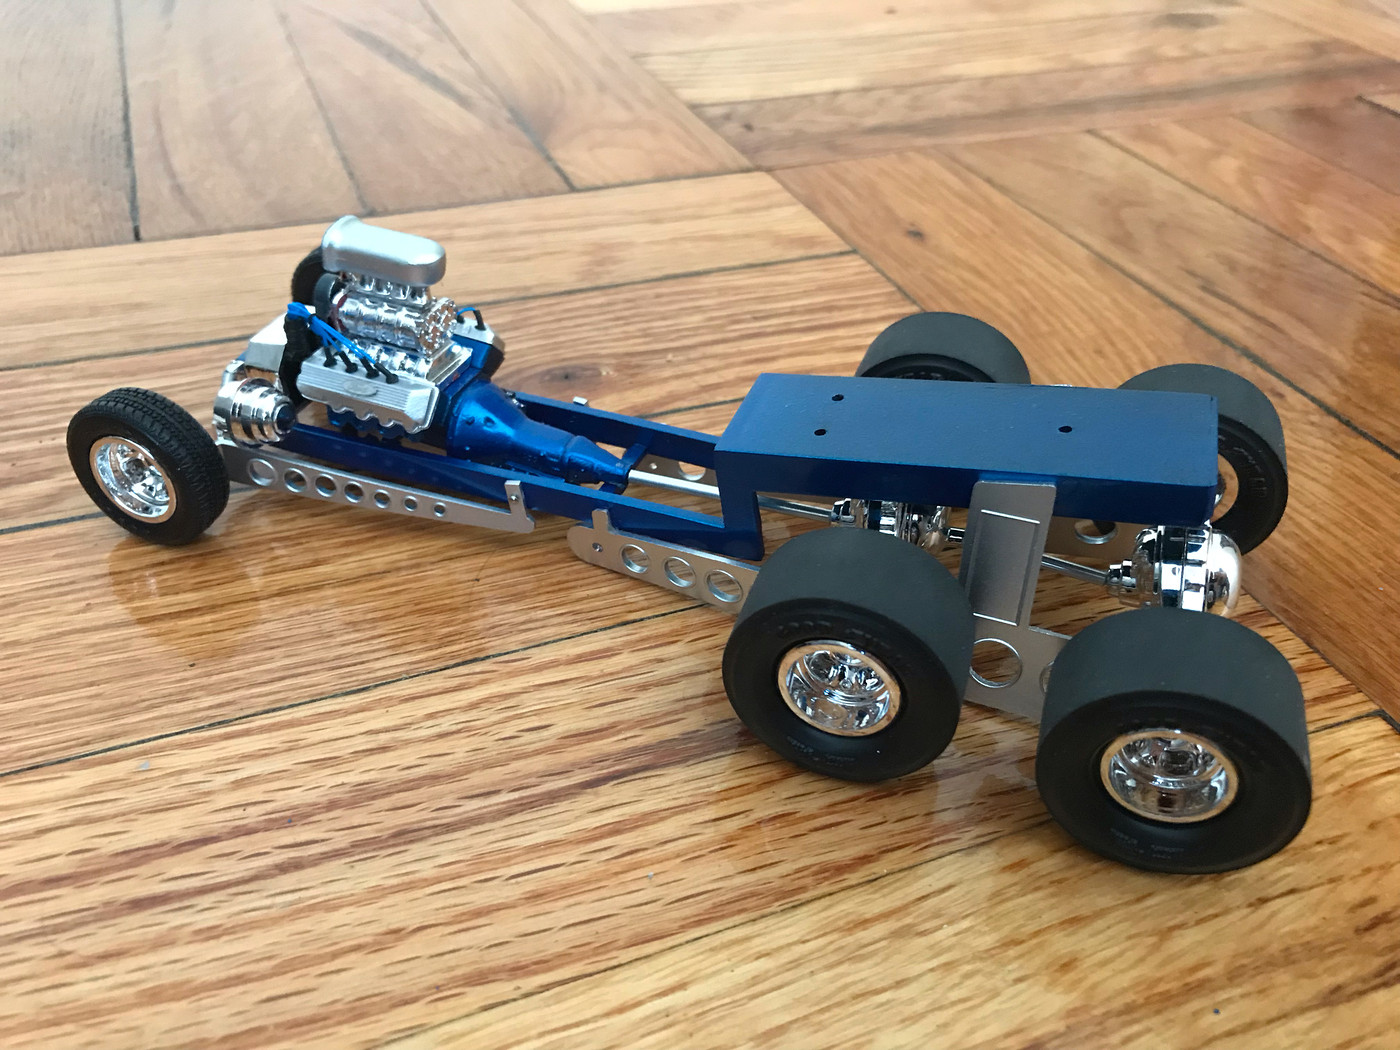
A quick mock-up of the chassis to make sure the rear suspension would still assemble and have all the wheels touch the ground:
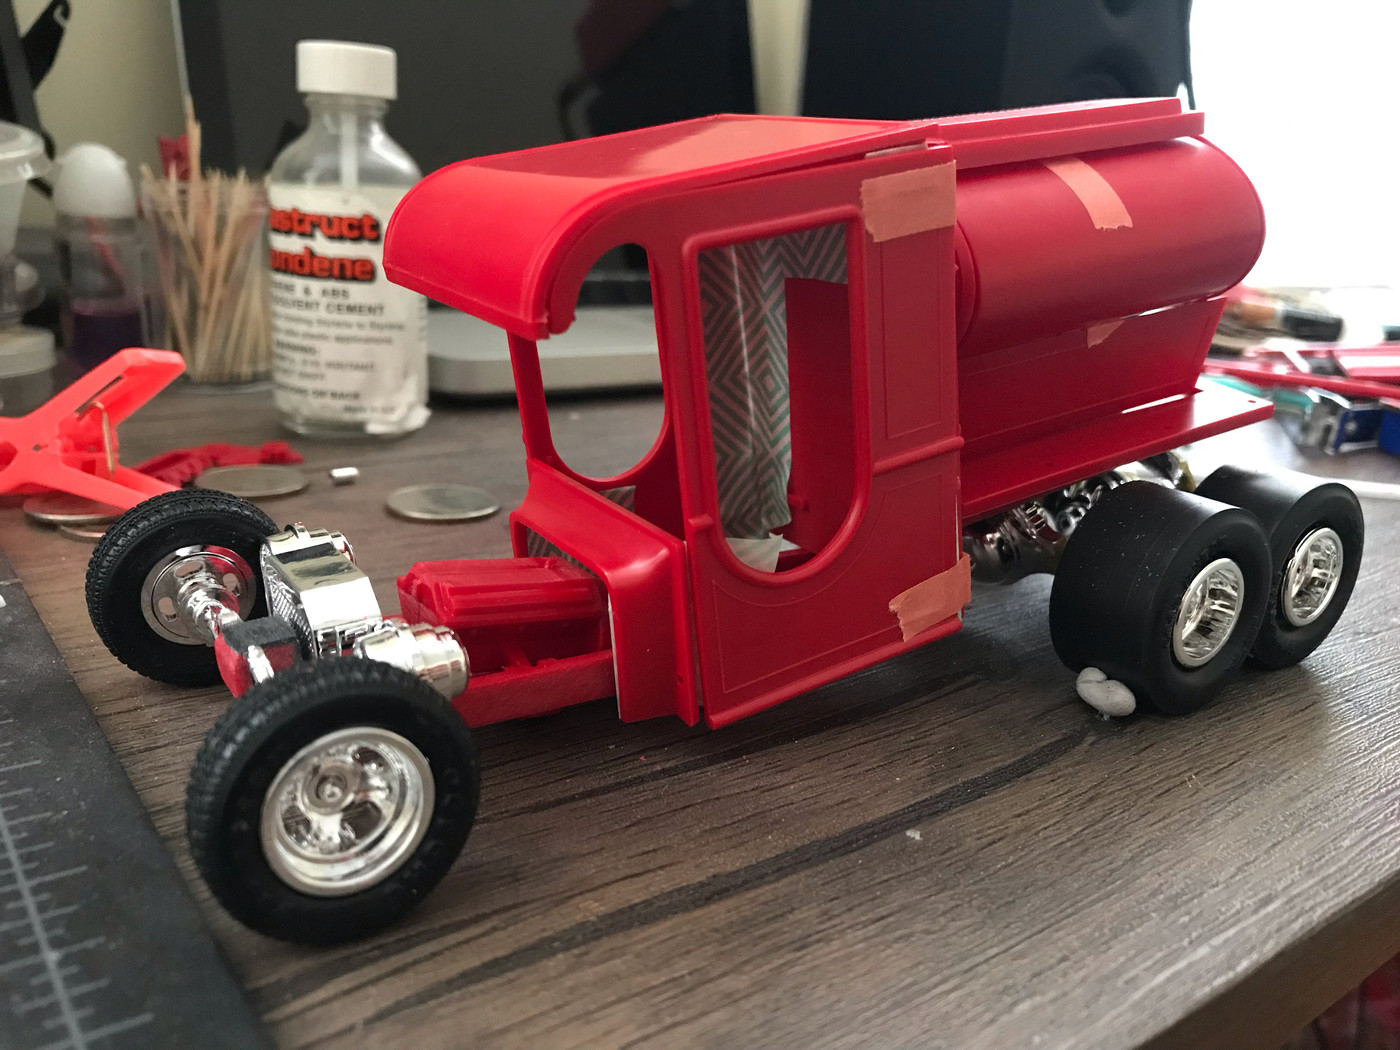
And once I knew that was going to work a quick mockup of the cab and tank to make sure that was all still going to fit ok too:
More soon!
|
|
|
|
Post by 41chevy on Jun 24, 2019 13:40:32 GMT -6
Cool mods on the stance. I bought one to steal the chassis and rear drives, never did anything after I gleeped the parts. Paul
|
|
|
|
Post by kabdriver on Jun 24, 2019 13:52:24 GMT -6
Cool mods on the stance. I bought one to steal the chassis and rear drives, never did anything after I gleeped the parts. Paul Ohh, what did you build with the chassis?
I'd like to pick up one of Round 2's reissues at some point - the details in this one are pretty eighties-tastic.  |
|
|
|
Post by chromecop on Jun 25, 2019 1:40:34 GMT -6
Much better stance after dropping the front suspension!
|
|
|
|
Post by Rodger on Jun 25, 2019 7:11:48 GMT -6
Looking good.
Thought about a color yet?
|
|
|
|
Post by 41chevy on Jun 25, 2019 14:17:03 GMT -6
Cool mods on the stance. I bought one to steal the chassis and rear drives, never did anything after I gleeped the parts. Paul Ohh, what did you build with the chassis?
I'd like to pick up one of Round 2's reissues at some point - the details in this one are pretty eighties-tastic.  Started this but V8 powered. Been sitting a few years.   |
|
|
|
Post by kabdriver on Jul 21, 2019 12:34:15 GMT -6
That sounds cool, Paul! I'd like to see!
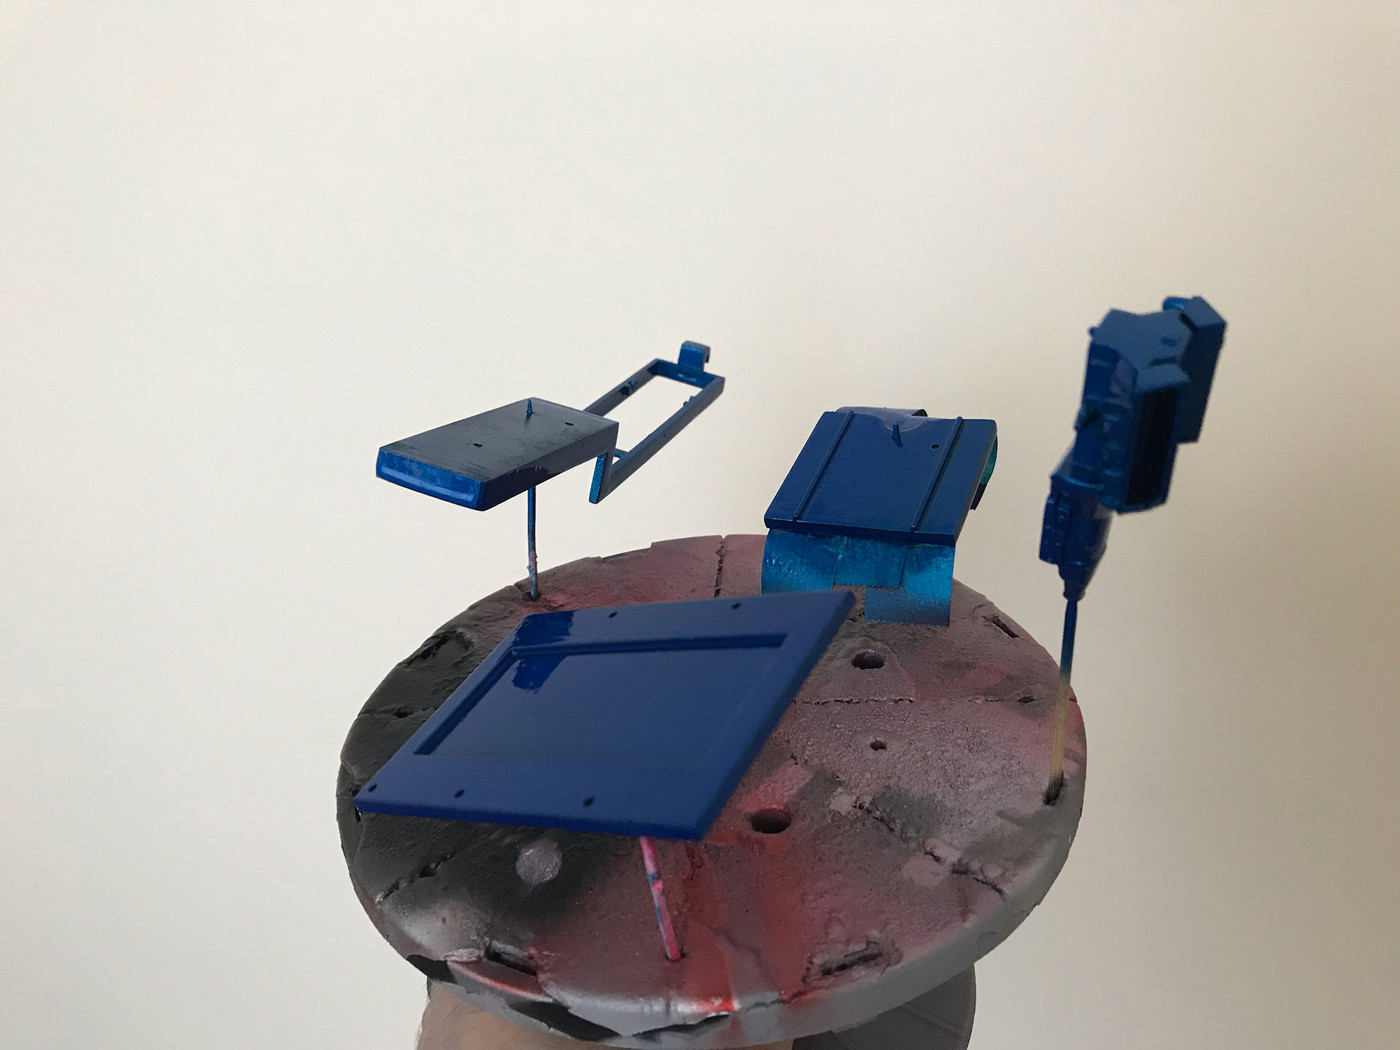
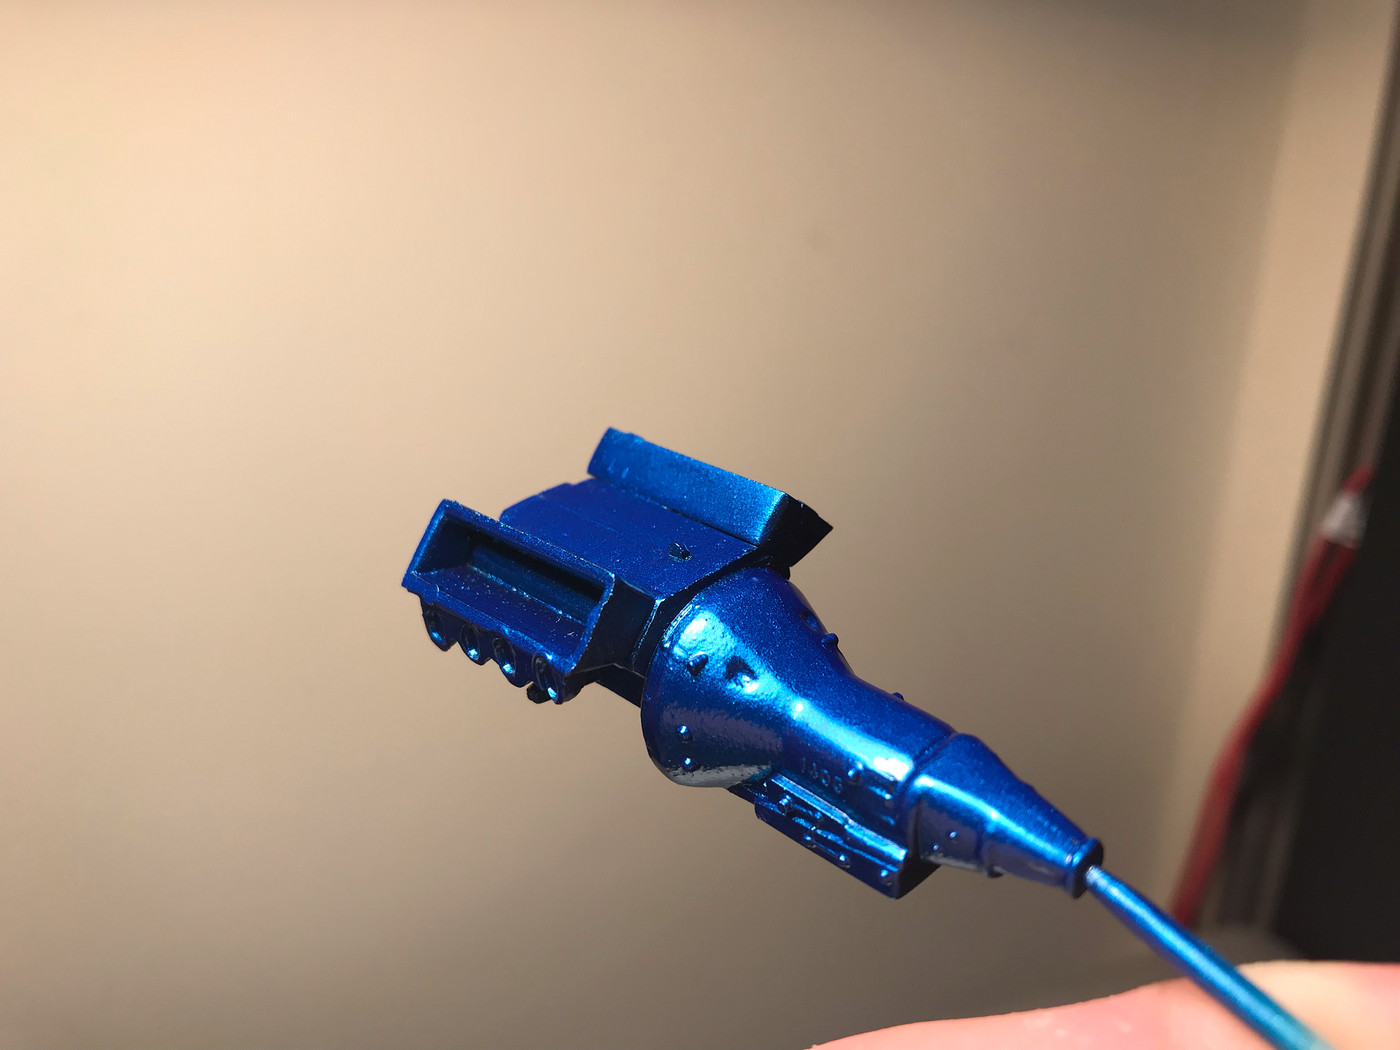
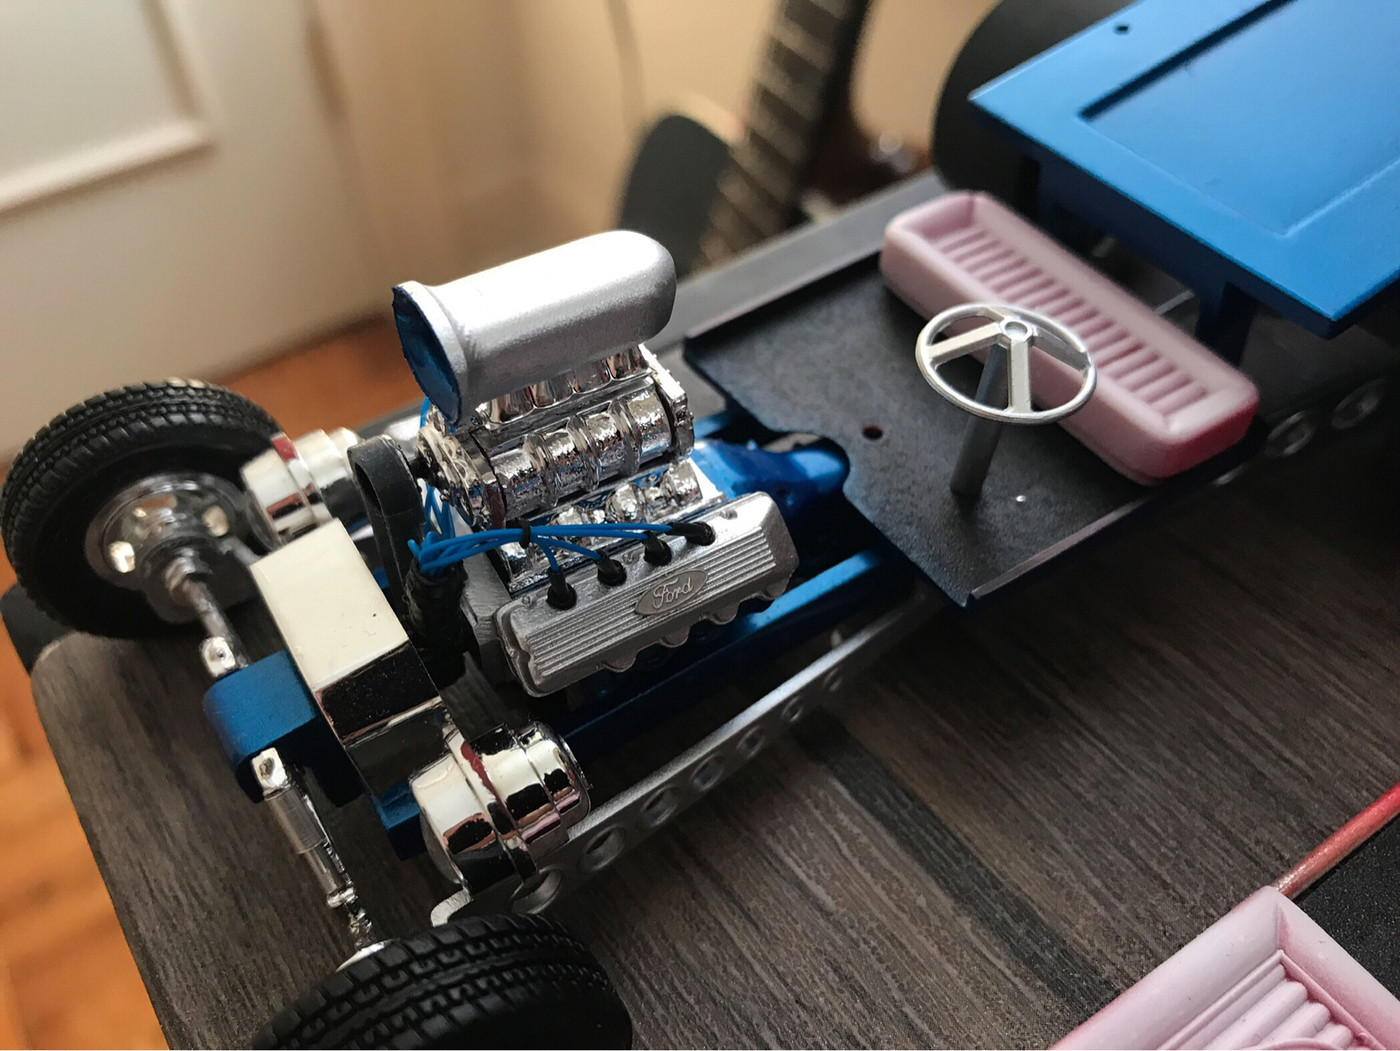
Got some paint on this thing and started some assembly, so I figured it was time for an update...went with Createx pearl blue for the frame and engine (to kinda replicate the original box-art car):
Looks pretty with some clear over it!
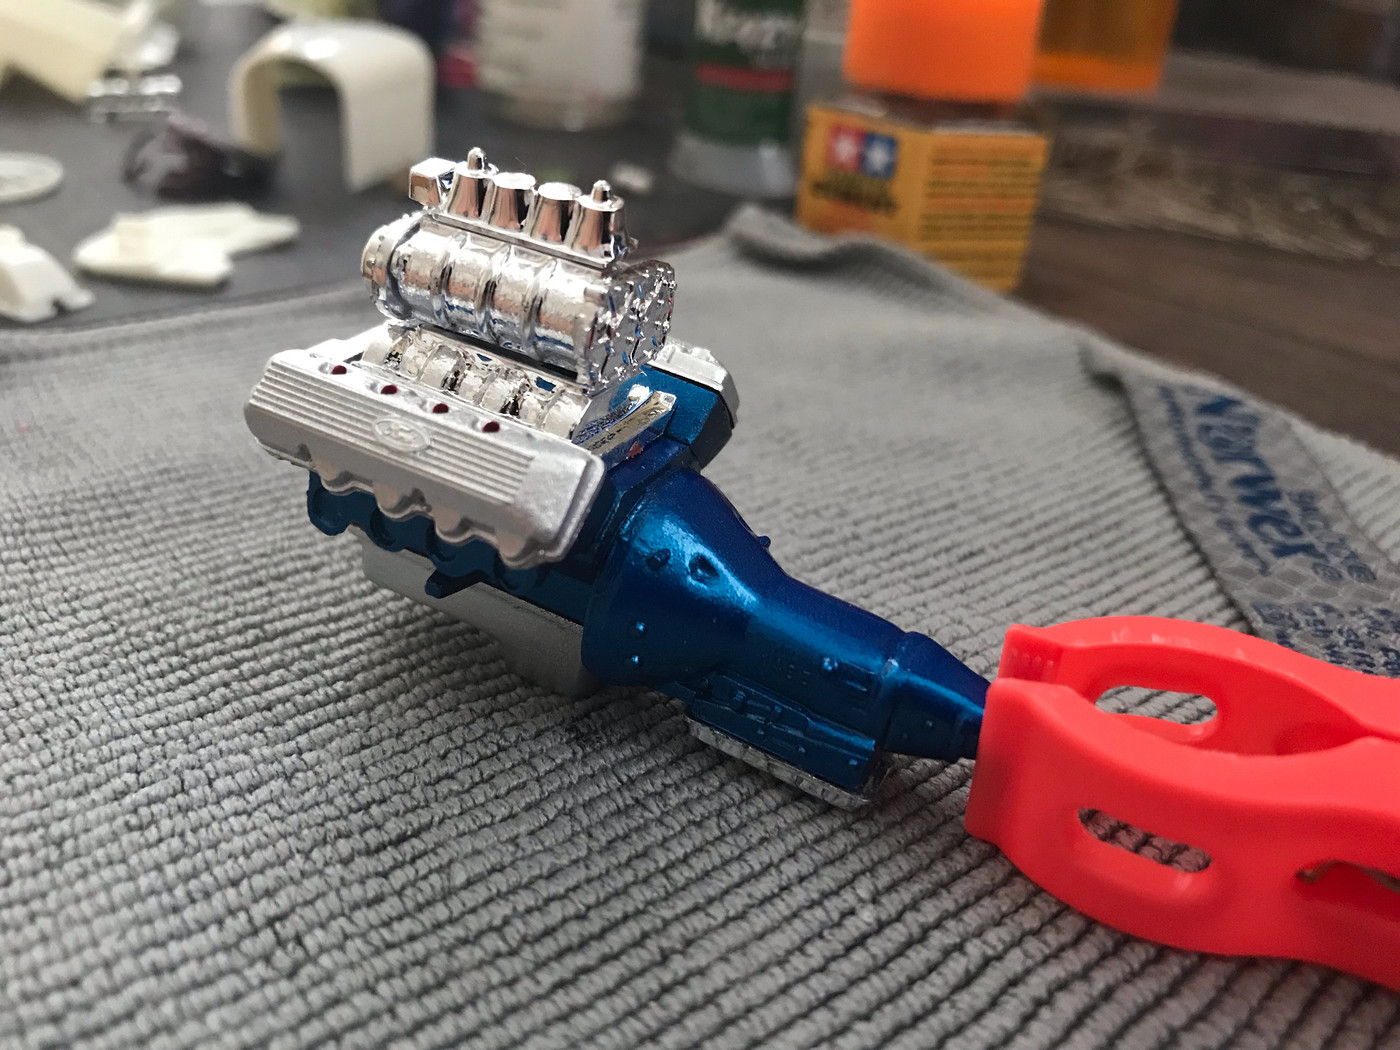
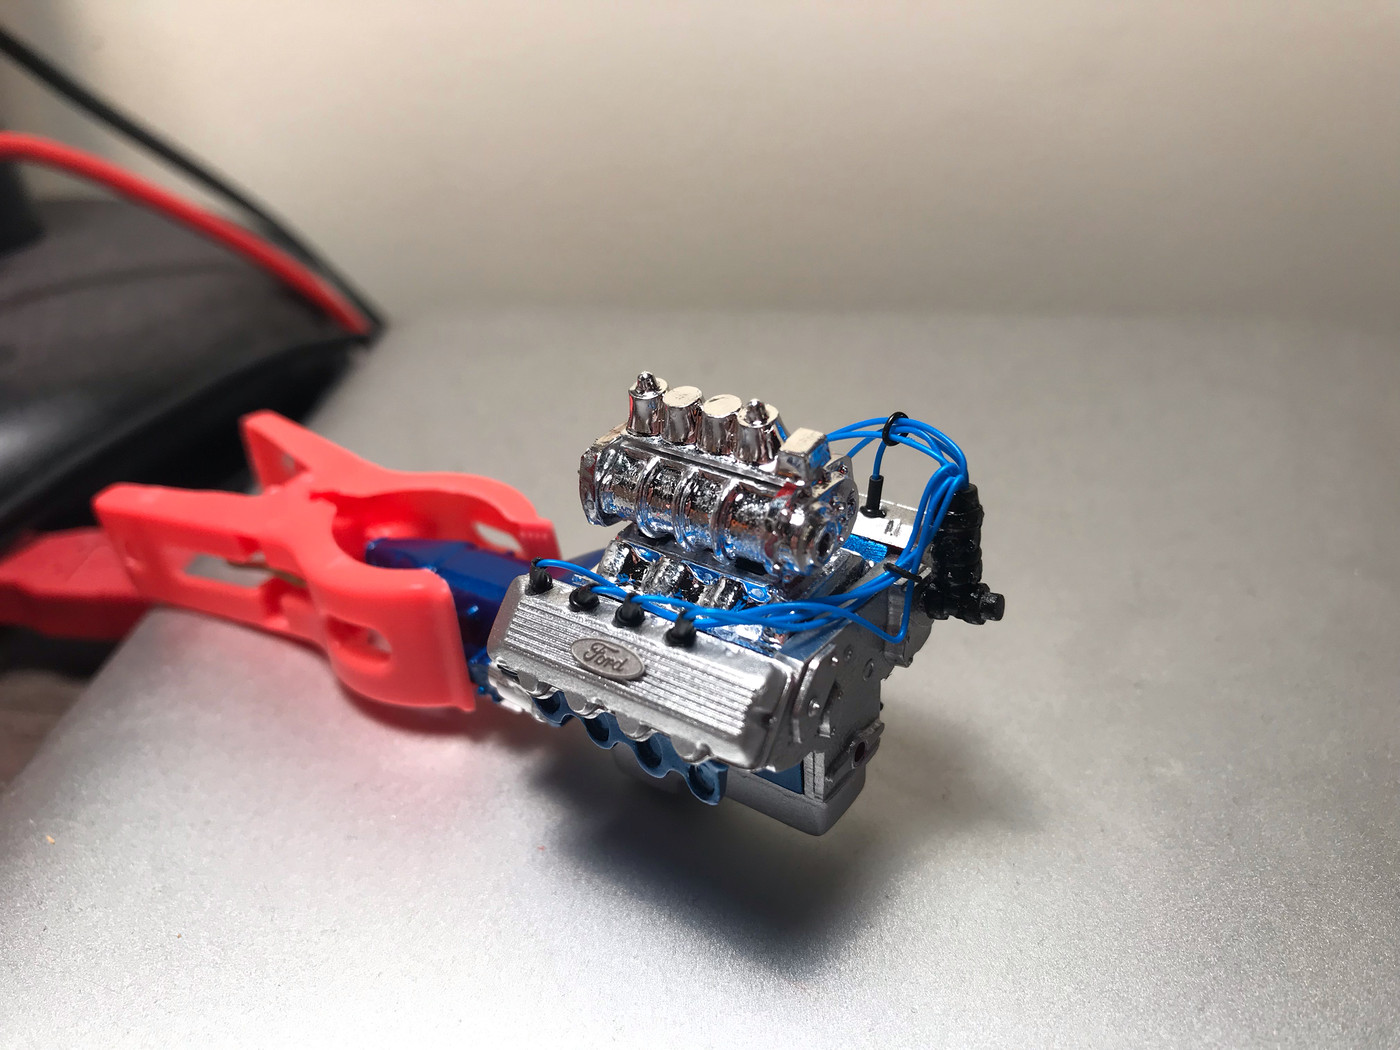
I went with a mix of kit-chrome and various metal finishes for the engine parts - with an aluminum finish for the valve covers to match a 1:1 Ford Cammer engine like this kit has:
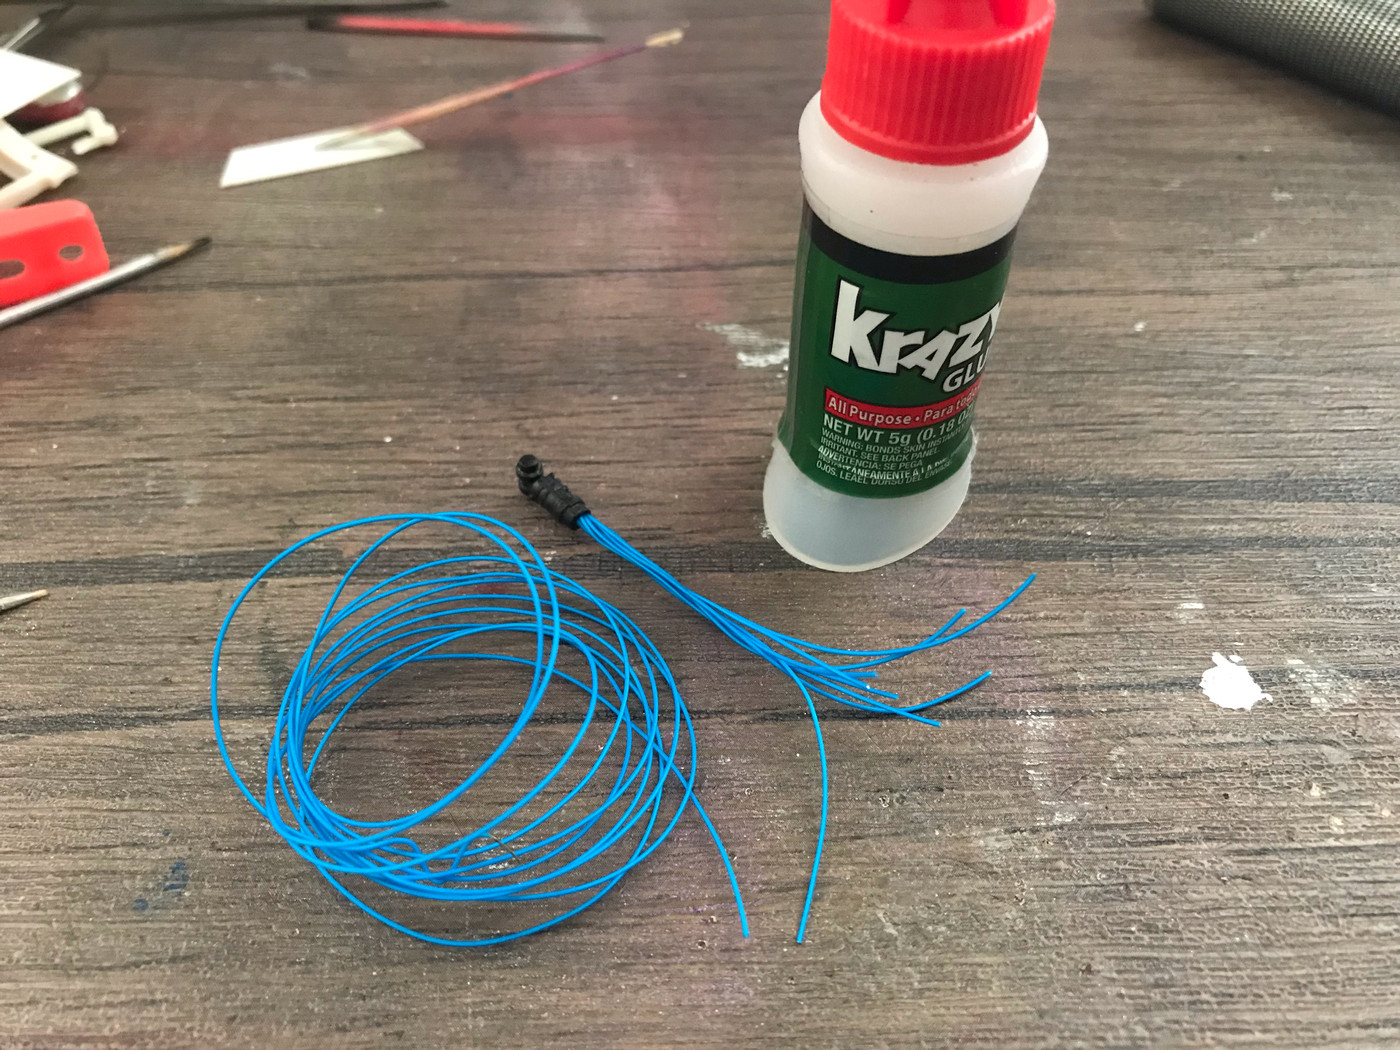
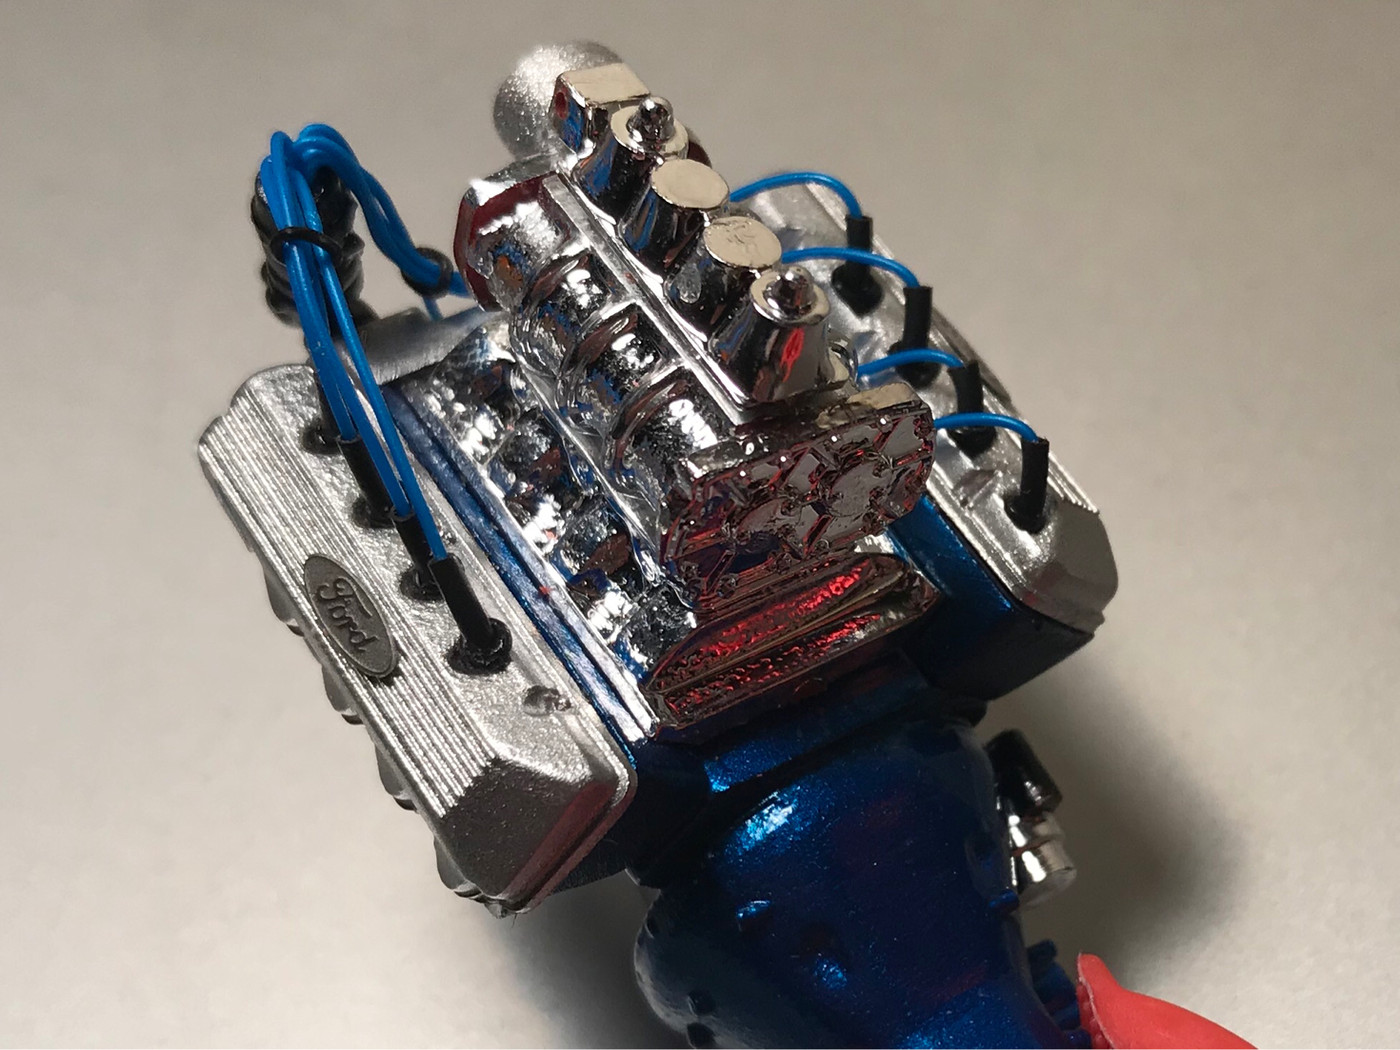
I drilled out the kit's magneto so I could wire it with some Detail Master wire:
And used some micro o-rings and some wire sleeve to make plug boots:
I also added those photoetched Ford badges to add a little detail:
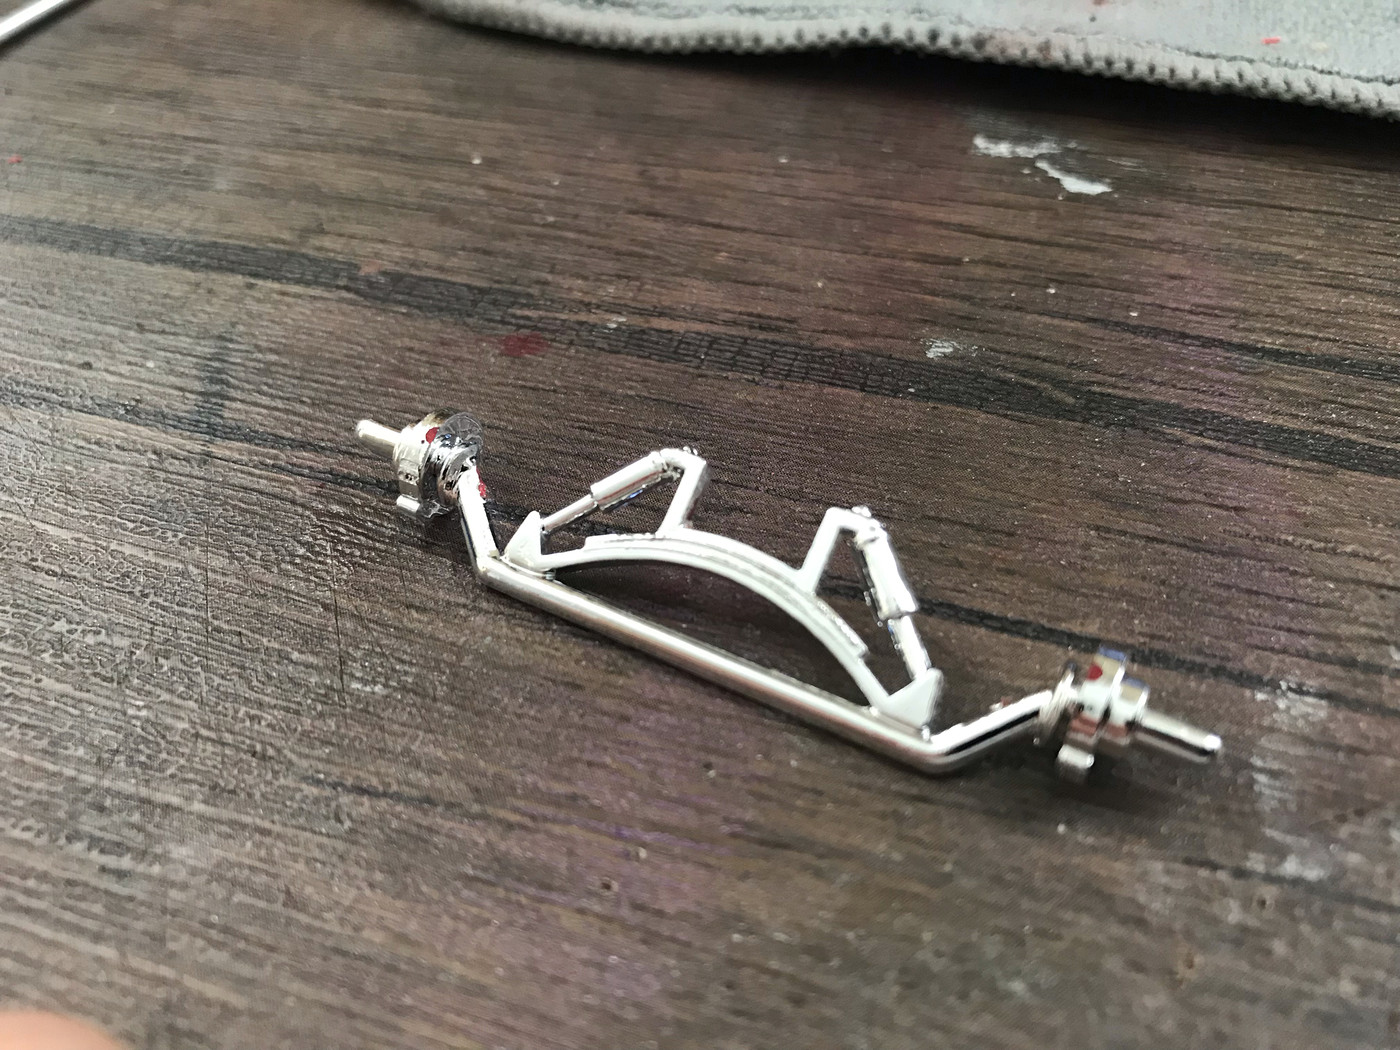
Elsewhere, I removed the molded-in shocks from the front axle:
And replaced them with some aluminum ones:
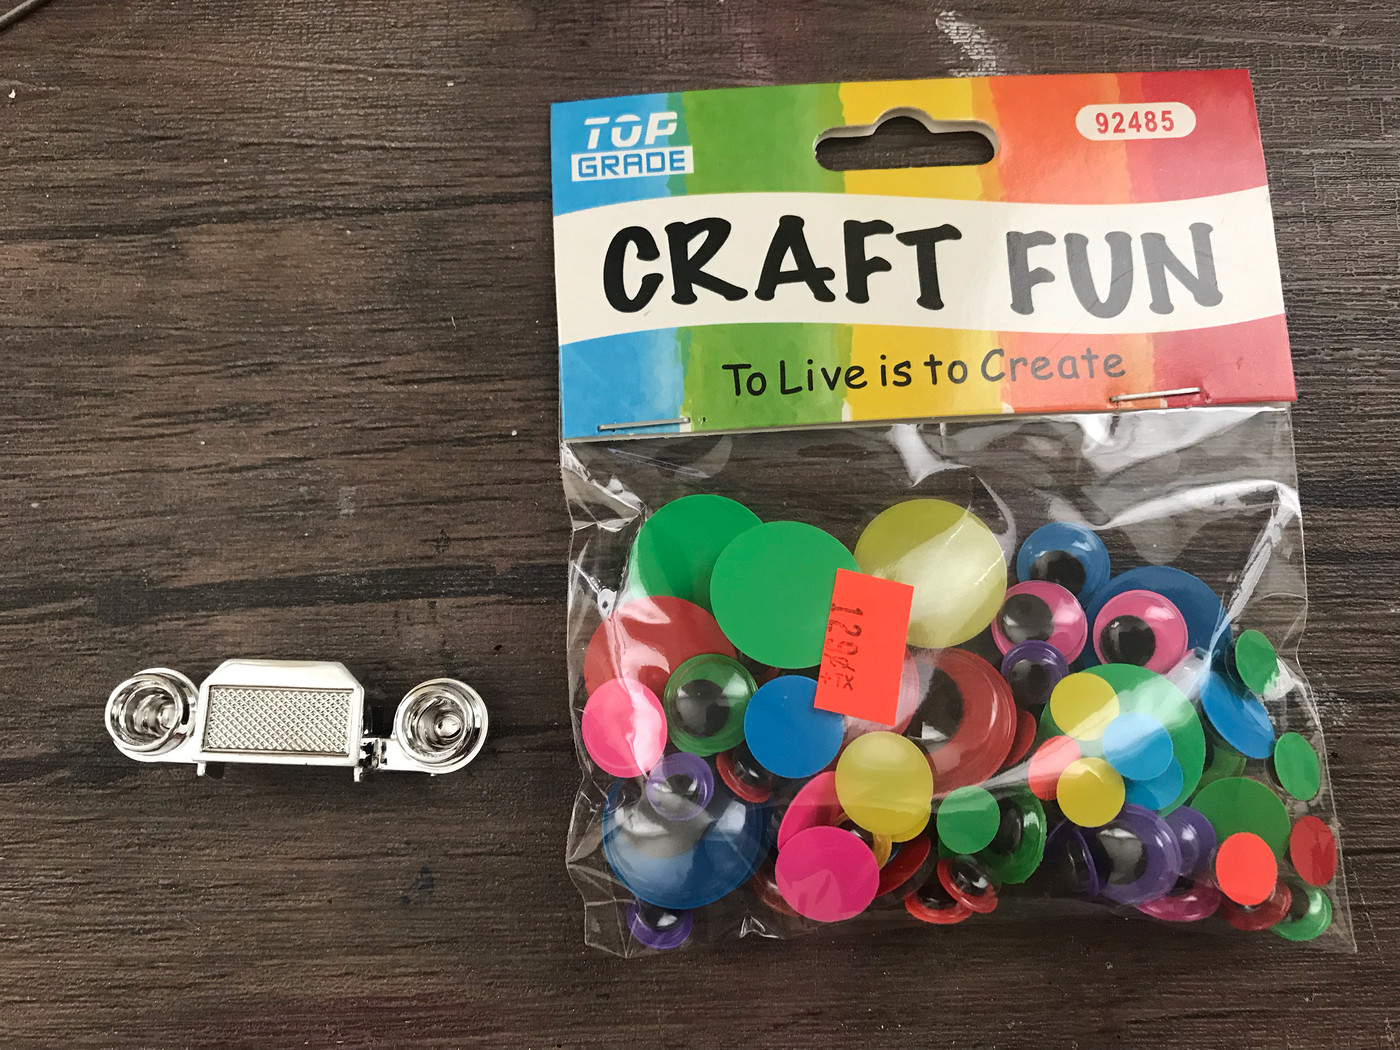
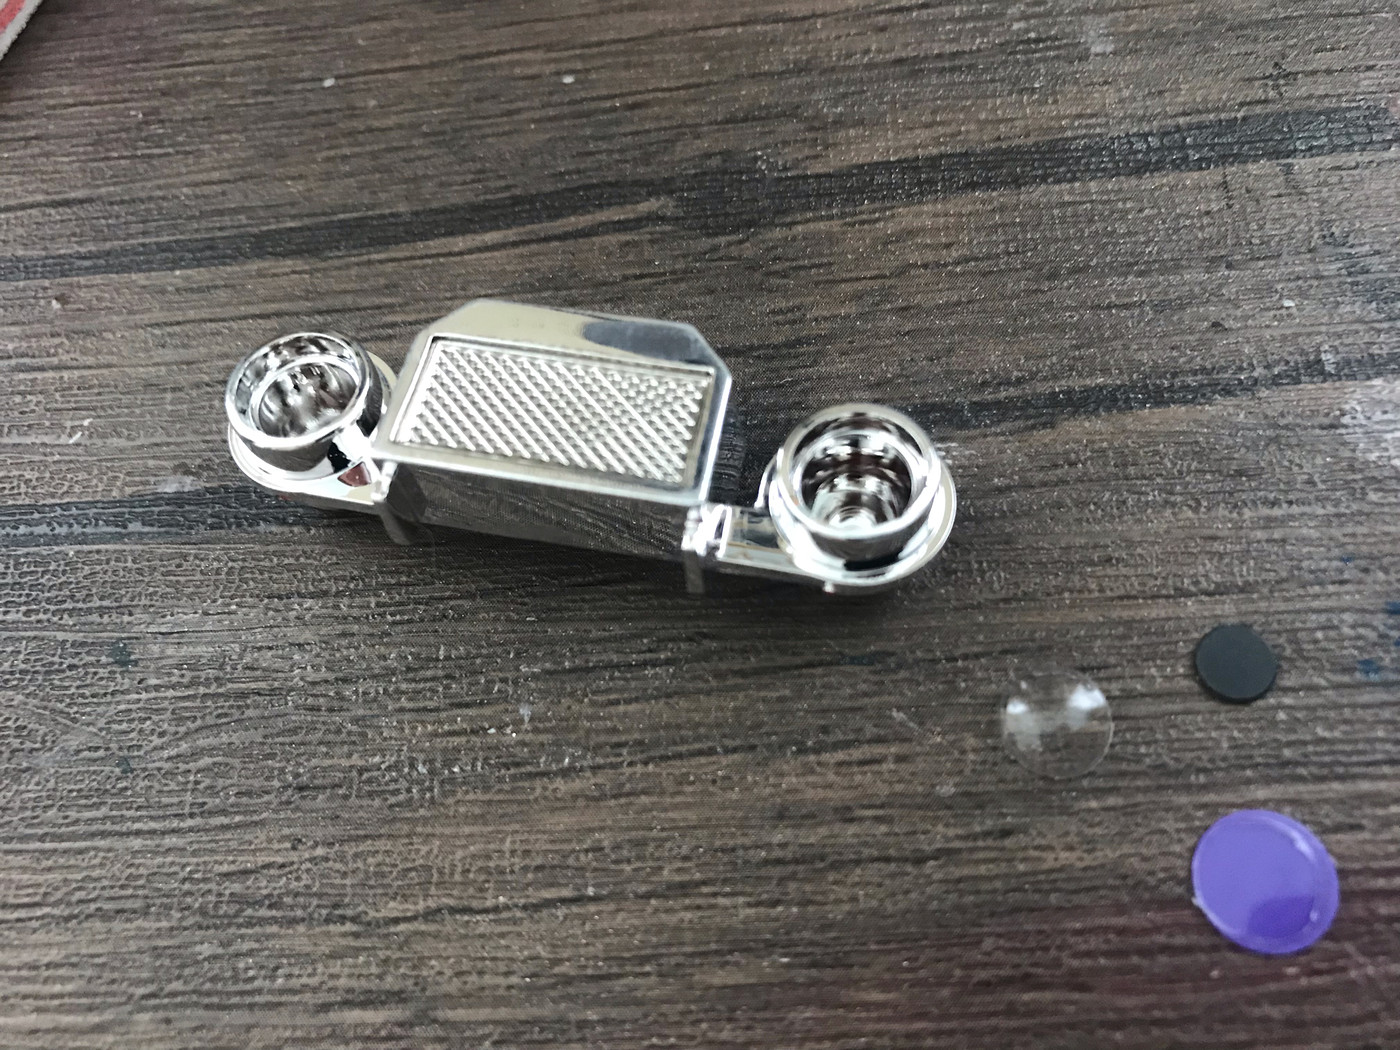
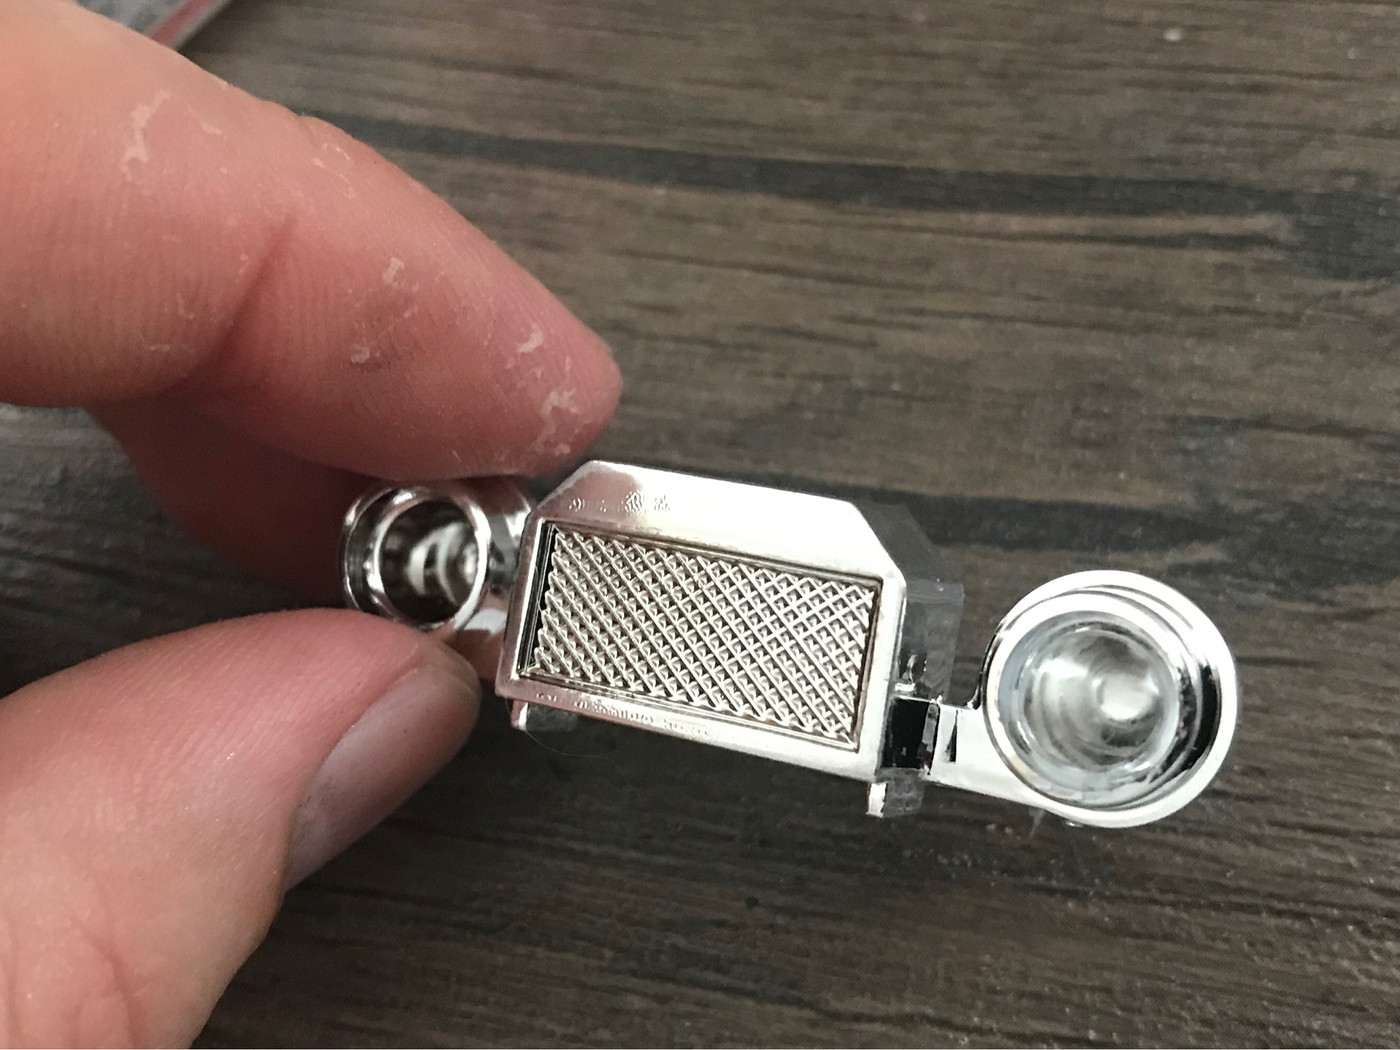
The front headlamp lenses were missing from my kit, so I hit the local Chinese dollar store for some Googly eyes:
Sliced the backs off to make dome-shaped lenses:
And glued them in place with some Elmer's...the one on the right has been done, the one on the left hasn't yet. Adds a surprising amount of detail!
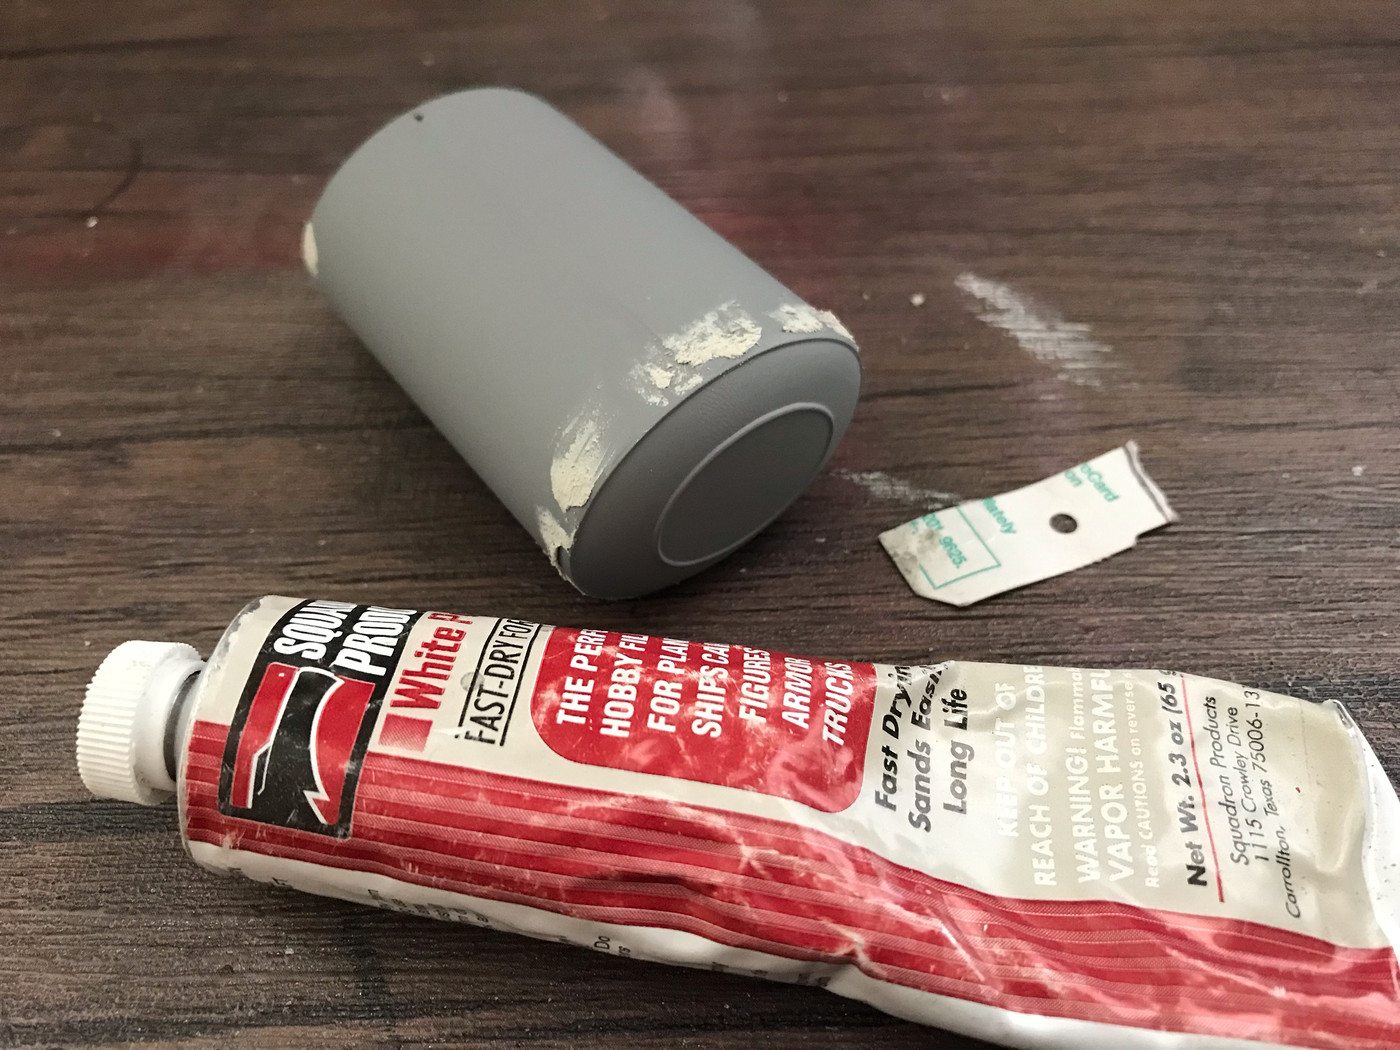
Whilst the glue was drying on those, I primed the tank for the back and hit it with a little Squadron filler to fill the seams (it's such a big part that I wanted it to be as perfect as I could get it...):
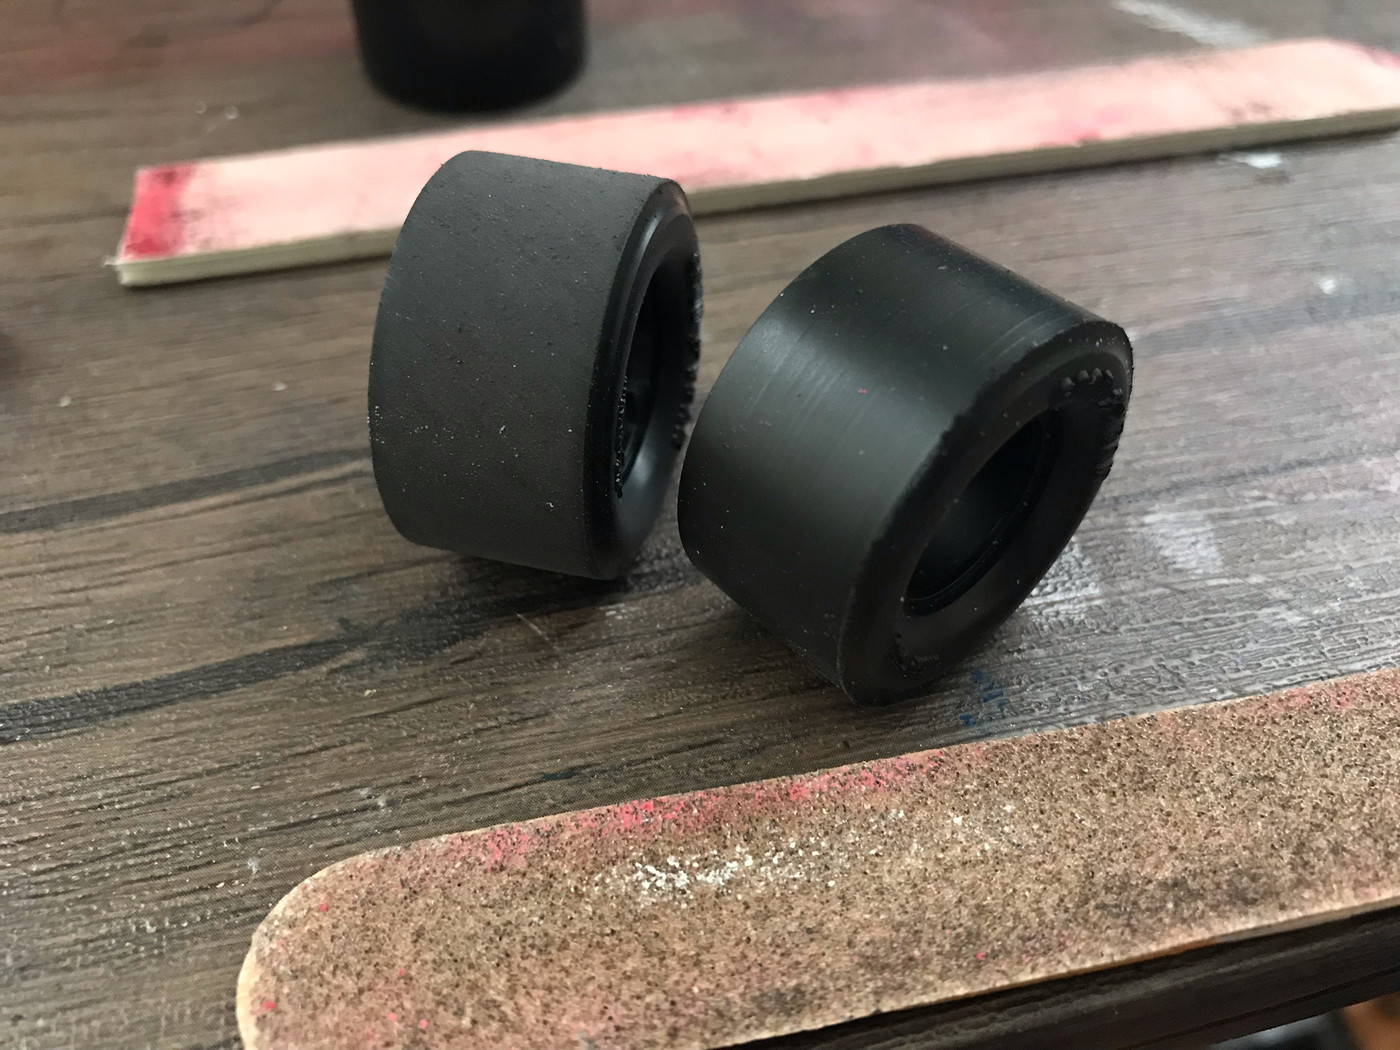
And gave the tires a good scrub with some 80-grit to get them round, and take that gloss off:
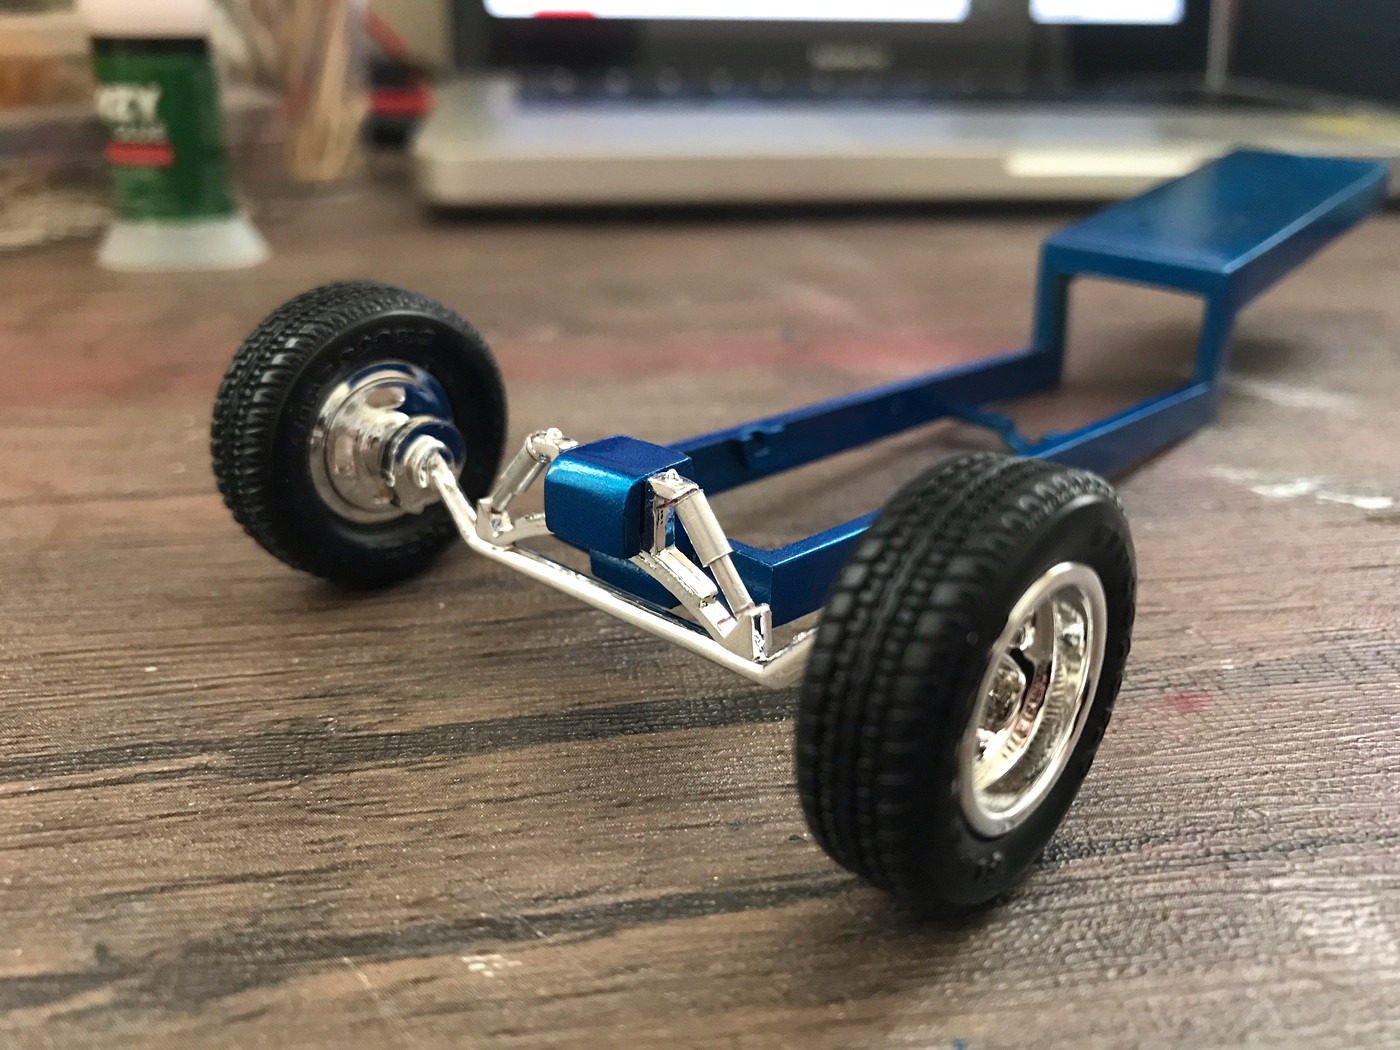
And then got the wheels mounted in there:
More soon, soon as I've done more!
|
|
|
|
Post by Rodger on Jul 21, 2019 21:36:10 GMT -6
Had me worried for a minute.
Thought you were going to put googly eyes in it.
|
|
|
|
Post by davevan1 on Jul 22, 2019 7:03:01 GMT -6
If I may make a suggestion......none of the reissued versions of this kit had the correct tires. Better rear tires can be found in the AMT dirt track race cars like the 69 Torino, 66 Chevy etc.The hollow slicks are just to small. I repro'd the original tires years ago but do not have any left.
|
|
|
|
Post by showrodjohn on Jul 24, 2019 2:31:00 GMT -6
Looking good. Yep I hate those front tires and they put them in so many kits.
|
|
|
|
Post by kabdriver on Jul 24, 2019 11:53:00 GMT -6
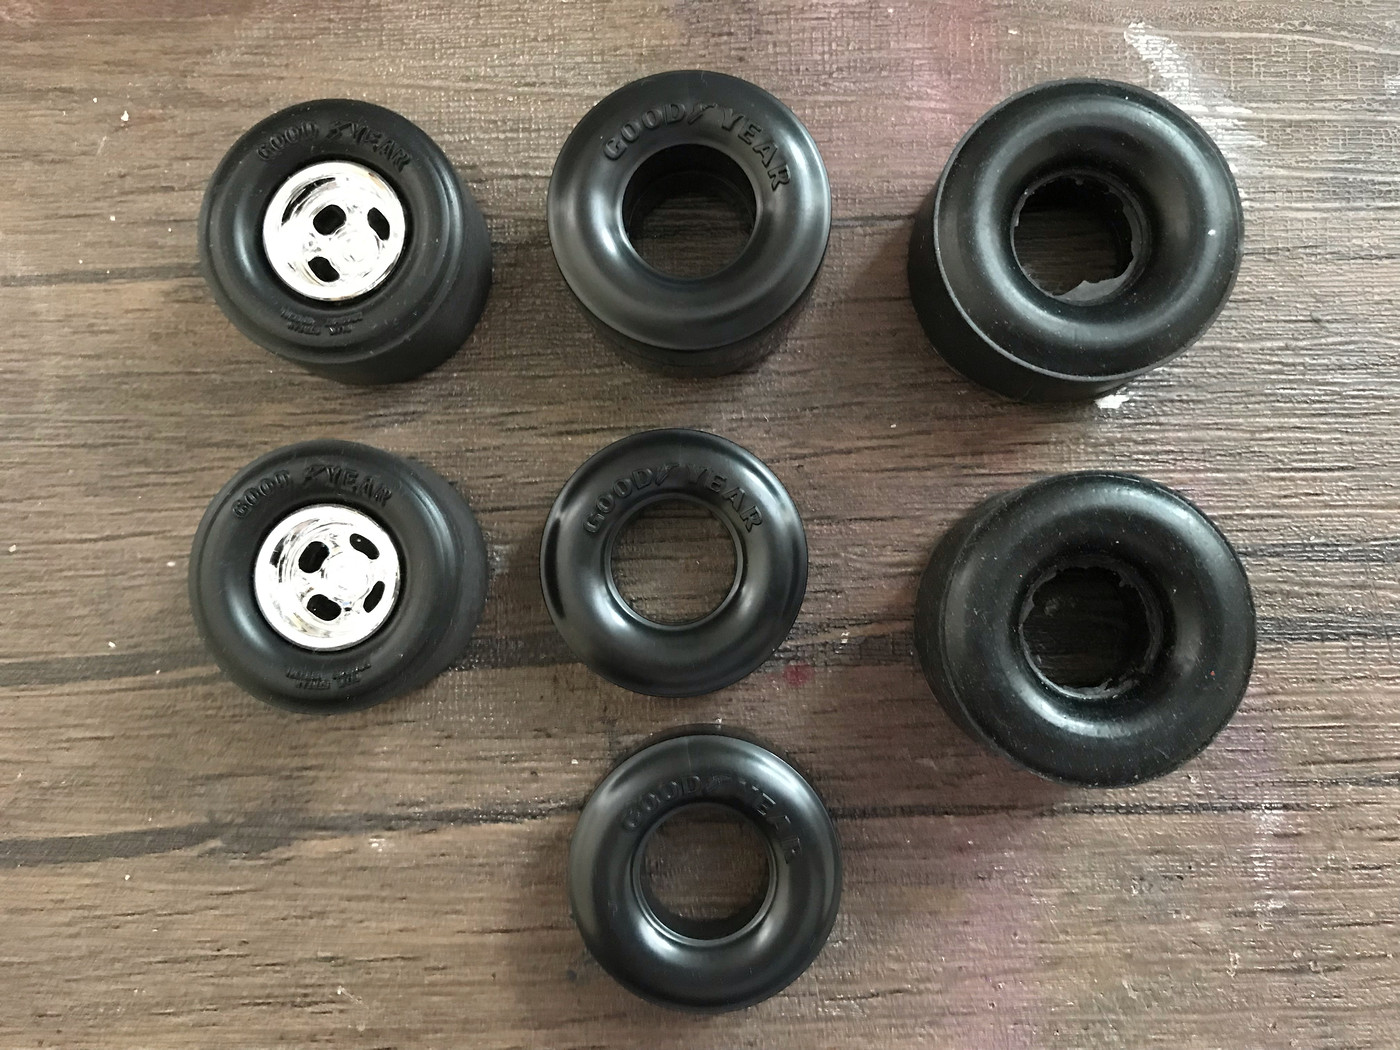
If I may make a suggestion......none of the reissued versions of this kit had the correct tires. Better rear tires can be found in the AMT dirt track race cars like the 69 Torino, 66 Chevy etc.The hollow slicks are just to small. I repro'd the original tires years ago but do not have any left. You're not kidding...
Kit tires are on the left, some different 2-piece ones from a Li'l Mixer in the center and your repro ones on the right. They lost a few inches somewhere along the way, apparently  |
|
|
|
Post by 41chevy on Jul 25, 2019 11:03:01 GMT -6
Question on using Creatx. What does it thin with and what type of clear do you use? I found a place in HellWhole Maine that carries it.  |
|
|
|
Post by kabdriver on Jul 25, 2019 17:28:59 GMT -6
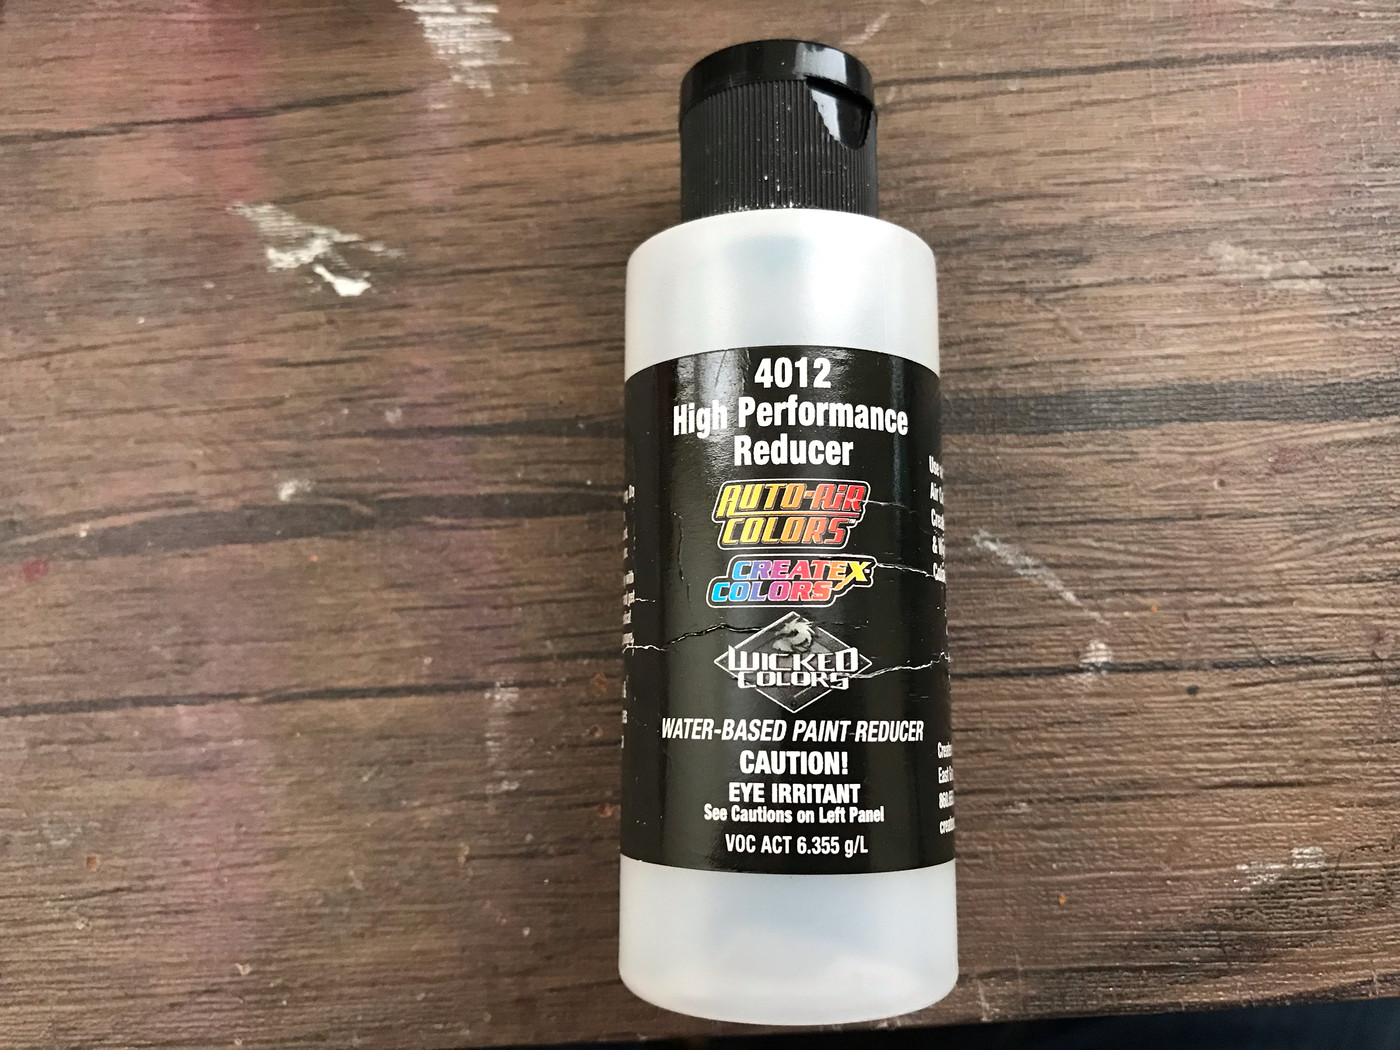
Question on using Creatx. What does it thin with and what type of clear do you use? I found a place in HellWhole Maine that carries it.  I like their reducer, which is about $4 a bottle around here:
I haven't really found any clear that they DON'T like...and I don't always thin them either, they lay down pretty nice even right from the bottle. Obviously thinning them makes them lay down even smoother, but on occasion I've laid them down unthinned when I've run out of thinner or whatver
|
|
|
|
Post by rocketeer on Jul 25, 2019 21:51:54 GMT -6
There are actually two kinds of Createx. The first is just called Createx, and they were designed for airbrushing teeshirts. I've had bad luck painting models with them: They tend to run, take forever to dry (I've heard you can hit them with a heat gun to help), and the finish is rather fragile. There are any number of homebrew concoctions on the Internet which try to address these shortcomings; since my own attempts at home chemistry have been lackluster, I haven't tried any homebrews.
The second, infinitely superior, kind is Createx Wicked Colors, which spray like a dream and dry quickly to a nice hard finish. I use Createx's thinner, and once or twice I've tinted Wicked Colors with plain ol' teeshirt Createx; the mixture dried nicely and in general had all the virtues of Wicked Colors.
|
|
|
|
Post by 41chevy on Jul 26, 2019 8:12:52 GMT -6
Artist and Craftmans Supply has the Wicked Colors. I definatly need to go pick some up as the colors are awesome. Paul
|
|
|
|
Post by 41chevy on Jul 27, 2019 10:50:47 GMT -6
Picked up a dozen or so Wicked Colors and thinner. . . now on a Show Rod binge!!!!
|
|
|
|
Post by kabdriver on Jul 27, 2019 19:04:46 GMT -6
Picked up a dozen or so Wicked Colors and thinner. . . now on a Show Rod binge!!!! Awesome! What colors did you get?
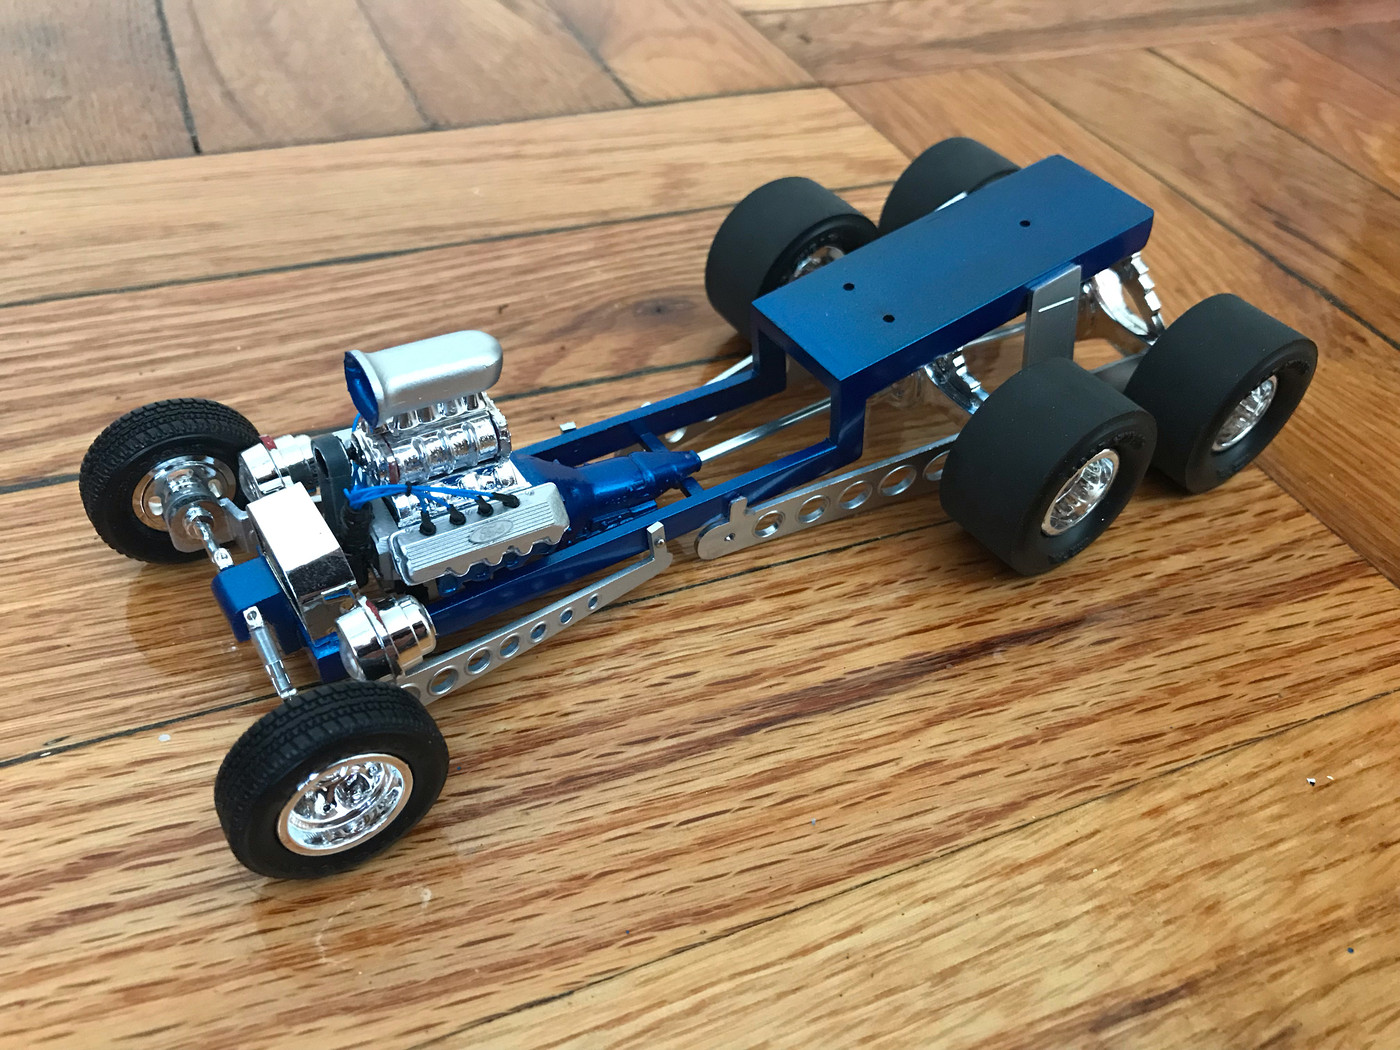
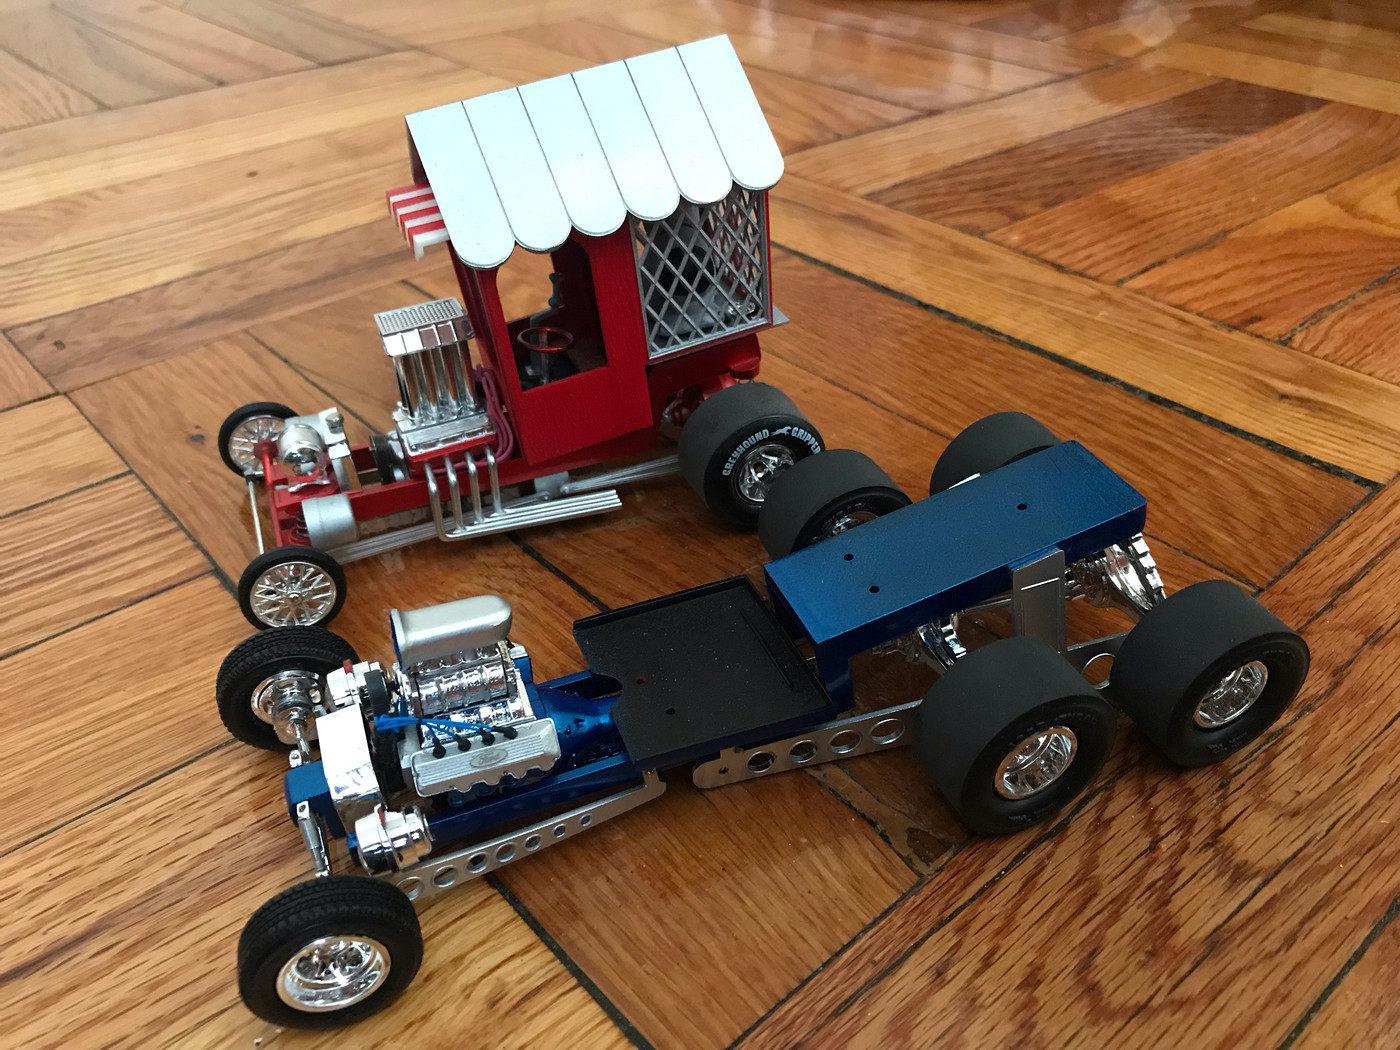
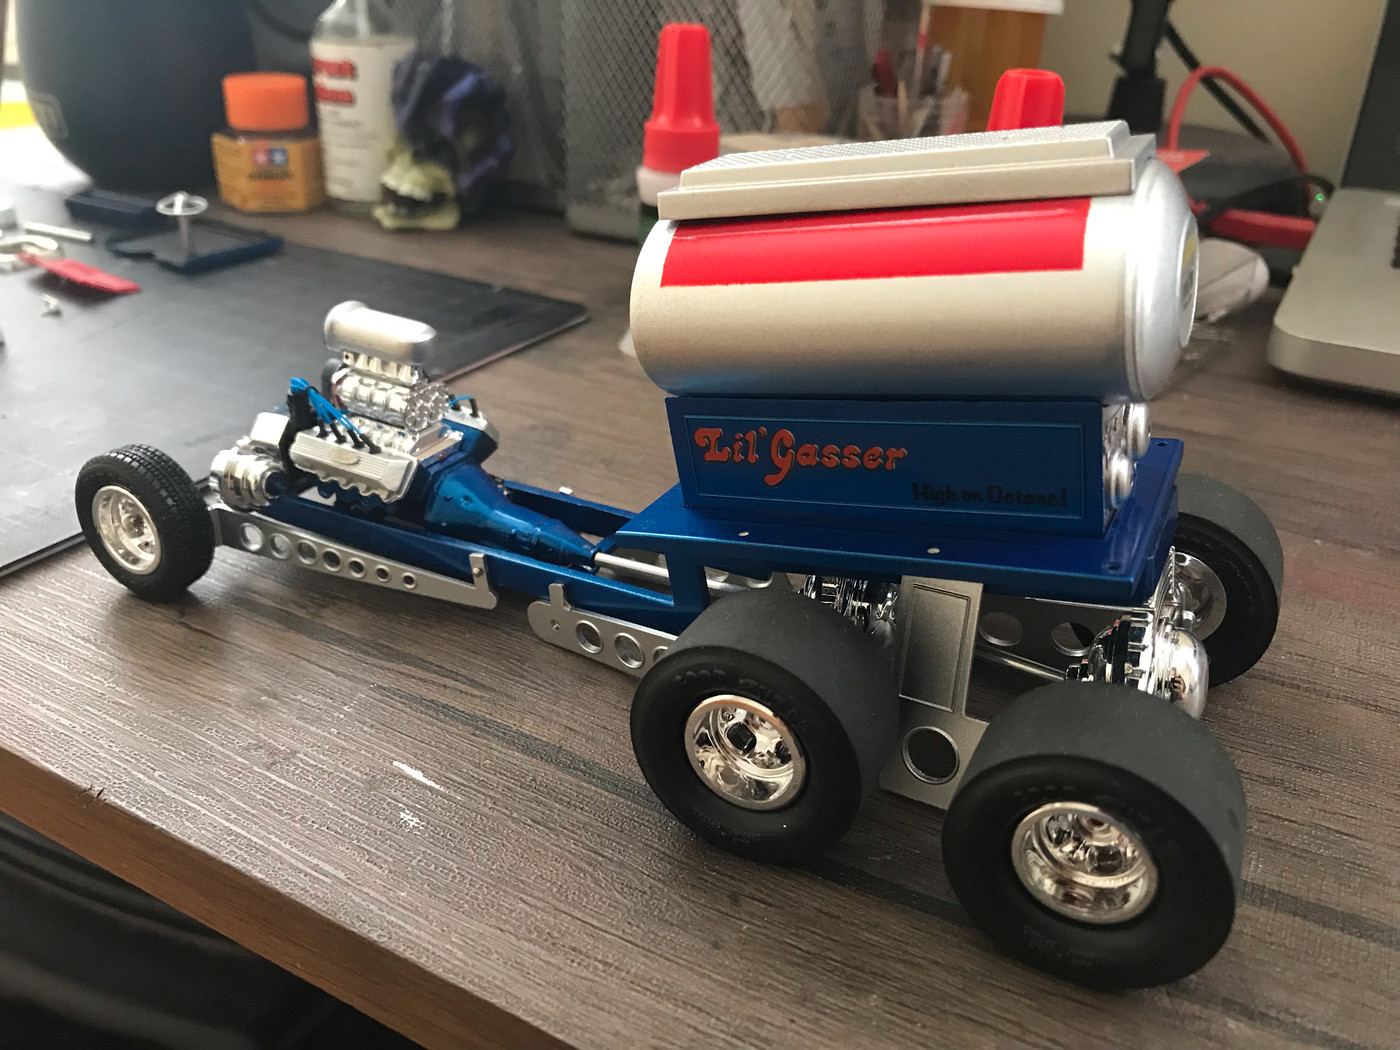
Just a quick update, as I'm replying anyway...got this thing on it's wheels!
Sucker's BIG! 
Next job will be working on the tank and cab (which I got in paint and clear yesterday...)
More soon, soon as I've done more!
|
|
|
|
Post by rocketeer on Jul 27, 2019 23:18:42 GMT -6
Your spark plug boots are the bee's knees!  |
|
|
|
Post by 41chevy on Jul 29, 2019 13:15:27 GMT -6
15 bottles of EVERY PEARL COLOR THAT WAS ON THE SHELF!!  |
|
|
|
Post by rocketeer on Jul 29, 2019 23:31:37 GMT -6
Geez, when you commit, you really commit!
|
|
|
|
Post by kabdriver on Jul 30, 2019 7:13:40 GMT -6
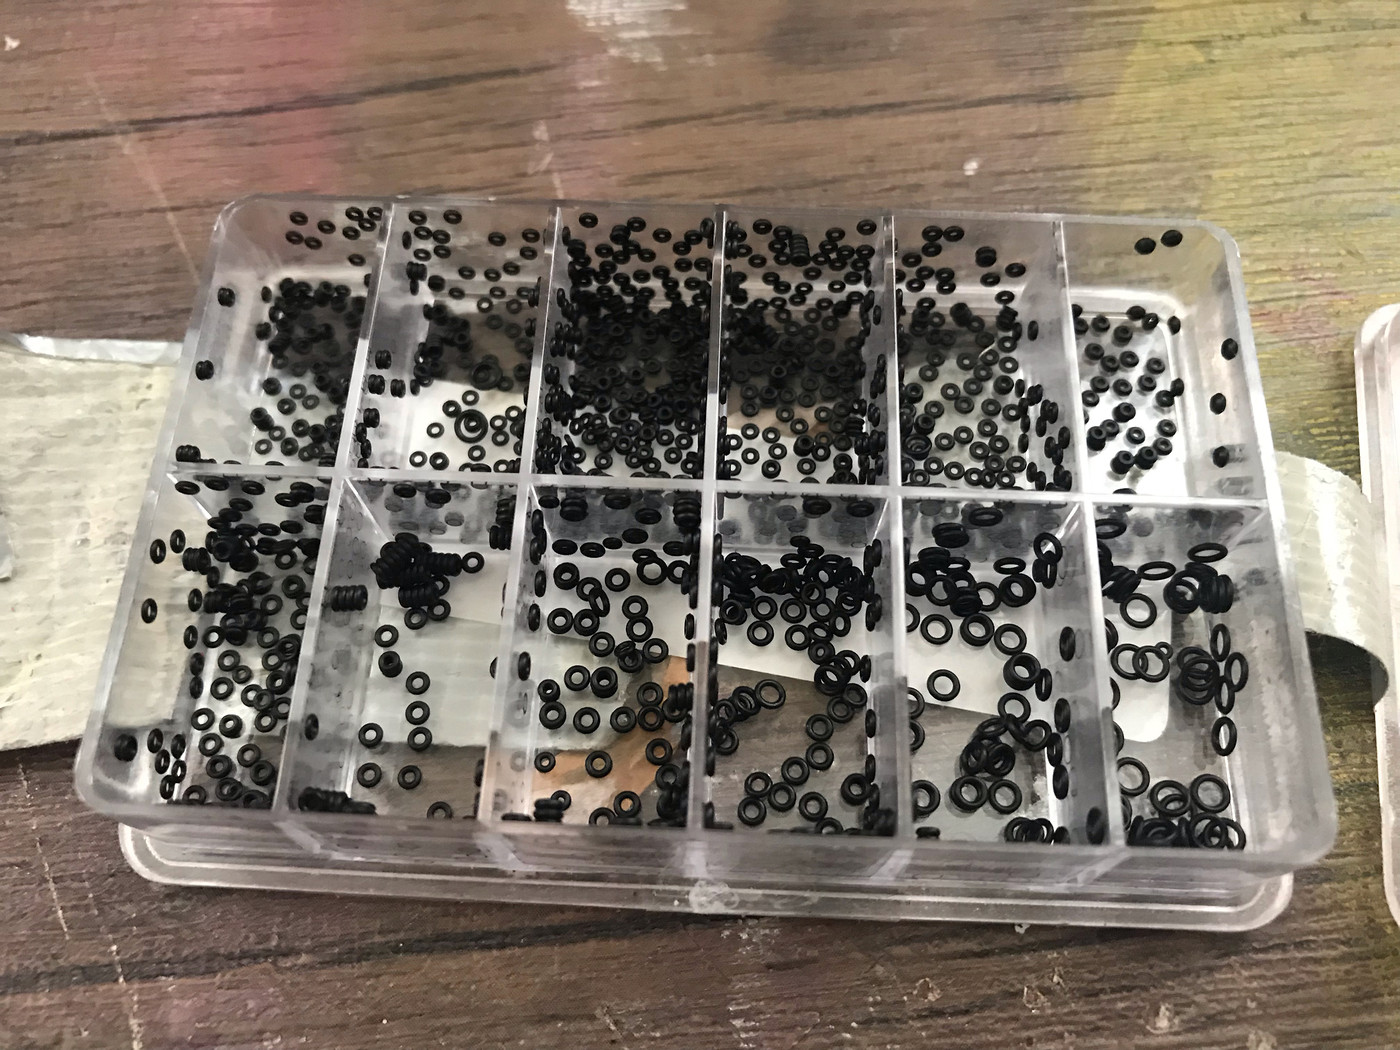
Your spark plug boots are the bee's knees!  Thanks buddy! They're really easy to do, too...the round part is just a watchmaker's o-ring, from this pack I picked up online:
And the rest of the boot is a sleeve that I made from the wire from an old phone charger cable, which I slid over the actual plug wire.
That little cable tie holding the wires together is actually one of those little o-rings too - they're useful for a tonne of stuff:
|
|
|
|
Post by kabdriver on Jul 30, 2019 7:14:11 GMT -6
15 bottles of EVERY PEARL COLOR THAT WAS ON THE SHELF!!  😮
Envious!
|
|
|
|
Post by hobbybobby on Jul 30, 2019 10:39:22 GMT -6
That looks good, so far, Jim, but I would also go with bigger and wider rear rollers, just my opinion...  coffincorner.proboards.com/thread/14405/lil-gasser coffincorner.proboards.com/thread/14405/lil-gasserYour spark plug boots are the bee's knees!  Thanks buddy! They're really easy to do, too...the round part is just a watchmaker's o-ring, from this pack I picked up online: And the rest of the boot is a sleeve that I made from the wire from an old phone charger cable, which I slid over the actual plug wire. That little cable tie holding the wires together is actually one of those little o-rings too - they're useful for a tonne of stuff: That's a terrific tip, Jim!  So simple and so ingenious, you could mention it here: coffincorner.proboards.com/thread/13248/distributors |
|
|
|
Post by kabdriver on Aug 4, 2019 14:26:06 GMT -6
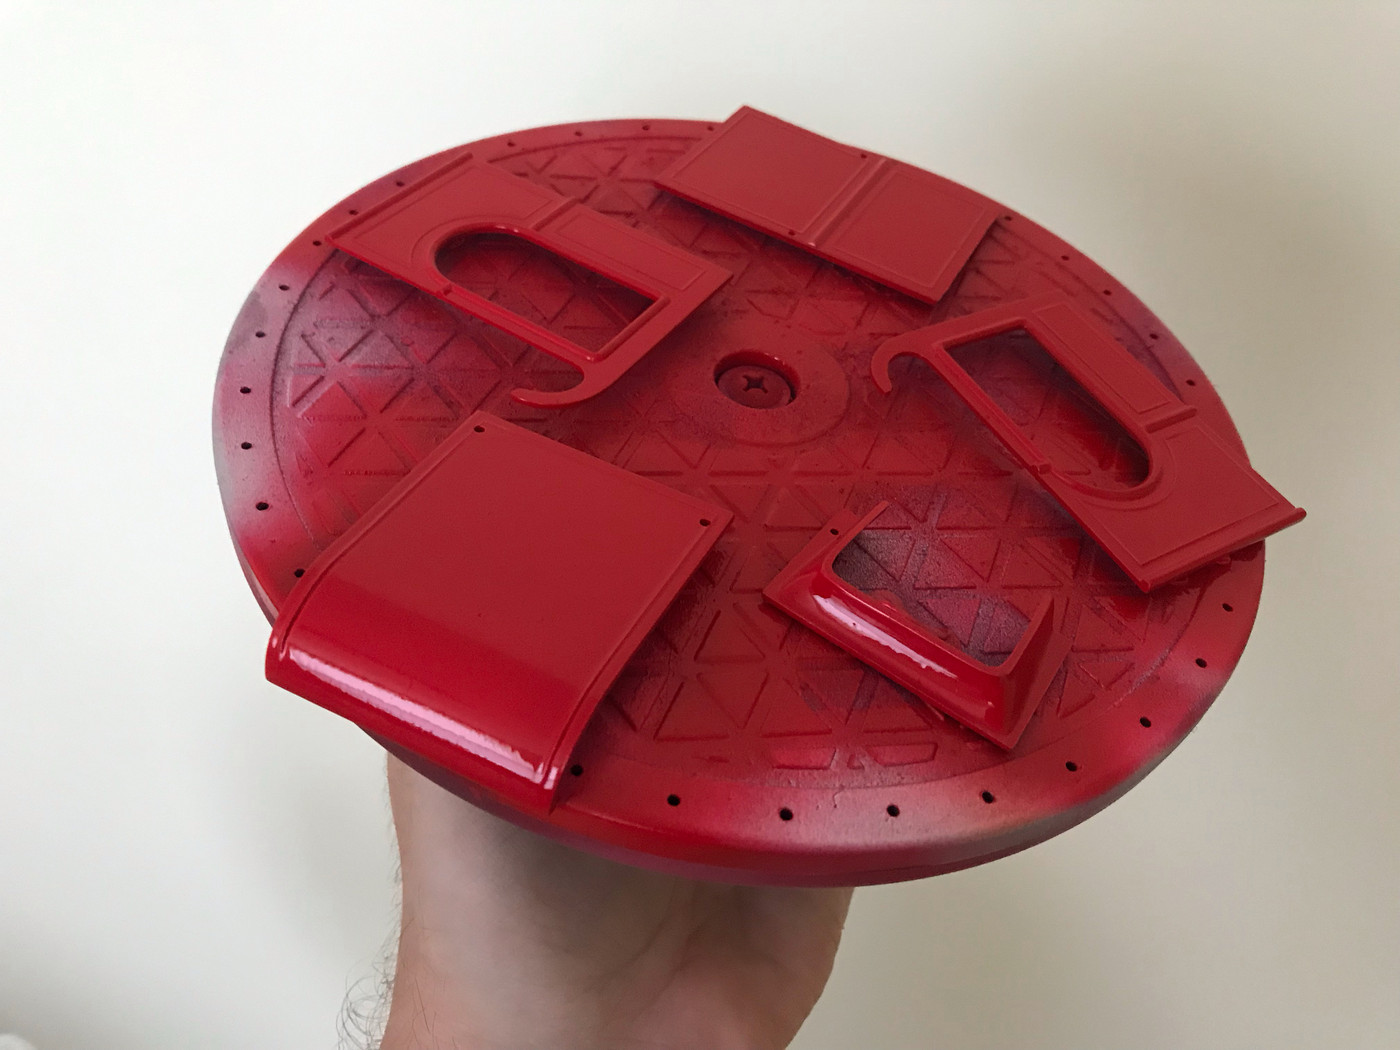
Thanks Bobby! I LOVE the wheels and tires on your build - probably the best one of these I've seen built! I'm keeping mine closer to box stock, but yours is really an inspiration on how nicely these can go together! Just a little update, seeing as I'm replying...got some color on the body panels and polished them out today - shiny Sunday!
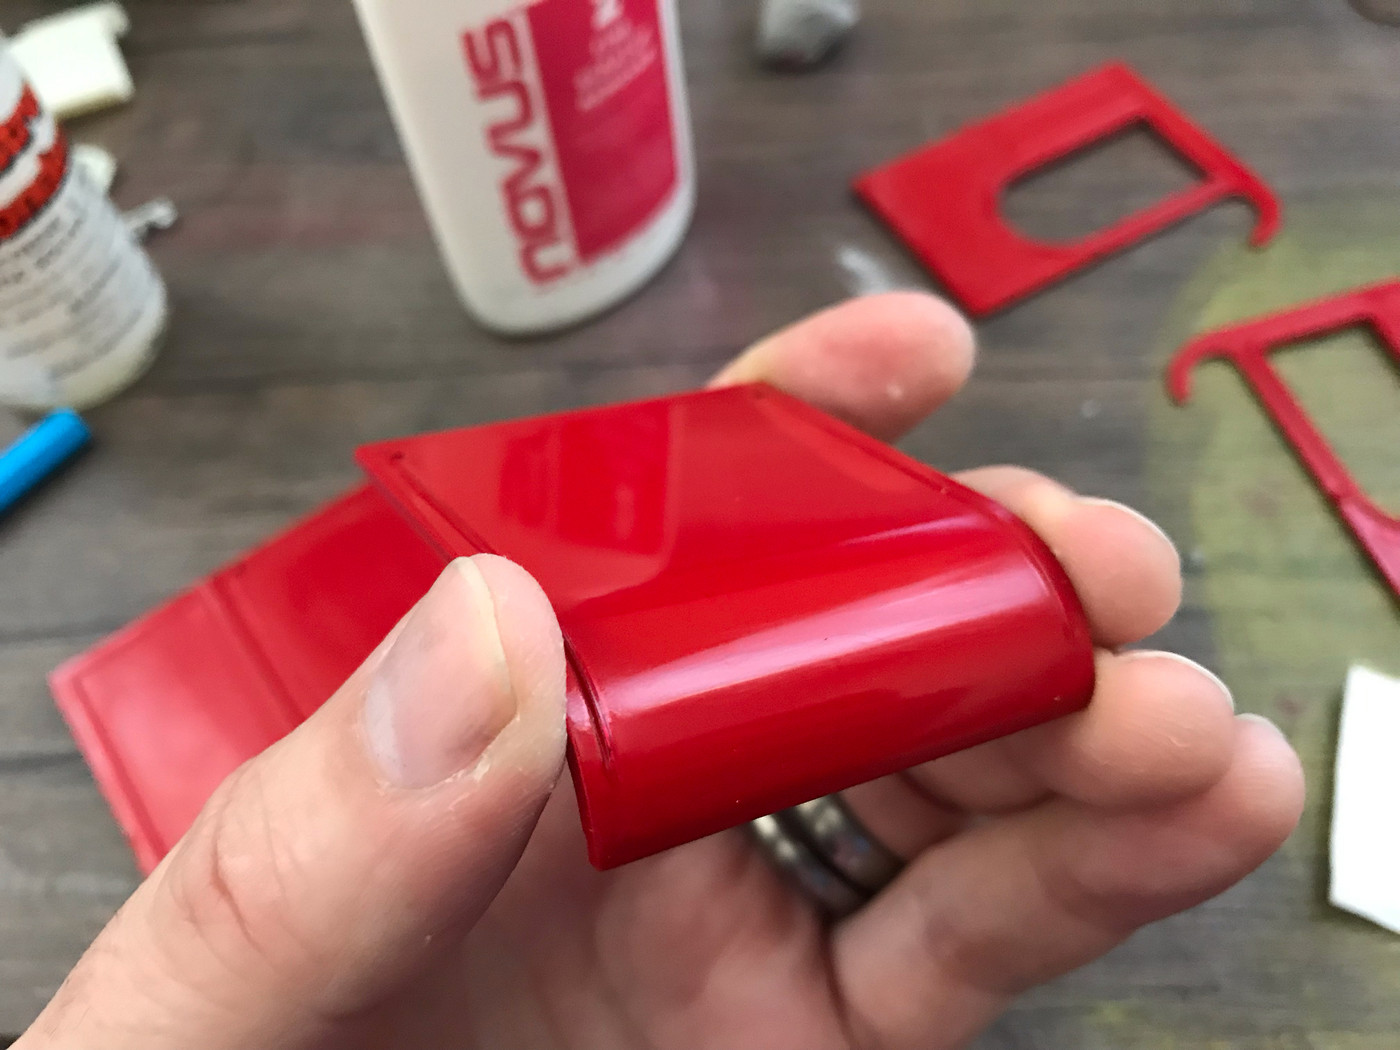
Didn't come out too badly, I don't think! The side panels are going to be HARD to polish because of all those bead-rolled-looking lines on them, but I'll do my best anyway!
|
|
|
|
Post by Dennis M on Aug 9, 2019 8:41:18 GMT -6
What a beauty.
|
|
|
|
Post by kabdriver on Aug 9, 2019 12:14:52 GMT -6
Thanks buddy!
A few little updates, as I wait for the paint to dry on the last couple of bits that need painting...
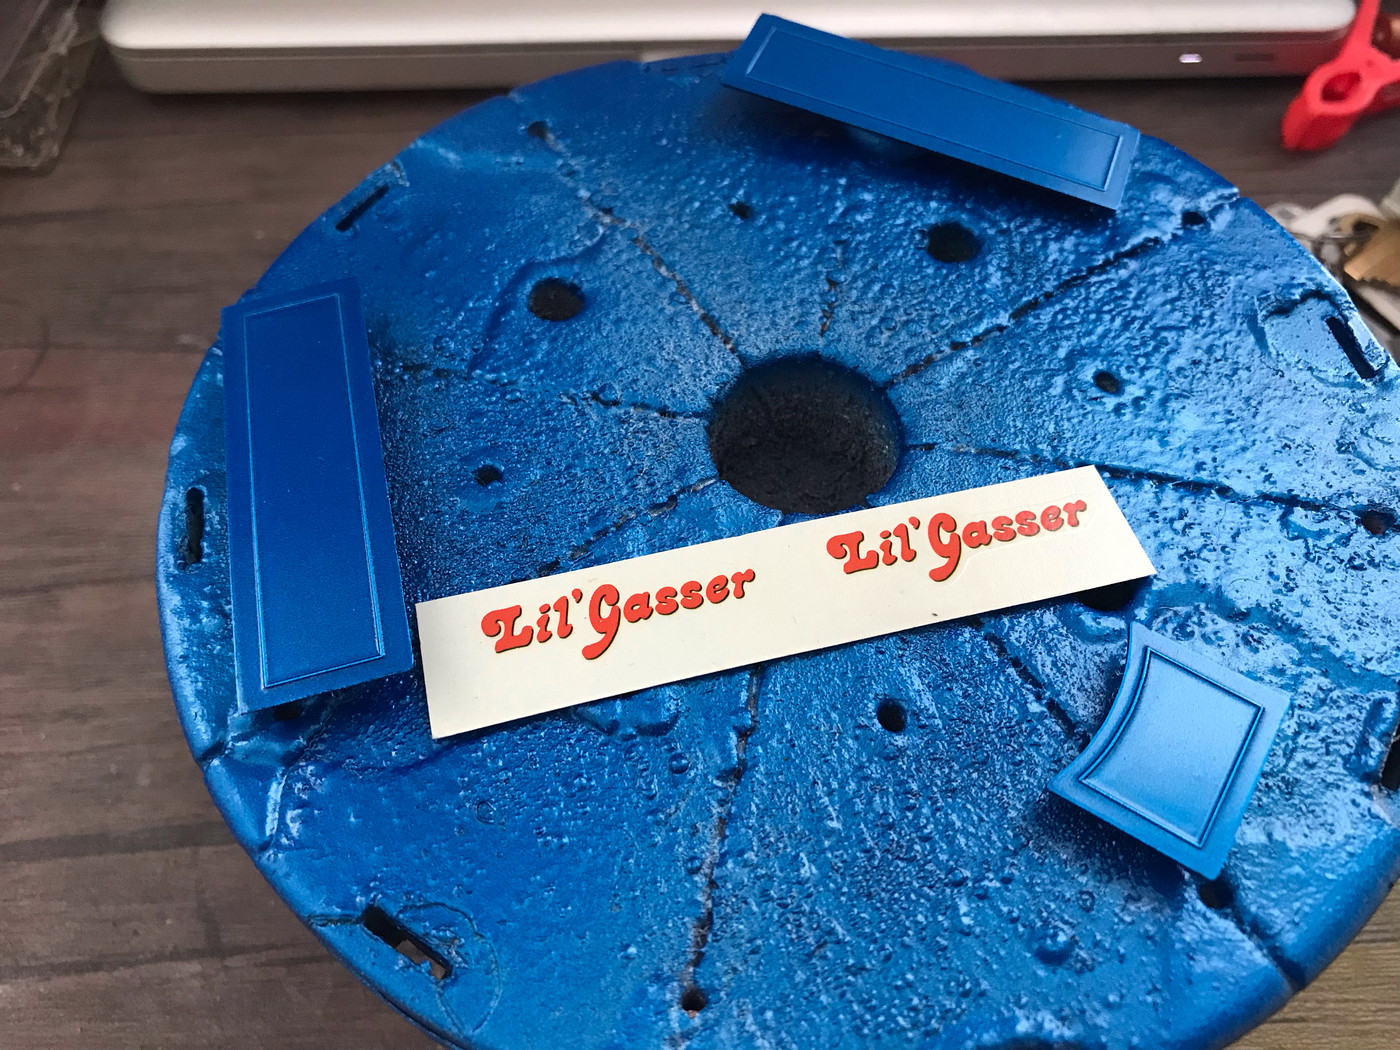
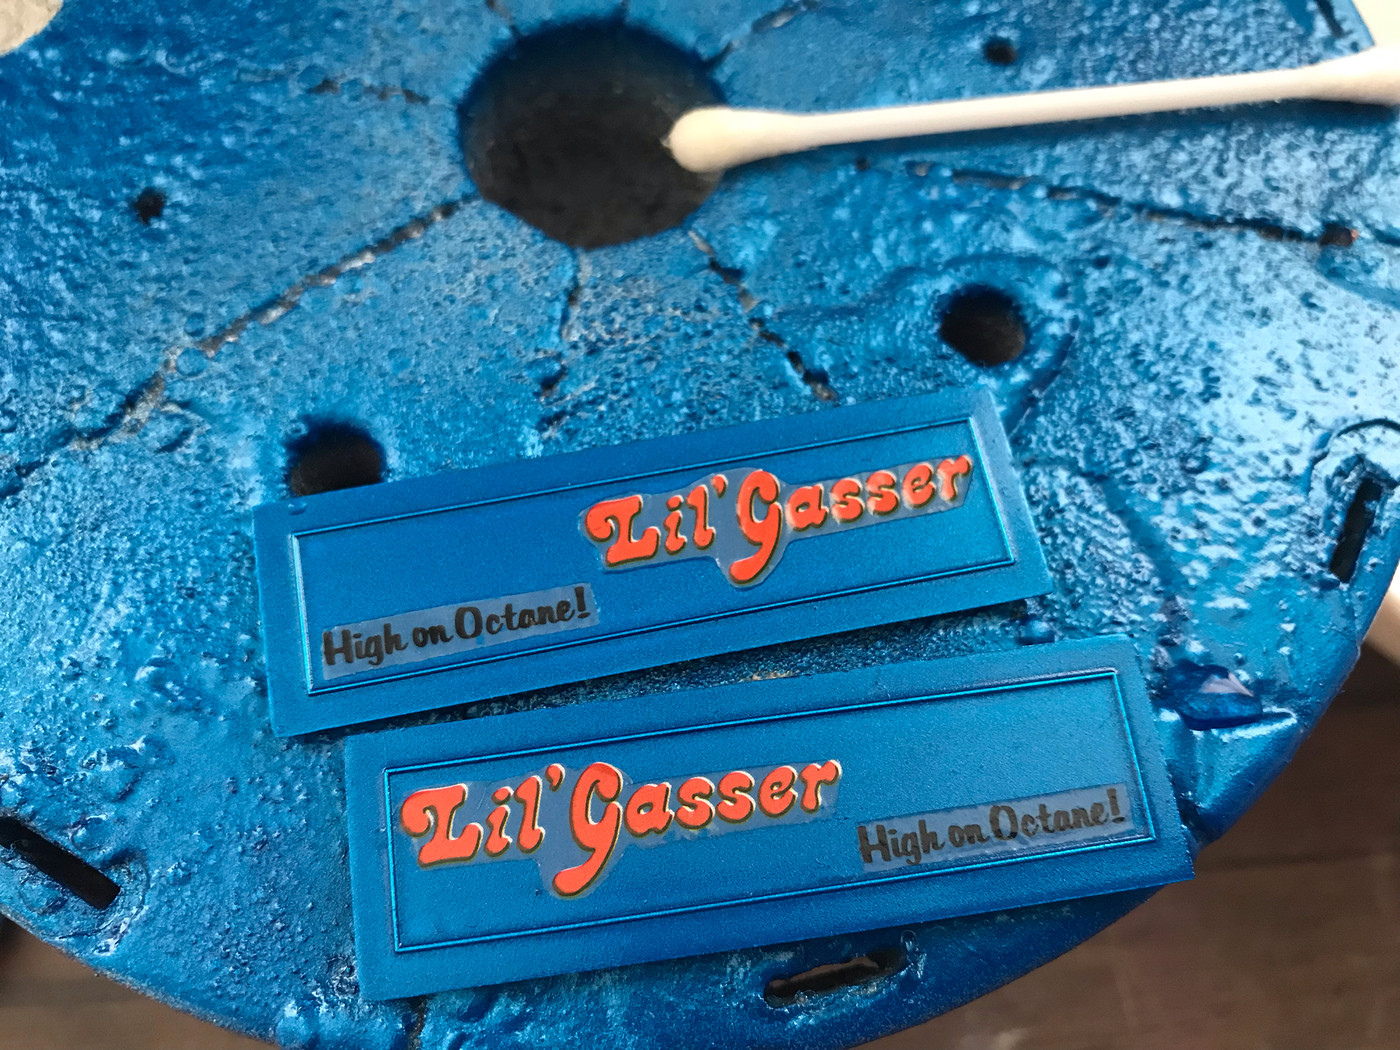
I didn't want to try and stick the decals on those chrome side panels that you're meant to put them on - there's no way they WOULDN'T look bad, I didn't think - so I decided to put them on the side panels underneath the tank:
I'll need to modify the chrome rail now, but I'd rather do that than have foggy decal-edge over a chrome panel anyway...here they are, still wet:
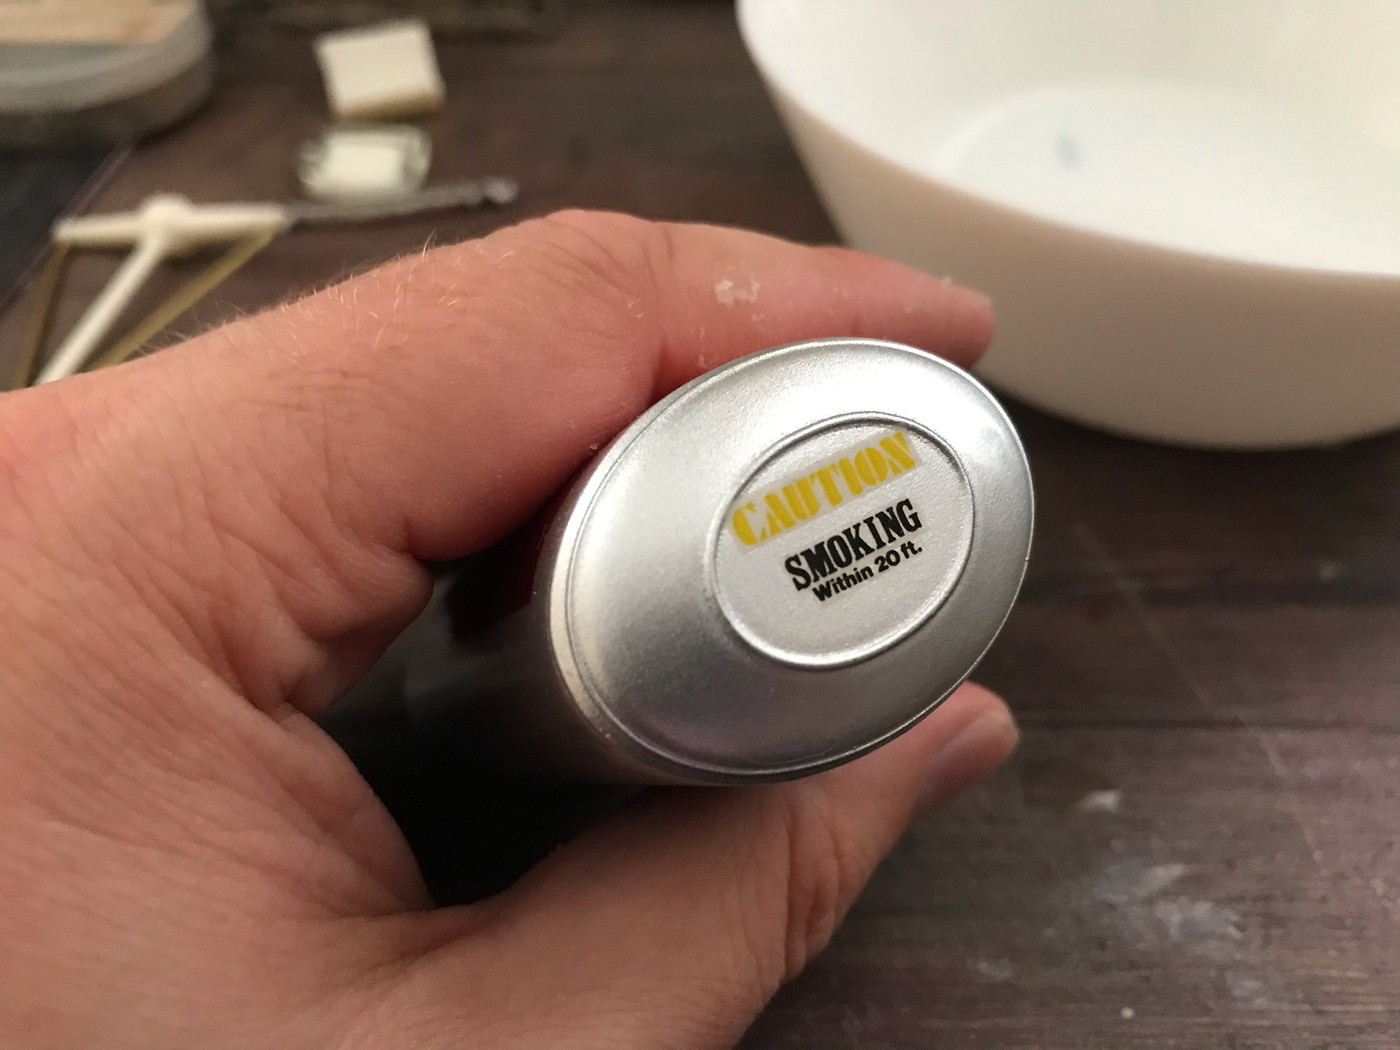
And I hacked up the original decal's 'NO SMOKING' signs...
...to make these for the back of the tank...this vehicle DEFINITELY stops for burnouts 
A little clearcoat and they looked pretty good!
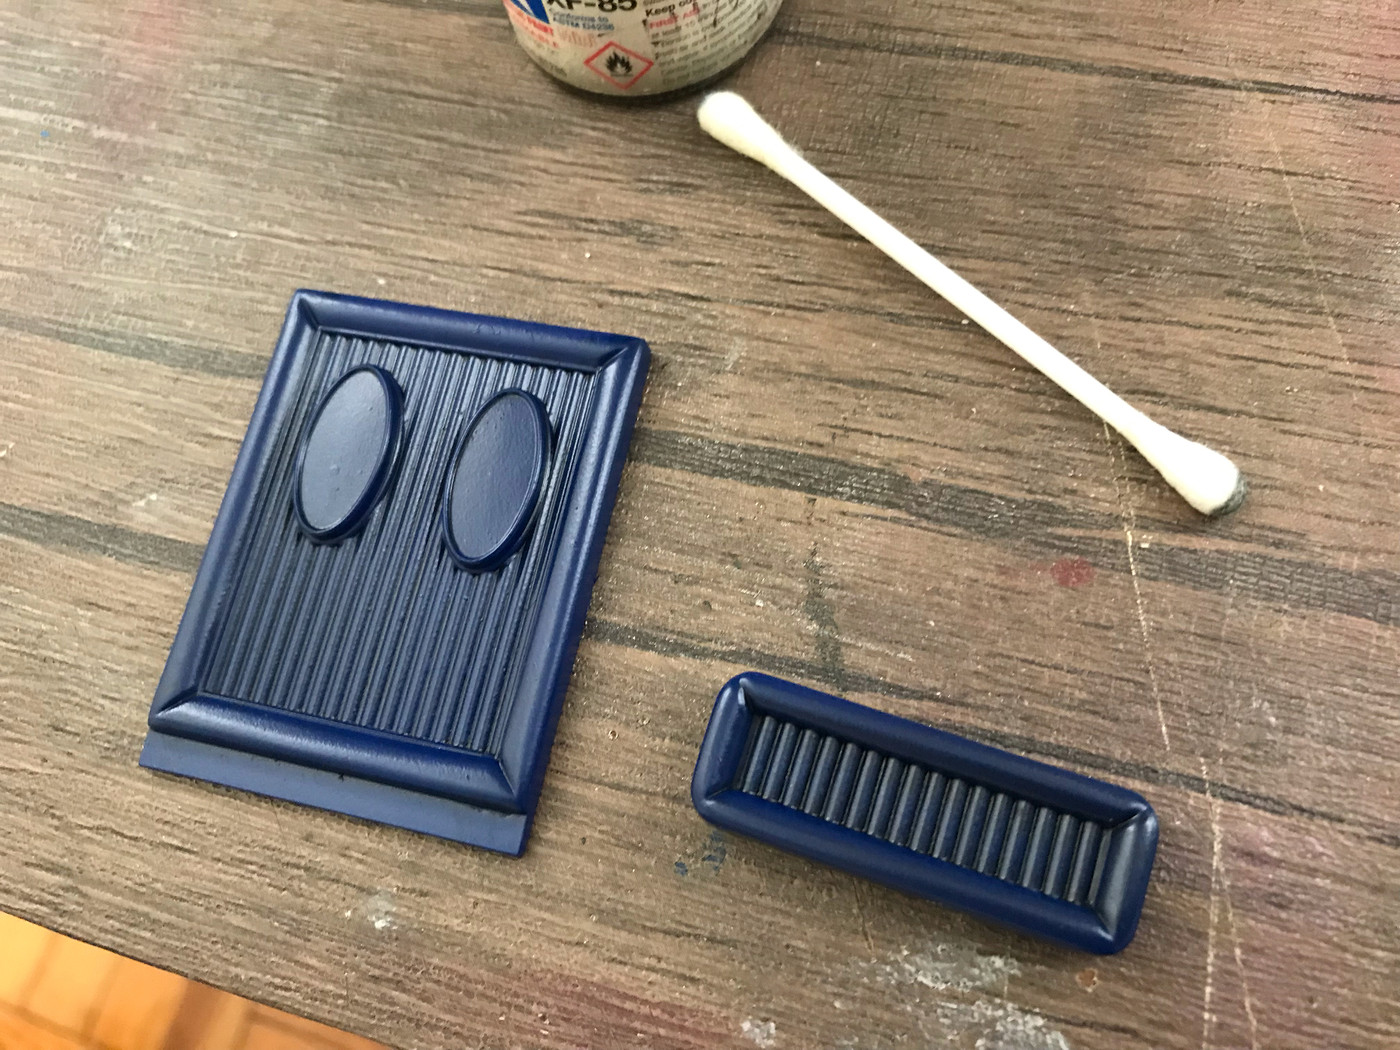
I gave the interior panels a coat of Createx dark blue and then gave them a wash to give them some depth, and shot them with some hairspray for a semi-gloss kinda leathery look:
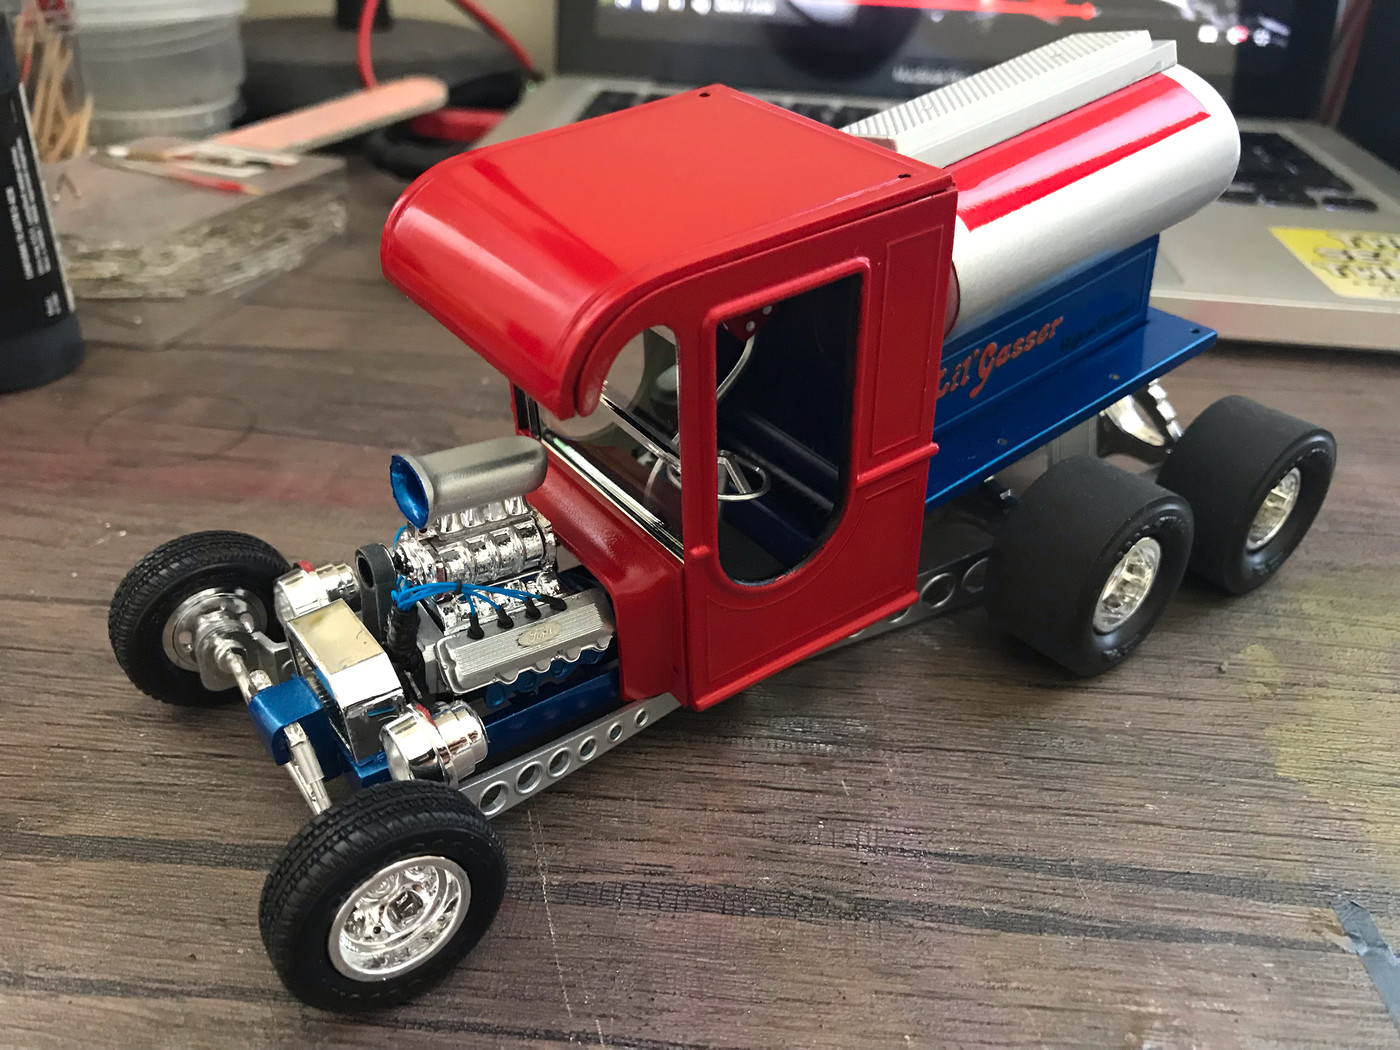
And it's starting to look like a thing! Just need to assemble the cab and add all the doodads and it's pretty much there!
More soon, soon as I've done more 
|
|
|
|
Post by kabdriver on Aug 10, 2019 13:35:36 GMT -6
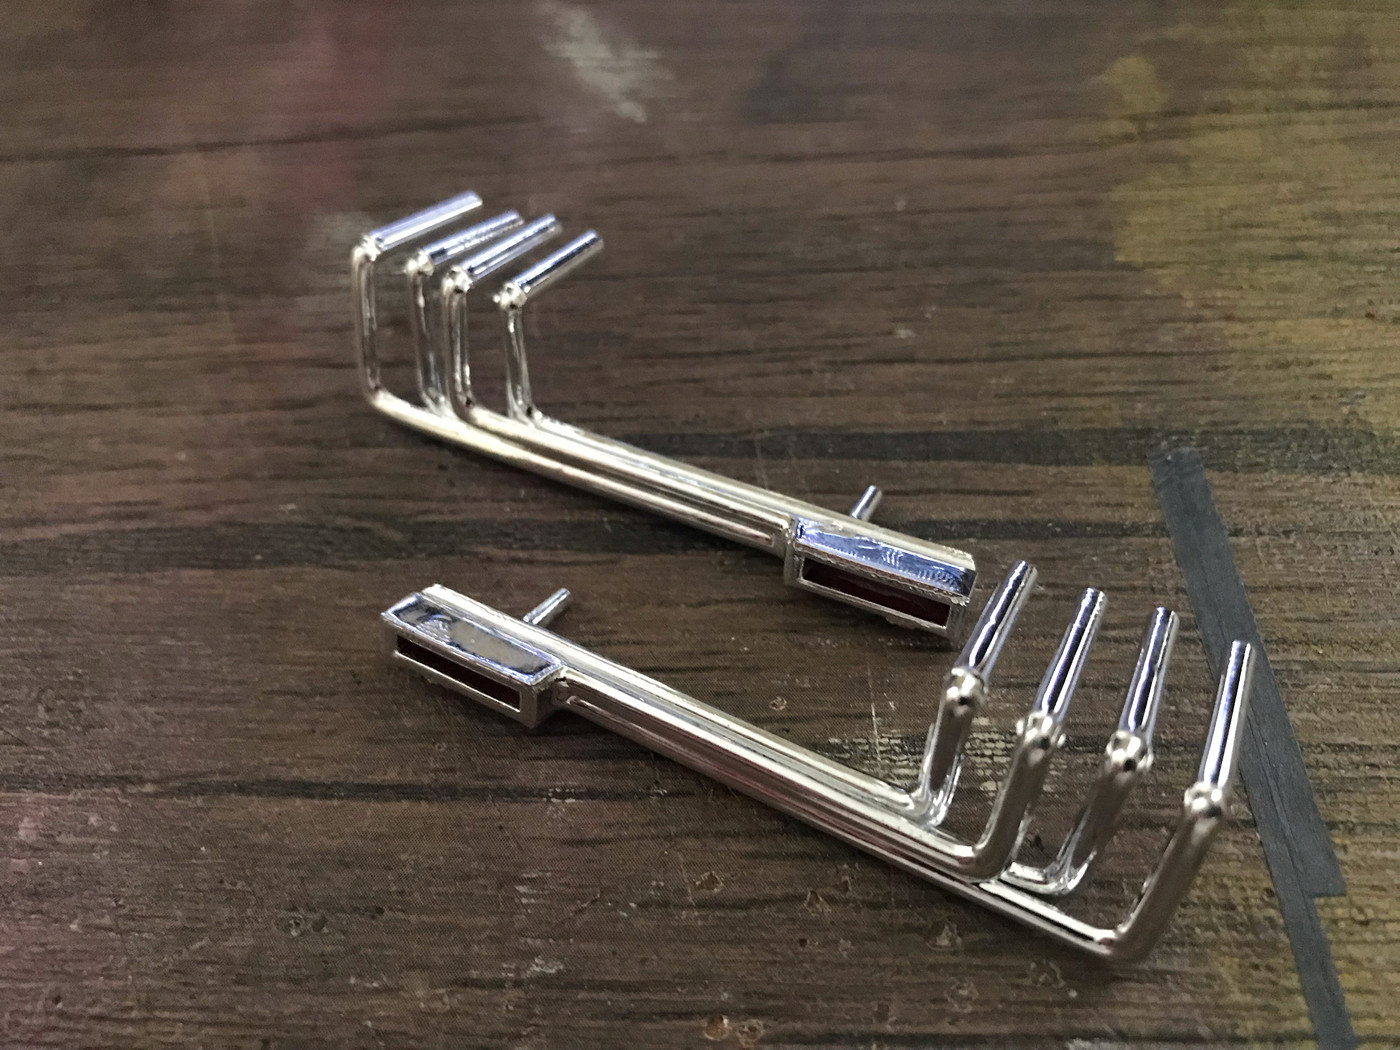
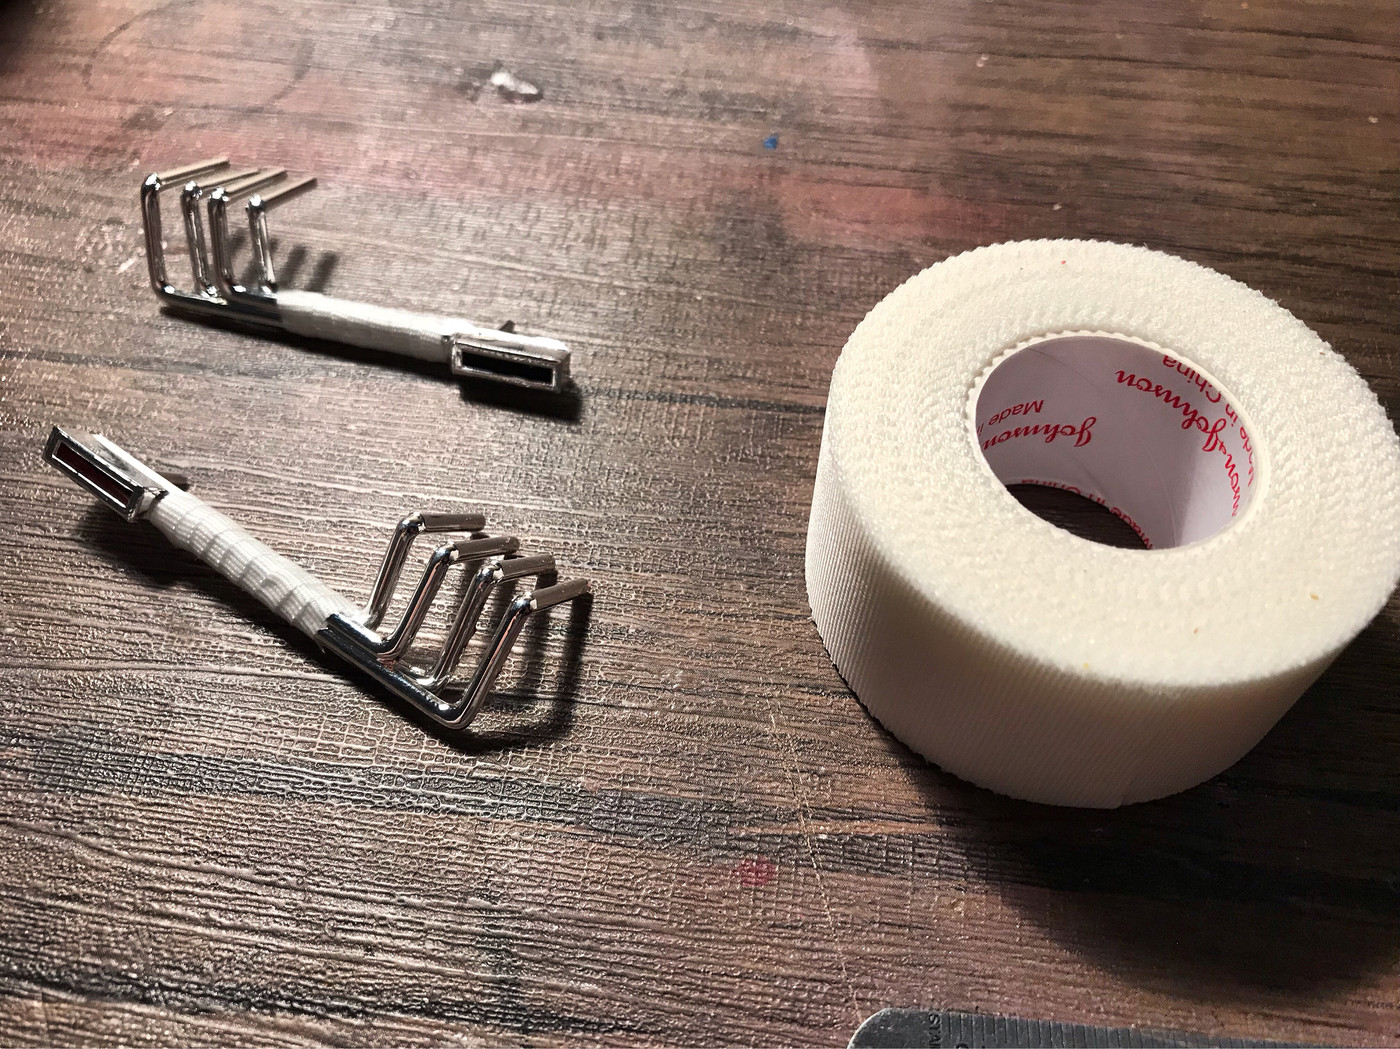
A little more on this one...I wasn't super happy with the chrome on the headers/exhaust system, but I really didn't want to strip it and rechrome it and have just that one piece be a different shade of chrome to the other bits...
So, I gave 'em some header wrap!  I know you'd normally wrap the ENTIRE header, but I figured at least it adds a little detail and distracts from some of the lumpy chrome anyway...
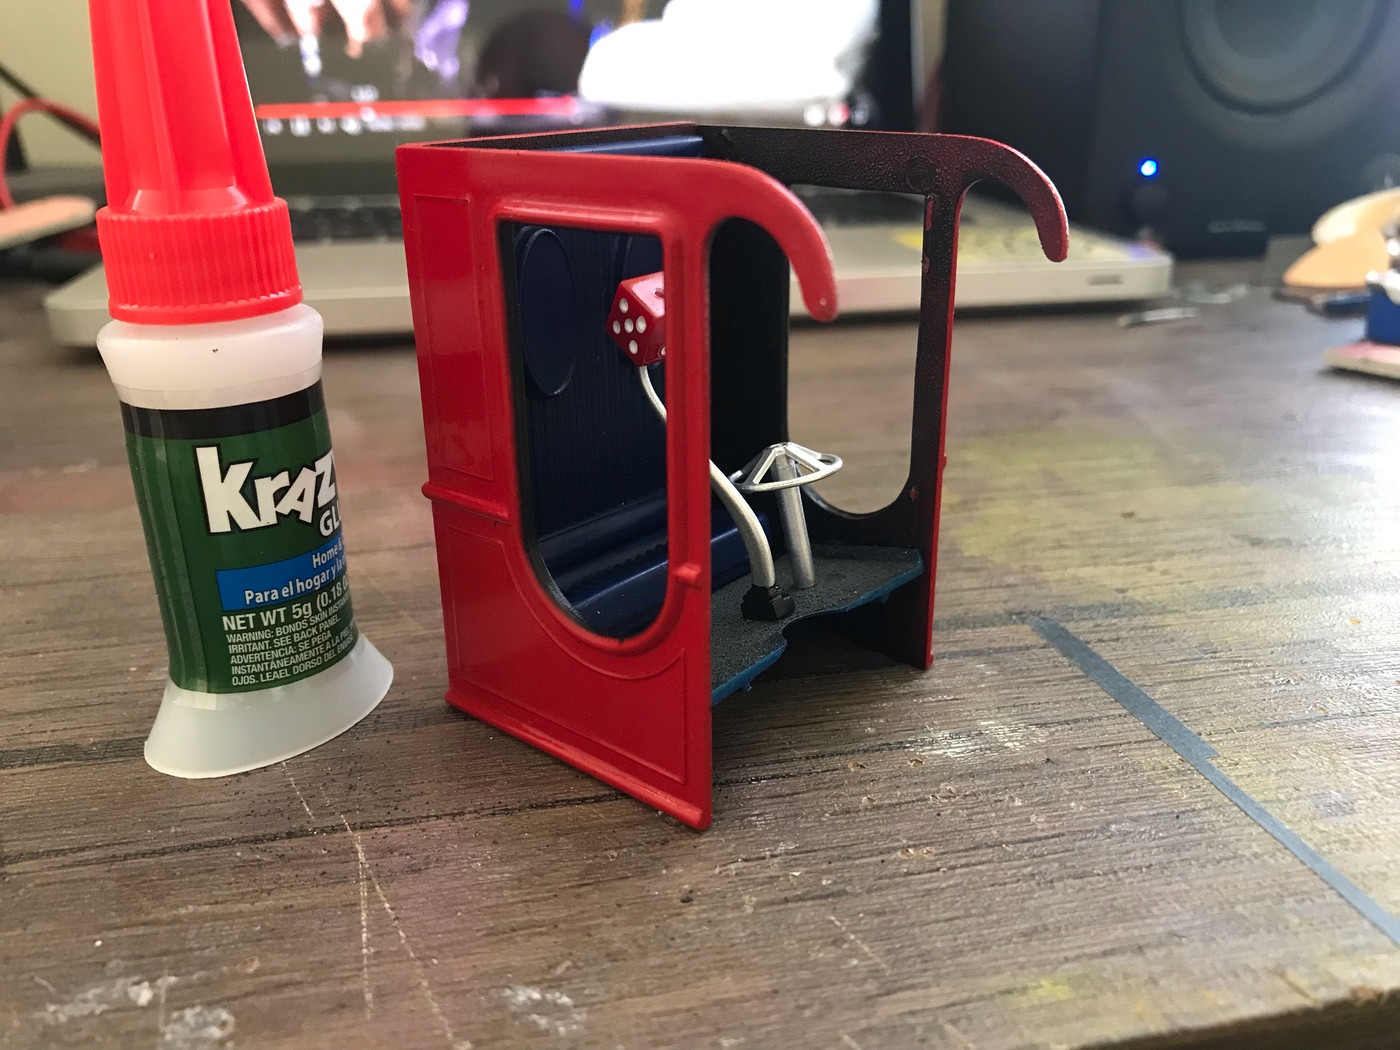
Then, flocked the floor, messed with the shifter a little and got the assembly on the cab started...
Starting to look like a thing now!
Just need to add all the remaining little doodads and whatsits and I can call this one done!  |
|
