|
|
Post by TooOld on Sept 18, 2021 7:04:12 GMT -6
With all of the interest lately in this kit I figured I'd be first up and start on mine , I've had this for quite a while and don't remember where I got it . It's practically mint condition so should be a quick fun build ! Only issue will be the decals so I'll probably print my own . 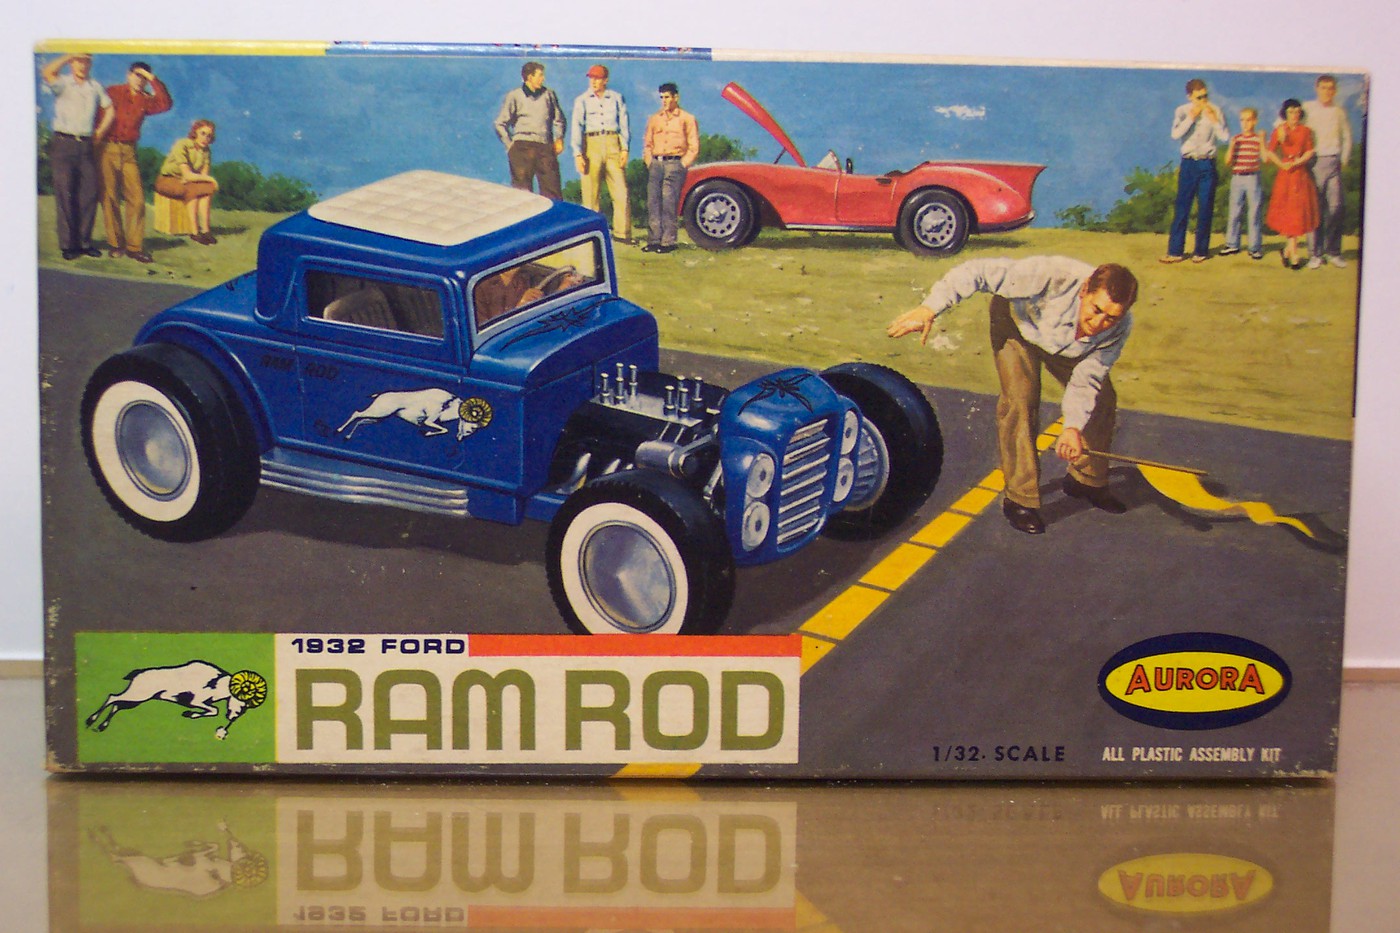 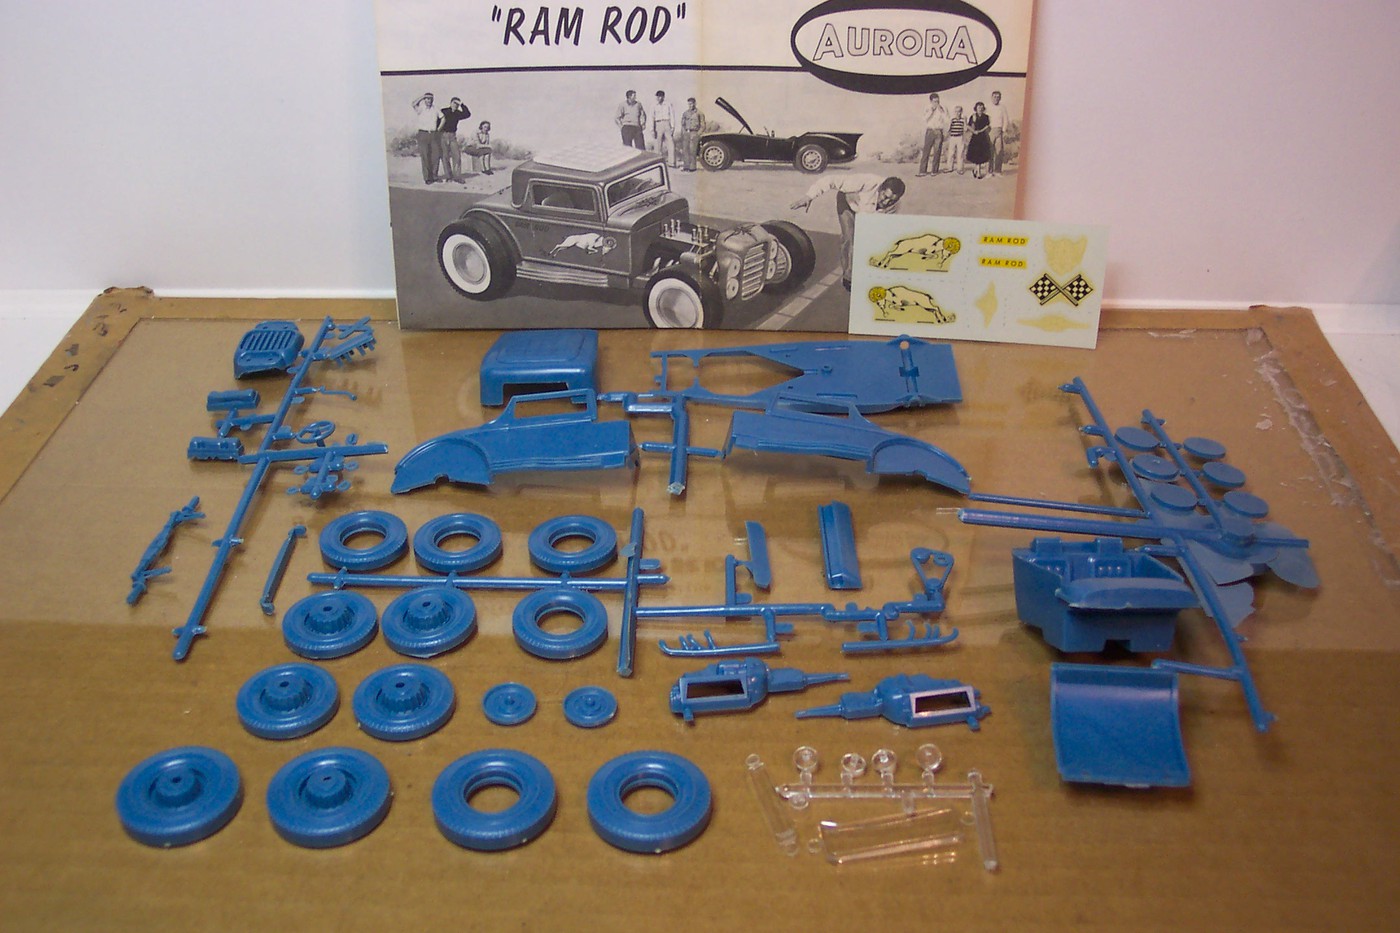 I want to assemble the body and paint it as one piece so a small modification will be required , the cowl and the rear package tray need to be cut from the interior . 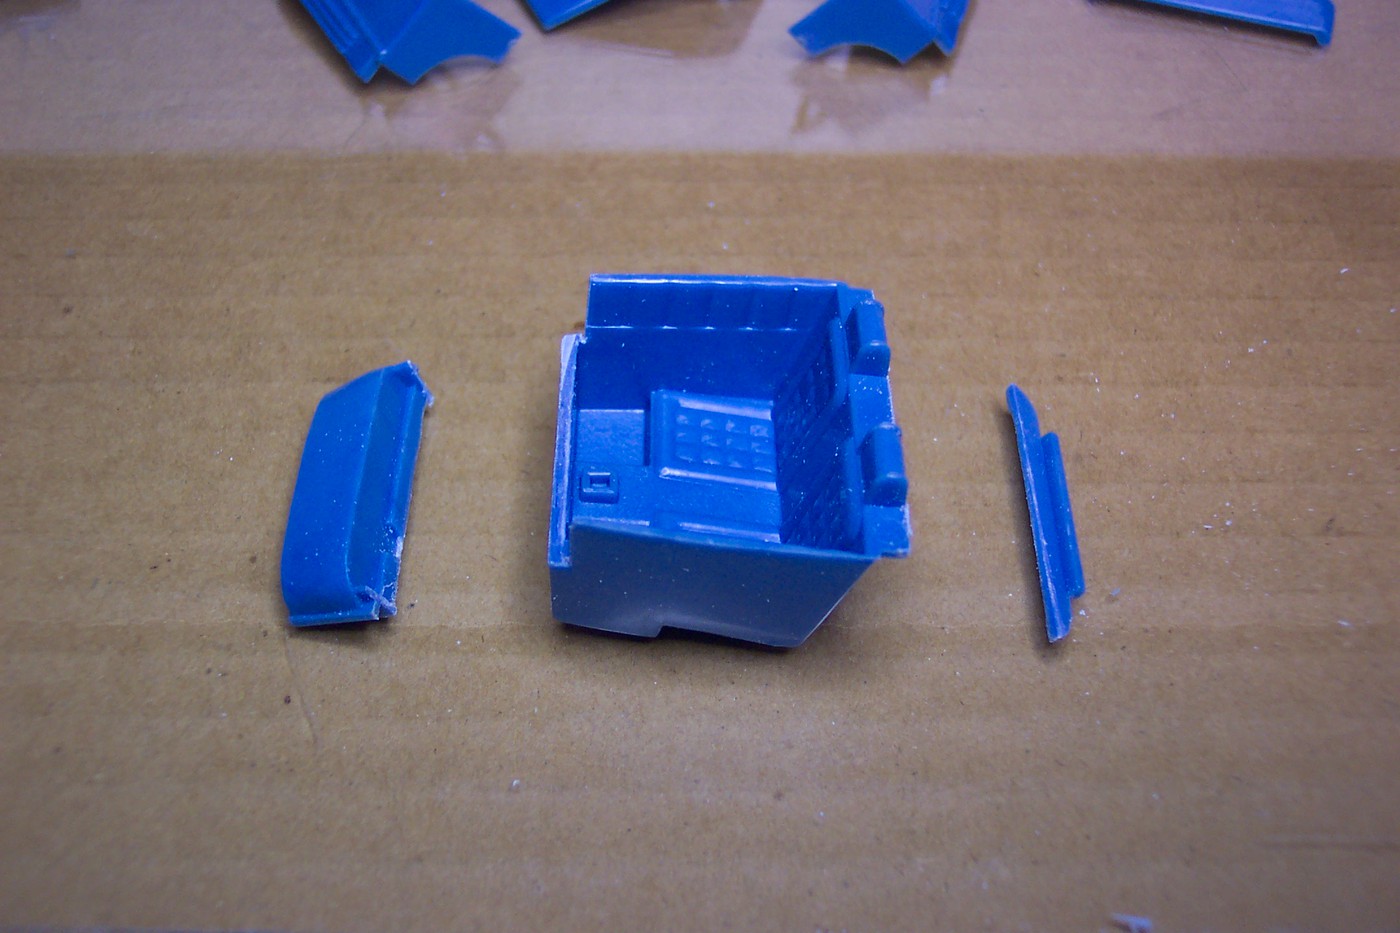 The dash is glued to the cowl since it will be body color . 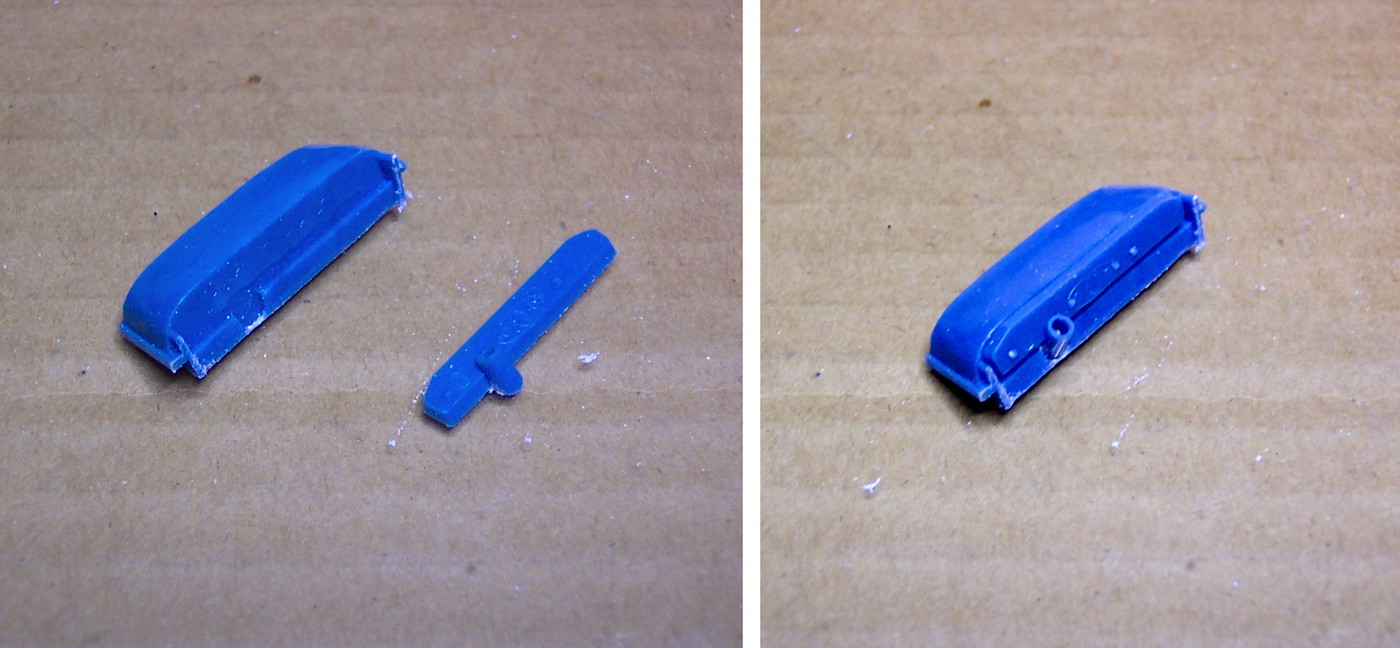 And the package tray is glued to the trunk . 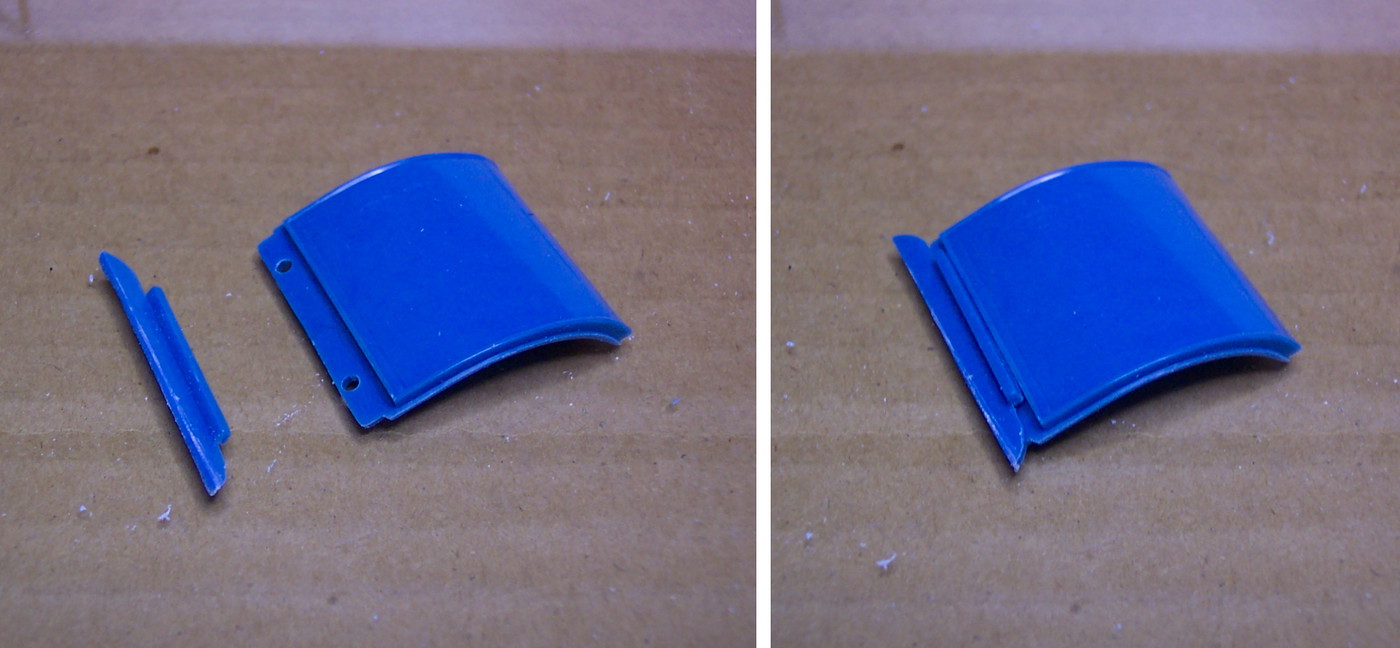 Next the body sides , cowl , and trunk are glue and taped together . 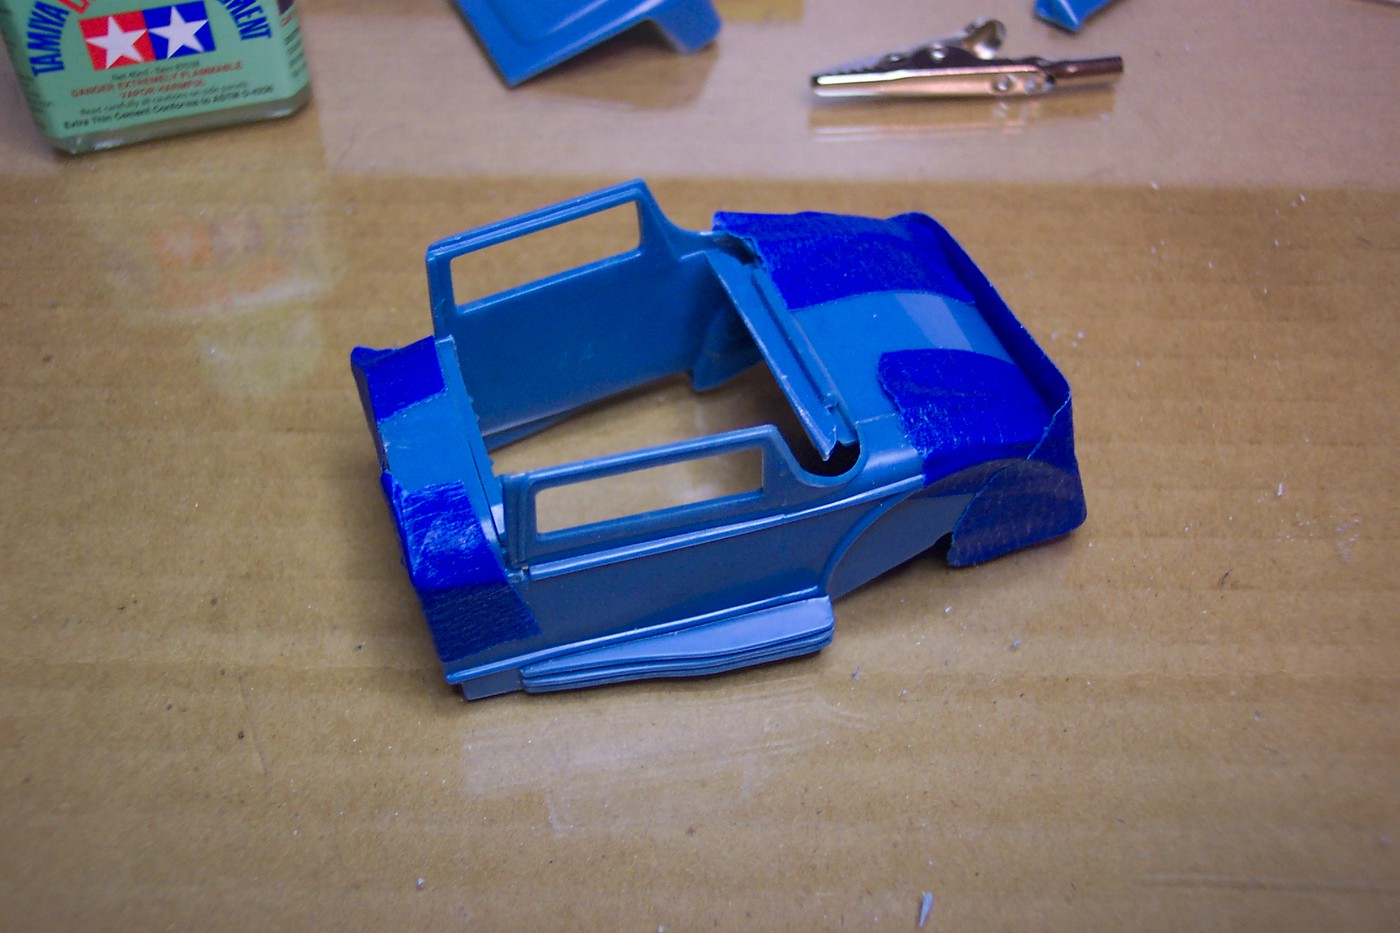 Then the roof is glued and taped in place . 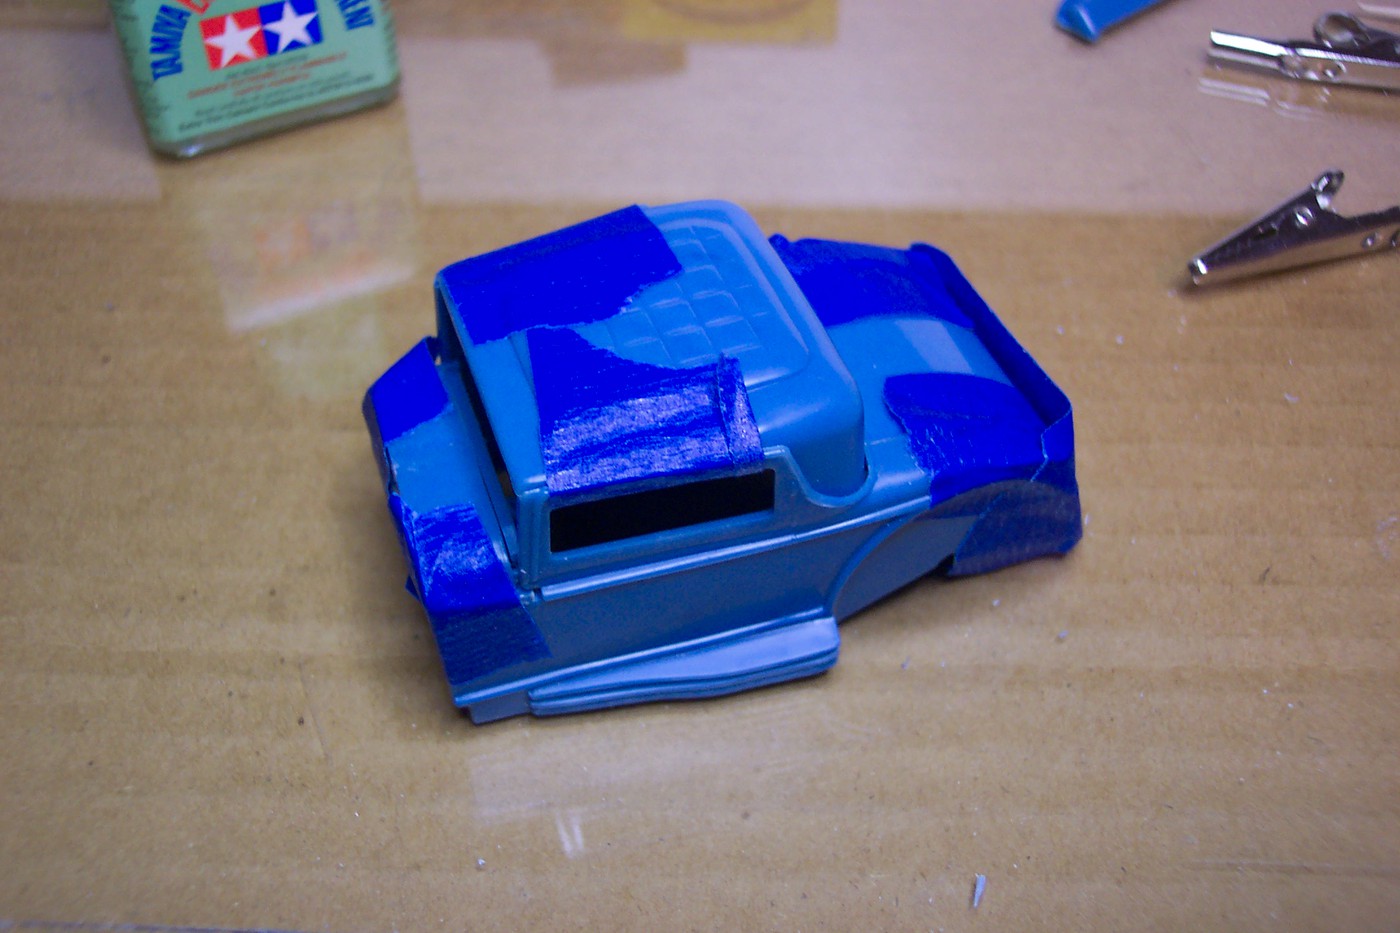 Here's the assembled body , the interior slips right in ! 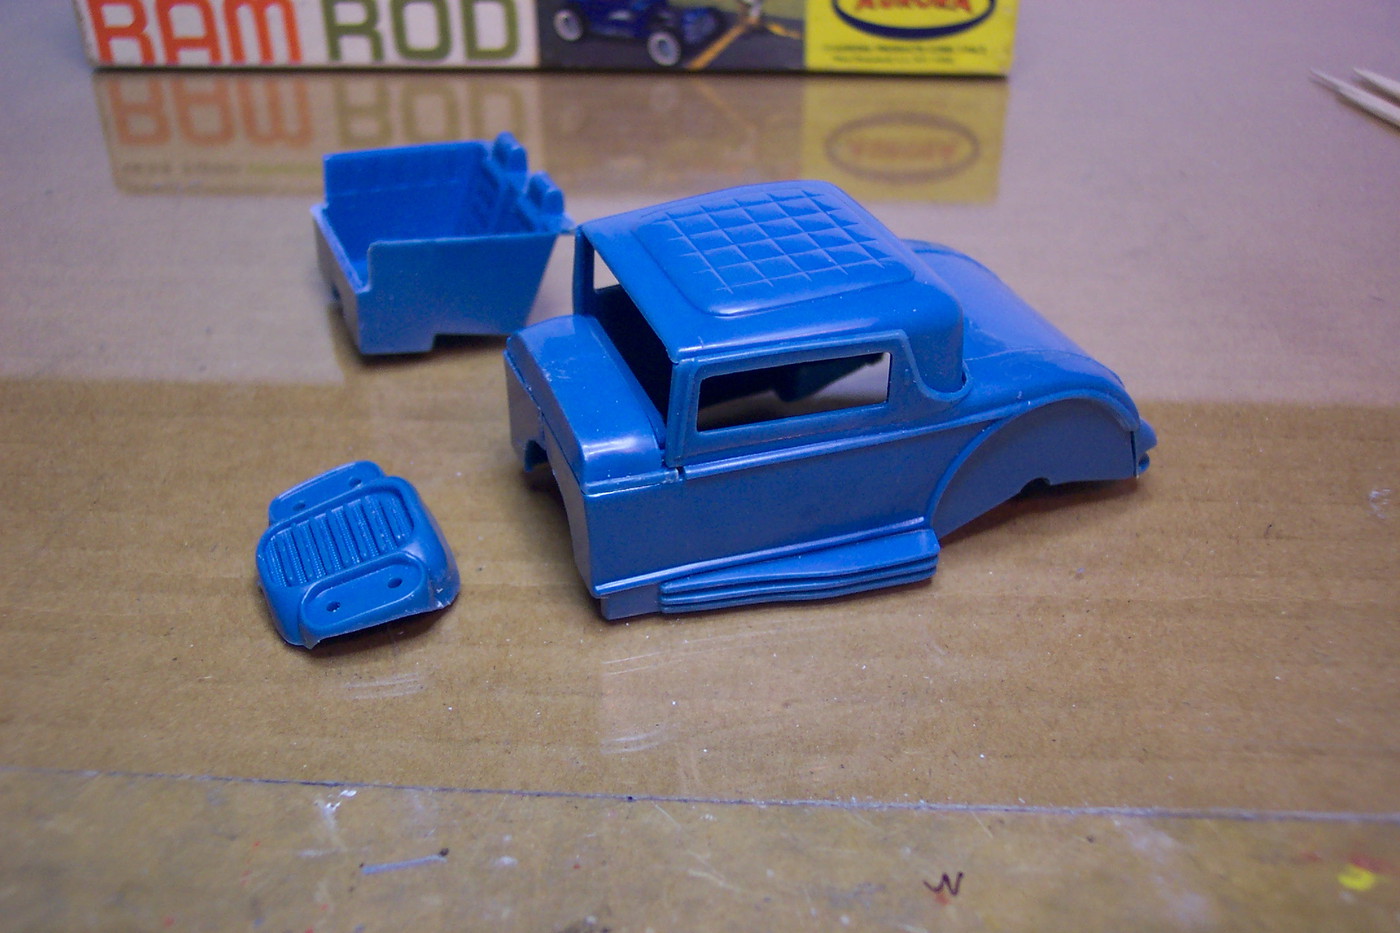 A little body work and it will be ready for paint . To be continued . . .  |
|
|
|
Post by stilljustharley on Sept 19, 2021 0:50:34 GMT -6
I know it's extremely unlikely but I've liked to think that somebody on the Ferrari Testarossa design team had one of these kits as a kid and thought "I know just what this car needs to make it really stand out - a stack of side fins!"
|
|
|
|
Post by TooOld on Sept 20, 2021 6:55:00 GMT -6
I know it's extremely unlikely but I've liked to think that somebody on the Ferrari Testarossa design team had one of these kits as a kid and thought "I know just what this car needs to make it really stand out - a stack of side fins!" They had to get the idea from somewhere so why not the American Hot Rodders , companies "borrow" styling ideas all of the time .  |
|
|
|
Post by TooOld on Sept 21, 2021 14:18:45 GMT -6
The body work involved fixing the cowl by filling and rounding both top corners to meet the body sides , and I filled and smoothed the firewall . Also repaired the trunk . Somehow when gluing everything together the trunk got recessed slightly so I just glued a thin sheet of plastic on top and tapered it smooth . 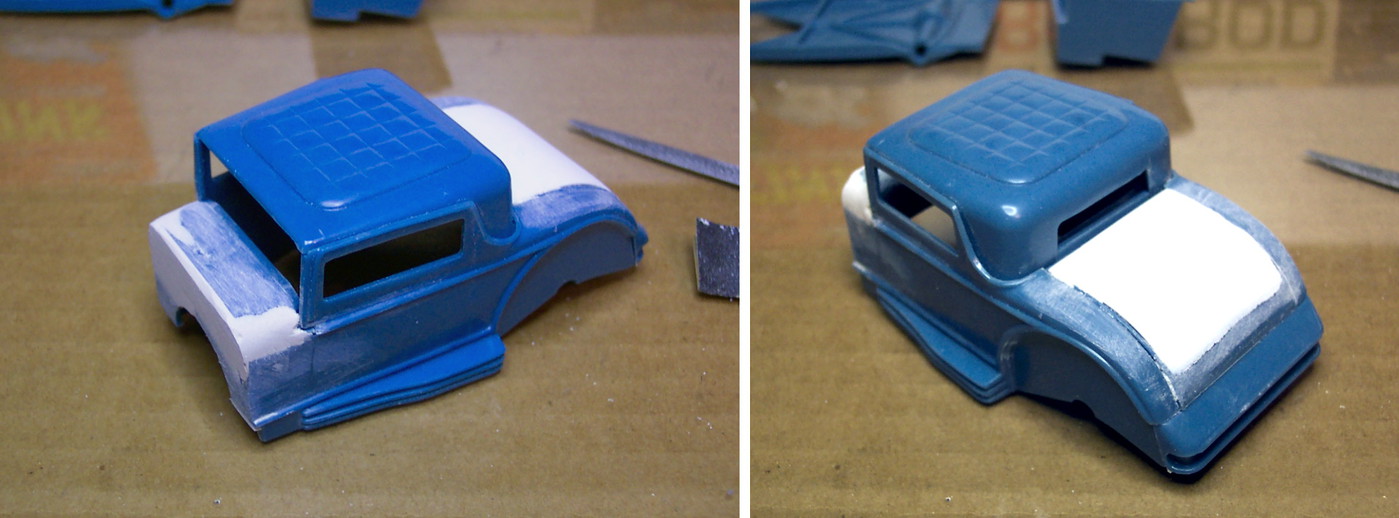 After primer I used some half round to replace the body lines that were removed . 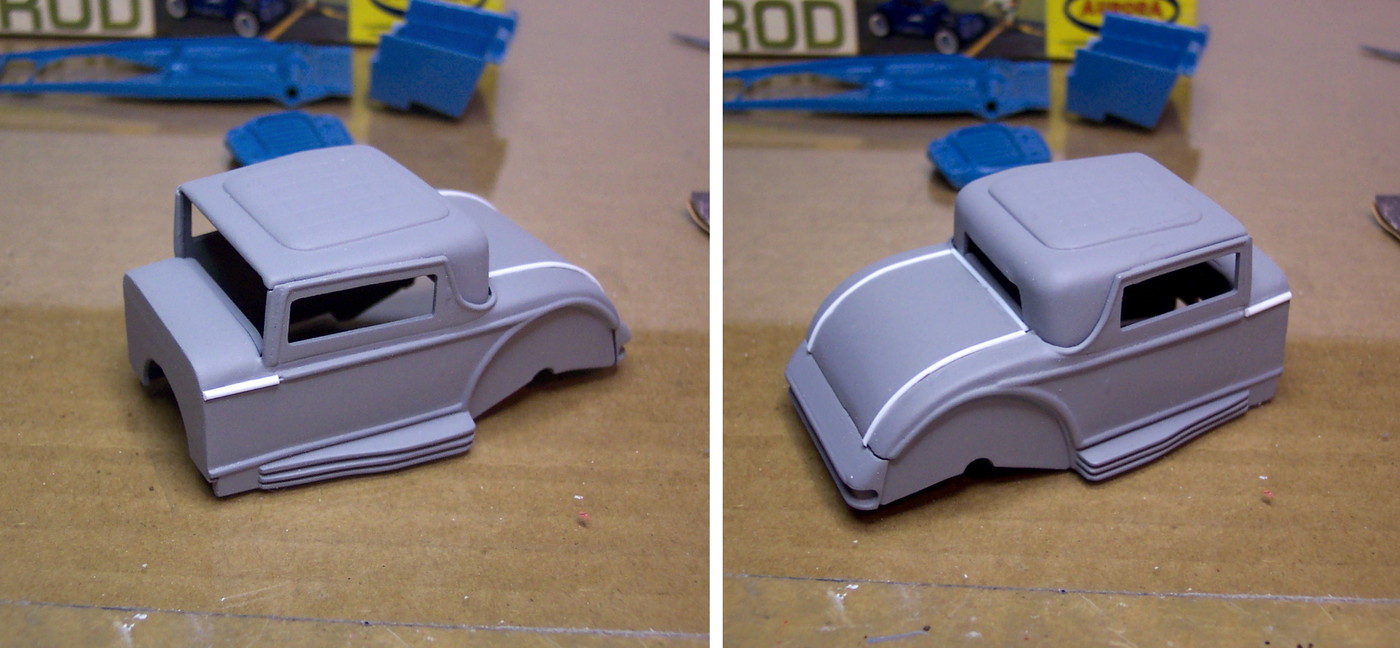 Sprayed with white primer . 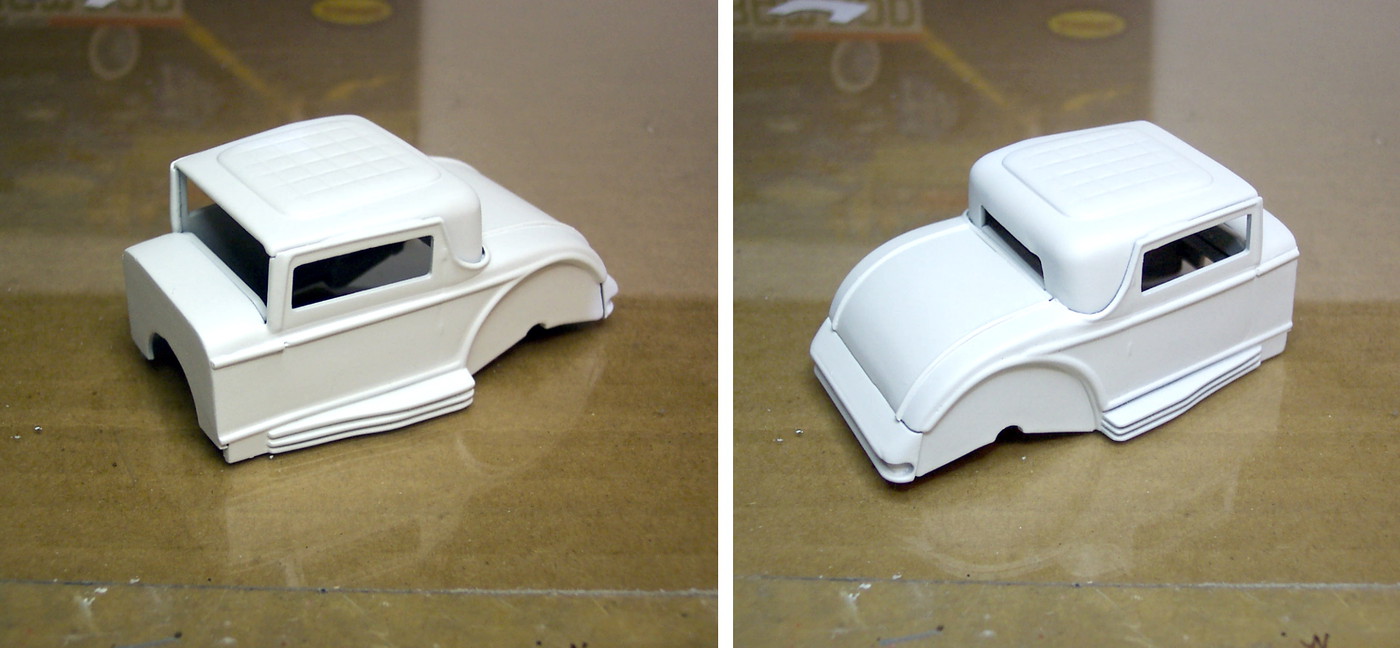 The top insert was taped off and the body sprayed with TS-50 Mica Blue and cleared with TS-13 . 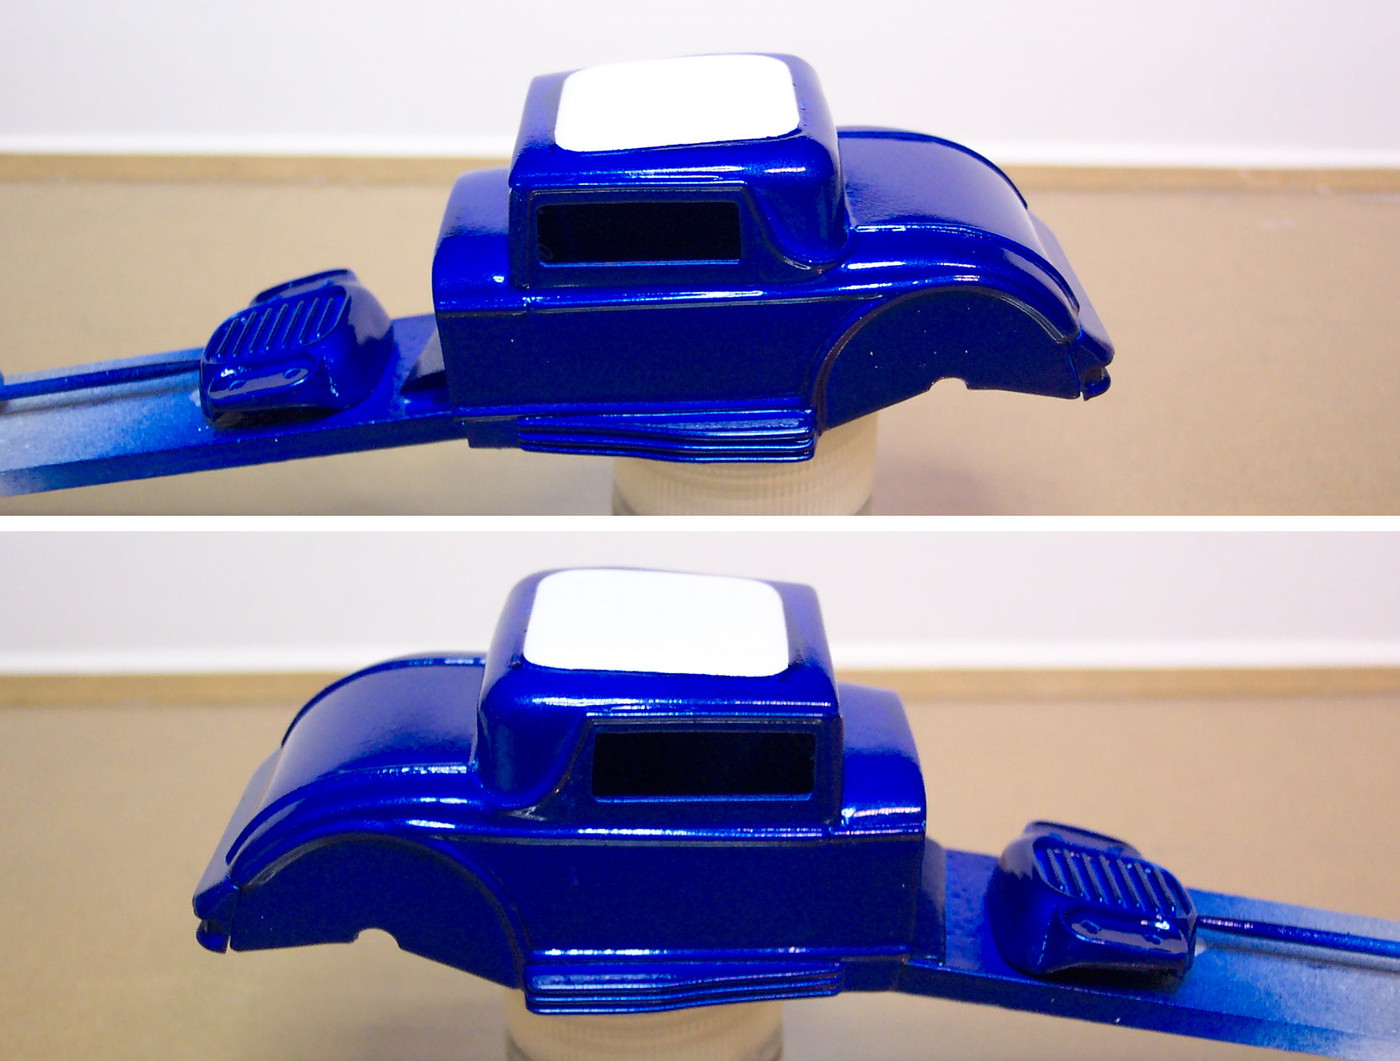 |
|
|
|
Post by TooOld on Sept 25, 2021 6:40:49 GMT -6
I've been painting all the small parts and when I got to the tires I decided to experiment with something I've wanted to try for a while . But first the tires themselves . . . after gluing the plastic halves together there was some seam repair that needed to be done . 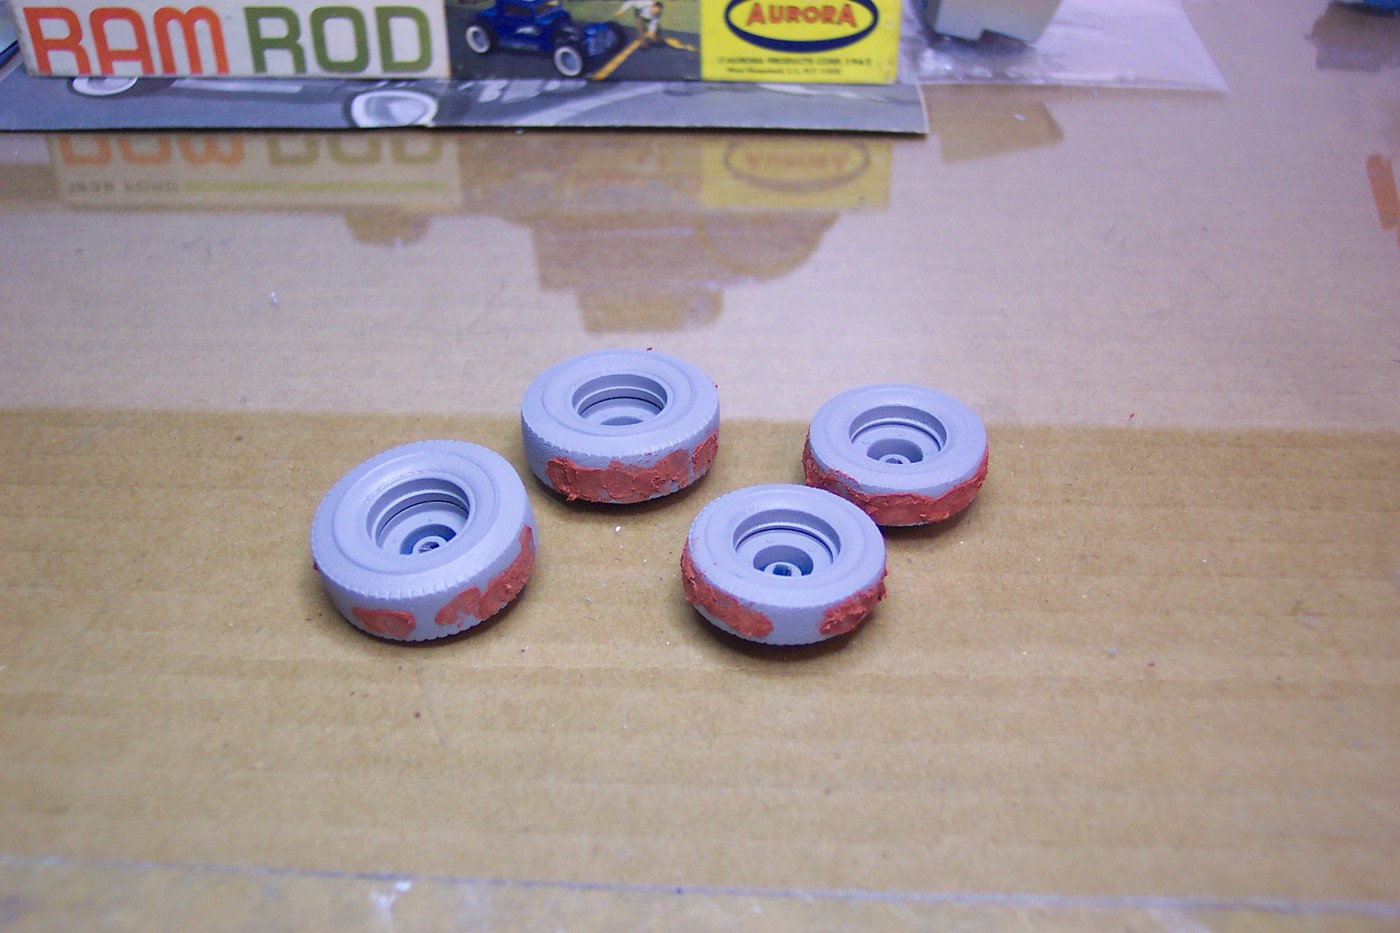 Then they were sprayed flat black . When that was dry I brushed on a coat of Future . 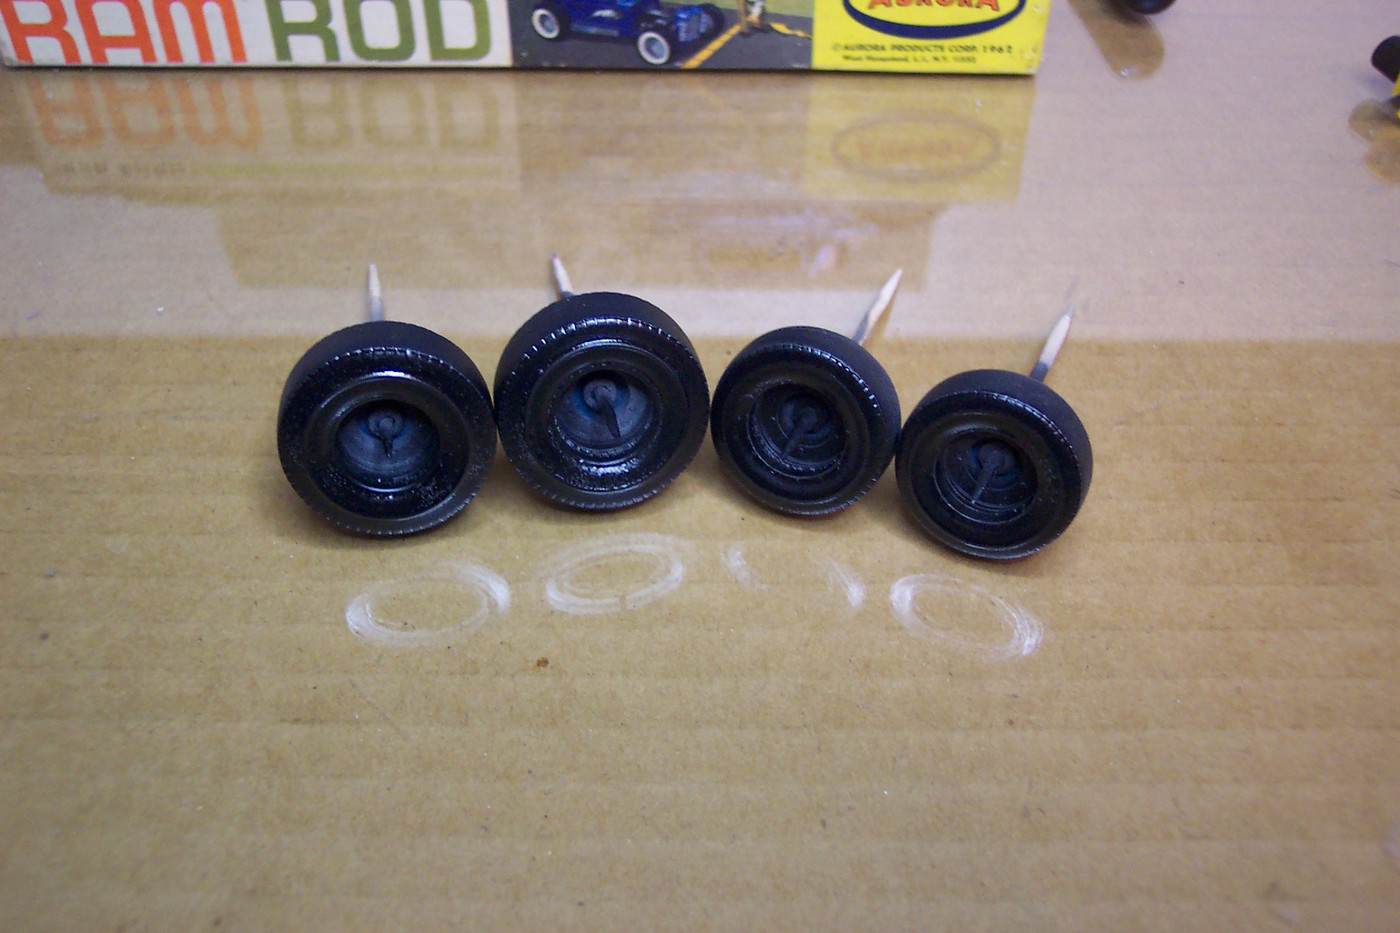 Now for the experiment . . . White Walls ! I bought this little circle cutter on Amazon for $11.47 and the adhesive backed vinyl sheets were $11.21 a pack . They have both Gloss and Matte and I bought the matte , not sure if it's better or not , just what I picked . 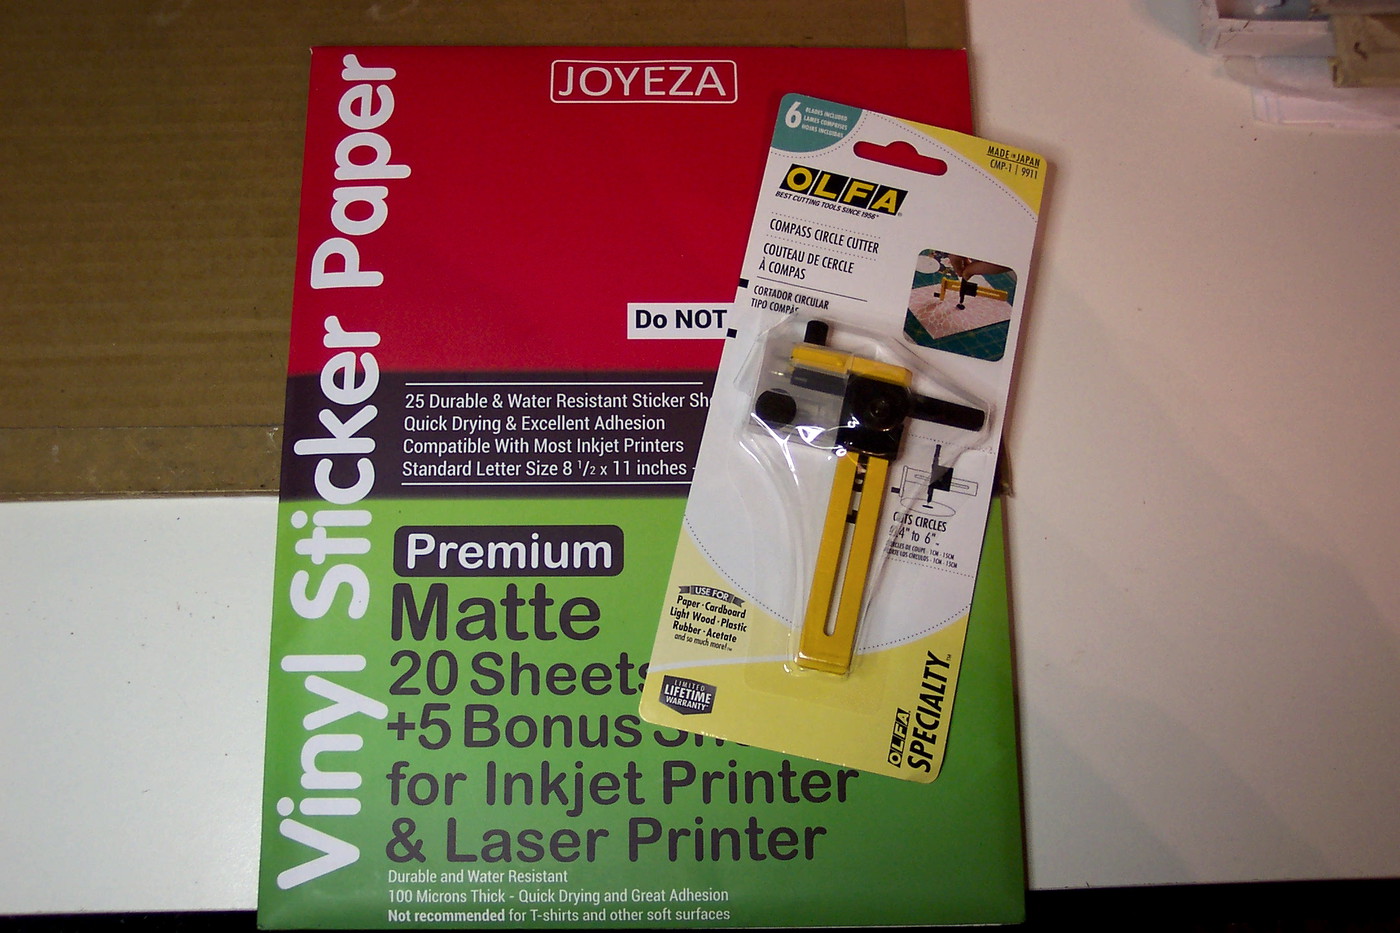 I started by practicing to see how well it cuts . Surprisingly it cuts really easily ! 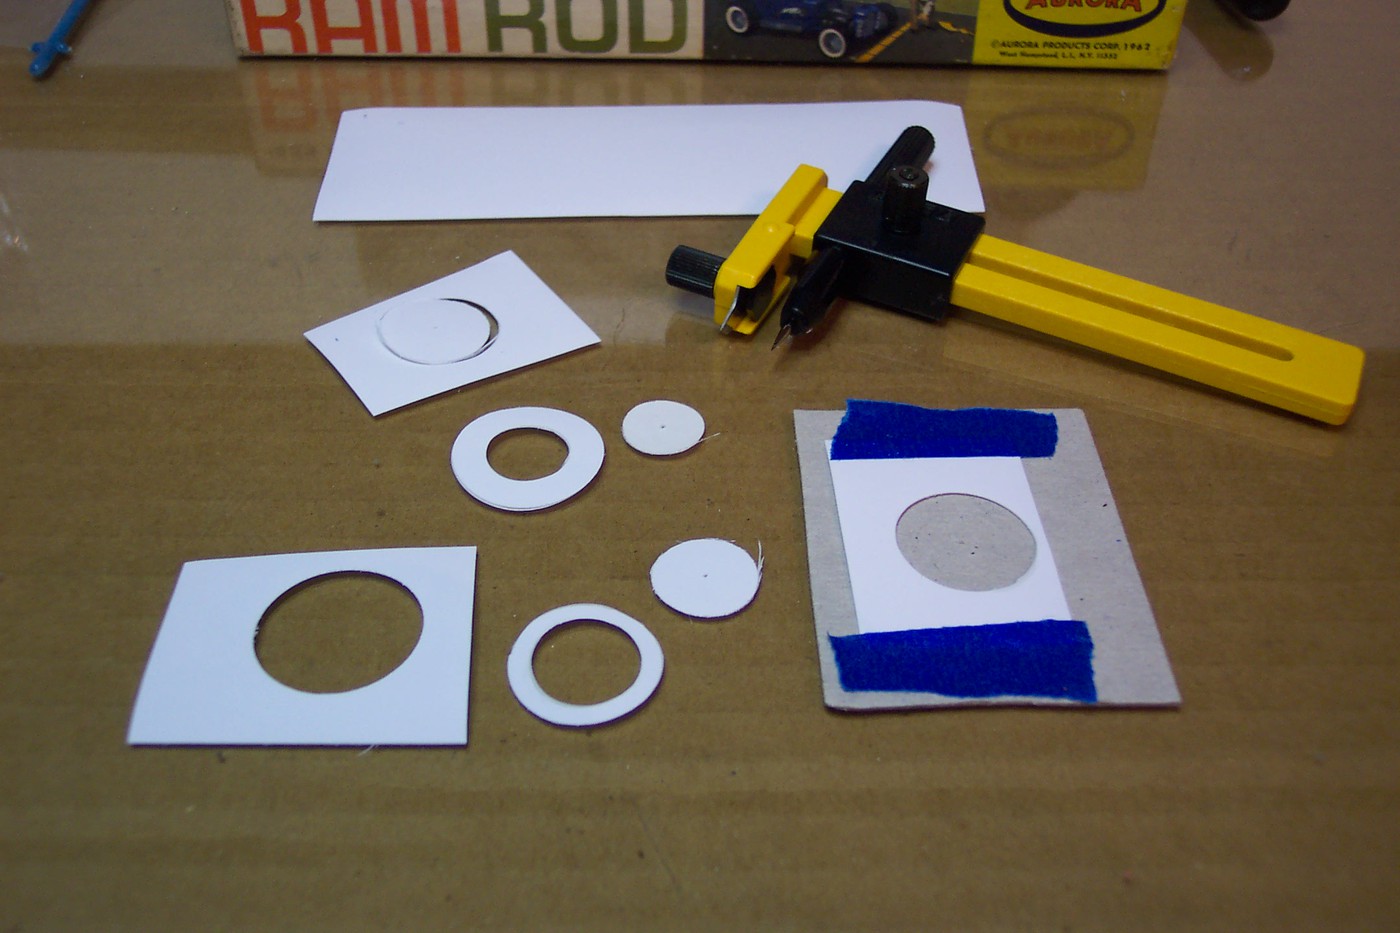 I found immediately that I couldn't spin the cutter like a compass and make an even cut so I taped a piece of vinyl to a small piece of cardboard , that way I could keep even pressure on the cutter with one hand and spin the cardboard with my other hand . 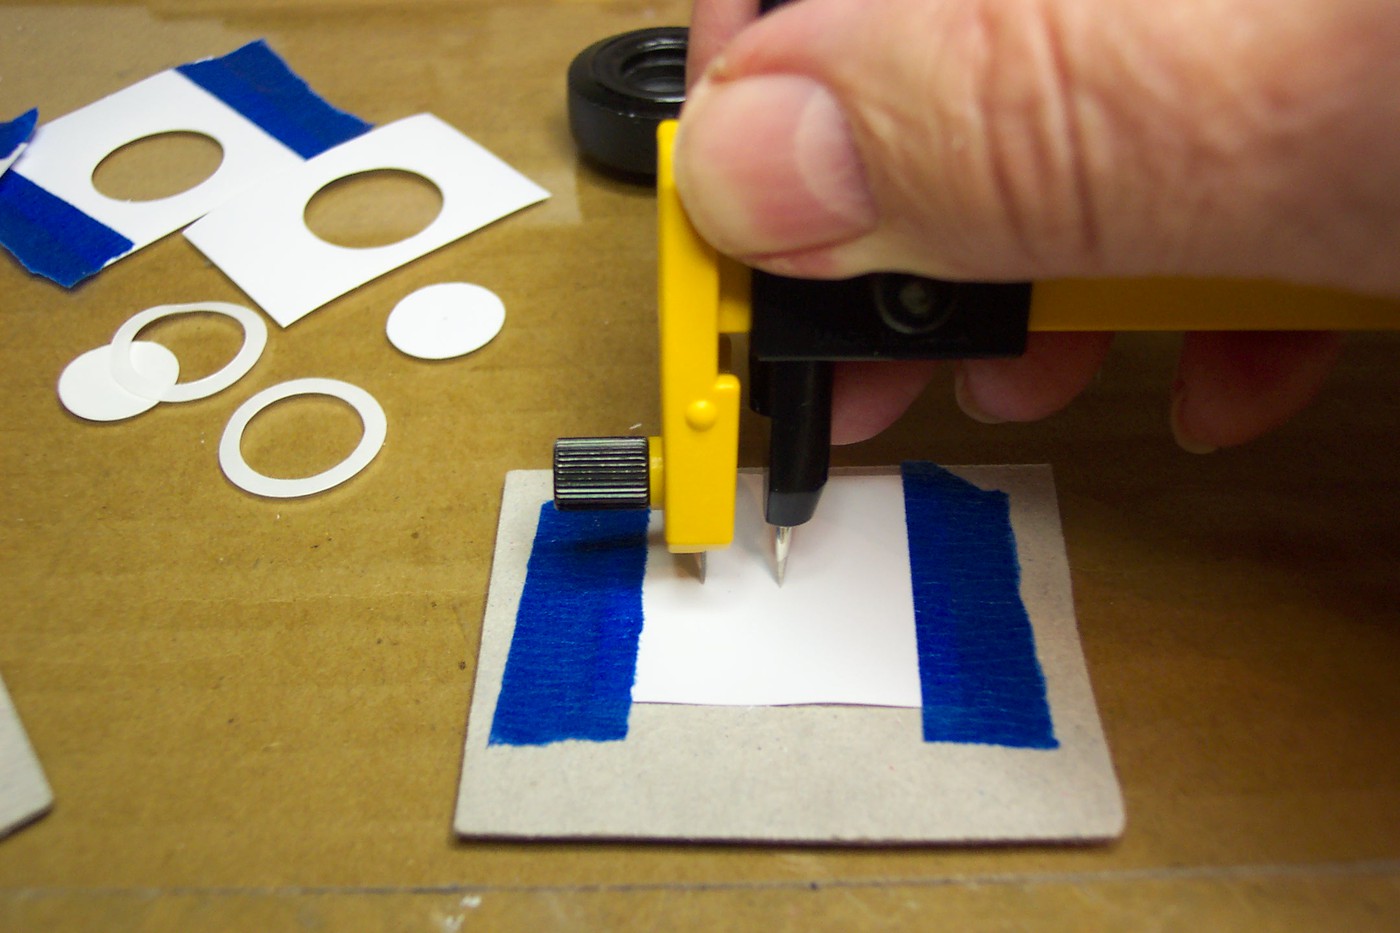 It took a lot of practice and many tries but I finally got four nice white walls stickers . Take accurate measurements of the tire with a caliper and adjust the cutter to the correct radius . Cut the I.D. first then the O.D. of the white wall , and do two at a time so the cutter only has to be reset once . 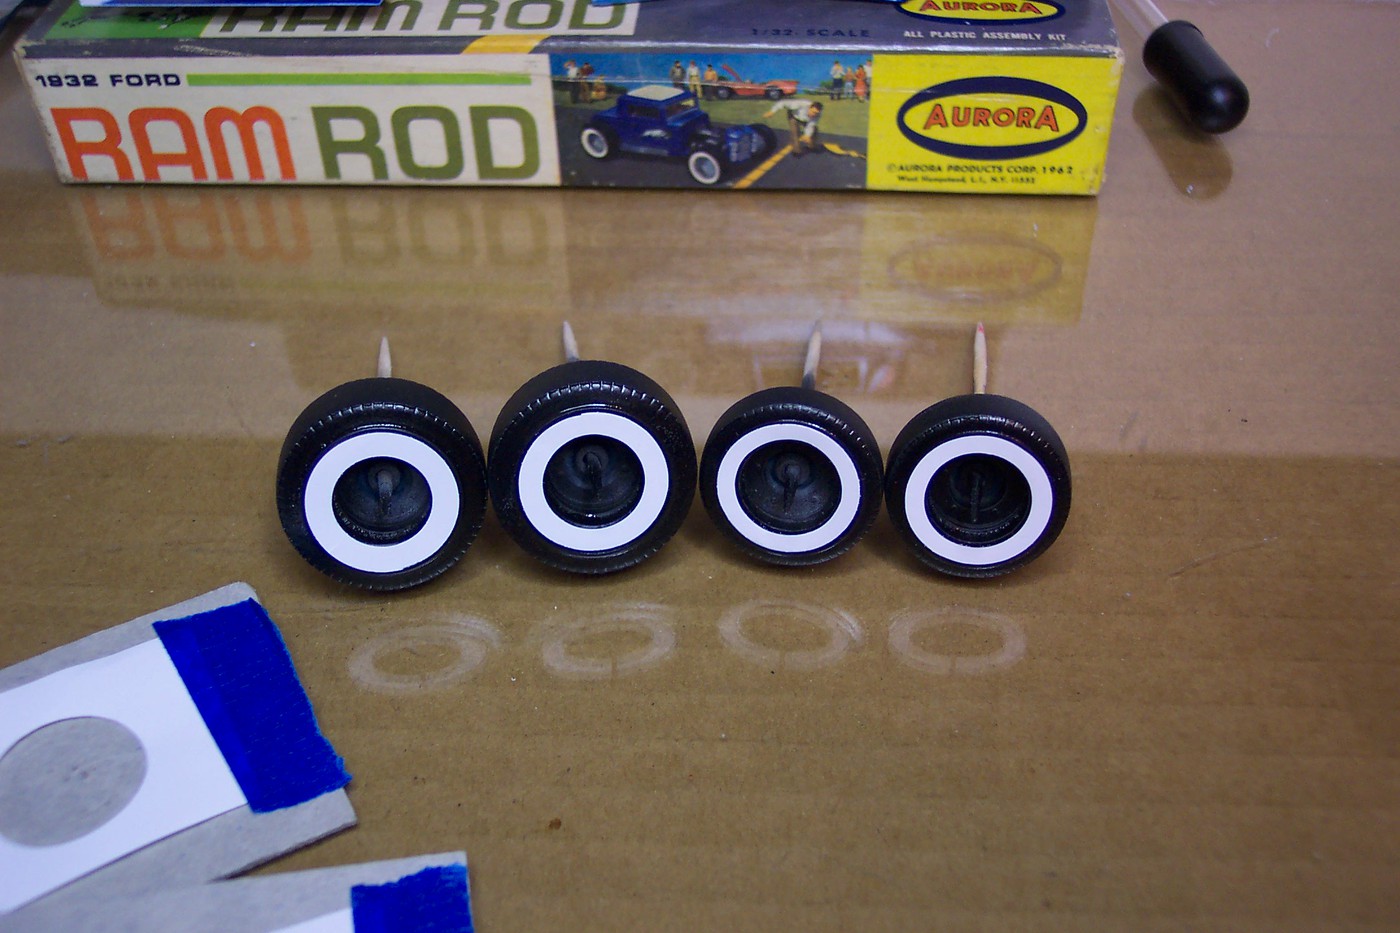 How much practice ? This is the scrap pile , not a deal breaker since there are enough vinyl sheets to do thousands of white walls ! It took me about an hour to make this pile . The biggest issue was setting the cutter to the right radius . Even with measurements it took a few attempts to get the diameter right . 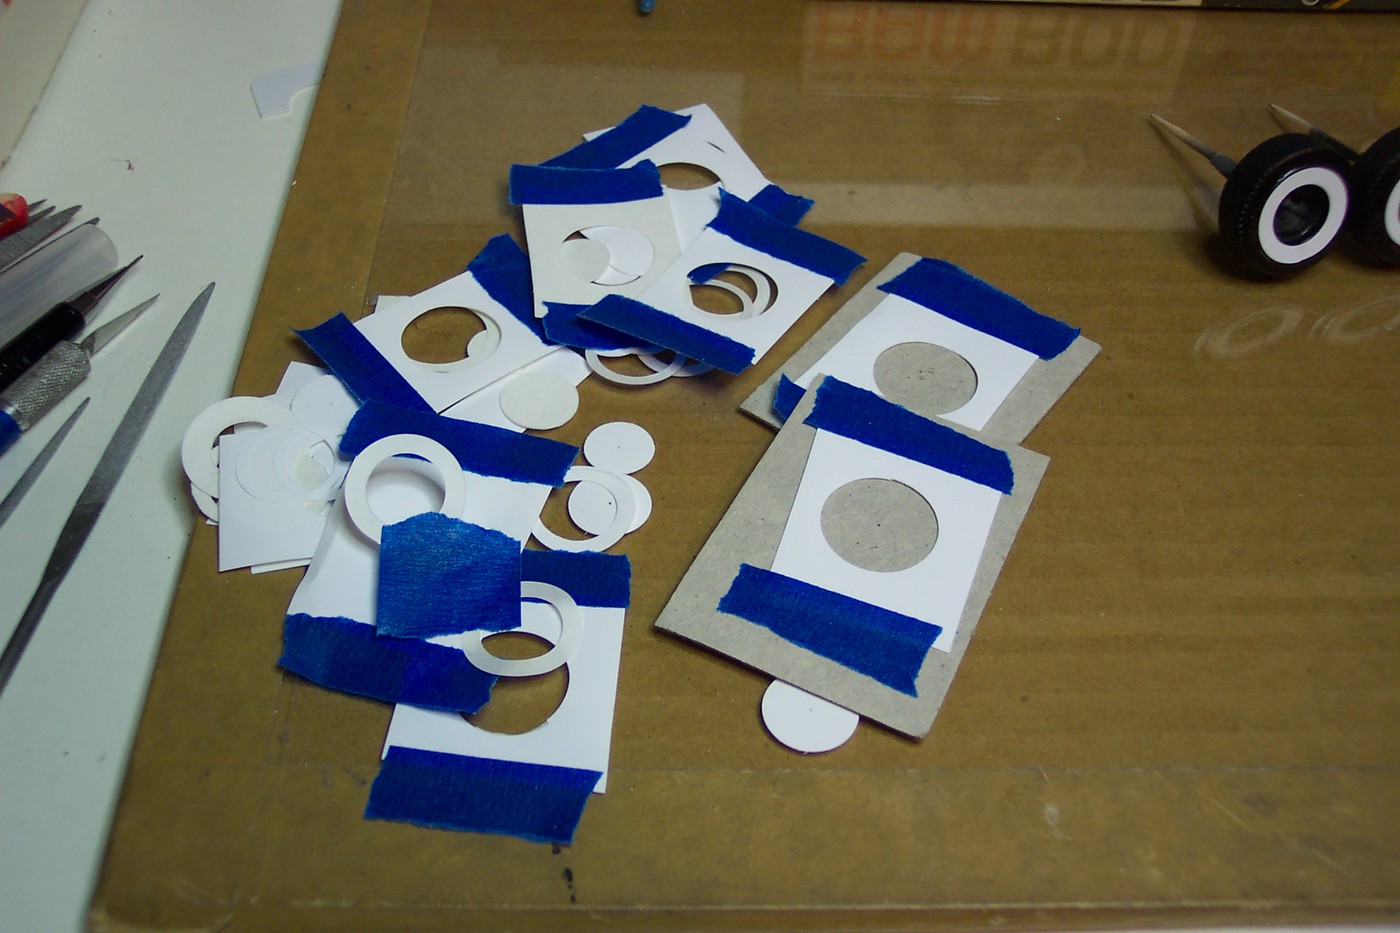 I brushed another coat of Future over the white walls and installed the painted discs . Pretty decent for my first try ! 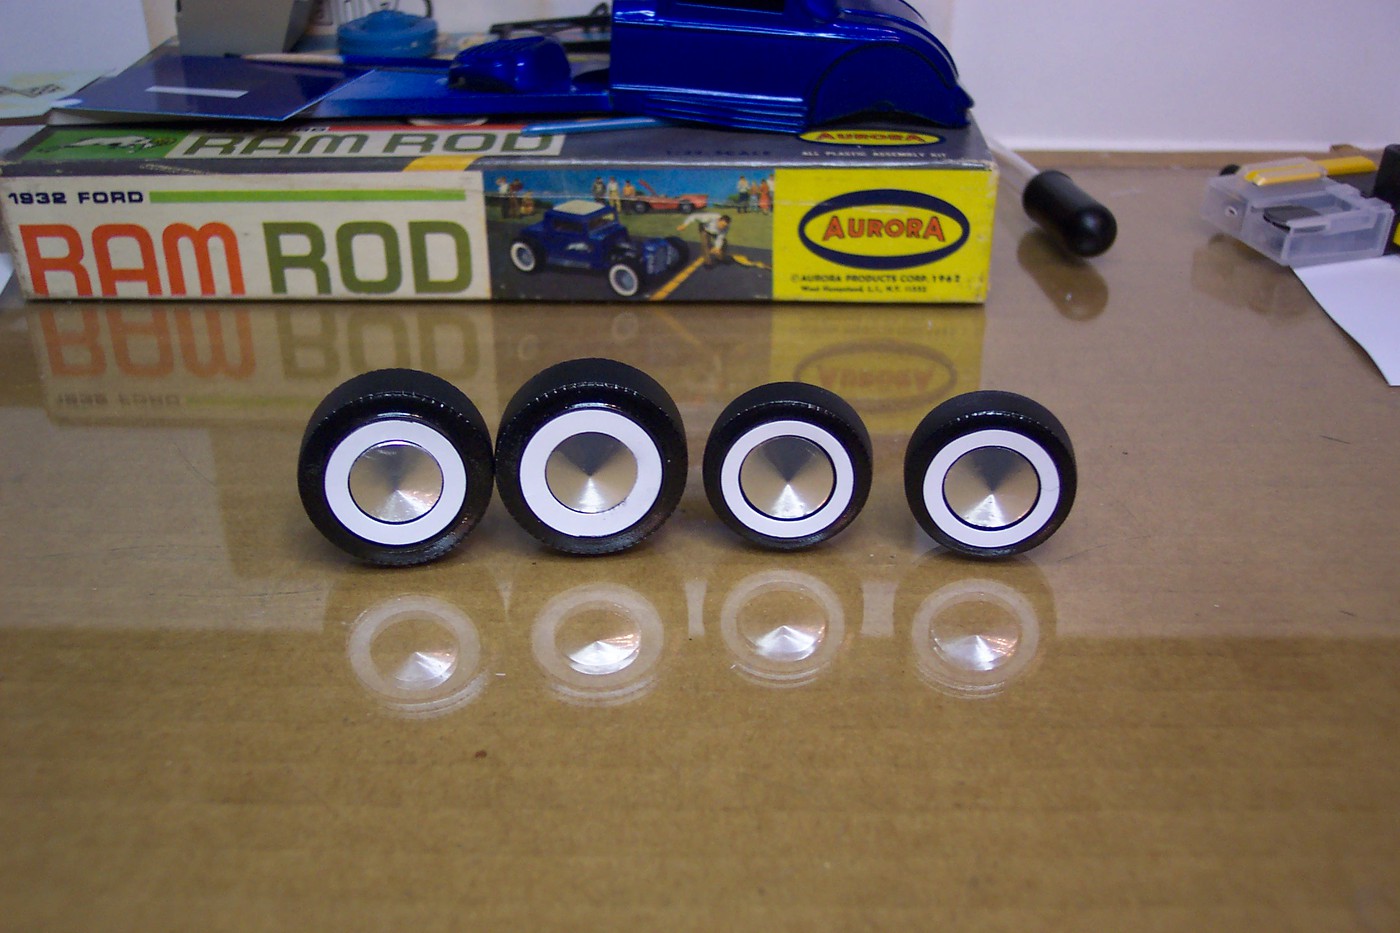 I don't think this is the best adhesive backed vinyl to use for white walls , it's more like a coated paper and doesn't conform to the shape of the tire very well , it didn't matter with these tires but it could be a problem on more rounded sidewalls . This stuff can be used with an inkjet printer so maybe that's an issue , I'll buy the regular self adhesive vinyl before I try this again .  |
|
|
|
Post by plastimatic on Sept 25, 2021 11:14:01 GMT -6
Nice job on those whitewalls.
Way back when I was working on a Beatnik Bandit, I used two different sized papercraft hole punches on white decal paper to produce these:
This technique also had a lot of left over scraps, just trying to line up the holes. Your cutter would allow for more precise versions, tho.
|
|
|
|
Post by TooOld on Sept 25, 2021 13:20:38 GMT -6
Those look great Jim , I don't know how you ever got those punches centered like that ! Originally I was going to use white decal paper but at the last minute decided to try the vinyl , maybe not the best idea . But the circle cutter works great and I'd recommend it if you ever try making any more .  |
|
|
|
Post by TooOld on Sept 27, 2021 9:46:42 GMT -6
Not much to show for this update . . . Painted and installed the engine , it was a whole nine parts . Maybe the fastest engine assembly I've ever done .  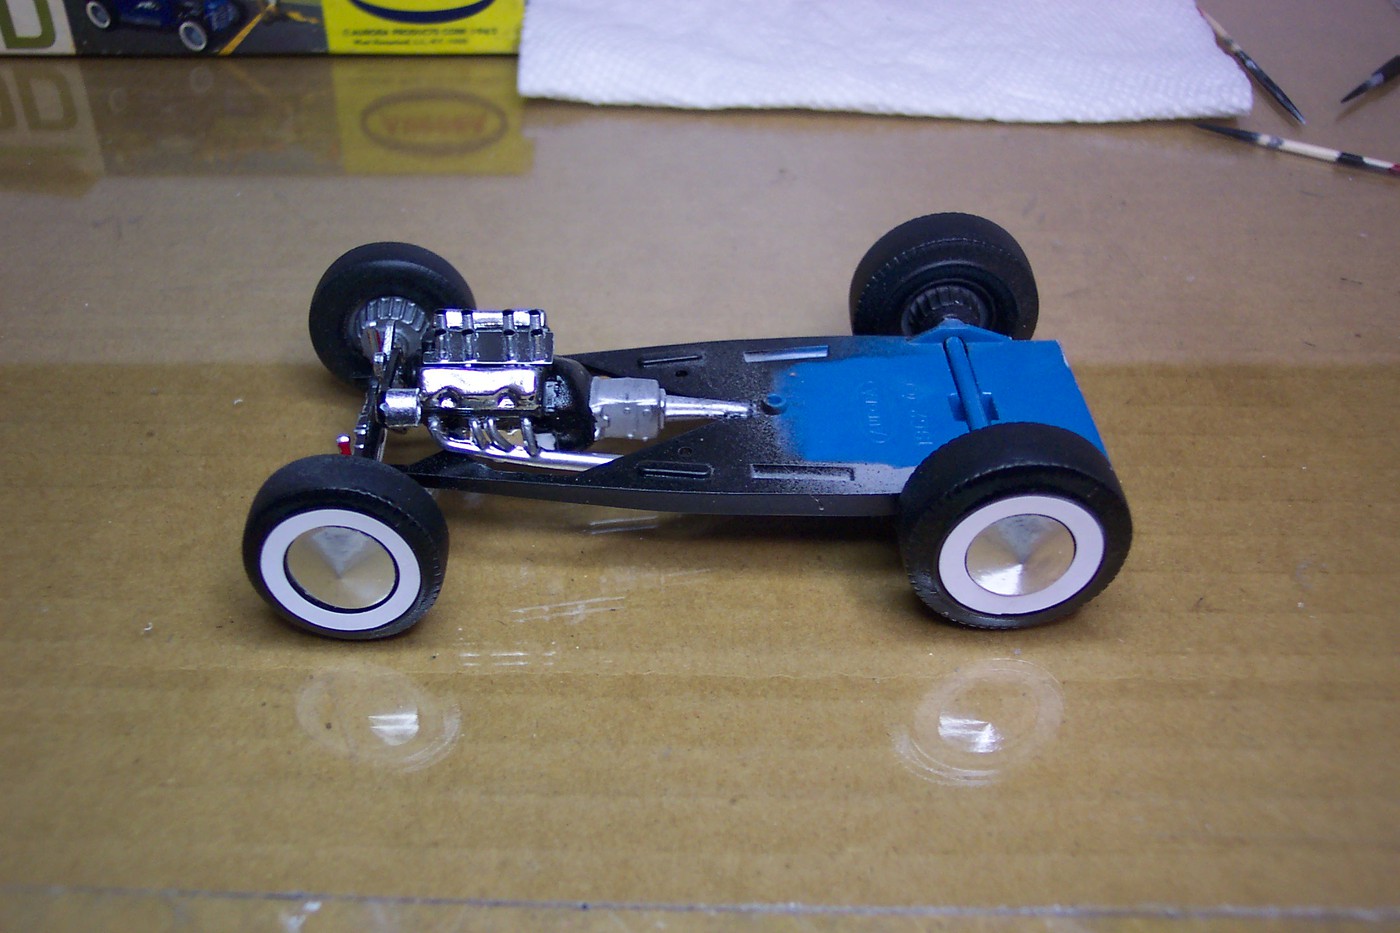 Thought I'd add a firewall to break up all that blue paint , then thought maybe an upholstered firewall to match the roof insert ? 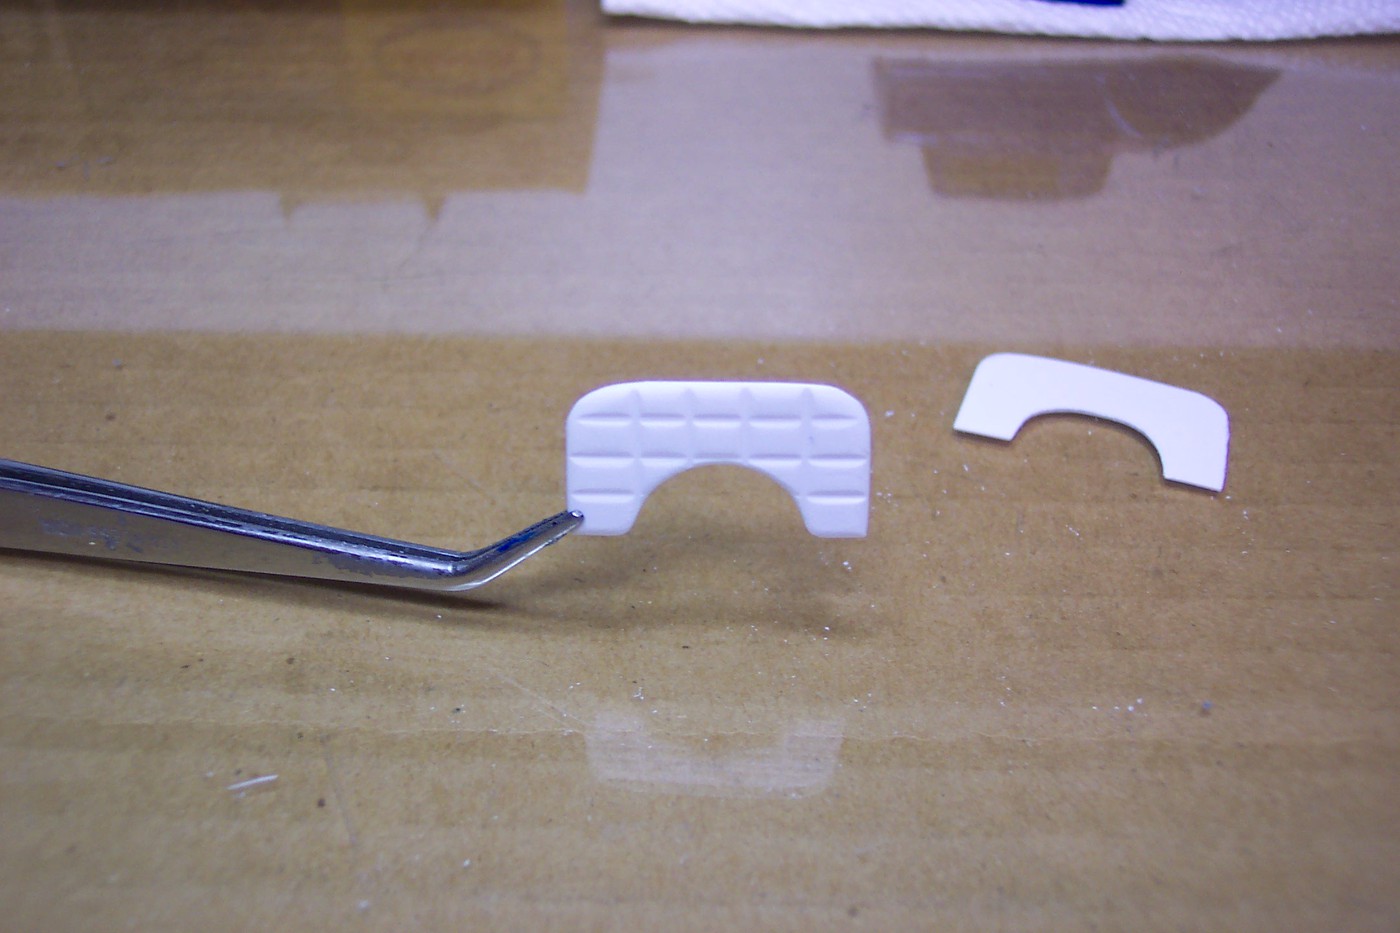 And since this is almost finished I worked on the decals . The originals are yellowed but may still work on the dark blue paint so I sprayed them with some sealer . In case they don't work I printed a back up set .  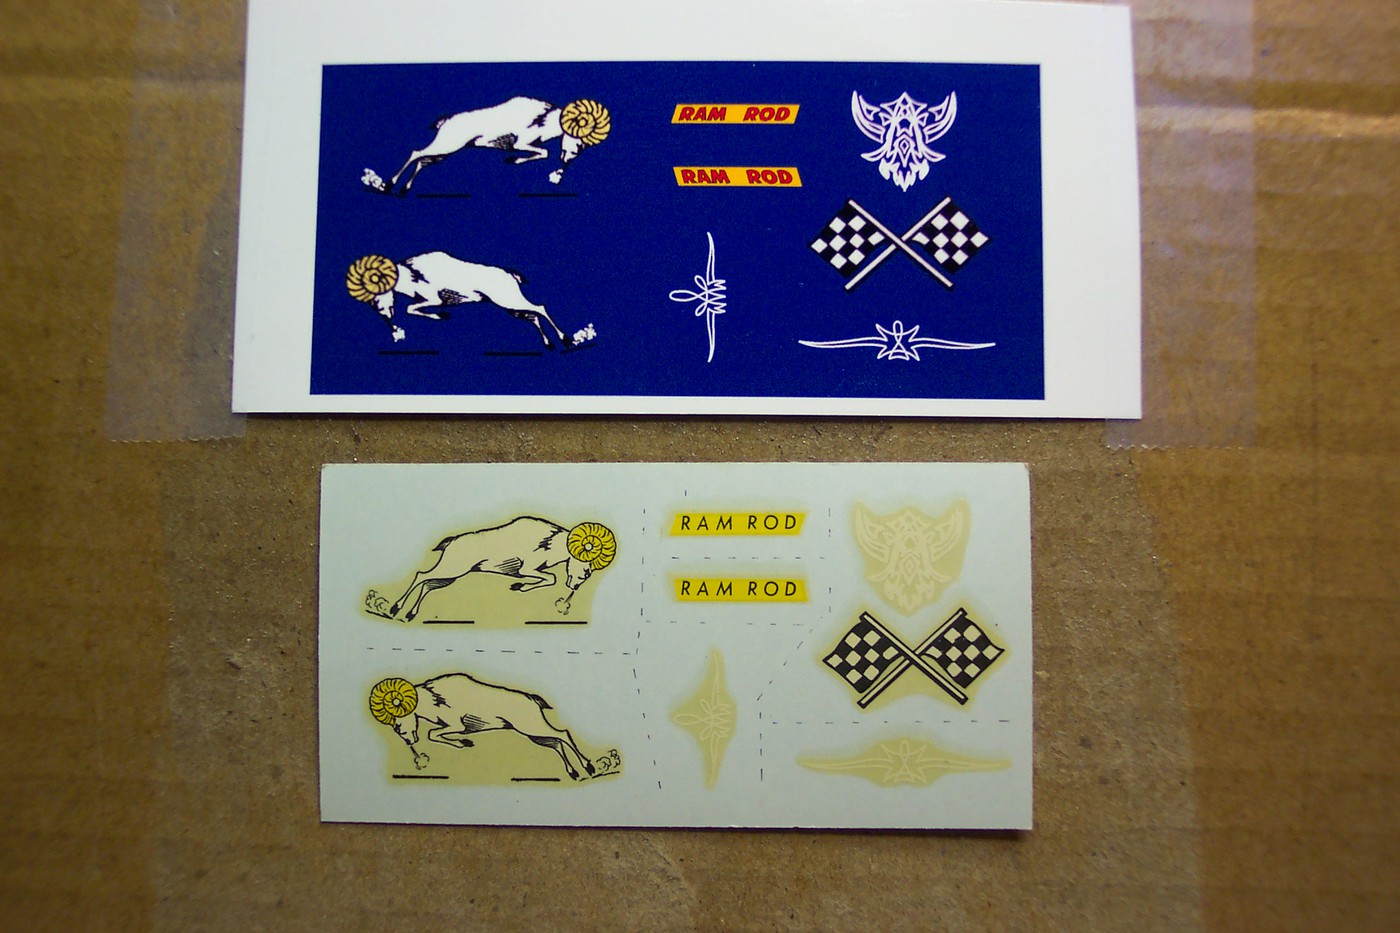 |
|
|
|
Post by TooOld on Sept 28, 2021 4:59:35 GMT -6
The 60 year old original decals have a slight yellowish tint but they worked great !  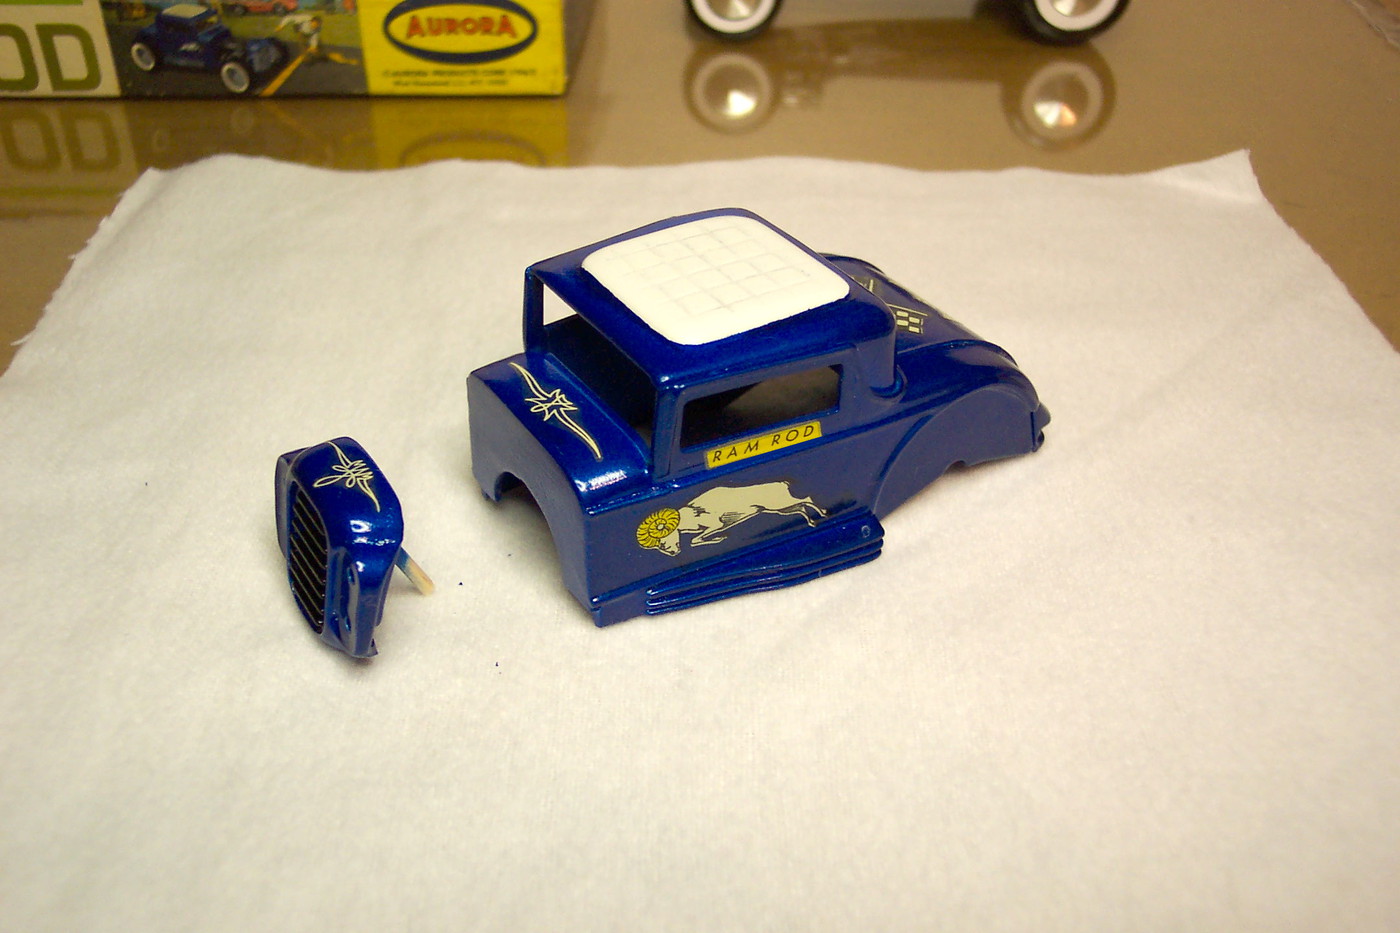 |
|
|
|
Post by patw on Sept 29, 2021 1:20:22 GMT -6
Super build Bob! I like the work on the whitewalls and wheel centres.
|
|
|
|
Post by TooOld on Sept 29, 2021 9:37:17 GMT -6
Thanks pat ! Should be wrapping this up real soon .  |
|
Deleted
Deleted Member
Posts: 0
|
Post by Deleted on Sept 29, 2021 16:58:12 GMT -6
Love that blue. 😎😎
|
|
|
|
Post by stevielewis on Sept 30, 2021 7:48:57 GMT -6
Great work as always.
|
|
|
|
Post by Starry Eyes on Sept 30, 2021 13:15:25 GMT -6
Great job on a vintage kit Bob !
|
|
|
|
Post by TooOld on Oct 1, 2021 5:55:23 GMT -6
Thanks much Don , Steve , and Chuck !  |
|
|
|
Post by erwin on Oct 8, 2021 19:11:20 GMT -6
Nicely done! Makes me want to find one for myself.
|
|
|
|
Post by Starry Eyes on Oct 10, 2021 16:27:49 GMT -6
Nicely done! Makes me want to find one for myself. I have one Erwin if you find you just can’t live without . Starryeyes |
|

