|
|
Post by ira on Jun 7, 2013 8:06:05 GMT -6
USA-1 CORVETTE LSR TEAM!!!I started this Bubble Top Transport Vehicle for a Showrods Contest-Bubble Top Trike, a few years ago. The Bubble Top 3 Wheeler was too big for this truck so I set the Transport aside...untill now!  It started as a '59 El Camino with most of a Corvette Indy attached to the front. I tried fitting the Attempt 1 on to the Transport and it was narrow enough fit inside the bed! 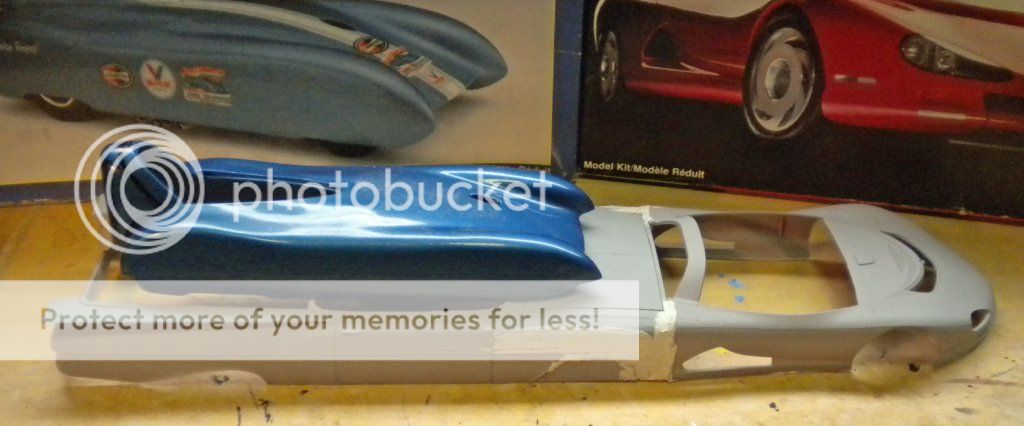 Looks like it's Time for a New Project... 
|
|
|
|
Post by ira on Jun 7, 2013 8:06:58 GMT -6
ADDING THE RAMP BED!!!The Attempt 1 is too long to fit inside the El Camino Pick-Up Bed, but if It were a Ramp Bed...  I did a little Cutting & Fitting and got a piece of sheet plastic to fit in the Bed. Then I glued it in place.  Next I made file card templates for the Bed Sides and then cut them from sheet plastic and glued them in place. I used sheet plastic to fill the gaps between the Body and the Bed Sides.  Now its time to play with the Attempt 1... 
|
|
|
|
Post by ira on Jun 7, 2013 8:07:50 GMT -6
VETTE ATTEMPT!!!I always liked this kit but I like Corvettes better, so its time for some Cutting!  Next I cut the Rear End from a Pro Stock Vette Body...  It was too wide for the Attempt 1 body so I cut a section from the middle and then glued it back together.  After a little more Cutting & Fitting I got the Rear End to fit the Body!  More Photos Coming... 
|
|
|
|
Post by ira on Jun 7, 2013 8:08:50 GMT -6
HERE IS THE SCOOP!!!I used cut-off Attempt 1 body parts, carved & turned up-side down to fill in the drivers compartment area...  The Hood Scoop is from the Corvette Kit, it took a little cutting & fitting to get it in place.  Here are the Transport and LSR Vette together!  What's Next? 
|
|
|
|
Post by ira on Jun 7, 2013 8:09:38 GMT -6
NEW FRONT END!!!I cut the Front End off the Corvette...  Next I cut out the Front End of the Transporter... 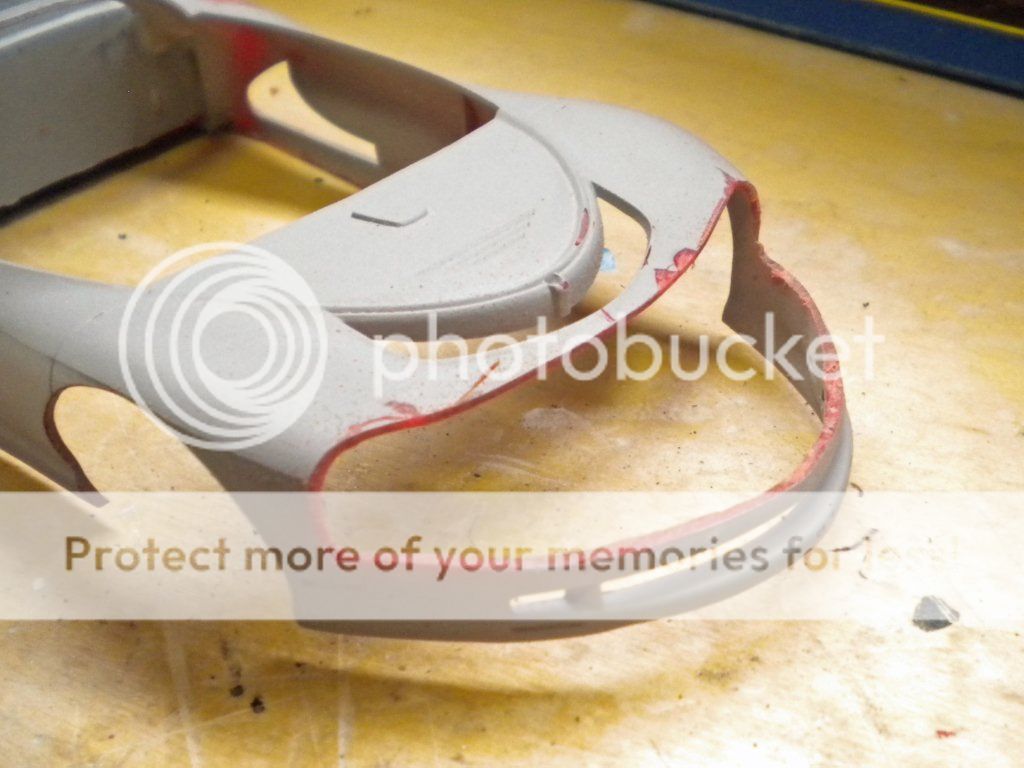 After a little more Cutting & Fitting, I got a good fit on the Transporter Front End!  Here it is with some putty applied. First test fit on the Bubble Top! 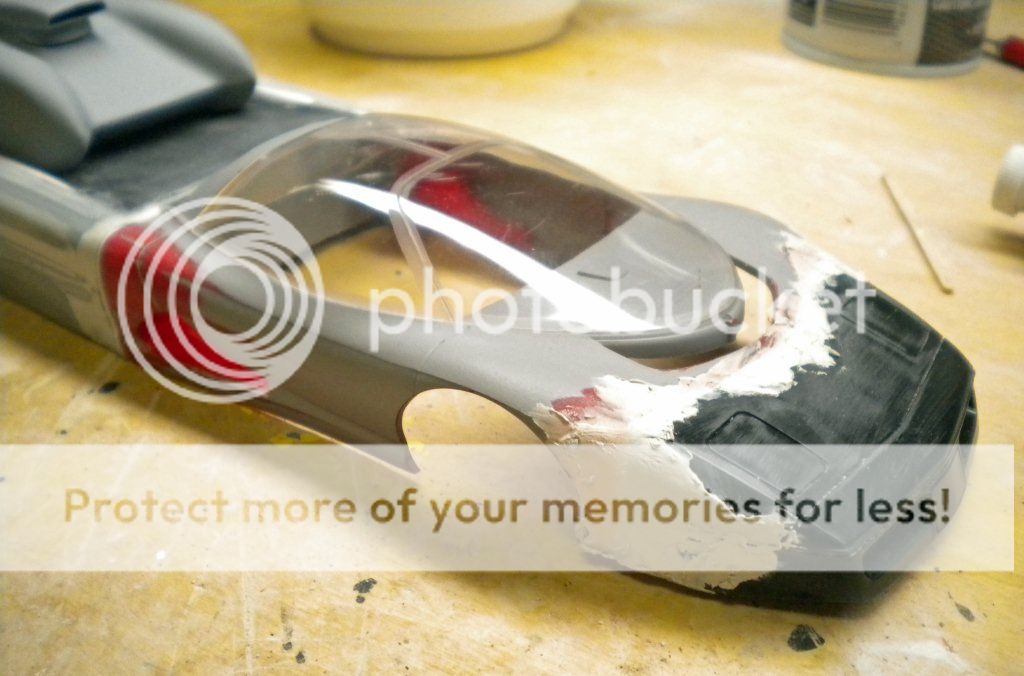 
|
|
|
|
Post by ira on Jun 7, 2013 8:10:32 GMT -6
PRIMER ON EVERYTHING!!!First I cut a piece of sheet plastic to fit the back of the Cockpit, and glued it in place. 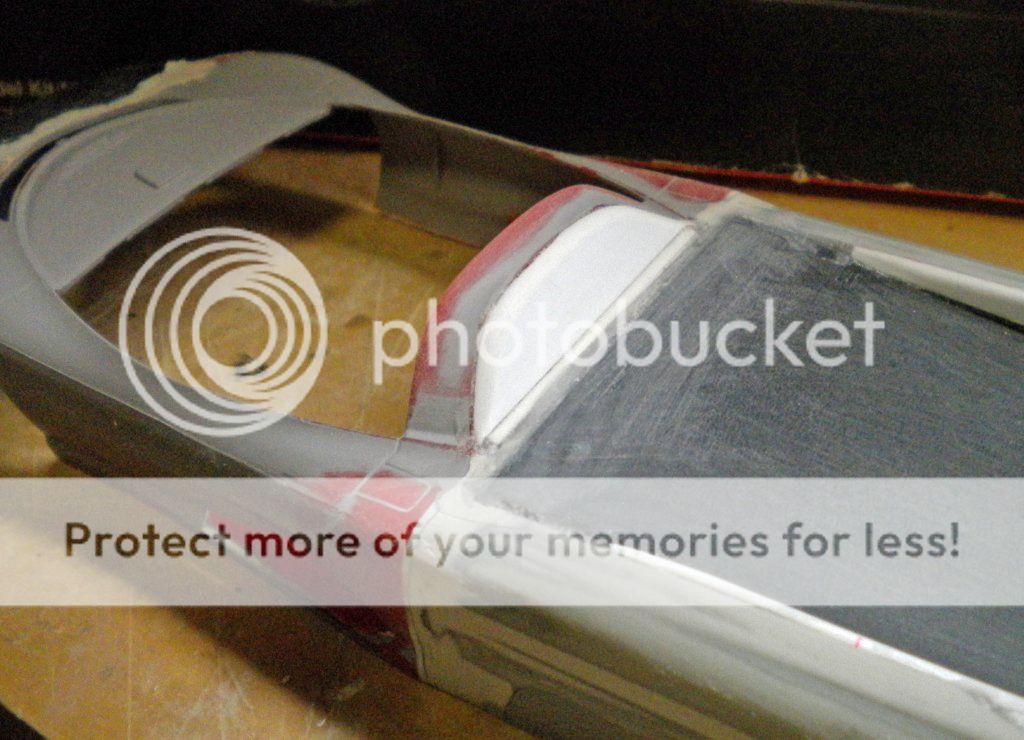 Then, I sprayed some Dupli-Color Primer/Filler on the Transport...  Before spraying the Race Car, I cut the Front End off the Belly Pan and glued it to the body. 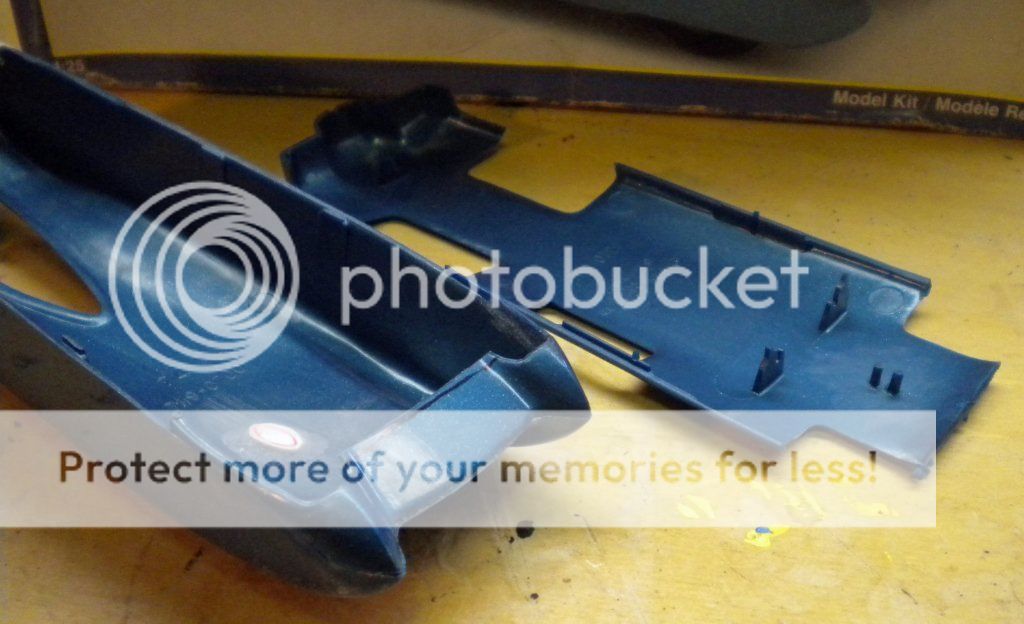 The Vette Attempt was sprayed next...  Rear View... 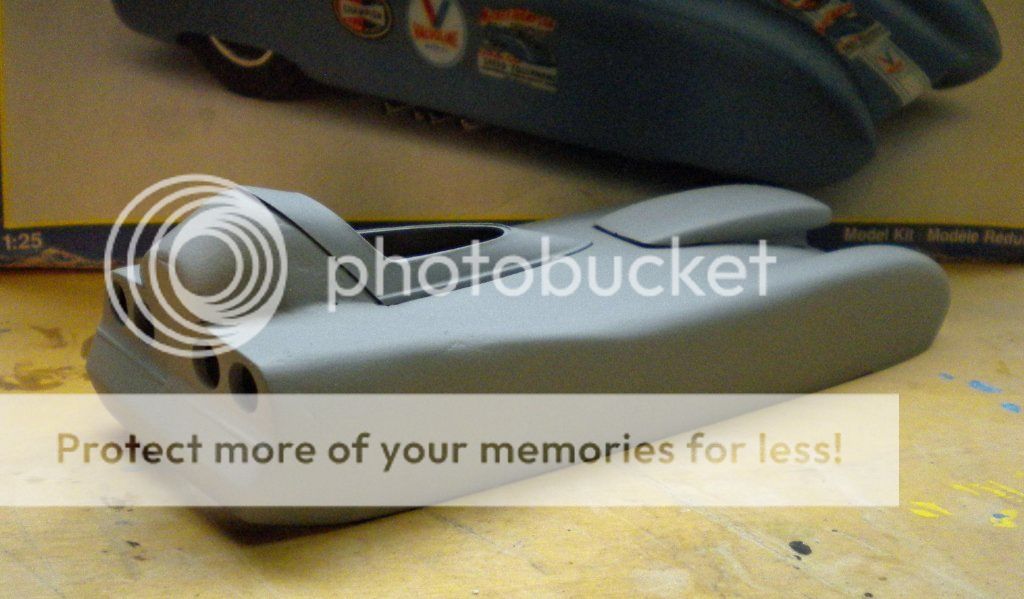 
|
|
|
|
Post by ira on Jun 7, 2013 8:11:34 GMT -6
NOW!!! Those are Some FINS!!!Always Loved the '59 Impala Fins, but they are a little too small for the Vette Transport. So I used a Big Block Sander with some 80 Grit Sandpaper and flattend out the top of the El Camino Body  Next I cut out some New Sheet Plastic Fins...8 Inches Long & an 8th Inch Wider than the Stock Fins! I Sanded the Edges, Nice & Smooth, and then glued them in place...  Here is the Mock-Up with the Vette Attempt!  Thanks for Looking! 
|
|
|
|
Post by ira on Jun 7, 2013 8:12:44 GMT -6
MORE TAILLIGHTS!!!I needed to add a liitle width to the Tailgate because I added 1/8th inch width to the Pick-Up Bed. I used 1/16th wide strips to each side and carved them down to fit. I also added a 1/16th inch to the bottom of the Tailgate.  I am using 16th Scale Cobra Headlights for Transporter Taillights. I driiled a hole for each light and glued them in place...  I drilled 2 more holes in the Tailgate and glued 2 lights in place.  Rear View...  
|
|
|
|
Post by ira on Jun 7, 2013 8:13:42 GMT -6
PARA-SCOOP!!!I made a Parascope Scoop from rectangular plastic tubing. Here is the first piece of tubing in place, each end cut on an angle... 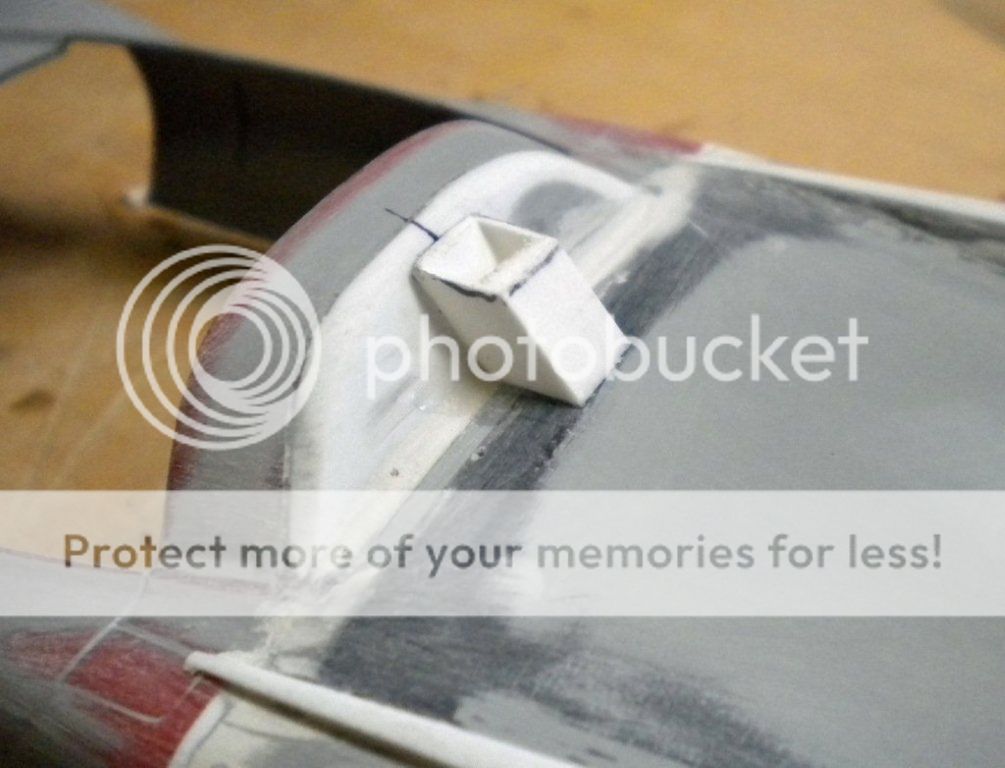 Here is the second piece in place. Both ends cut on an angle and one end is filled with plastic strip.  Then I sanded down the edges, to round them off a bit. All Done!!!  WATCH OUT!!! There's a Bug on the desk! 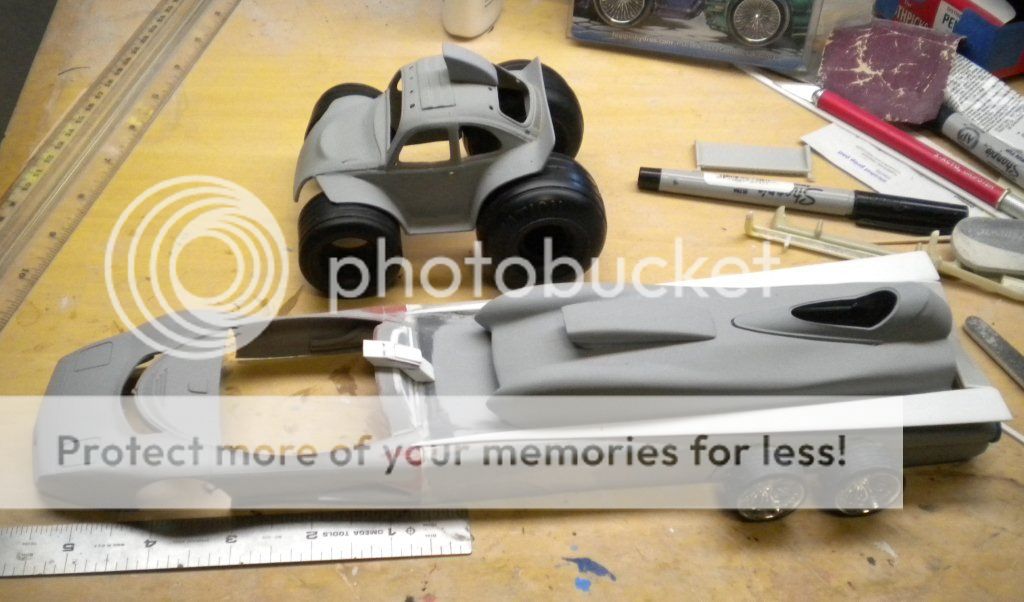 What a difference between these 2 projects....working on both of them at the same time... 
|
|
|
|
Post by ira on Jun 7, 2013 8:15:17 GMT -6
WE'VE GOT PRIMER!!!I got most of the Body work done on the LSR Team. Here is the Racer!  Rear View....  Here is the Transport Vehical!  Team Photo...  
|
|
|
|
Post by ira on Jun 7, 2013 8:16:40 GMT -6
VETTE ATTEMP'S UNDERBODY!I first filled the 2 areas near the front wheel wells with sheet plastic. Then I cut out a piece of sheet plastic for the Underbody and carved on it untill it fit Nice & Tight.  I decided to cut off the raked end of the Underbody ans attach it directly to the back of the body.  I cut 3 little Tabs from strip plastic and glued them in place to hold the Underbody in Flat for gluing.  Here is what the Underbody looks like in position...  
|
|
|
|
Post by ira on Jun 7, 2013 8:17:42 GMT -6
TRANSPORTER...THE UNDERSIDE!!!I am using the Vette Indy Chassis up front and Sheet Plastic for the rear Underbody. I cut the front off the Vette Indy Chassis and molded it into the front end. Then I added a piece of sheet plastic to the front end to attach the Chassis too.  
|
|
|
|
Post by ira on Jun 7, 2013 8:18:29 GMT -6
UNDERBODIES!!!I measured the Rear Area and cut out sheet plastic to fit. The Vette Indy Chassis is a little short so I will have to fill in the back of the Front Area a little bit. I cut the back of the Indy Chassis off Flat.  I cut a piece of plastic to fill the Front Area and glued it in place. I also added 2 strips of plastic under this piece so I can glue the Chassis to them.  Then I cut out a piece of plastic to fit under the front of the Rear Underbody. I glued it in place here as shown....  More Coming... 
|
|
|
|
Post by ira on Jun 7, 2013 8:19:27 GMT -6
TRANSPORTER UNDERBODIES!I positioned the Rear Underbody and marked inside the body to show the Underbodies height. Then I glued square strips of plastic on the in sides and a piece of rectangular plastic in the rear.  Here are both Underbodies in place!  
|
|
|
|
Post by ira on Jun 7, 2013 8:57:41 GMT -6
IT'S ALIVE!!!The LSR Vette Team has been sitting on my Workbench like this for 6 months now. I couldn't decide on a paint design for the Team and I wasn't too happy with the Fins and Taillights...  A few days ago I decided to cut off the Fins...  I filled in the gaps with strips of plastic.  More Coming... 
|
|
|
|
Post by ira on Jun 7, 2013 13:17:31 GMT -6
NEW INDY REAR END!!!I decided to get rid of the 4 Big Tailights, so I sanded the rear flat.  It took me a while to find the right rear end. Turns out the Corvette Indy was a pefect fit! So I cut off the rear end, right in front of the wheel wells.  Then I cut off the lower wing supports...  Next I cut a "Filler" piece of plastic fror the rear end.  More Coming... 
|
|
|
|
Post by tuffone20 on Jun 8, 2013 9:11:52 GMT -6
WOW!! I like how this project is turning out!!! Can't wait to see more updates on it..
|
|
|
|
Post by ira on Jun 9, 2013 7:58:35 GMT -6
WOW!! I like how this project is turning out!!! Can't wait to see more updates on it.. THANKS! More Coming Soon...  |
|
|
|
Post by ira on Jun 9, 2013 8:53:32 GMT -6
NICE REAR END!!!Here is the New Rear End in place.  There is a Spoiler that fits on the rear, more photos later. Side View...  Top View...  More Coming... 
|
|
|
|
Post by ira on Jun 10, 2013 8:27:51 GMT -6
SMOOTHING OUT THE REAR END...After attaching the new rear end I ground down the excess plastic around the rear end with a Dremel Tool and Sanding Boards.  I cut 2 triangle shapes of sheet plastic to fill the area removed in the last step and blend the sections together.  Then I applied some putty.  More Coming... 
|
|
|
|
Post by AL on Jun 10, 2013 10:16:23 GMT -6
Im really liking this Ira, The pieces you chop-cut-and-mixture, are becoming very, very interesting. I like the change you made to the rear of this. ( more consistent with the rest of the vehicle ) I'm diggin your fearlessness, -Great things to come, -and Great work !! GO-Mann !! . . . I'm watching.
-AL
|
|
|
|
Post by ira on Jun 11, 2013 13:25:00 GMT -6
TAILGATING!After a little more sanding, I got the rear pretty smooth...  I cut a new Tailgate Back from the '59 El Camino part. Here it is in place!  More Coming... 
|
|
|
|
Post by ira on Jun 11, 2013 15:49:33 GMT -6
WE GOT PRIMER!Here is the Transporter with some Grey Primer/Filler.  You know, now that the Transporter has been Streamlined, I'm thinking that the Attempt Vette could use a little Streamlineing too... 
|
|
|
|
Post by ira on Jun 11, 2013 17:09:23 GMT -6
Im really liking this Ira, The pieces you chop-cut-and-mixture, are becoming very, very interesting. I like the change you made to the rear of this. ( more consistent with the rest of the vehicle ) I'm diggin your fearlessness, -Great things to come, -and Great work !! GO-Mann !! . . . I'm watching.
-AL Thanks for the kind words Al! Glad you like it...  |
|
|
|
Post by dumpydan on Jun 11, 2013 19:43:49 GMT -6
Man oh man, this is cool................What color you gonna paint it?
|
|
|
|
Post by ira on Jun 12, 2013 11:47:44 GMT -6
Man oh man, this is cool................What color you gonna paint it? I don't know about the colors, maybe Red & Silver. Suggestions welcome...  |
|
|
|
Post by ira on Jun 12, 2013 13:11:34 GMT -6
TAPE MARKS THE SPOT!When I put the Attempt Racer in the back of the Modified Transporter and it looked too tall. So I decided to Section the body about 1/4". I started by wrapping some 1/4" tape around the middle of the body...  I drew lines on both sides of the tape and then removed the tape...  SLICING NEXT... 
|
|
|
|
Post by SgtDRecon on Jun 12, 2013 15:49:13 GMT -6
You know what I have 2 junker build ups. this gives me something to look at now. I hope it doesn't offend that I may "steal" the idea from you.
|
|
|
|
Post by ira on Jun 13, 2013 8:55:15 GMT -6
CUTTIN' IT UP!I used a Cut-Off Wheel in the Dremel Tool to cut along the Bottom Line. I cut the Bottom off first to put less stress on that section. I left the Line on the bottom section so that I know how close to 1/4" the cut is. If you go past the Line you have lost that reference point.  The second cut was done the same way.  I put the body halves on a sheet of 100 Grit Sandpaper and Carefully Sanded the Cuts down Smooth. Then I attached the body halves with Zap-A-Gap-Green Label.  More Coming... 
|
|
|
|
Post by "ScratchFever" on Jun 14, 2013 23:21:12 GMT -6
WOW!!!!! ....VERY NICE.......
|
|

