|
|
Post by hobbybobby on Jan 10, 2014 14:54:01 GMT -6
I can not leave it, I've started something new, extra for the contest... Here the chosen kit, once more...   I'll start with something simple, here is the compilation of the main body parts ... 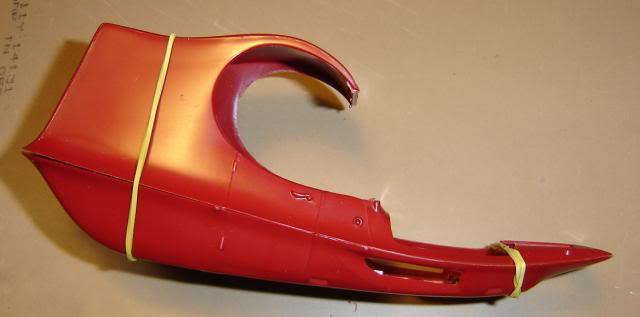 Since I do not like the curved body for this project, I have to straighten it slightly... 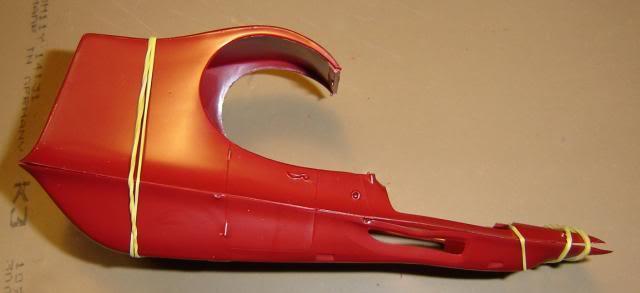 The upper part of the body does not remain as it is, the hatched area has to go... 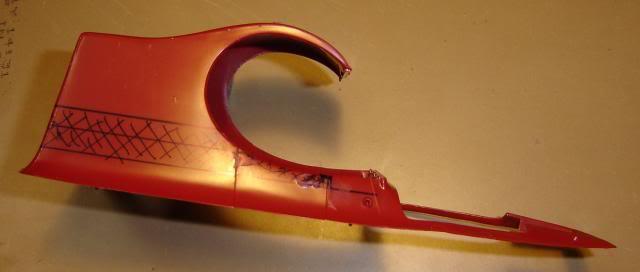 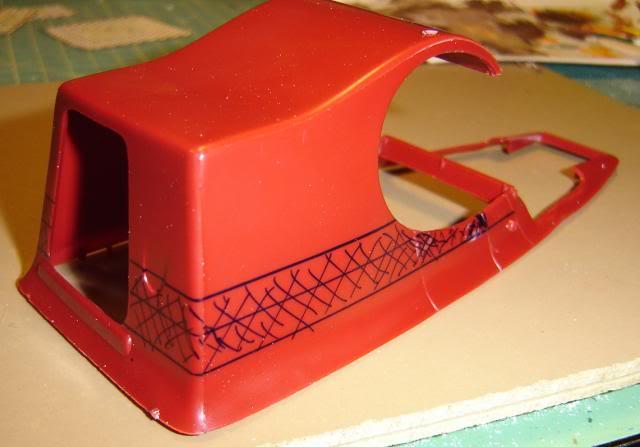 ... and now it looks so... 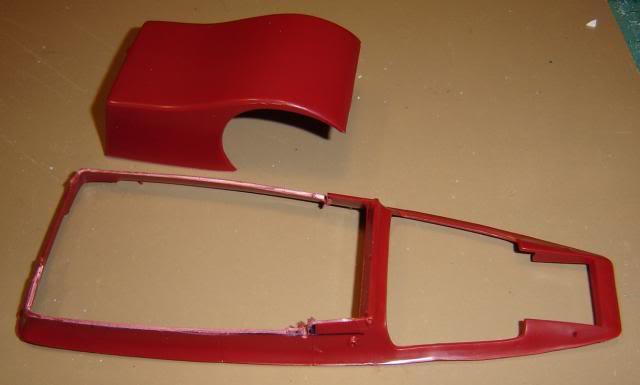 Hope, you like it so far. |
|
|
|
Post by davekapp on Jan 10, 2014 18:51:33 GMT -6
so far so good!
|
|
|
|
Post by ira on Jan 10, 2014 20:30:04 GMT -6
Go Bobby! 
|
|
|
|
Post by hobbybobby on Jan 11, 2014 19:56:19 GMT -6
Thank you!  In the lower part, I have closed the openings, which were originally intended for the exhausts... 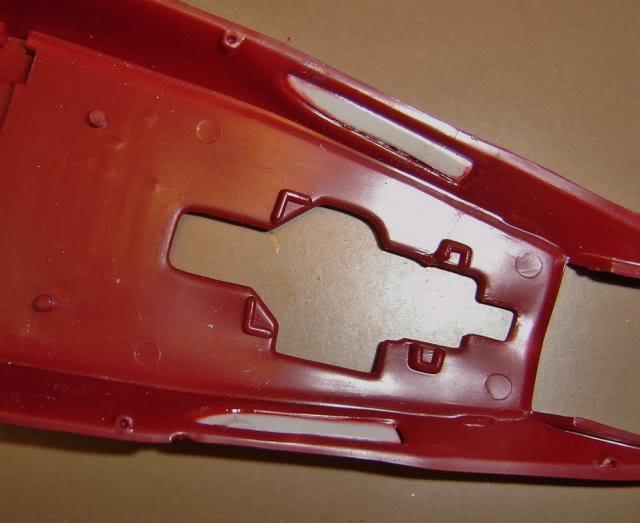 Since the roof fits now no more, I have to make some adjustments... Guide lines, where to cut... 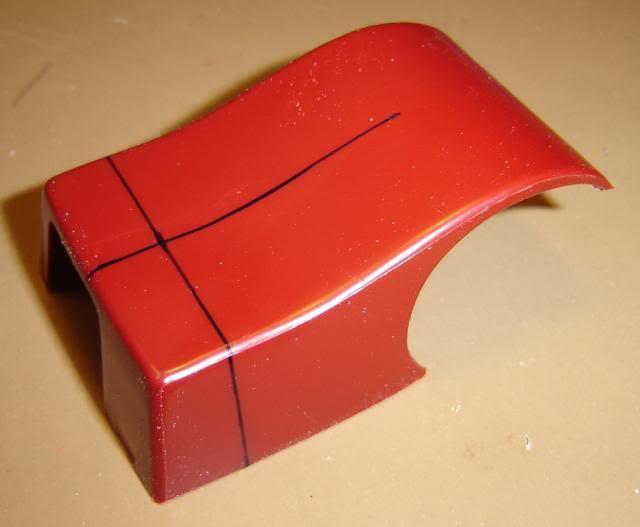 ... cut off the rear parts and notches on the front, to widen the whole thing a little... 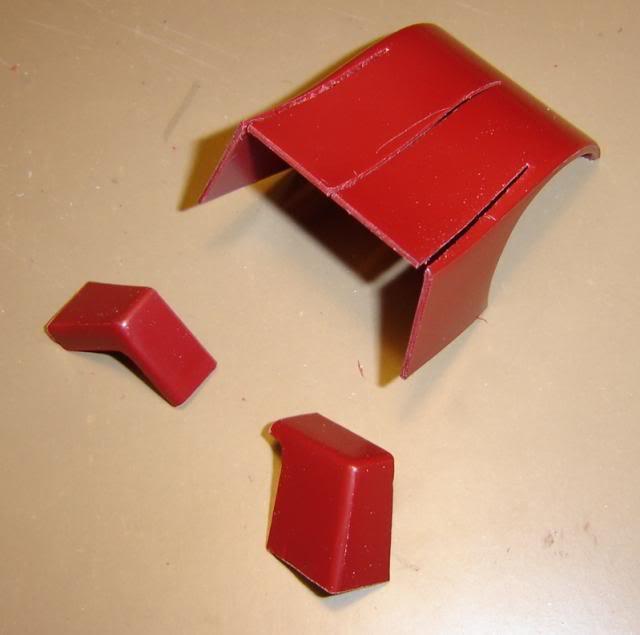 ... and place all parts to the new positions... 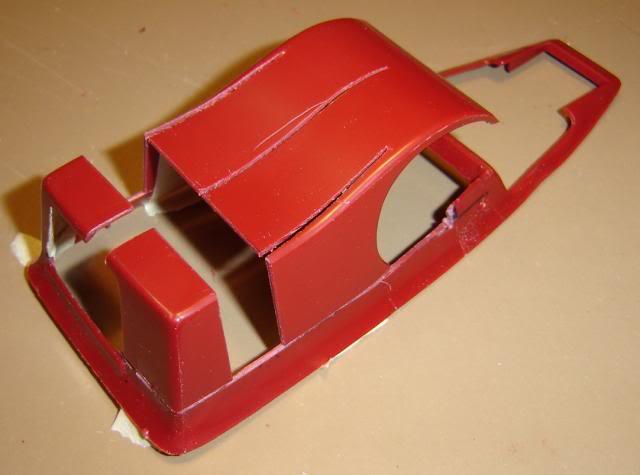 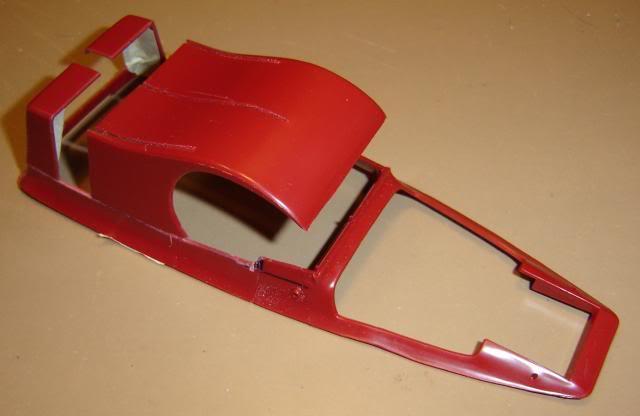 |
|
|
|
Post by barten on Jan 11, 2014 20:59:08 GMT -6
Love it as usual
GB
barten
|
|
|
|
Post by AL on Jan 11, 2014 22:45:36 GMT -6
Ahhh, a PW Bash, ........ Mmmm, -I Look Forward to see more, .........
-AL
|
|
|
|
Post by hobbybobby on Jan 12, 2014 19:17:32 GMT -6
Thank you!  I have now again filled the resulting gaps with polystyrene... 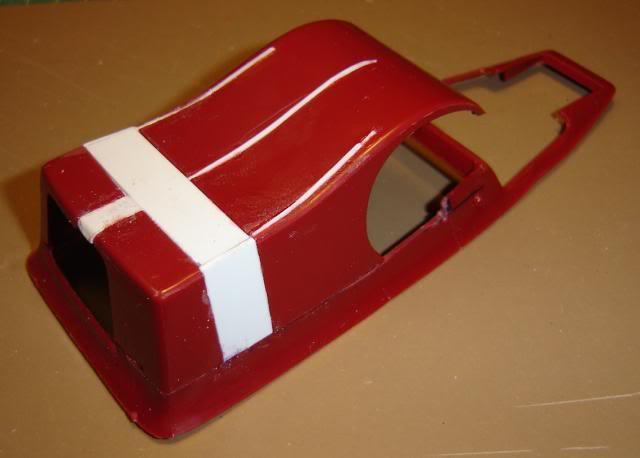 ... I will remove next the hatched area... 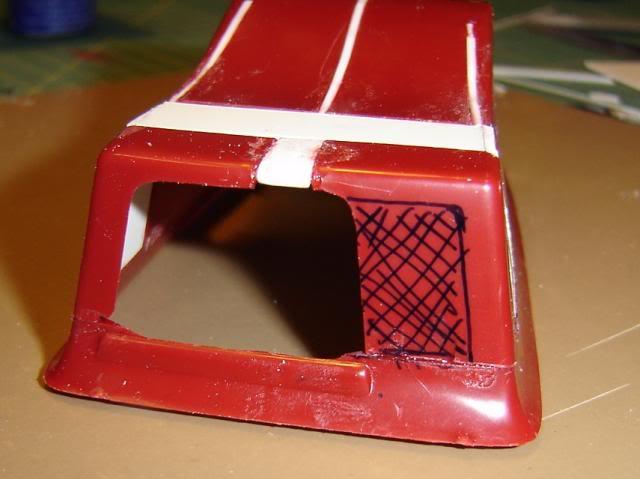 Stay tuned... |
|
|
|
Post by hobbybobby on Jan 14, 2014 18:43:43 GMT -6
Change of plan: First, I make an adjustment to the interior... ... and let the pictures speak... 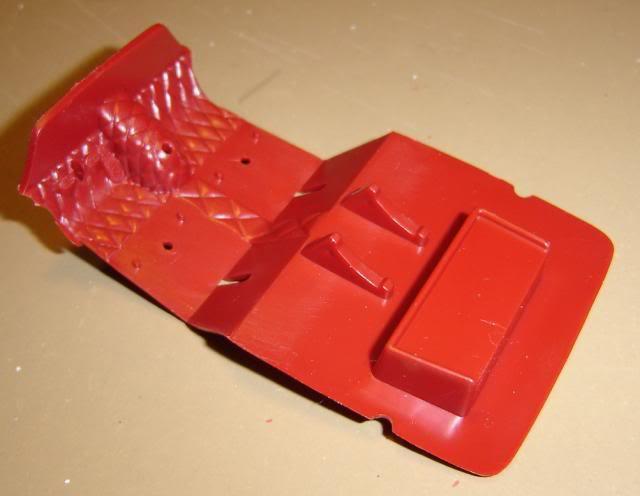 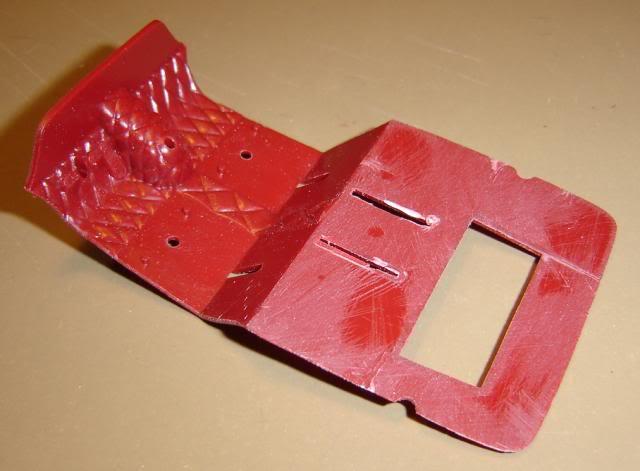 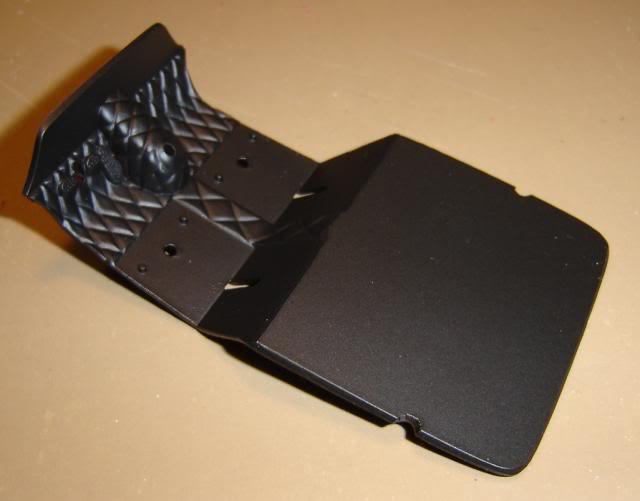 |
|
|
|
Post by plastimatic on Jan 18, 2014 15:59:28 GMT -6
This is gonna be sleek!
|
|
|
|
Post by hobbybobby on Jan 18, 2014 18:12:48 GMT -6
Thank you!  First I glued the interior in the lower part and then the top together with the bottom half, now all is one... ... Here can be seen the next step, the shaded area must go... 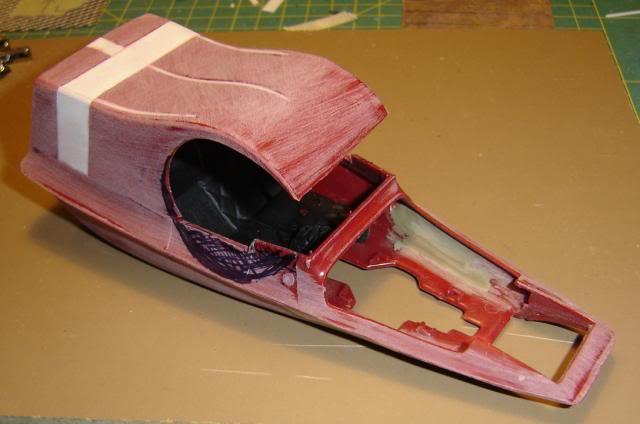 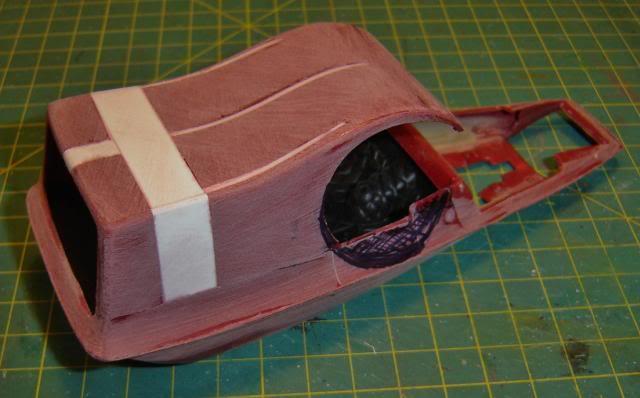 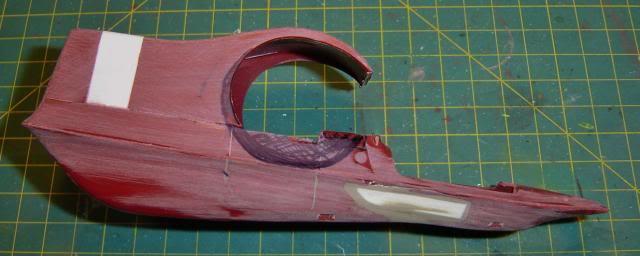 Here the result after carving... 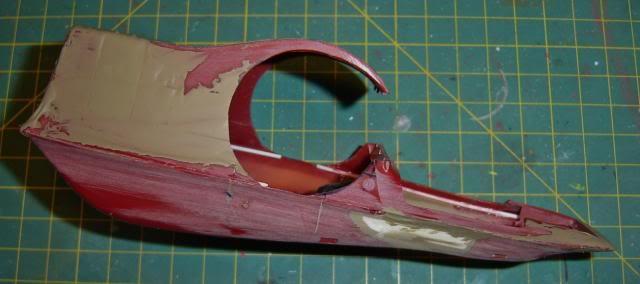 ... and here is the new rear opening... 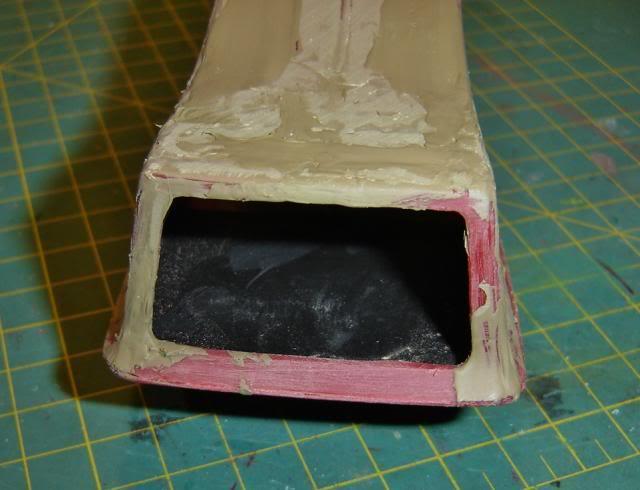 Hope, you like it so far. |
|
|
|
Post by RatRod on Jan 21, 2014 14:10:34 GMT -6
Lookin' good so far!!!
|
|
|
|
Post by minimagneto on Jan 21, 2014 16:10:02 GMT -6
Great progress Bobby! Love the concept and approach.
By the way how did you straighten the body like that?
-Blake
|
|
|
|
Post by Brandon on Jan 24, 2014 16:37:24 GMT -6
That looks amazing. The C-cab opening is perfect.
|
|
|
|
Post by mind9 on Jan 25, 2014 10:49:35 GMT -6
Great job you did here
follow this one.
Gr
Dirk
|
|
|
|
Post by hobbybobby on Jan 29, 2014 17:55:33 GMT -6
Thank you very much!  Great progress Bobby! Love the concept and approach. By the way how did you straighten the body like that? -Blake With a great deal of Courage... ... and with a hot air blower...  |
|
|
|
Post by hobbybobby on Feb 10, 2014 19:51:20 GMT -6
|
|
|
|
Post by Count Dragula on Feb 10, 2014 21:48:31 GMT -6
That is a cool lookin kitbash project you got goin' on there,Bobby!!!
Lookin' like it is going to be a Pie Wagon/Dog Catcher basher to me!!!! You have me droolin' over this one!!!!     Todd Todd 
|
|
|
|
Post by hobbybobby on Feb 14, 2014 4:02:12 GMT -6
Thank you, Todd, now you have brought me to revise slightly my plan...  ... hmm... Well, I go with the original seats, but I put it a little lower and tilt it more Forward... 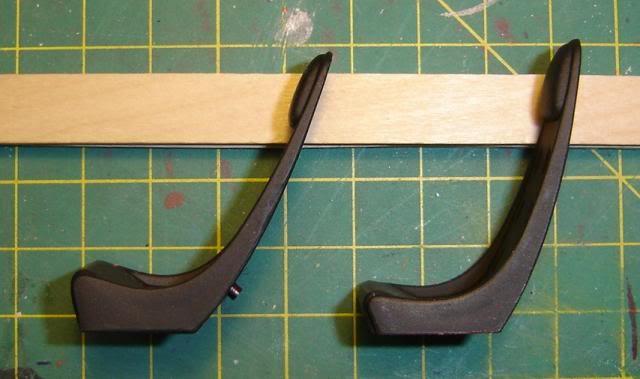 ... and so, it looks now... 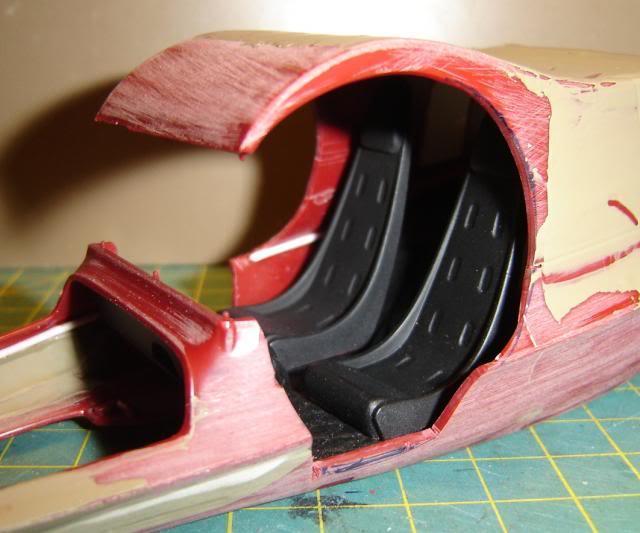 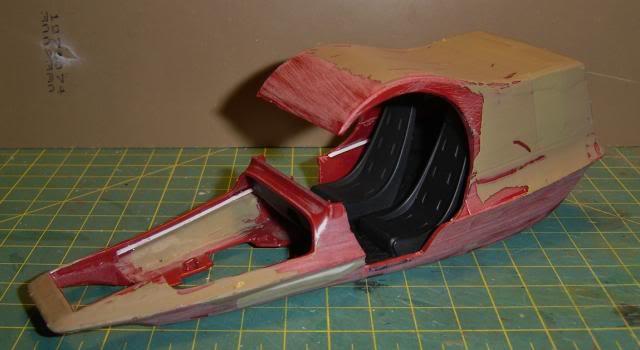 |
|
|
|
Post by TooOld on Feb 14, 2014 14:14:09 GMT -6
Looks pretty cool Bobby ! How 'bout some bobbed fenders on the rear and some cycle fenders on the front ? Nah . . . just thinking out loud .  |
|
|
|
Post by hobbybobby on Feb 15, 2014 18:06:26 GMT -6
Thank you, Bob, that would be a possibility...  ... but, Todd is closer... ... this is the plan for the next step... 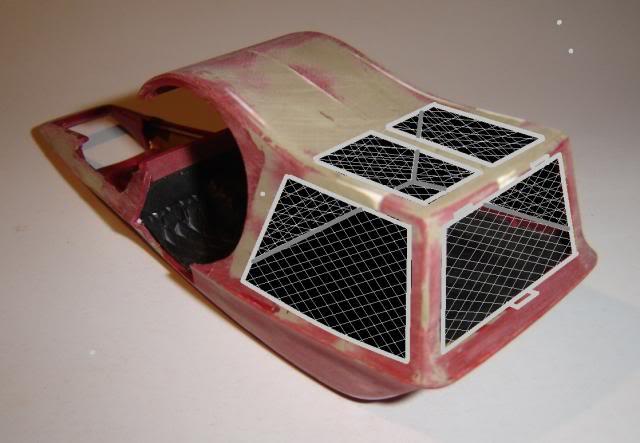 This is just a five-minute sketch, let's see how it will be in reality...  |
|
|
|
Post by TooOld on Feb 17, 2014 15:34:22 GMT -6
Oh Kool ! That works !  |
|
|
|
Post by hobbybobby on Feb 17, 2014 15:55:59 GMT -6
Well, sometimes it will not be easy...  Where it all began well: 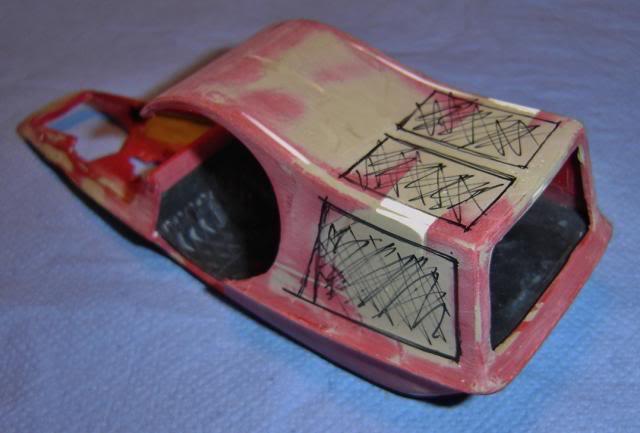 At first I started with a small hole, which I then extend with my knife and go into the Corners (as always)... The plastic is, however, somewhat long in the tooth, become hard and brittle... ... and slightly pressed too hard... ... here it is already, the first crack...  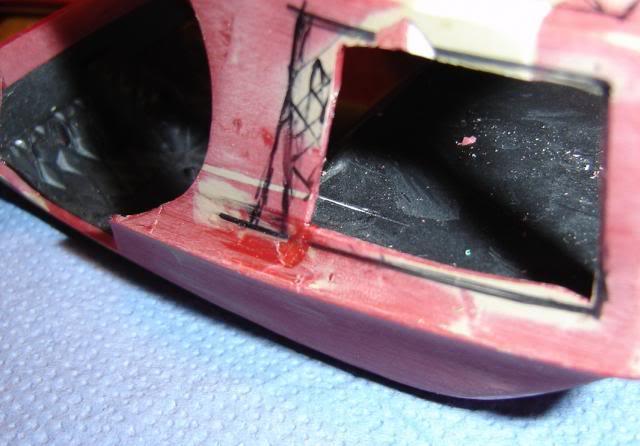 And when you think... ... well... ... I glue it together quickly... ... it breaks again at another place ...  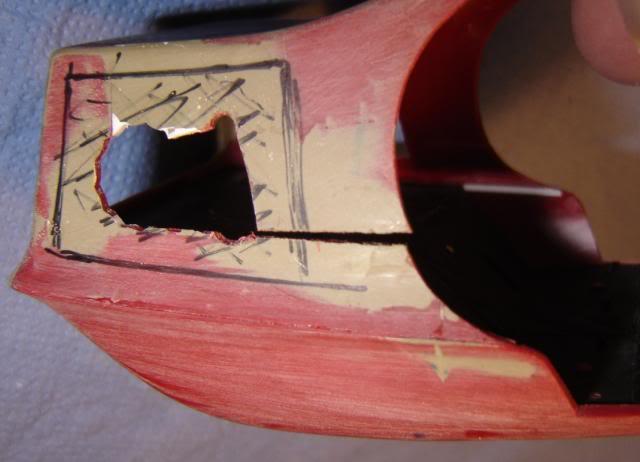 These are the setbacks, the wonderful moments when I think: should I throw it on the wall? No, for me it is the self-control that keeps me from it... ... and then, after a short breathing break... ... I tell myself only, I'm starting something new...  |
|
|
|
Post by Count Dragula on Feb 20, 2014 20:07:20 GMT -6
Patience,Patience,Patience,Bobby!!!
It can be saved!!!
  
And it will be Howlin' Good!!!
Woof!Woof!
  
Todd
|
|
|
|
Post by Dennis M on Feb 20, 2014 23:12:26 GMT -6
Do what I do Bobby' put it away for the night. Go back at it tomorrow & if it still screws up it goes on the shelf. lol P.S its looking good.
|
|
|
|
Post by sakke on Feb 21, 2014 12:22:48 GMT -6
OH MY GOD !!!! Please don`t put this project away !!!! I haven`t posted pics of my projects, but if I have to cut a large hole in the middle of the panel I`ll scribe lines with panel scriber ( and use old Dymo-tapes as a guide ) and after sciribing till thin thickness..finish with hobby knife or use cutting blade with Dremel tool. No more bloody fingers...or unwanted cuts...Looking forward to see this finished!!!
|
|
|
|
Post by johnverkerk on Feb 21, 2014 16:02:14 GMT -6
Hey Bobby, I don't know if you use a soldering iron or not, but it is the best !!strong bond when melted and you can use left over sprue to fill in gaps as well!!GREAT LOOKING PROJECT BY THE WAY!!
|
|
|
|
Post by hobbybobby on Mar 3, 2014 15:45:19 GMT -6
|
|
|
|
Post by ira on Mar 3, 2014 16:25:21 GMT -6
Looks Great Bobby!Real Nice Improvement... 
|
|
|
|
Post by Count Dragula on Mar 7, 2014 6:58:16 GMT -6
Looks Great Bobby!Real Nice Improvement... 
Thanks for the update,Bobby!!!
Todd  |
|
|
|
Post by Mysterion on Mar 31, 2014 7:02:45 GMT -6
I found a circular saw for the Dremel at low speed works very well for cutting brittle plastic. You don't have to have as firm a grip on the model as when you are using a saw or knife. Combine a firm grip with the force of the saw and just how brittle old plastic is becomes very evident.
I found a set at a local hardware store that came with the arbor and a large and small blade. I don't make the cut all the way through on the first pass as it melts the plastic a bit and binds up even at a low speed. I usually make 3 or 4 passes and if I feel the blade start to drag or bind I pull it out, let the plastic and blade cool for a few seconds, then resume cutting. The blades are very thin, so much so that the larger one has a slight bend in it. I very rarely use the larger blade unless I need it to reach into an area the smaller one won't. The small blade is very precise and the one I usually use.
Keep up the good progress.
|
|

