|
|
Post by ira on Mar 31, 2014 9:08:49 GMT -6
I use Dremel Cut-Off wheels. They are made from stone, so they don't get hot like metal does. They will break before the model breaks. They cut through plastic like butter! Be sure to were safety glasses...  |
|
|
|
Post by hobbybobby on May 9, 2014 3:22:09 GMT -6
I worked a little on this Project and I have renamed it... The window frames I have made of angle profiles, the great difficulty was to adjust the profiles and to stick them to the body shape... 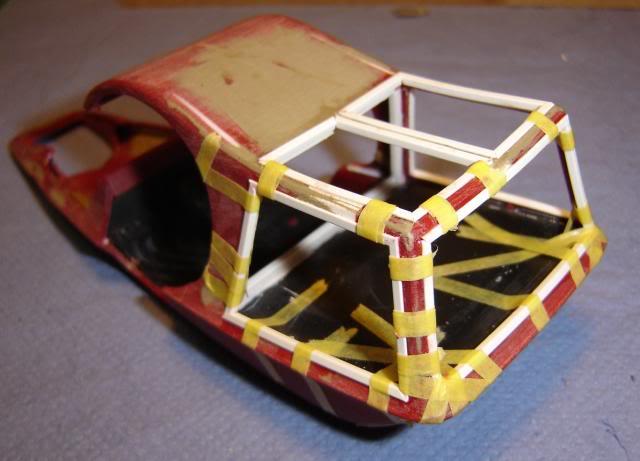 ... but the effort was worth it...  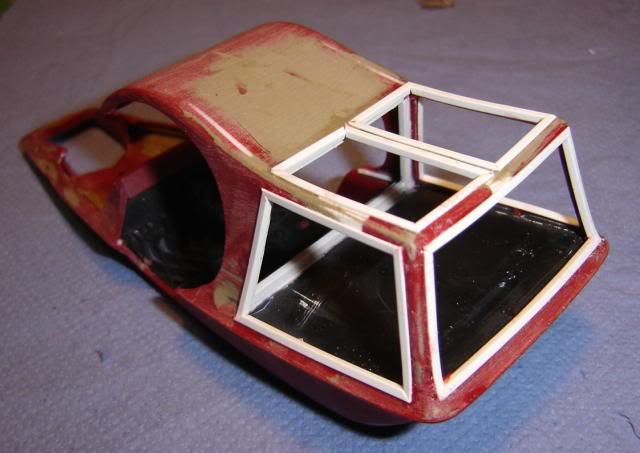 |
|
|
|
Post by hobbybobby on May 10, 2014 7:10:35 GMT -6
Now, we continue with the mesh... I've seen this one recently at the hardware store, a large sheet, ca. 500 x 200mm, cheap and sufficient for several model projects.  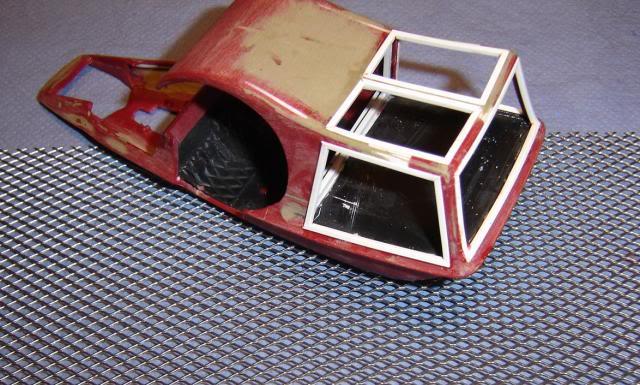 The size of the mesh holes is very suitable, the fact that it's stainless steel, is also good, except that it is difficult to cut... I tried it with my stable scissors, and it works... ... but after all the pieces, were my fingers sore... And after the rough cropping, I had to grind all sides with a file... 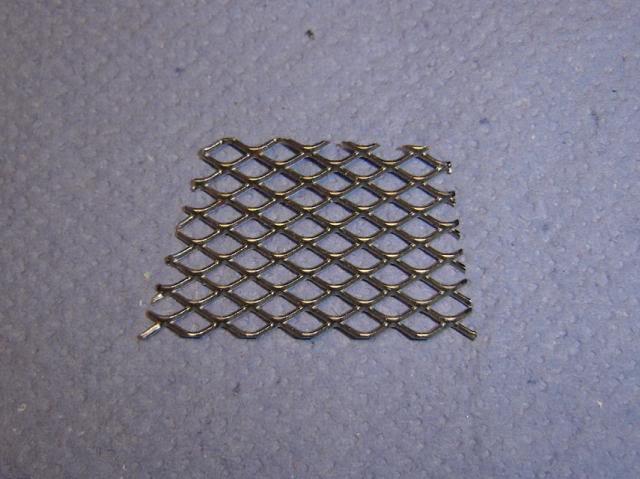 ... to adapt it exactly into the window Frames... 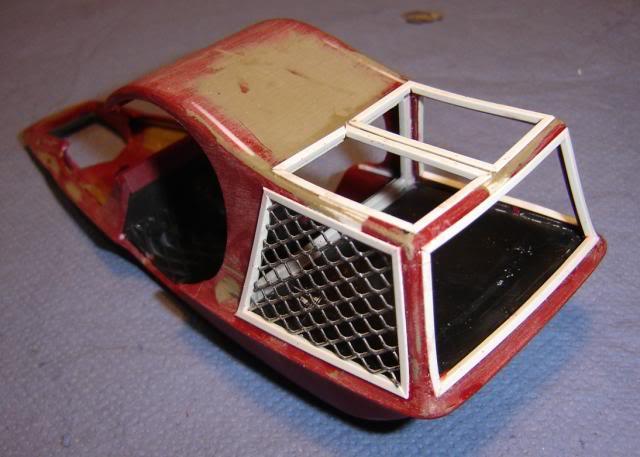 |
|
|
|
Post by ira on May 10, 2014 8:49:32 GMT -6
Great Progress Bobby! 
|
|
|
|
Post by sakke on May 10, 2014 12:18:44 GMT -6
Happy to see that after some troubles you continued this project !! Looks cool already !!
|
|
|
|
Post by koffinbuilder64 on May 10, 2014 13:53:49 GMT -6
Lookin good Bobby!!
|
|
|
|
Post by hobbybobby on May 11, 2014 5:55:38 GMT -6
Thank you for the kind words, it means a lot to me!  In this build I'm doing a rear hinged door that can open to top... ... and I do it deliberately out of a plate... 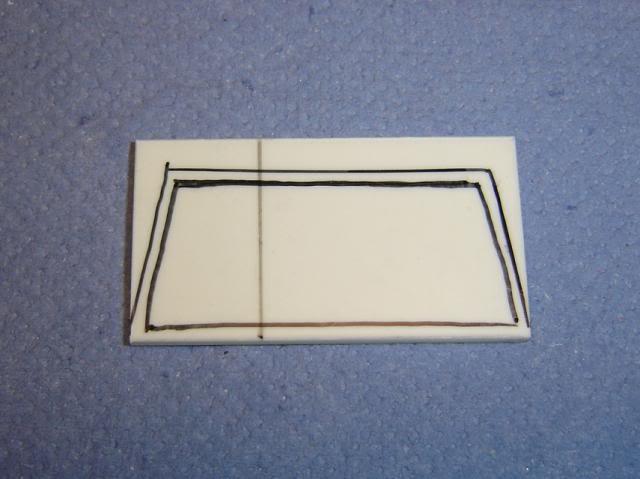 ... clearly, it would be easier to work with profiles, but it would never be the same, in my opinion and experience, in terms of stability and flexibility...  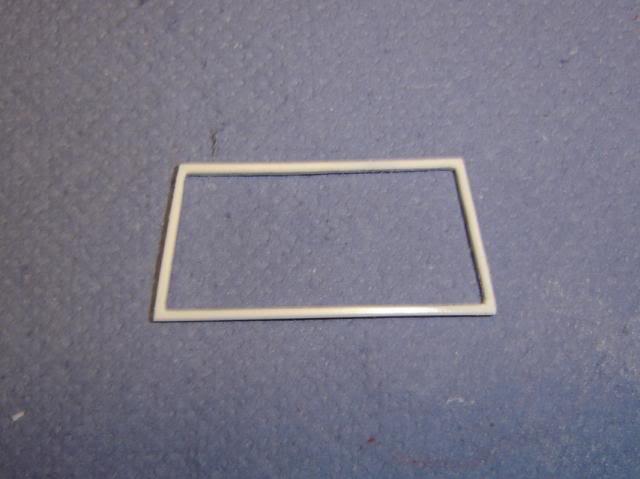 ... and it fits... 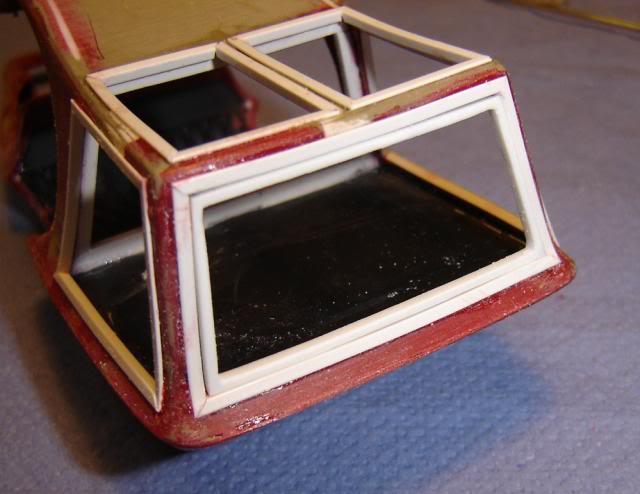 Next come, the hinges, stay tuned... |
|
|
|
Post by Bert on May 12, 2014 13:19:22 GMT -6
Another one soon to be knocked out of the park! Great start Bobby!
|
|
|
|
Post by hobbybobby on May 23, 2014 17:56:52 GMT -6
Thank you!  Now, I come to the hinges, not really my favorite area, but I will try it here...  First I bent two wires, as follows...  Then ..., I cut two brass tubes, 1 mm in the inner Diameter and each about 4 mm long... 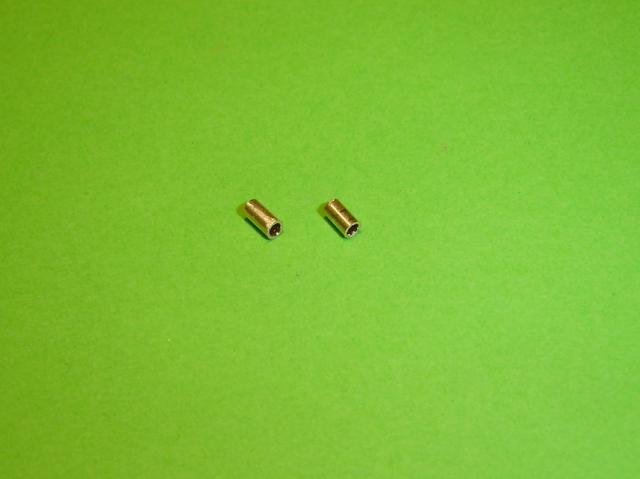 ... these are the components... 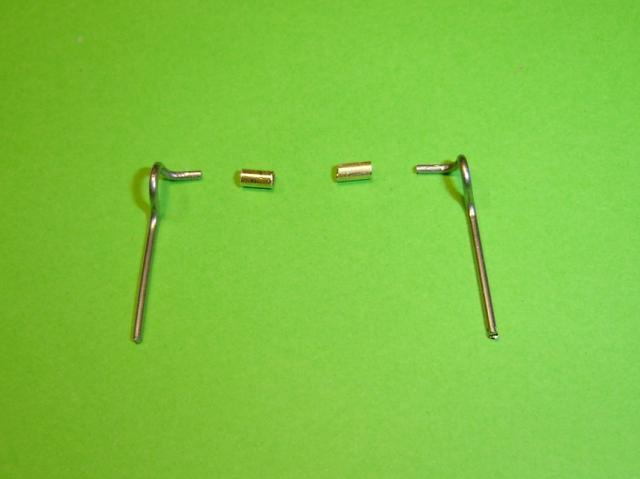 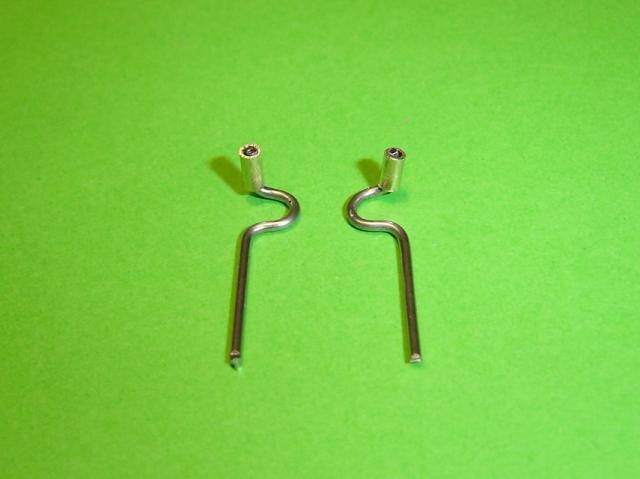 I had to grind recesses with my dremel in the roof Corners to place in the brass tubes... ... which was very tight for the tool and sensitive to, not to slip and injure the Frame, or me...  Try ... if it really fits, position, angle, etc. 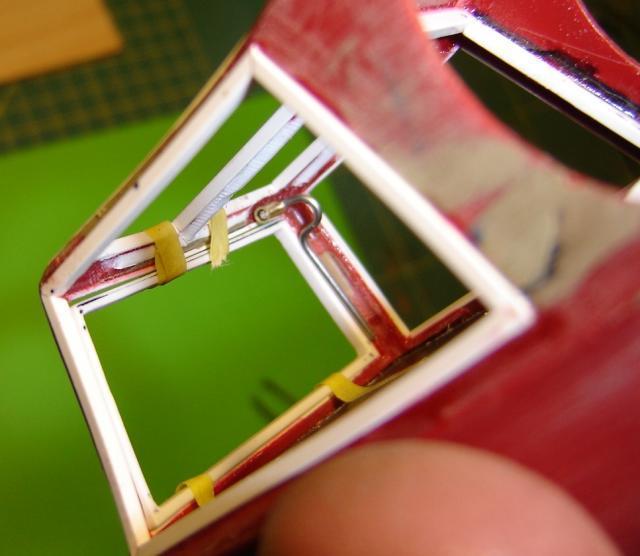 ... and, on the other hand also fits... 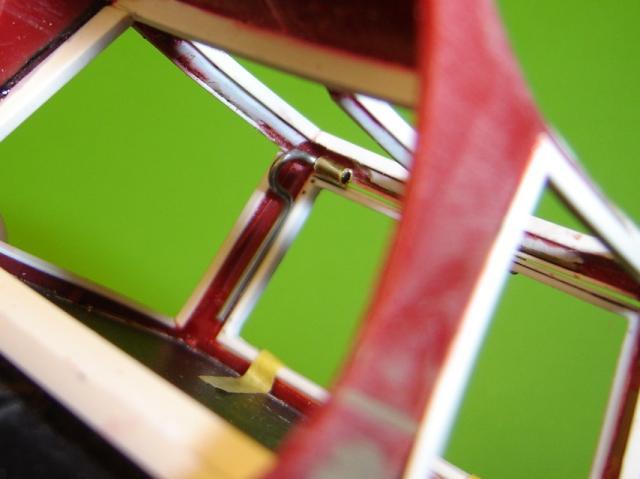 But, I think I mount the whole thing later, so it does not breaks... ... before, I have to change the front a little...  |
|
|
|
Post by RatRod on May 24, 2014 13:23:36 GMT -6
Lookin' great Boban!!!
|
|
|
|
Post by hobbybobby on May 30, 2014 18:15:44 GMT -6
Thank you very much, John!  And it goes on... The new entrance recess needs a border, I start from the middle and try, so far as it goes, everything to be made of one Piece... 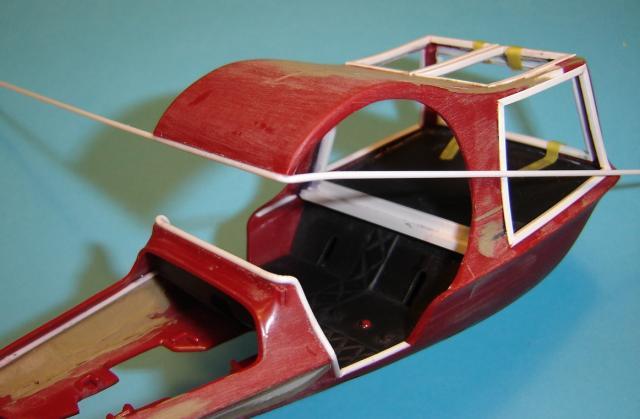 First, the left side, again and again, step by step: glue, hold, glue, hold... 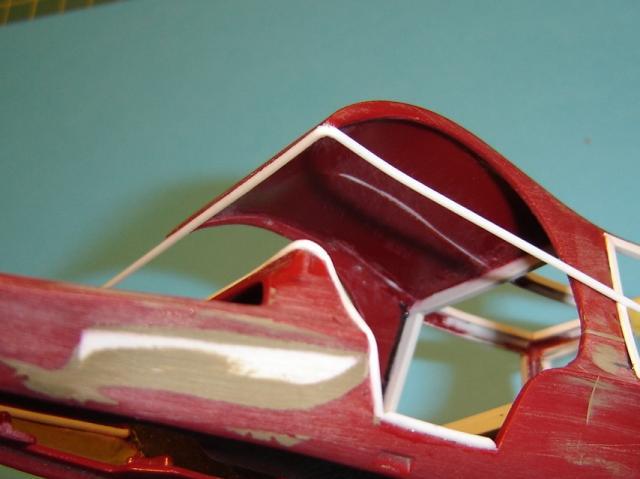 ... can cost some nerves, but it's worth it... 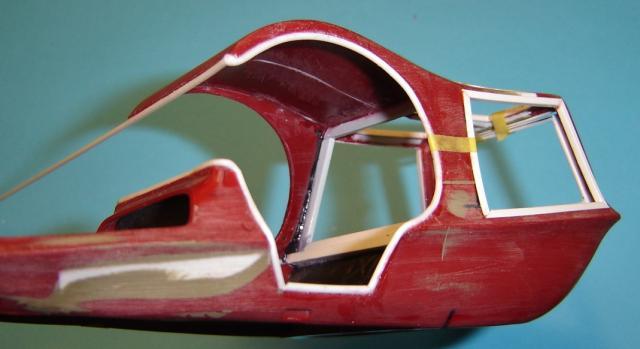 Then ... I do the same to the right side... 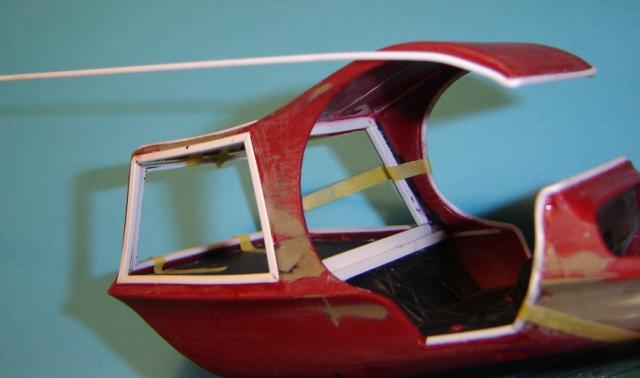  Hope, you like it so far... |
|
|
|
Post by bigredwolf on Jun 1, 2014 0:31:44 GMT -6
There is NO way that was as easy as the photos make it look! How many times did you glue your fingers together?
Looks fantastic!
|
|
|
|
Post by hobbybobby on Jun 1, 2014 15:37:22 GMT -6
Thank you very much, Bill!  As I said before, it cost me a few nerves, but in such actions, one must be careful and not throw the project against the wall...  |
|
|
|
Post by hobbybobby on Jun 1, 2014 15:45:36 GMT -6
For this project, I also use on the front, spoked wheels , as in several TD kits are involved: www.showrods.com/showrod_pages/bad_medicine.htmlwww.showrods.com/showrod_pages/sand_shark.htmlwww.showrods.com/showrod_pages/trantula.htmlonly to name a few... But this spoke wheels are unfortunately only on the front detailed, on the back, or more precisely on the inside, they are too much thick.  Comic spoke wheels, if I can not see between the spokes...  Therefore, I edit the spokes, a little. Above the originals, the edited below: 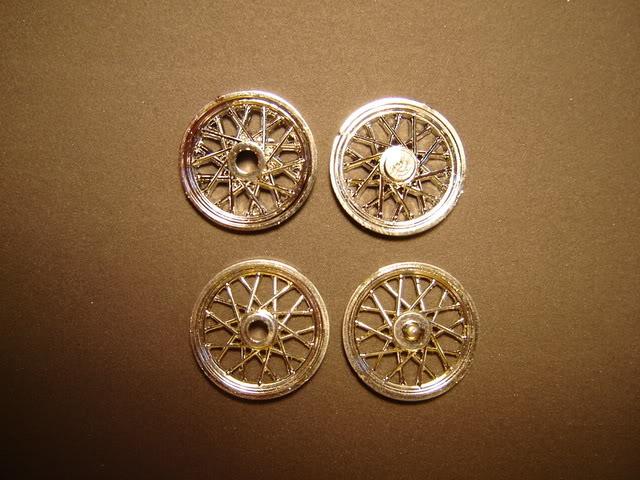 And in the next picture, you can see the extreme differences... Above the originals, the edited below: 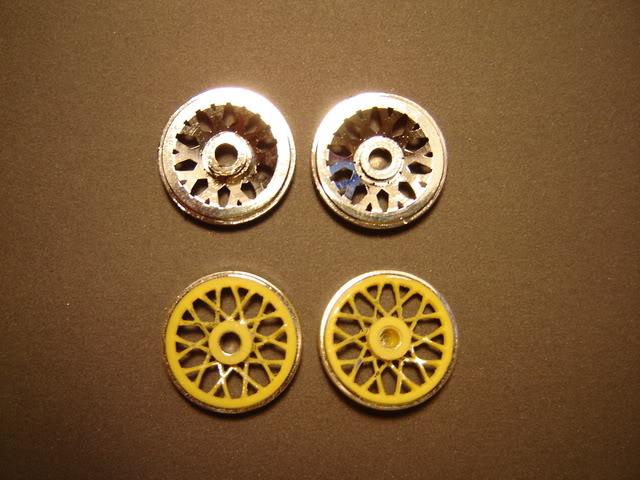 Left the original, right the edited: 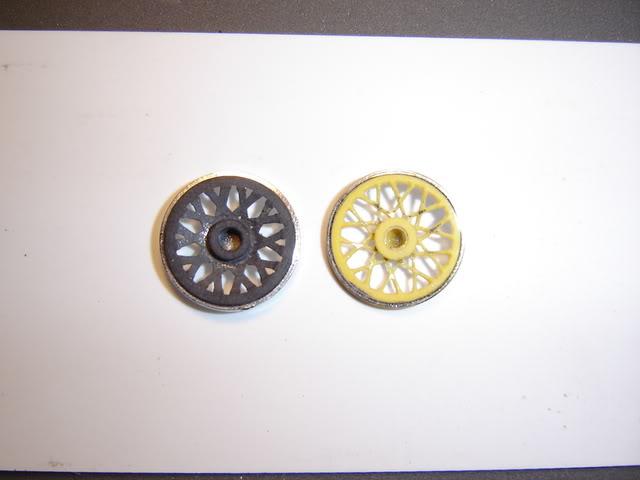 This is my tool: 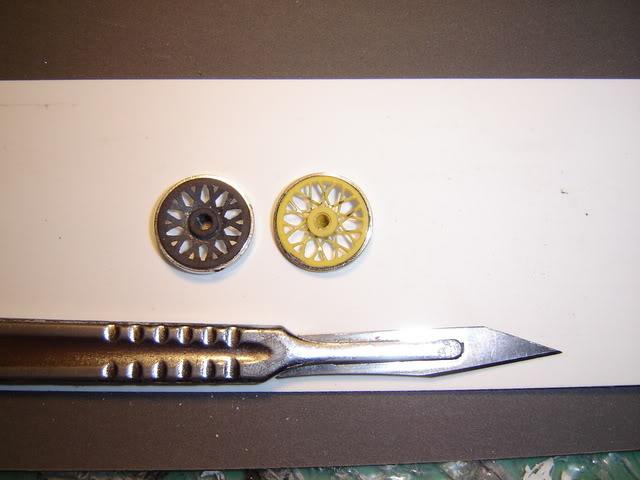 And then the result is ready: 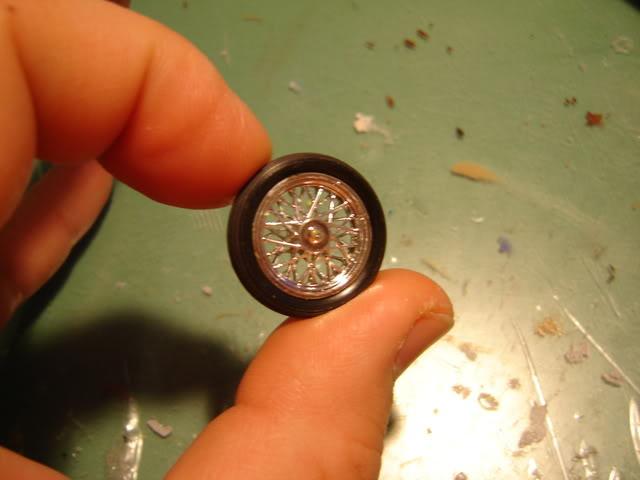 Well, this interference requires a lot of time, but afterwards they are much nicer wheels...  |
|
|
|
Post by A.J. on Jun 3, 2014 8:37:01 GMT -6
Man the detail you go to build a model Bobby! Outstanding as always. I have a lot of patience and persistence when building but those wheels are over the top!
A bit off topic. I remember the first time I wanted to get detailed. I was building a replica of the Motown Missile Duster and wanted the doors and trunk to open. I started with the trunk slowly scribing the line away and trying not to do anything to the window frame. It was very thin. I must have worked on that for a week in my spare time till I had it removed. Then I couldn't figure out how I wanted to build it up like the trunk drip rails would have been. That was long before the Coffin Corner and I've since figured that out due to a lot of things I've seen here in your threads.
|
|
|
|
Post by hobbybobby on Jun 3, 2014 17:46:52 GMT -6
Thank you very much for the kind words, A. J., I really do appreciate them!  And, it goes on... For the rear wheels, I will use these rims:  Well, they are deep but not deep enough.  My new, deeper rim beds, from aluminum... 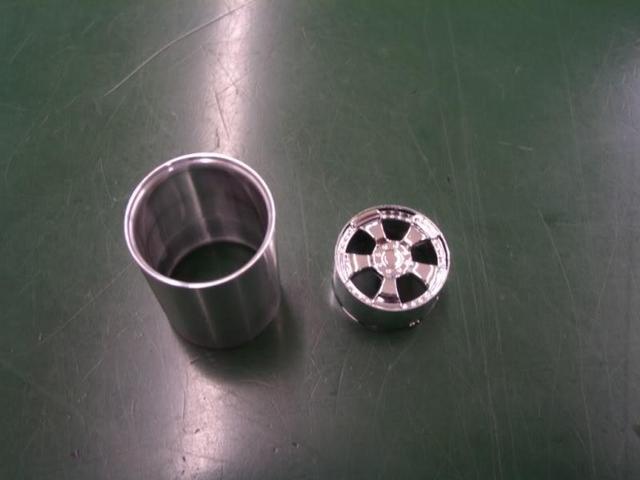 I like to go new ways, to get better methods, to find new materials and manufacture so, cheaper my tires. Here is again, this variant, to make it from a piece of a hose. The important thing is, the hose should be made of rubber and may have no lichen or wall reinforcement. 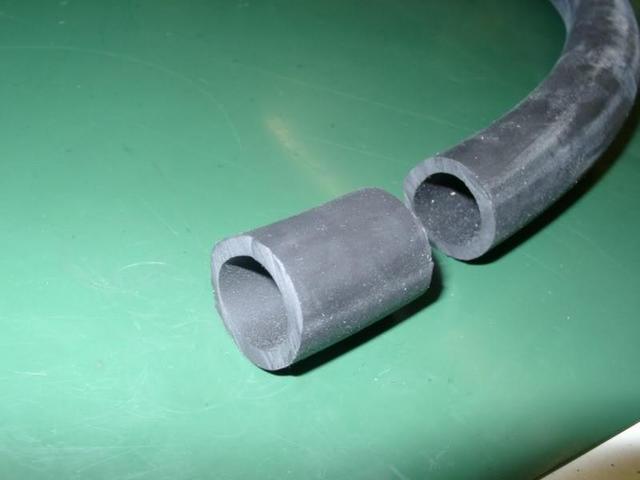 This hose has the name Perbunan®, is not very expensive and is easy to edit. techcenter.lanxess.com/trp/emea/en/products/description/article.jsp?docId=4030The inner tube diameter is chosen so, that it no longer needs to be processed, but it should be about one millimeter smaller than the outside diameter of the rim, for a better hold. And so looks the machined Piece: 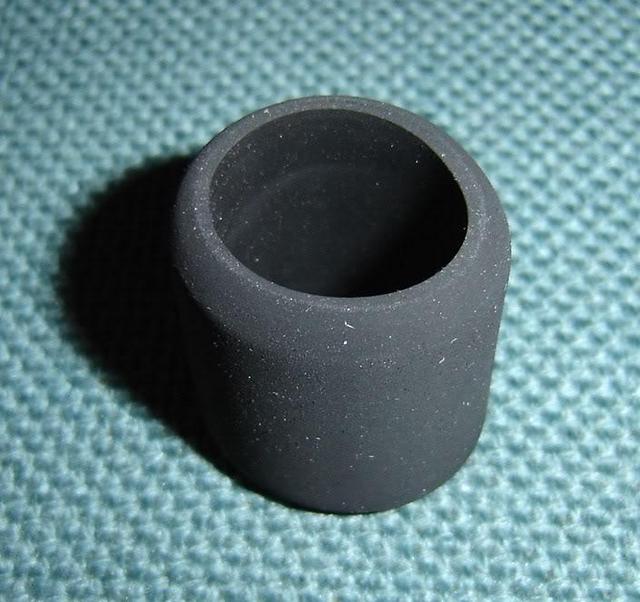 A wheel is composed of the following parts: 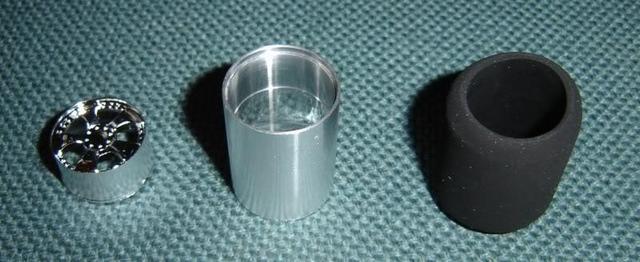 In the back of the aluminum tube, the recess is slightly larger and there, the rim comes in: 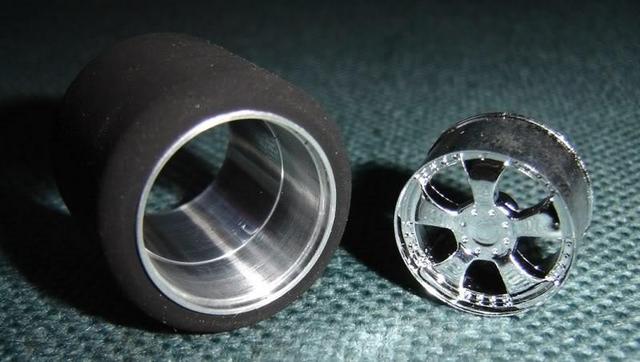 The completed wheel: 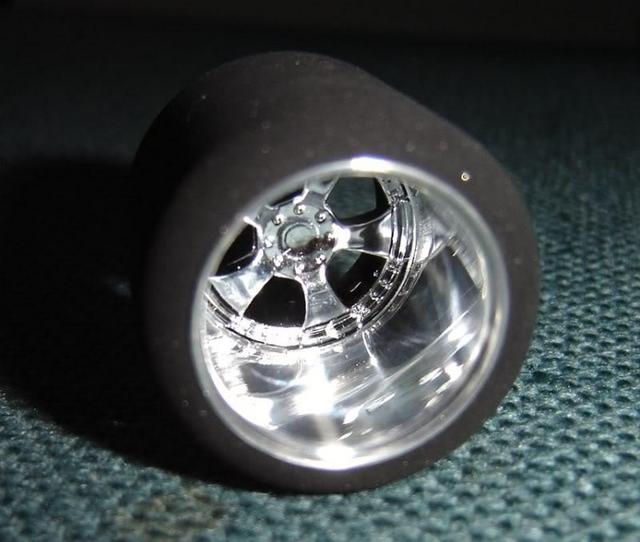 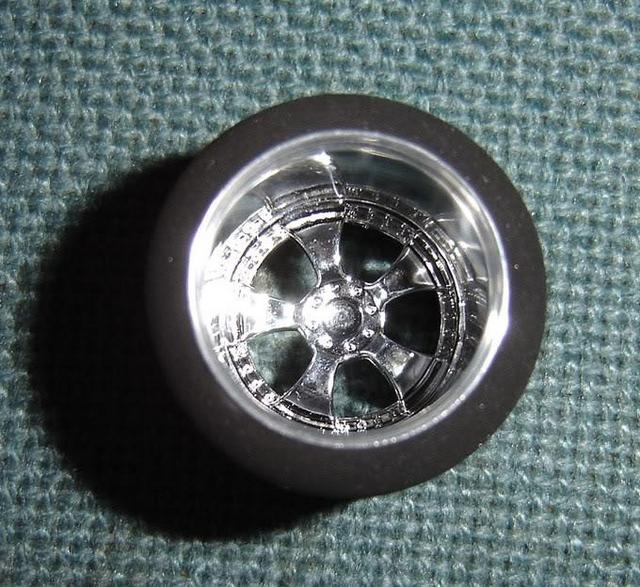 Hope, you like it. |
|
|
|
Post by timj on Jun 4, 2014 17:16:57 GMT -6
Having read this thread from page one this evening there is some excellent, not to mention imaginative, work being done here Bobby. I'm pleased that you didn't throw it at the wall as when this is finished it will be a unique build that deserves to be finished. Keep up the good work. |
|
|
|
|
Post by hobbybobby on Jun 7, 2014 17:29:02 GMT -6
Thank you very much, Tim!  And, it goes on... Somehow I do not like the front, but I also do not know how and what to do about it exactly... Sometimes, you just do something, without thinking...  Thus, I close the opening in the front, first roughly, from above... 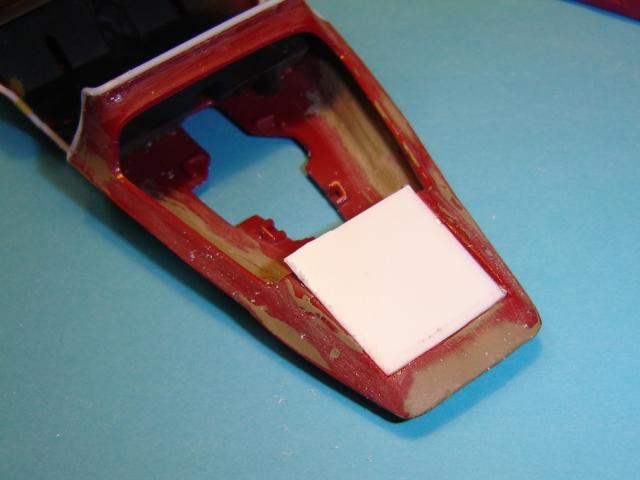 ... and from bottom... 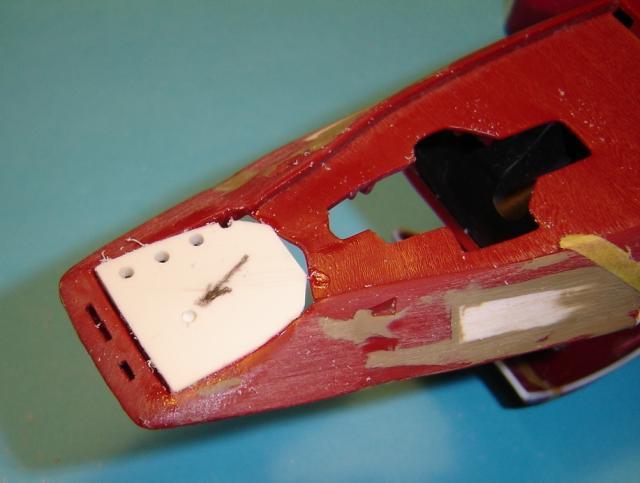 The lower opening for the engine oil pan, will also be closed. In order not to cut out this complicated form, I make first a simpler opening... 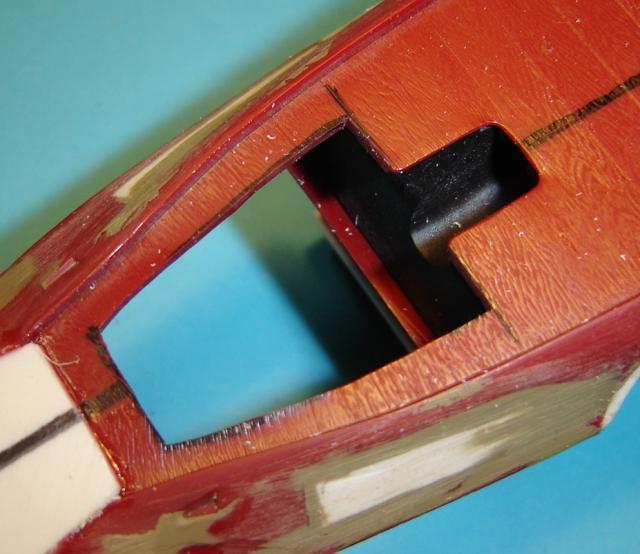 ... then I cut out the simple part to fill this new opening...  ... and it is already closed... 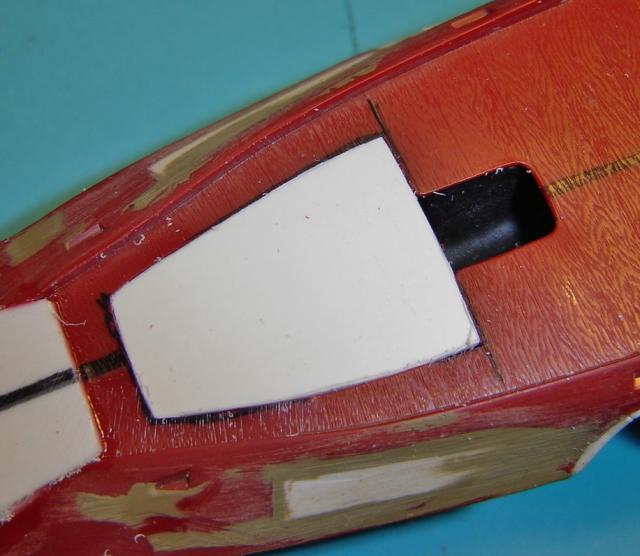 More work is done at the front, but I'm not sure if it remains, as I said, I just did it...  ... from above... 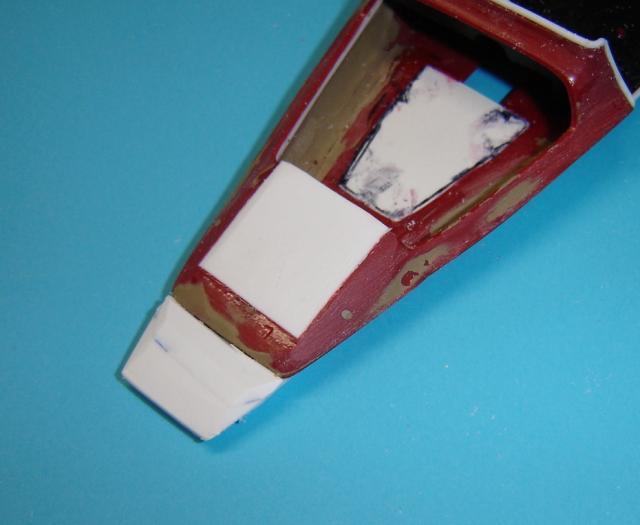 ... and from bottom... 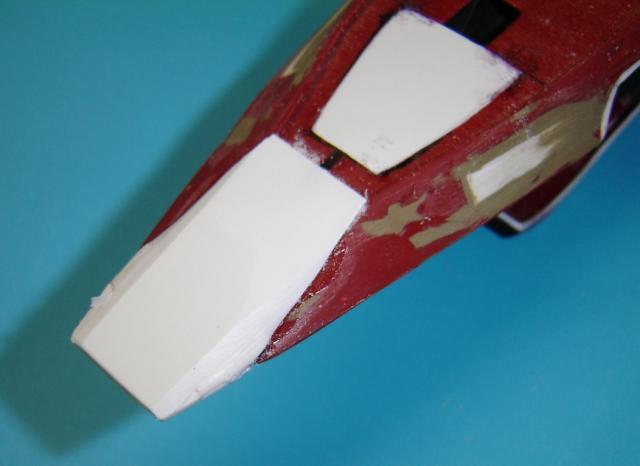 |
|
|
|
Post by scurvydklown on Jun 8, 2014 12:45:36 GMT -6
Like you said, sometimes you just have to try something, and see what comes out. The nice thing about styrene sheet is that even if you cut it off and start over, it's only pocket change and some labor invested. Love this build.
|
|
|
|
Post by hobbybobby on Jun 13, 2014 17:14:07 GMT -6
Thank you very much, Dave, for the kind words!  And, it goes on... Have more done at the front, more styrene and putty, from above... 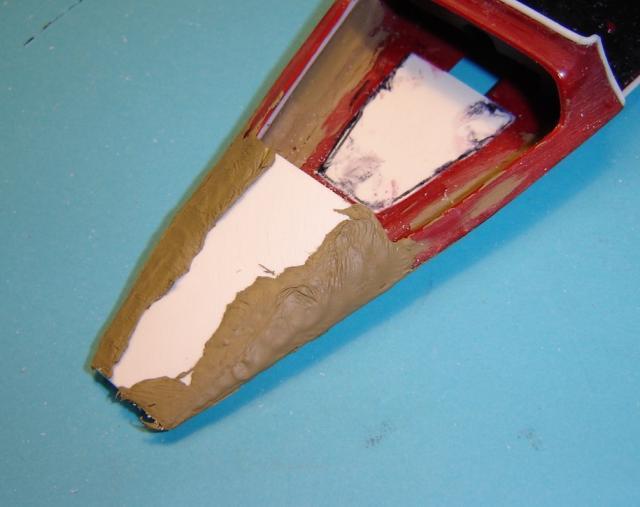 ... and from bottom... 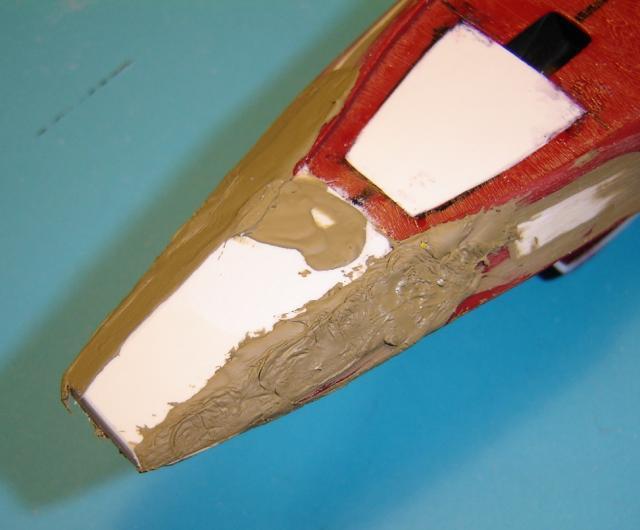 Now we come to the horsepower... The engine bay looks like this big through the opening, for only one motor in it... So I think, two would be better...   Where the difficulties arise: With the transmissions, they are too long and I need just one drive shaft, so I removed the superfluous parts... 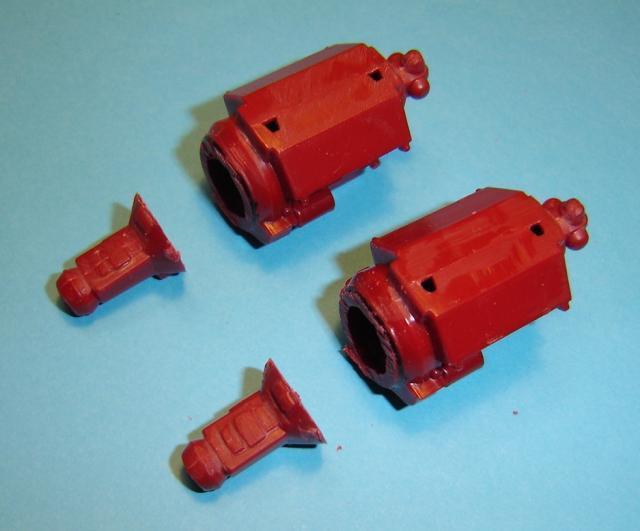 These are the inner parts of rims, no idea of what kit... 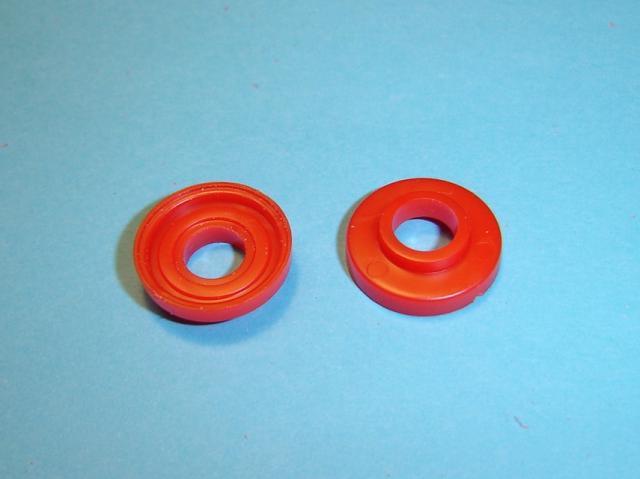 These need to be adapted, on left, the original, on right, the edited... 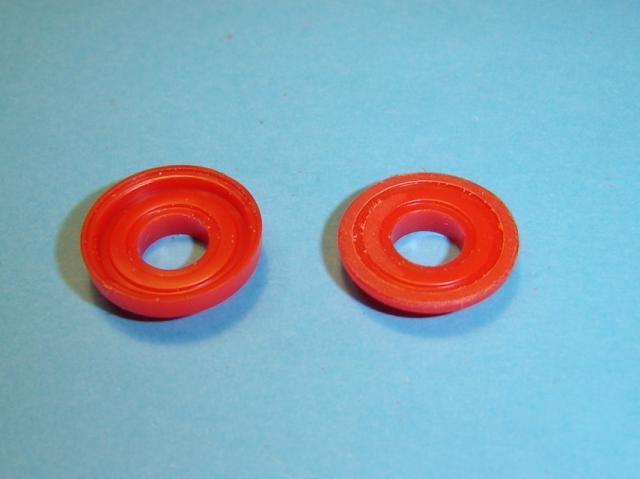 ... and finally, to its new destination... 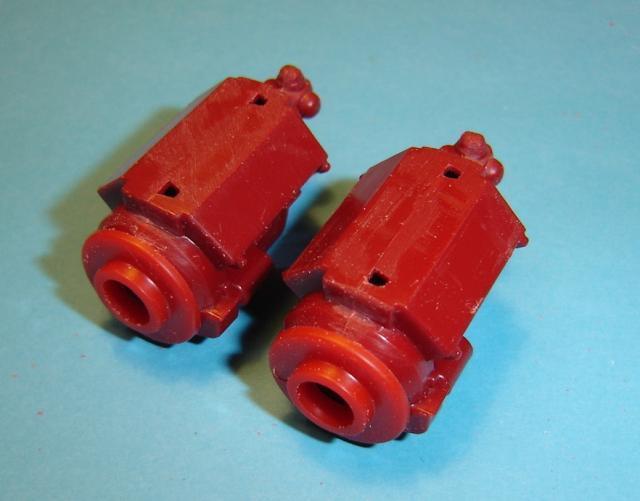 |
|
|
|
Post by RatRod on Jun 13, 2014 18:26:05 GMT -6
Your getting crazy now buddy, it all looks great!!!
|
|
|
|
Post by showrodjohn on Jun 14, 2014 17:49:39 GMT -6
Looking good Bobby who would have thought of two engines? I take it that they will be blown of course.
Can I ask you what putty do you use it looks easy to use?
|
|
|
|
Post by hobbybobby on Jun 16, 2014 19:12:02 GMT -6
Thank you very much for the kind words, I really do appreciate them!  I use various putty, this one is in the tube, single component and comes from the DIY store, it is cheap and easy to work. I apply very thin layers, so it can dry faster, When it dries a little, it forms a skin, then I can reshape it carefully. |
|
|
|
Post by hobbybobby on Jun 17, 2014 12:19:19 GMT -6
And, it goes on... Sometimes you do not know the next step in such builds like this one... ... therefore I must try a few times until it is right and possibly produce more parts until it fits... Above, the first attempt, below the right now, I'm going to use... 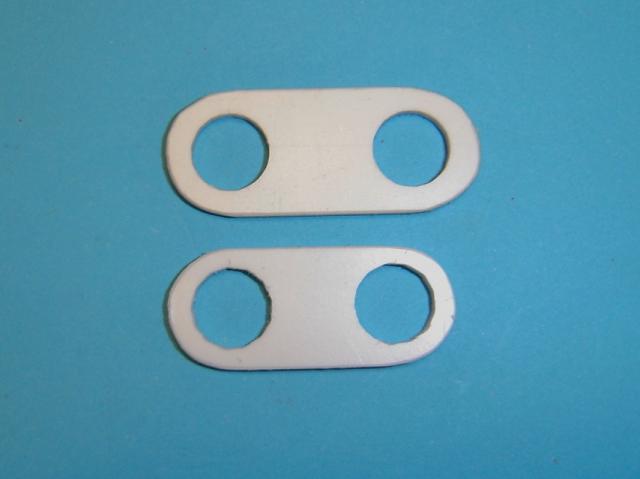 ... This is now my mounting plate of the motors, so to speak...  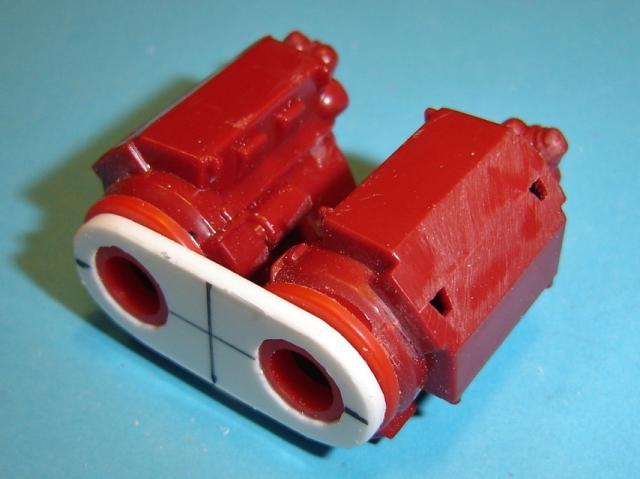 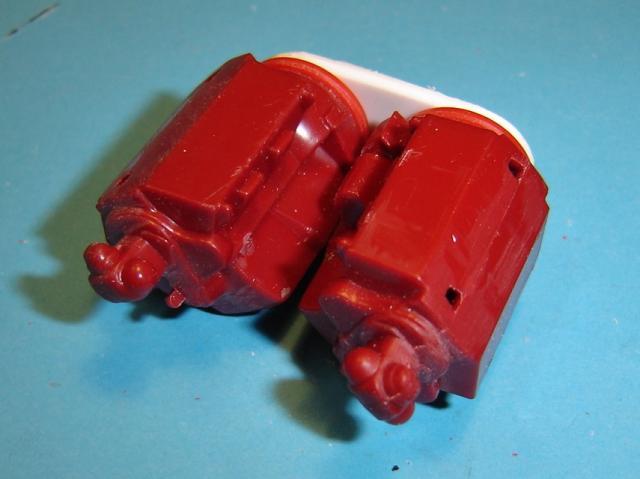 I do not want the two motors, going straight next to each other... ... and with this little device I can now adjust any angle of the motors, depending on the coolness that I want to achieve...  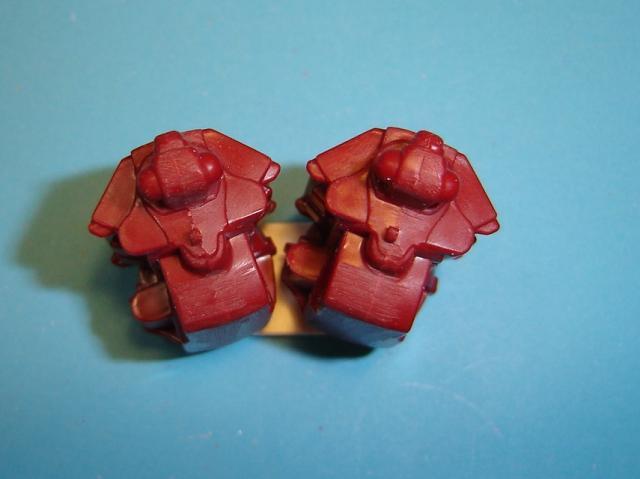 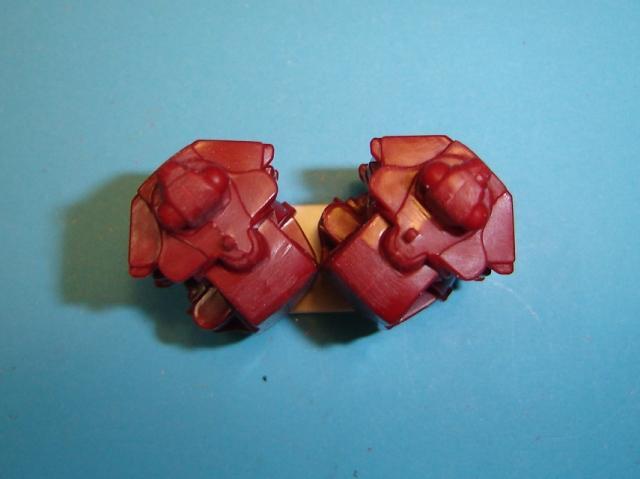 |
|
|
|
Post by hobbybobby on Jun 18, 2014 16:34:11 GMT -6
And, it goes on... In the engine compartment, I have openings that need to be closed, so this is the next step... ... I have carved this out of a 2mm thick styrene Piece... 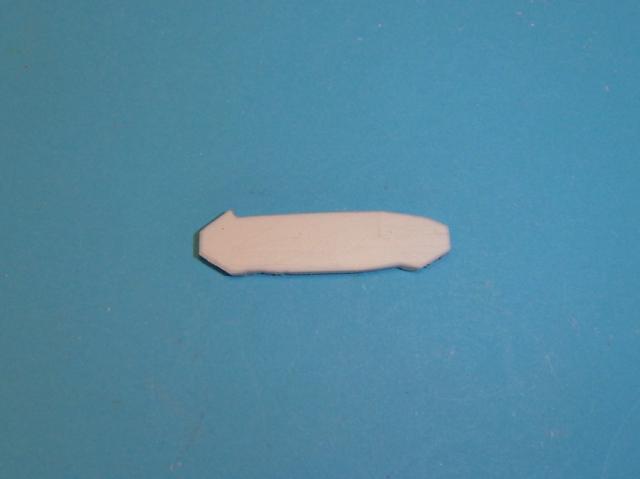 ... that comes in here... 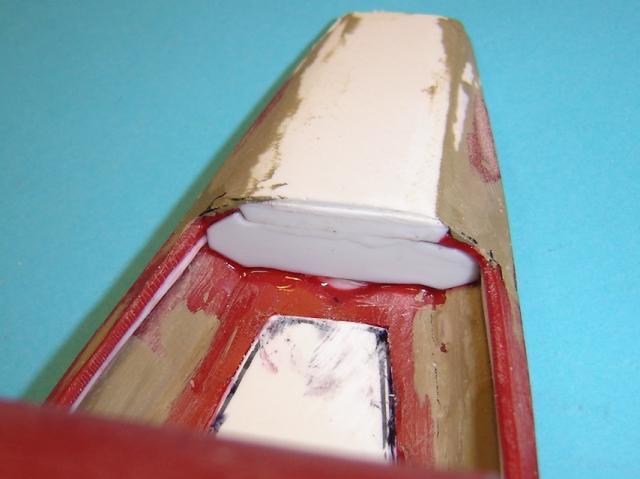 |
|
|
|
Post by hobbybobby on Jun 18, 2014 17:00:34 GMT -6
The bottom of the engine compartment is not as nice and completely uneven, that, I also want to change... ... this is the new bottom plate... 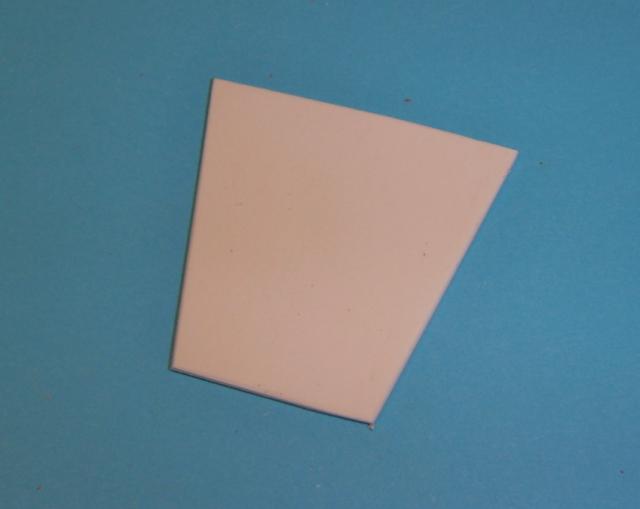 ... and glued to the new destination... 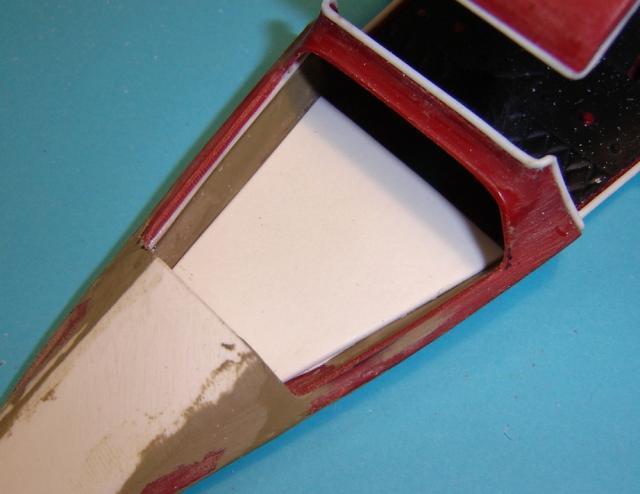 |
|
|
|
Post by hobbybobby on Jun 18, 2014 17:28:35 GMT -6
The last is the opening to the cabin, I close it with this...  ... well, it does not fit very Interlocking, but for the moment it is enough... 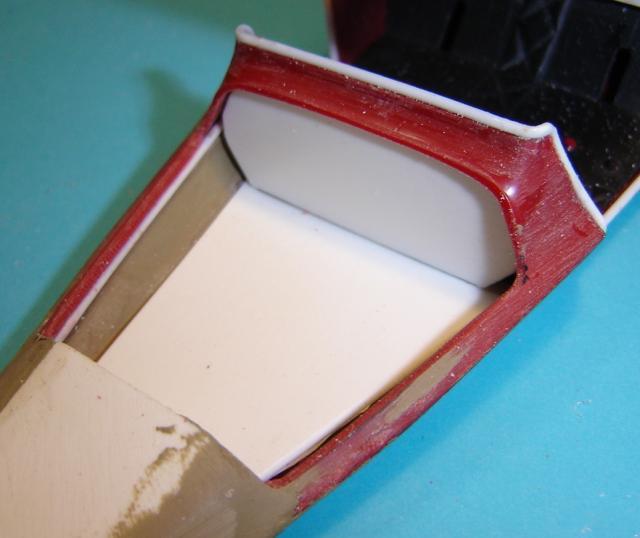 ... and so now looks this with the engines, roughly... 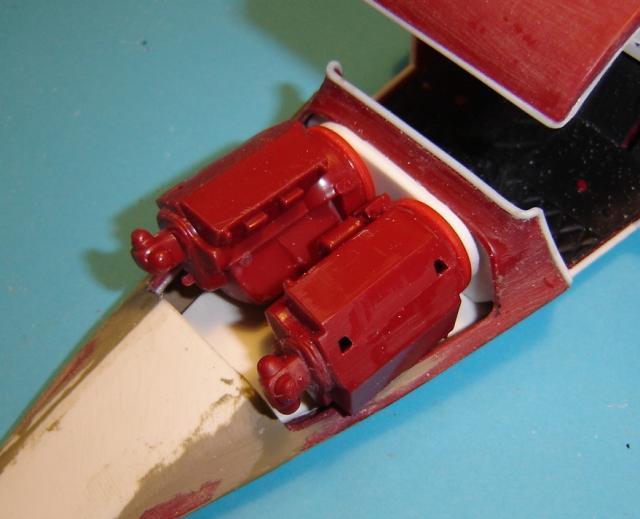 |
|
|
|
Post by hobbybobby on Jun 19, 2014 16:57:18 GMT -6
And, it goes on... These parts provide the necessary charge, all found in my parts boxes... ... and there, I see it first in this image, an error: the back plate from the blower (top left) clearly belongs not to this, hmm... 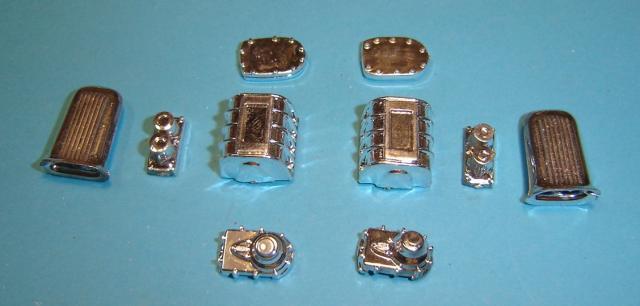 I searched then again and found the correct part, hier is assembled everything...  I will use the original parts of the Pie Wagon engines, with a little fine tuning that will fit...  On the left the original, on the right the tuned... 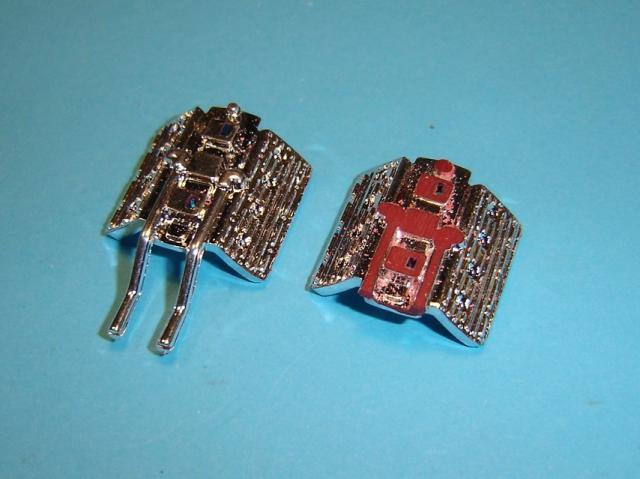 The engines have on the front a part, that I can not assign, so these will be removed... ... on the left still there, on the right already cut... 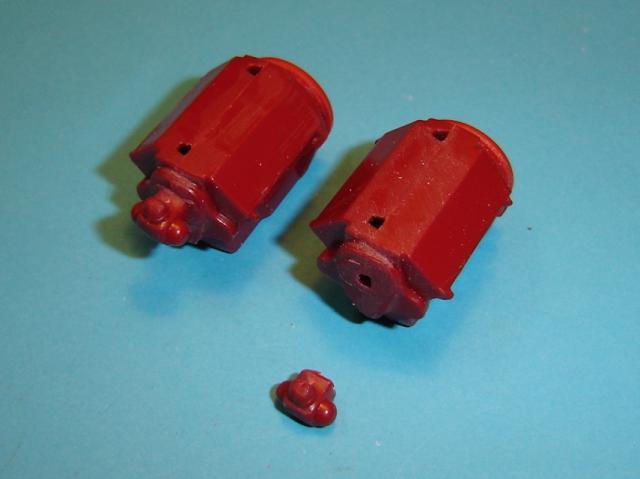 Now comes a first, rough compilation, only taped... ... and yes, I think this will be good... 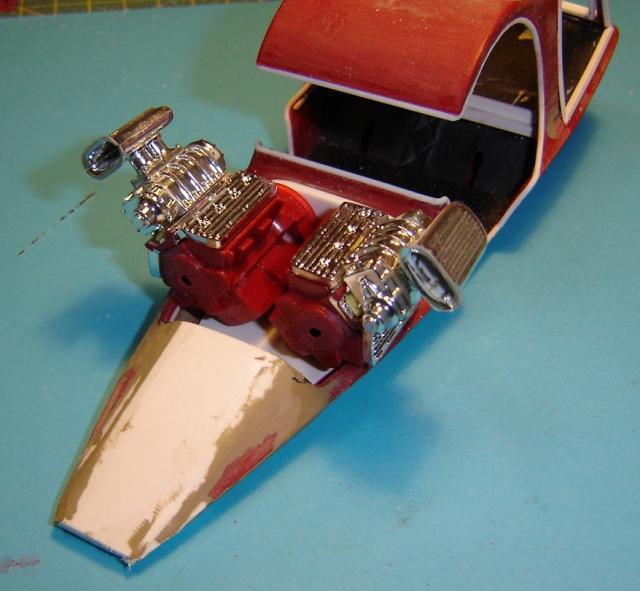 ... or, what do you think? |
|
|
|
Post by Bud Tugly on Jun 19, 2014 17:27:17 GMT -6
Looks great! What are you planning for the exhaust?
|
|
|
|
Post by hobbybobby on Jun 21, 2014 6:45:50 GMT -6
Well, to be honest, I'm already pondering on all the time.
By this constellation of the motors, it becomes difficult for the eight exhaust pipes in the middle...
Hmm...
Any suggestions?
|
|

